")
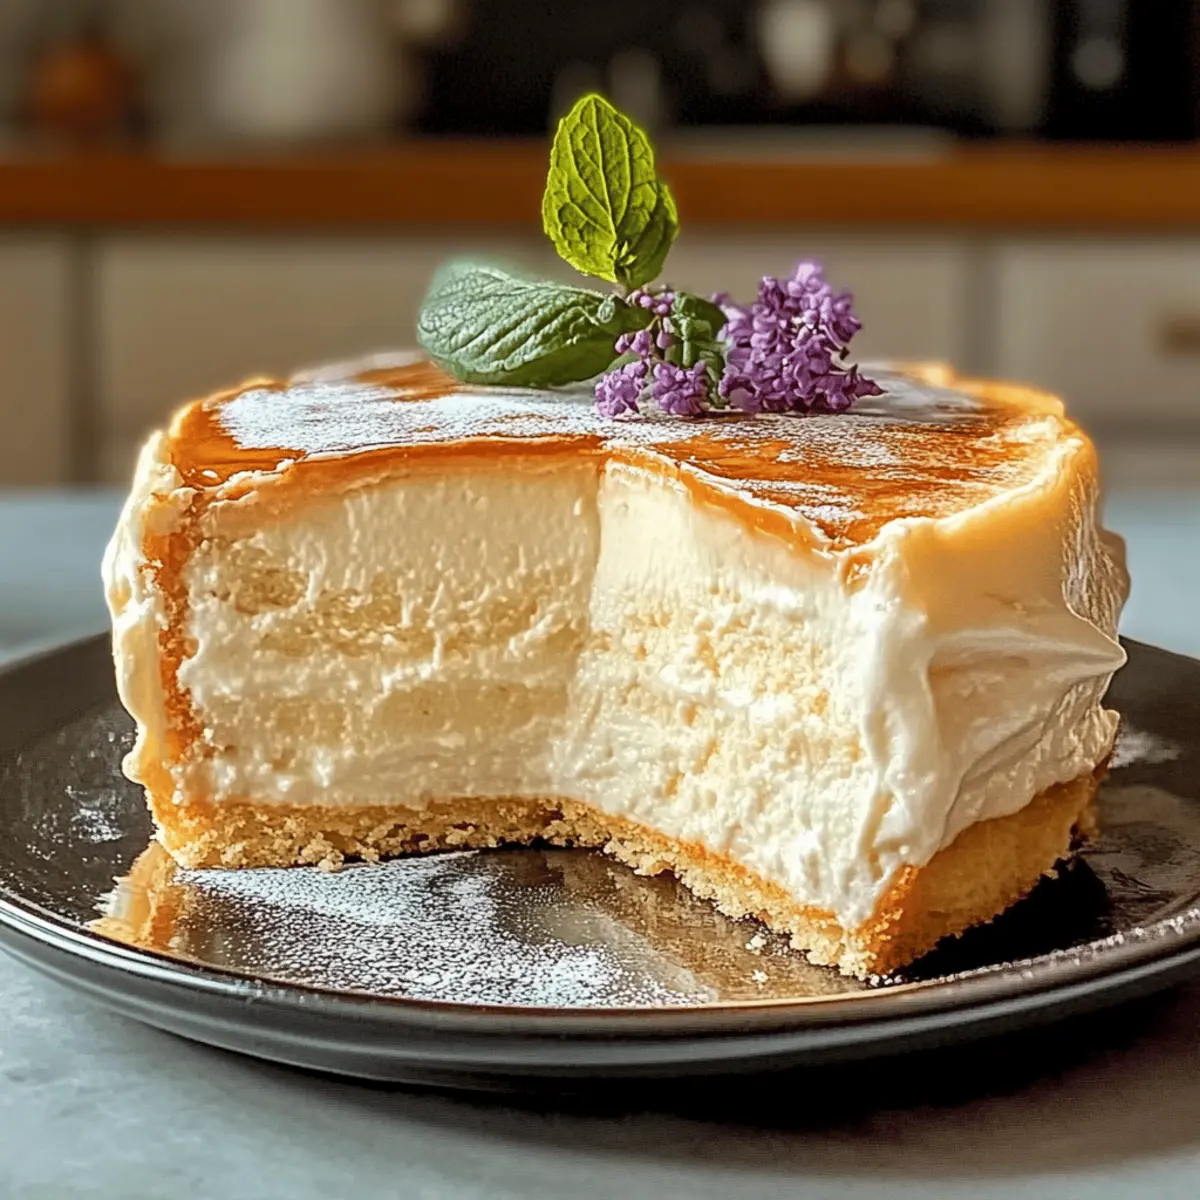
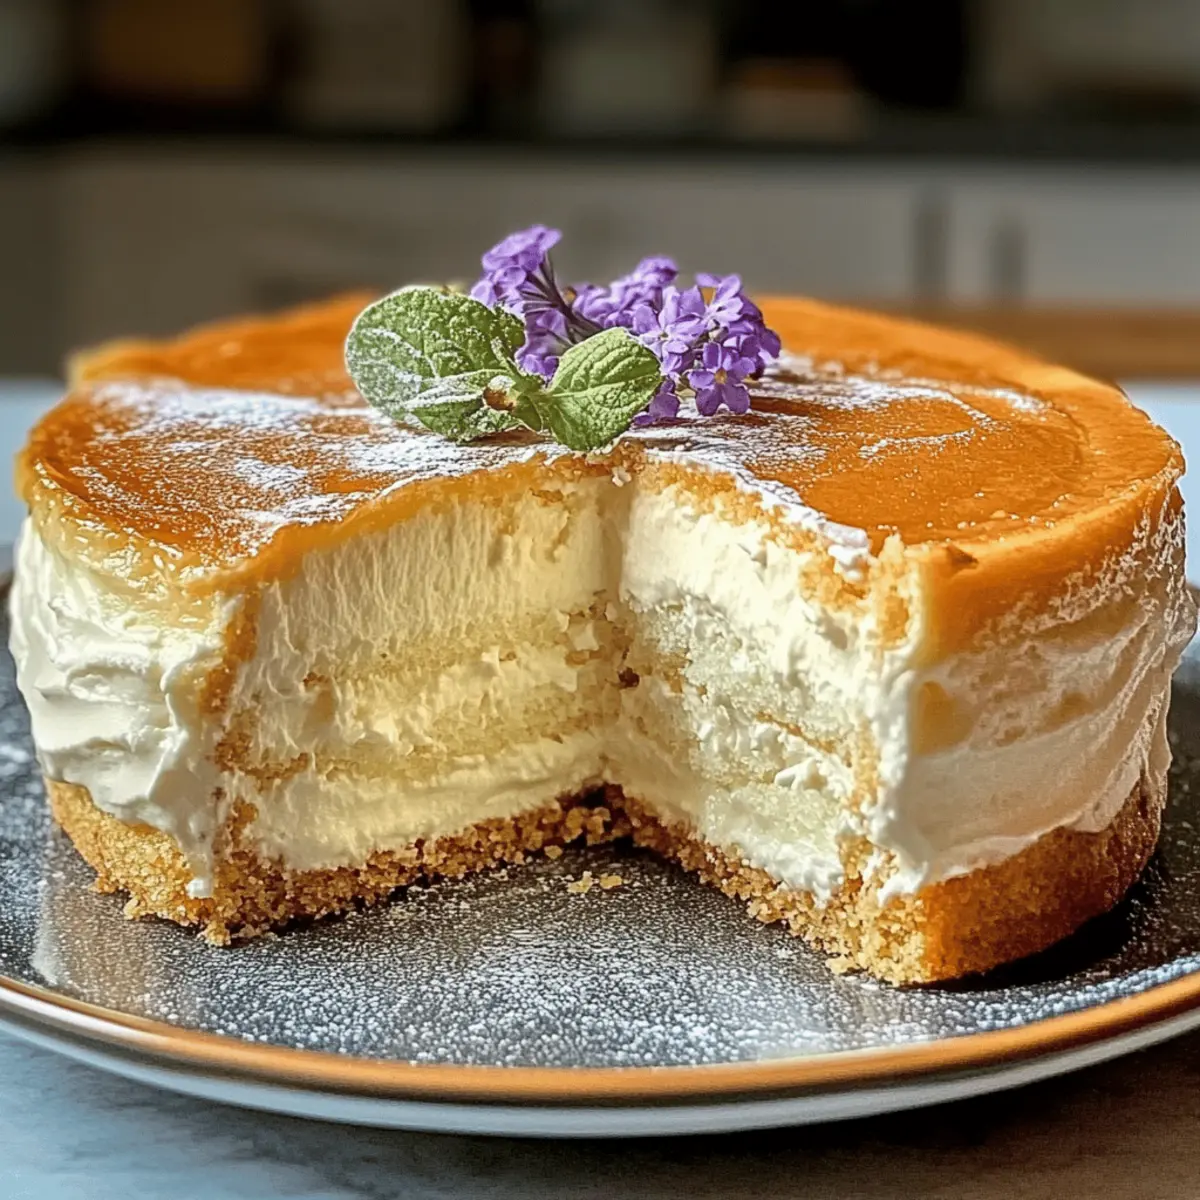
As I stood in my kitchen, the scent of sweet vanilla wafting through the air, I couldn’t help but feel a sense of nostalgia for simpler days spent baking with family. That’s when I decided to whip up a batch of Light & Fluffy Cloud Cake, a dessert so delicate it practically floats off the plate! This cake is a wonderful addition to any get-together, offering a light and airy texture that feels like a little piece of heaven with every bite. Not only is it incredibly easy to make, but it’s also versatile—perfect for customizing with your favorite flavors or keeping simple for a classic finish. Whether it’s a birthday celebration or just a quiet afternoon indulgence, this delightful cake promises to bring joy and sweetness to all. Ready to learn how to create this fluffy masterpiece? Let’s get started!
Why will you love this cake?
Lightness: This Light & Fluffy Cloud Cake is the epitome of a light dessert, allowing you to indulge without any heaviness.
Easy to Make: You don’t need to be a baking expert! The steps are straightforward, so anyone can whip up this cake in no time.
Customizable Flavors: Want to elevate it? Add lemon zest or almond extract for a unique twist, or serve it alongside seasonal berries!
Perfect for Any Occasion: Whether it’s a birthday or a cozy afternoon tea, this cake shines as a delightful centerpiece.
Crowd-Pleasing Delight: With its airy texture, you’ll find it hard to resist, making it an instant favorite among friends and family.
Make it your go-to for gatherings or simple desserts, and if you’re looking for more sweet options, try our Salted Caramel Culinary treat for an unforgettable experience!
Light & Fluffy Cloud Cake Ingredients
• To create this airy delight, gather the following ingredients:
For the Cake
- Cake Flour – Provides a tender and delicate crumb; you can substitute with gluten-free flour for a gluten-free version.
- Granulated Sugar – The key sweetener that ensures the perfect balance of flavor; avoid substitutions for the same sweetness level.
- Baking Powder – This is essential as a leavening agent, helping the cake rise beautifully.
- Egg Whites – The secret to achieving that airy texture; ensure they’re whipped to stiff peaks for optimal fluffiness.
- Whole Milk – Adds moisture and richness; feel free to use non-dairy milk for a dairy-free cake.
- Pure Vanilla Extract – Enhances the cake’s flavor; consider almond or lemon extracts for delightful variations.
- Unsalted Butter (melted) – Imparts moisture and flavor; margarine works as a non-dairy substitute.
- Powdered Sugar (for frosting) – Sweetens the frosting while providing a smooth texture; granulated sugar can be used if powdered sugar is unavailable.
Get ready to transform your kitchen into a baking paradise with this Light & Fluffy Cloud Cake recipe!
Step‑by‑Step Instructions for Light & Fluffy Cloud Cake
Step 1: Preheat the Oven
Begin by preheating your oven to 350°F (175°C) while you prepare your cake batter. This ensures your Light & Fluffy Cloud Cake gets the perfect rise. Grease two 9-inch round cake pans with butter or cooking spray, then lightly dust them with flour to prevent sticking.
Step 2: Combine Dry Ingredients
In a large mixing bowl, whisk together the cake flour, baking powder, and granulated sugar. This step helps to evenly distribute the leavening agent and sugar for a fluffy texture. Set your bowl aside while you prepare the wet ingredients, keeping your workspace organized and efficient.
Step 3: Whip Egg Whites
In a separate clean, dry bowl, use an electric mixer to whip the egg whites until stiff peaks form. This will take about 4-6 minutes on medium-high speed. The egg whites should hold their shape and appear glossy, which is crucial for achieving the airy texture of the Light & Fluffy Cloud Cake.
Step 4: Mix Wet Ingredients
In another mixing bowl, combine the whole milk, melted butter, and pure vanilla extract. Stir until the mixture is smooth and well blended. This adds moisture and flavor to your cake, making it rich and delightful. Gradually combine this mixture with your dry ingredients, mixing gently until just incorporated.
Step 5: Incorporate Egg Whites
Carefully fold the whipped egg whites into the batter using a spatula. Be gentle to maintain the airy texture, as overmixing can deflate your batter. This step is essential for a light and fluffy result, so take your time to ensure the batter remains light and fluffy.
Step 6: Bake the Cake
Pour the batter evenly into the prepared cake pans. Place them in the preheated oven and bake for 25-30 minutes. Keep an eye on them; they should turn golden brown and spring back when lightly pressed. A toothpick inserted in the center should come out clean, signaling it’s time to take them out.
Step 7: Cool and Frost
Once baked, remove the cakes from the oven and let them cool in the pans for about 10 minutes. After that, gently transfer them to a wire rack to cool completely. This is vital for preserving the cake’s fluffy texture before you indulge in frosting your Light & Fluffy Cloud Cake.

Expert Tips for Light & Fluffy Cloud Cake
-
Whipping Egg Whites: Make sure your egg whites are whipped to stiff peaks for that essential airy texture. This step is crucial for your Light & Fluffy Cloud Cake.
-
Gentle Folding: When incorporating egg whites into the batter, be gentle. Overmixing can deflate the lightness you worked hard to achieve, so fold carefully!
-
Oven Check: Avoid long baking times that can dry out your cake. Start checking for doneness at 25 minutes; it should spring back when lightly pressed.
-
Use Room Temperature Ingredients: Bring your eggs and milk to room temperature before using them. This helps create a smoother batter and improves the cake’s rise.
-
Cool Completely: Allow your cakes to cool fully before frosting to ensure that the frosting doesn’t melt. This preserves the fluffy texture and makes the perfect presentation.
How to Store and Freeze Light & Fluffy Cloud Cake
Room Temperature: Keep your cake in an airtight container for up to 3 days. It will maintain its light texture while staying fresh.
Fridge: If you plan to store it longer, place the cake in the refrigerator for up to 5 days, but be sure to cover it to prevent dryness.
Freezer: For extended storage, freeze your Light & Fluffy Cloud Cake for up to 2 months. Wrap it well in plastic wrap and then in aluminum foil to protect it from freezer burn.
Reheating: To enjoy the cake warm, remove it from the freezer and let it defrost in the fridge overnight. Briefly reheat in the oven at 300°F (150°C) for about 10 minutes to restore freshness and fluffiness.
Light & Fluffy Cloud Cake Variations
Feel free to elevate your Light & Fluffy Cloud Cake with these delightful twists and swaps that cater to different tastes and dietary needs!
- Gluten-Free: Substitute cake flour with a gluten-free flour blend for a light cake that everyone can enjoy.
- Dairy-Free: Use non-dairy milk and margarine in place of whole milk and butter for a deliciously fluffy treat.
- Almond Bliss: Swap pure vanilla extract for almond extract to give your cake a nutty, warm flavor that excites the senses.
- Zesty Lemon: Add a splash of lemon zest to the batter for a refreshing citrusy pop that brightens the cake beautifully.
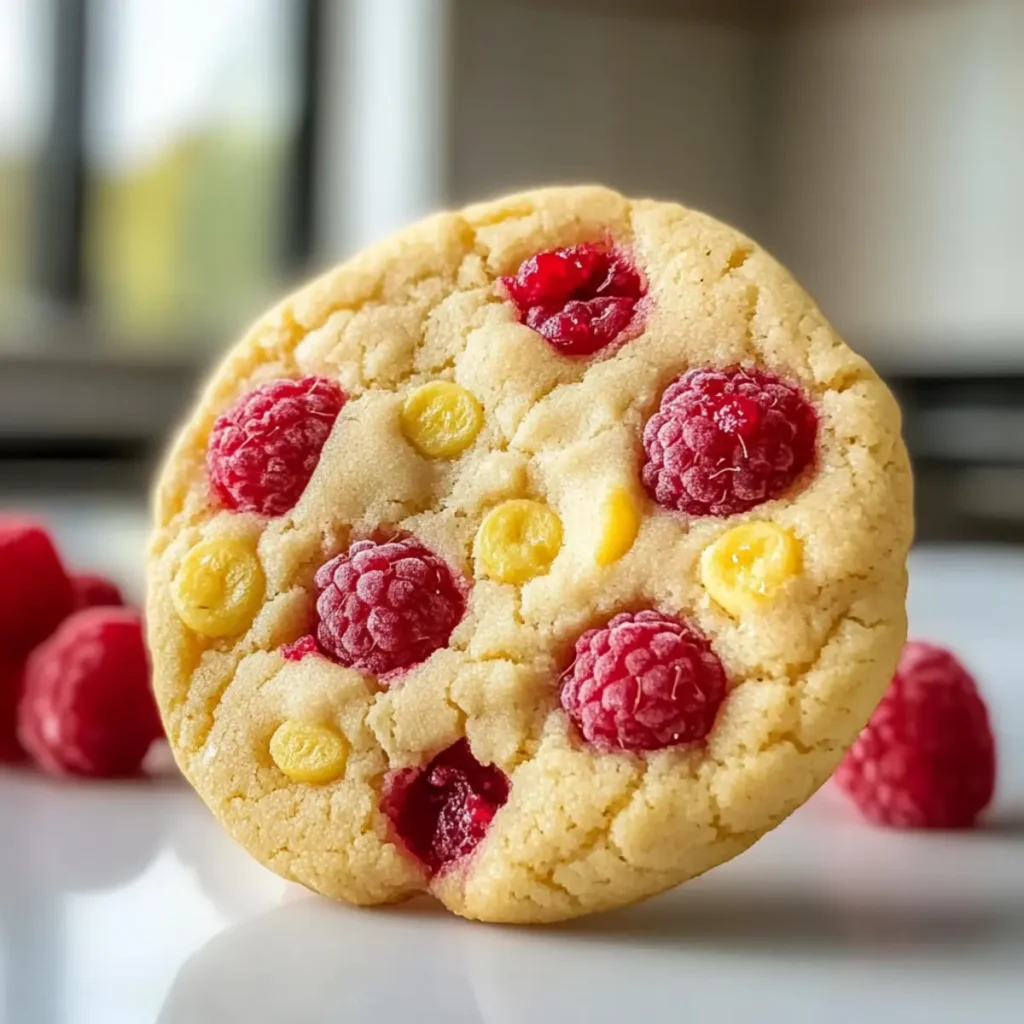
- Berry Delight: Incorporate a handful of fresh blueberries or raspberries into the batter for a delightful surprise in every bite.
- Chocolate Lovers: For a decadent twist, mix in cocoa powder to the dry ingredients, transforming your cake into a fluffy chocolate cloud.
This cake is versatile enough that you can experiment in the kitchen! If you’re looking for more sweet inspiration, don’t forget to check out our Chocolate Chalet Cake for another delectable dessert option. Imagine the joy of presenting a dessert that reflects your personal taste!
What to Serve with Light & Fluffy Cloud Cake
Elevate your dessert experience by pairing this ethereal cake with delightful accompaniments that enhance its lightness and flavor.
-
Fresh Berries: A medley of strawberries, blueberries, or raspberries adds a pop of color and a tart contrast, making each bite refreshing.
-
Whipped Cream: Lightly sweetened whipped cream offers a creamy texture that complements the airy cake, adding indulgence without overwhelming it.
-
Lemon Curd: This tangy treat provides a zesty kick that pairs beautifully with the sweetness, creating a harmonious balance of flavors.
-
Mint Leaves: A sprinkle of fresh mint leaves not only adds a vibrant color but also a refreshing herbal note that brightens the cake’s delicacy.
-
Vanilla Ice Cream: A scoop of vanilla ice cream turns this treat into a delightful dessert experience, with creaminess that enhances the soft cake.
-
Sparkling Lemonade: Serve your cake with a fizzy glass of sparkling lemonade for a light, invigorating drink that complements the cake’s fluffiness.
-
Chocolate Drizzle: A drizzle of rich chocolate adds a decadent touch, contrasting the cake’s lightness with a luxurious sweetness that chocolate lovers will adore.
By pairing your Light & Fluffy Cloud Cake with these enchanting sides, you create a multi-dimensional treat perfect for any occasion.
Make Ahead Options
These Light & Fluffy Cloud Cakes are a fantastic choice for busy home cooks looking to save time during hectic weeks. You can easily prepare the cake layers up to 24 hours in advance. Simply bake the cakes, allow them to cool completely, then wrap them tightly in plastic wrap and refrigerate. When it’s time to serve, whip up your favorite frosting and spread it over the chilled cake layers. For optimal freshness and texture, wait to frost the cake until just before serving, maintaining that airy quality that makes the Light & Fluffy Cloud Cake so delightful. This approach not only makes meal planning easier but ensures that your dessert is just as tasty!
Light & Fluffy Cloud Cake Recipe FAQs
What type of flour should I use for the Light & Fluffy Cloud Cake?
I recommend using cake flour for the best results, as it provides a tender and delicate crumb. If you need a gluten-free option, substituting cake flour with a gluten-free flour blend works perfectly!
How should I store the Light & Fluffy Cloud Cake?
To keep your cake fresh, store it in an airtight container at room temperature for up to 3 days. If you’d like to prolong its freshness, you can refrigerate it for up to 5 days. Just ensure it’s covered to prevent it from drying out.
Can I freeze the Light & Fluffy Cloud Cake?
Absolutely! You can freeze your cake for up to 2 months. To do this, wrap it tightly in plastic wrap, followed by aluminum foil to keep it protected from freezer burn. When you’re ready to enjoy it, defrost it in the fridge overnight, then reheat briefly in the oven at 300°F (150°C) for about 10 minutes to restore its fluffiness.
What should I do if my egg whites don’t whip to stiff peaks?
If your egg whites aren’t whipping properly, ensure your mixing bowl and beaters are completely clean and dry. Any oil or moisture can prevent them from whipping effectively. Additionally, make sure the egg whites are at room temperature before whipping — this makes a significant difference! If you’re in a pinch and need an egg-free alternative, consider using aquafaba (the liquid from canned chickpeas) for a similar fluffy texture.
Can I make a dairy-free version of the Light & Fluffy Cloud Cake?
Very! You can easily make a dairy-free version by substituting whole milk with a non-dairy milk (like almond or oat milk) and using margarine in place of butter. This way, you can still enjoy a light and fluffy cake without the dairy!
Is the Light & Fluffy Cloud Cake suitable for people with nut allergies?
Yes, you can make this cake nut-free! Just ensure that any substitutes for ingredients, like margarine or milk, are also free from nut-based products. Always double-check labels if you’re concerned about cross-contamination, especially if serving to guests with allergies.
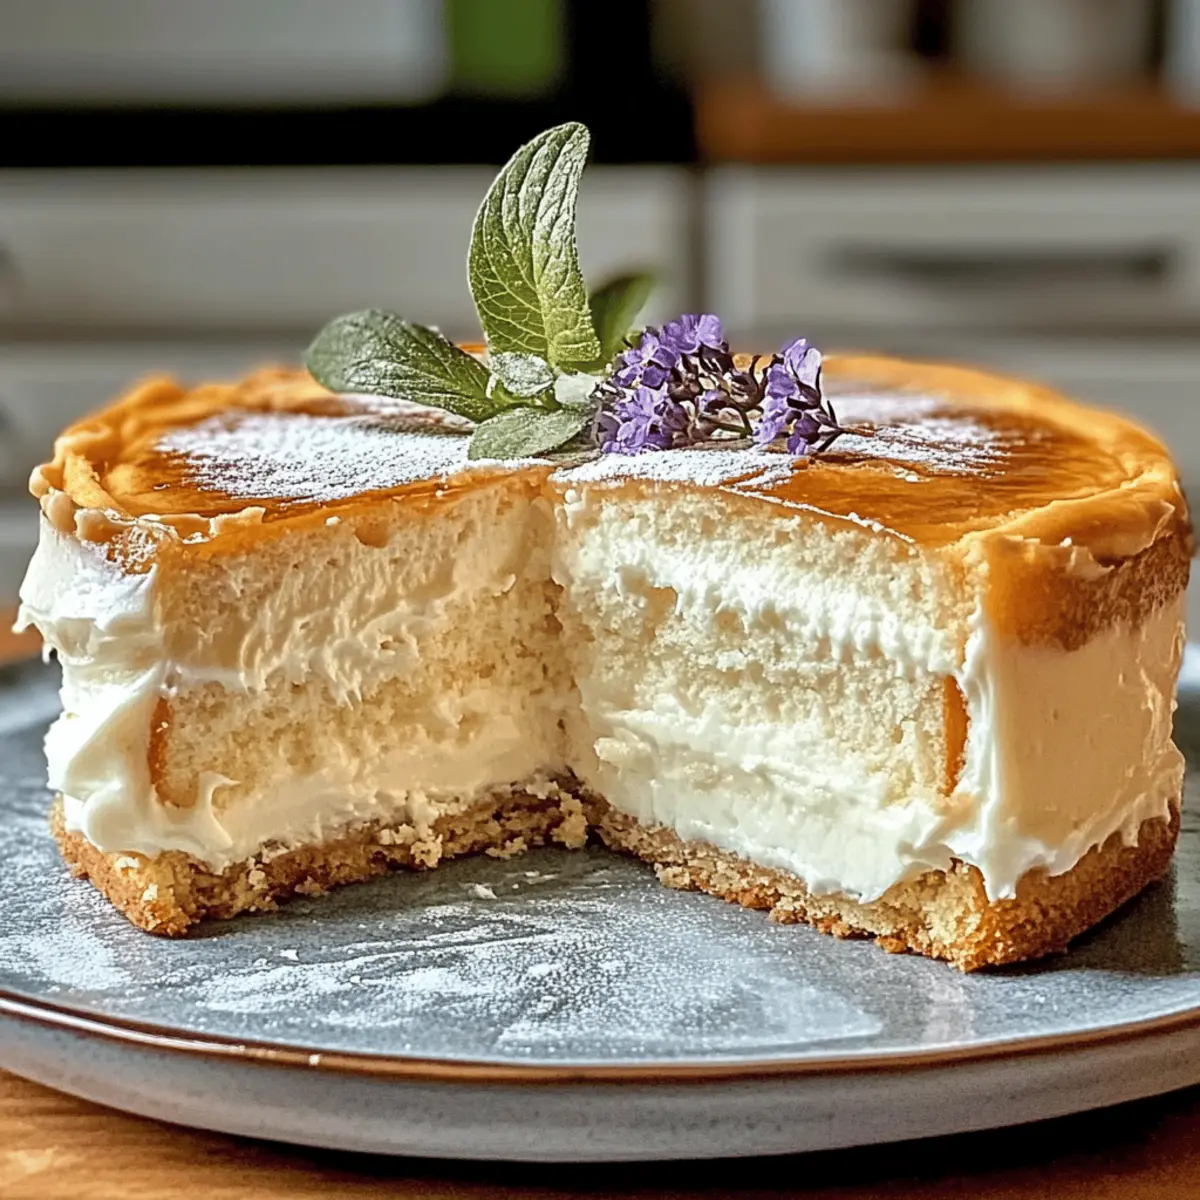
Light & Fluffy Cloud Cake That Melts in Your Mouth
Ingredients
Equipment
Method
- Preheat your oven to 350°F (175°C) and grease two 9-inch round cake pans with butter or cooking spray, then dust with flour.
- In a large mixing bowl, whisk together the cake flour, baking powder, and granulated sugar.
- Whip the egg whites in a clean, dry bowl until stiff peaks form, about 4-6 minutes on medium-high speed.
- Combine the whole milk, melted butter, and pure vanilla extract in another bowl, stirring until smooth. Gradually mix this into your dry ingredients.
- Fold the whipped egg whites into the batter gently, taking care not to deflate them.
- Pour the batter into the prepared pans and bake for 25-30 minutes until golden brown and a toothpick comes out clean.
- Let the cakes cool in the pans for about 10 minutes before transferring to a wire rack for complete cooling.
")