")
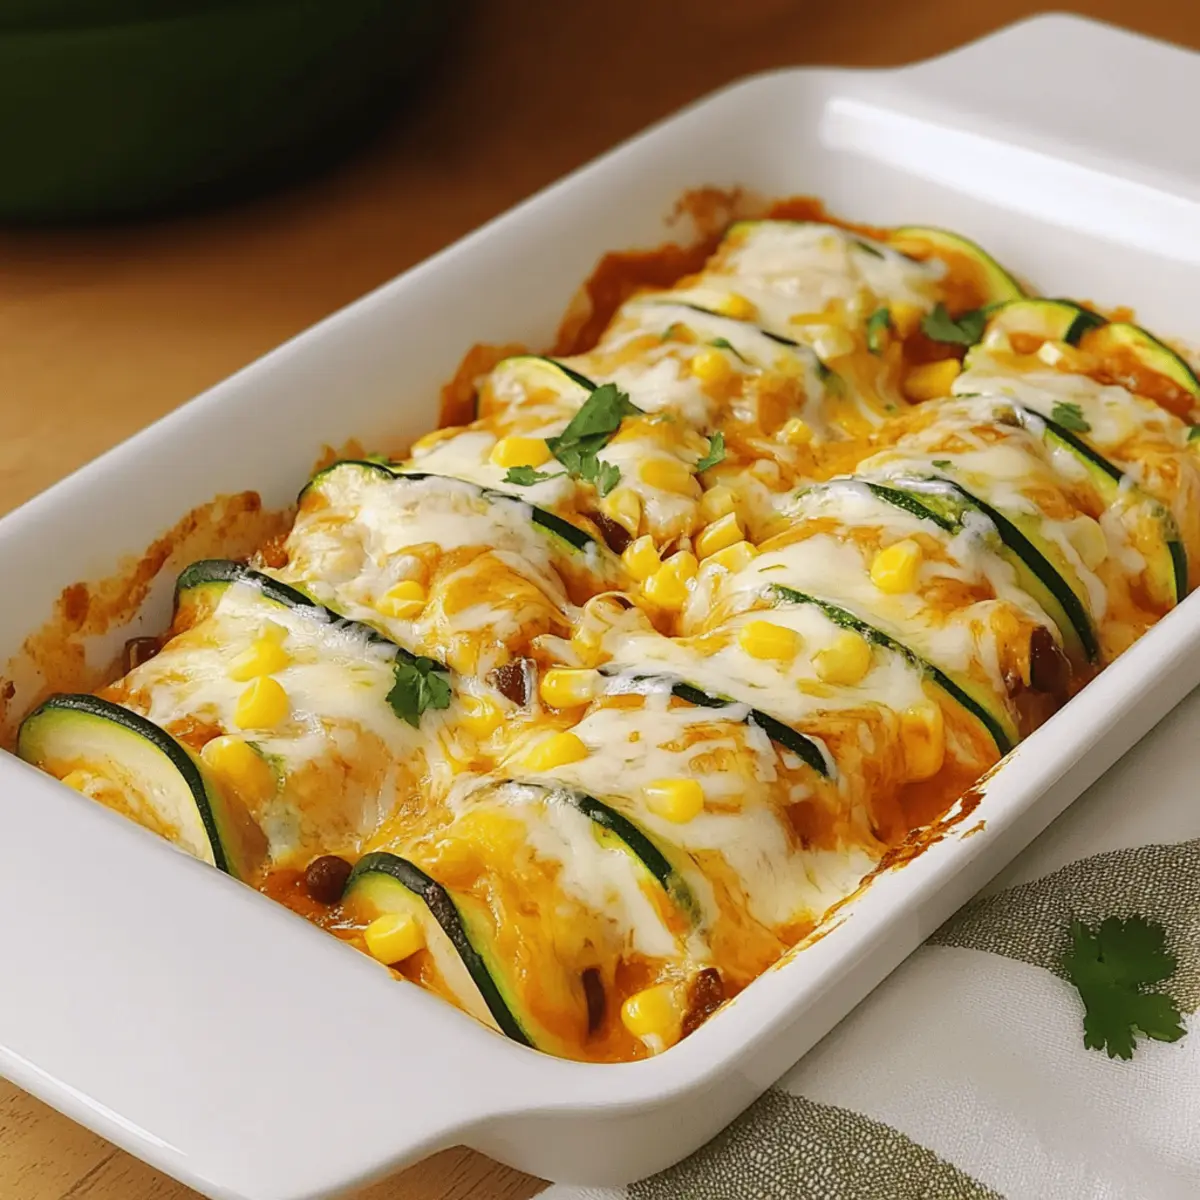
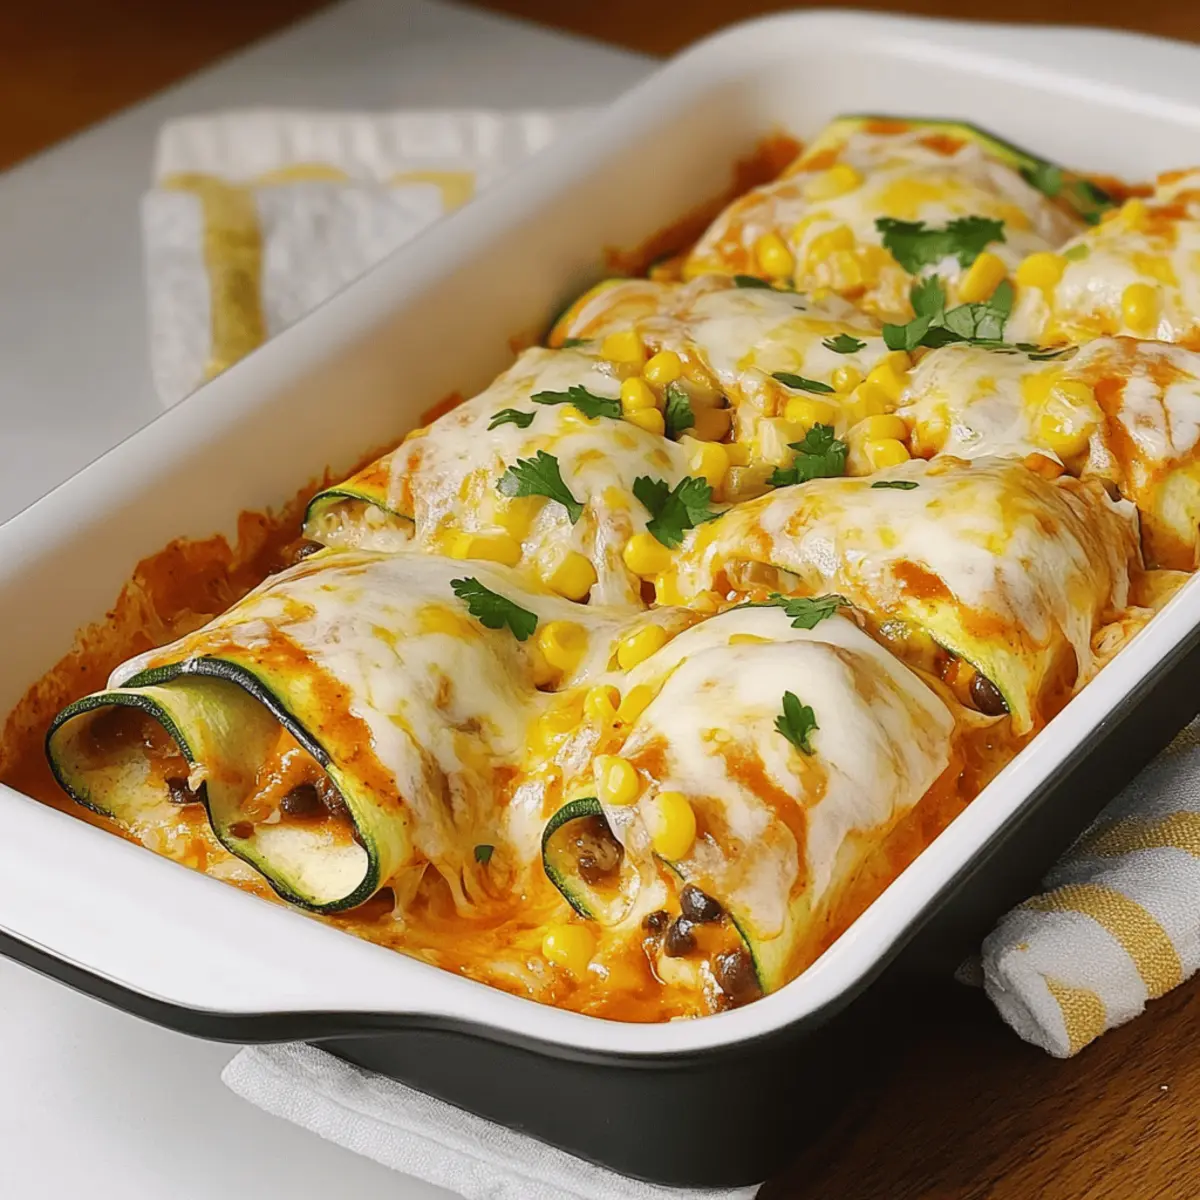
As I prepped for dinner one evening, a bright flash of inspiration struck—who needs tortillas when you have gorgeous, fresh zucchini ready to shine? Enter my Low-Carb Cheesy Zucchini Enchiladas, a delightful twist that redefines comfort food without the carbs or gluten. These flavorful bundles not only satisfy the craving for cheesy goodness but also bring a nutritious upgrade to your table. Perfect for those hectic weeknights, they come together quickly and can easily be customized to suit your taste. Plus, they’re great for family dinners or meal prep! Curious to learn how to whip up this delicious dish? Let’s dive in!
Why Try Zucchini Enchiladas?
Healthier Twist: Zucchini serves as a fantastic low-carb and gluten-free alternative to traditional tortillas, allowing you to indulge without the guilt.
Flavor Explosion: Savory black beans, sweet corn, and zesty spices infuse each bite with vibrant, mouthwatering flavors that will tantalize your taste buds.
Customizable Delight: Easily adapt this recipe by swapping in your favorite ingredients—try adding bell peppers or ground turkey for a unique spin!
Quick & Easy: Perfect for busy nights, these enchiladas come together in just 30 minutes, making them an ideal choice for a satisfying weeknight meal.
Family-Friendly: Appealing to all ages, even the pickiest eaters won’t realize they’re enjoying a veggie-packed meal! Try serving with a refreshing salad to round out your dining experience.
Zucchini Enchiladas Ingredients
For the Enchiladas
• Zucchini – Thinly sliced to replace tortillas, ensuring maximum flavor absorption without excess carbs.
• Black Beans – Packed with protein and fiber; can substitute with kidney beans for a different texture.
• Corn – Adds a touch of sweetness; feel free to swap with diced bell peppers for a unique flavor twist.
• Cumin – Provides warmth and depth; no direct substitute recommended, but coriander works for a milder taste.
• Chili Powder – Adjust to your taste for heat; paprika can be used for a gentler kick.
• Garlic Powder – Boosts the overall flavor; fresh garlic can replace it (1 clove = 1 tsp powder).
• Salt/Pepper – Essential for enhancing all the flavors; adjust according to your palate.
• Shredded Cheese – For a creamy topping; try a Mexican blend or queso fresco for a lighter choice.
• Enchilada Sauce – Keeps the dish moist; opt for homemade for extra freshness or store-bought for quick prep.
Optional Garnishes
• Fresh Cilantro – Adds a burst of flavor and color; sprinkle before serving for a refreshing touch.
• Sour Cream – A dollop brings creaminess and balances the spices; Greek yogurt is a nice substitute for a healthier option.
Embrace the joy of cooking with these Zucchini Enchiladas, and get ready to redefine comfort food in your home!
Step‑by‑Step Instructions for Zucchini Enchiladas
Step 1: Preheat the Oven
Start your culinary journey by preheating your oven to 375°F (190°C). This ensures a perfectly cooked finish for your Zucchini Enchiladas. While the oven heats, you can gather your ingredients and prepare your workspace for a fun cooking experience!
Step 2: Prepare the Filling
In a large mixing bowl, combine black beans, corn, cumin, chili powder, garlic powder, salt, pepper, and half of the shredded cheese. Use a spoon to mix the ingredients thoroughly until well combined. This filling will be bursting with flavors, perfect for your zucchini to wrap around!
Step 3: Roll the Enchiladas
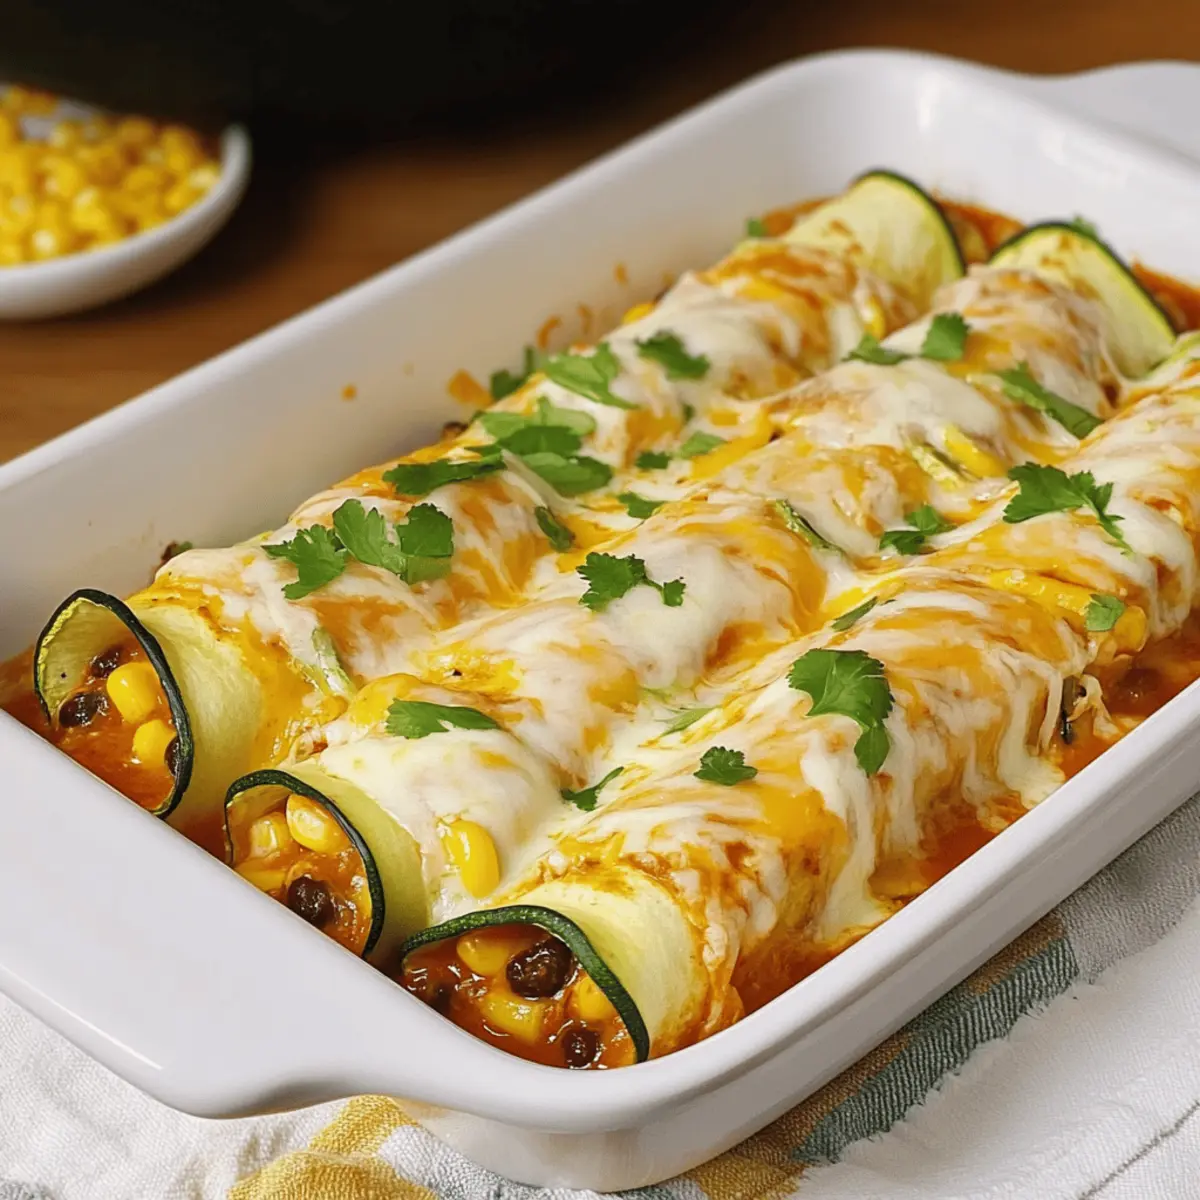
Take your freshly sliced zucchini pieces and lay them flat. Spoon a generous amount of the bean mixture onto each slice and carefully roll them up tightly. Place these rolled enchiladas seam-side down on a clean surface. Ensure they are compact to keep all the delicious fillings intact.
Step 4: Assemble in Baking Dish
Grab a baking dish and lightly coat the bottom with a bit of enchilada sauce for added flavor. Lay the rolled zucchini enchiladas in the dish, seam-side down. Pour the remaining enchilada sauce over the top, ensuring even coverage, and sprinkle the rest of the shredded cheese generously all over.
Step 5: Bake the Enchiladas
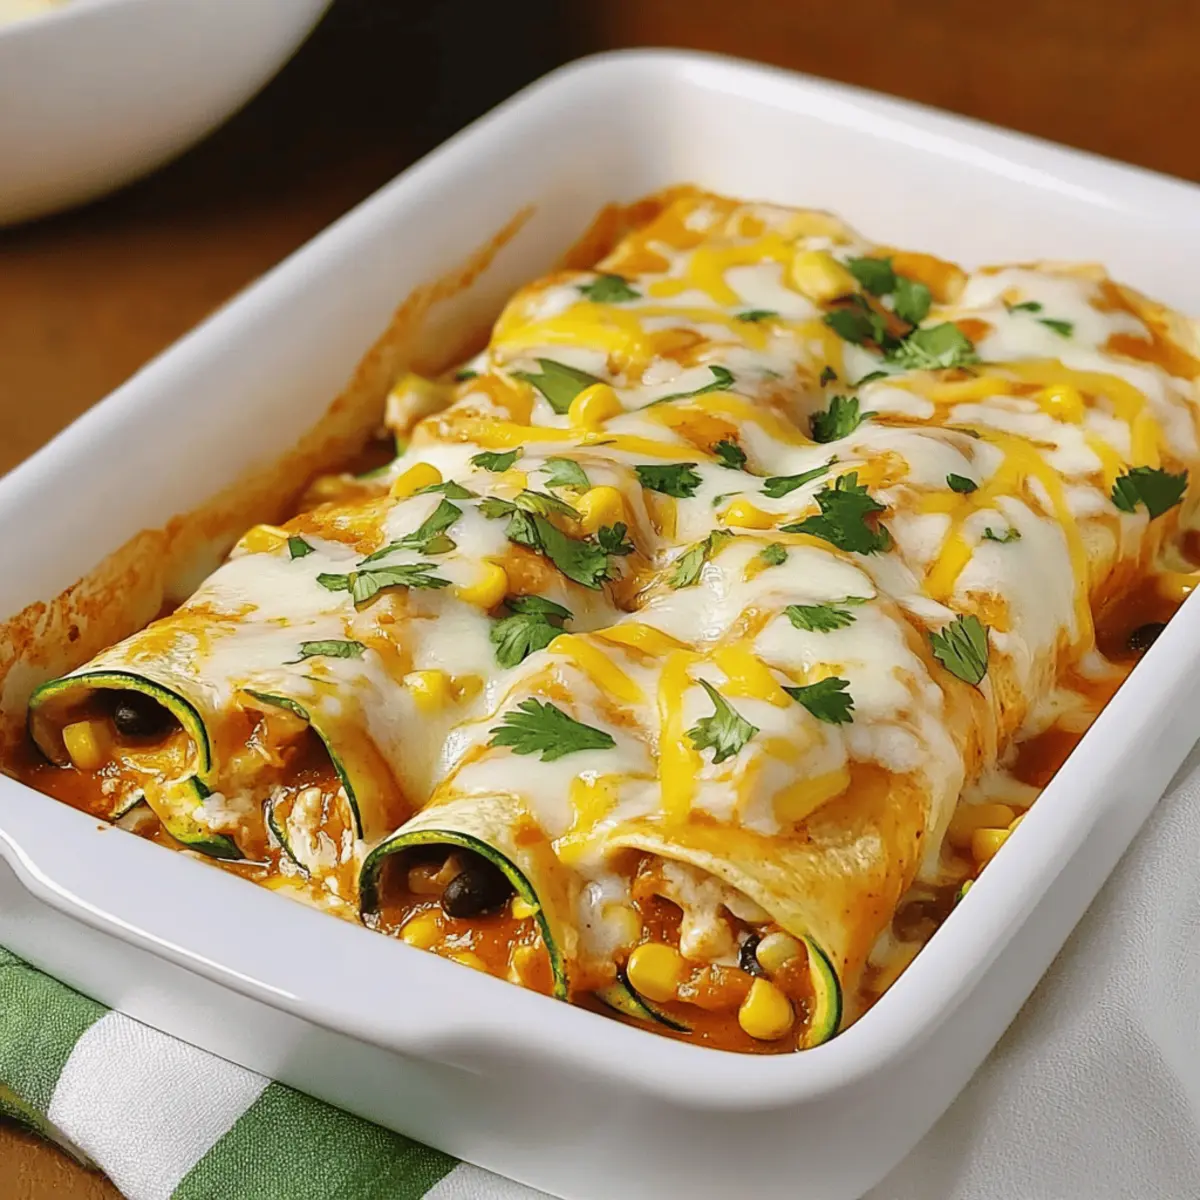
Place your assembled dish in the preheated oven and bake for about 30 minutes. Keep an eye on the enchiladas; they should bubble and the cheese should melt beautifully. The enticing aroma will fill your kitchen, hinting at the delicious meal to come.
Step 6: Garnish and Serve
Once out of the oven, let your Zucchini Enchiladas cool for a moment. Garnish with freshly chopped cilantro for a pop of color and flavor. Serve them hot, allowing everyone to enjoy this healthy twist on a classic dish, rich with cheese and heartwarming fillings.
Make Ahead Options
These Zucchini Enchiladas are perfect for meal prep enthusiasts! You can assemble the enchiladas up to 24 hours in advance; simply roll them up, place them seam-side down in a baking dish, and cover with enchilada sauce and cheese. To maintain quality, ensure they are tightly covered with plastic wrap or aluminum foil before refrigerating. When you’re ready to enjoy, just pop them in a preheated oven at 375°F (190°C) for 30 minutes. This way, you’ll have a delicious, satisfying meal with minimal effort on busy weeknights, as they’ll still be just as delightful as fresh!
What to Serve with Zucchini Enchiladas
Aromatic spices and cheesy goodness are bound to make your dinner a memorable experience, so let’s elevate your meal!
- Fresh Salsa: A zesty salsa adds a burst of flavor and freshness; it’s the perfect complement to the warm enchiladas.
- Guacamole: Creamy and rich, guacamole enhances each bite and brings a delightful contrast to the cheesy enchiladas. Serve in small bowls for sharing!
- Cilantro Lime Rice: The fresh herby flavors of cilantro lime rice make for a refreshing and satisfying side, beautifully balancing the richness of the enchiladas.
- Roasted Veggies: Seasoned roasted vegetables like bell peppers and zucchini add extra texture and flavor, making your plate look vibrant and appealing.
- Light Salad: A simple green salad with a citrus vinaigrette brings brightness and a crisp, refreshing crunch to your dinner plate.
- Corn Salad: Sweet corn salad mixed with diced tomatoes and avocado adds a summery touch and pairs perfectly with the warm, cheesy enchiladas.
- Black Bean Soup: For an added layer of flavor, a hearty black bean soup complements the enchiladas beautifully while keeping within the low-carb theme.
- Sparkling Water: Pair with a glass of sparkling water, garnished with lime, to cleanse your palate and keep the meal light and refreshing.
Enjoy crafting a colorful, mouthwatering spread that will delight your family and friends!
How to Store and Freeze Zucchini Enchiladas
Fridge: Store leftover Zucchini Enchiladas in an airtight container for up to 3-4 days. Reheat in the oven at 350°F (175°C) until warmed through for the best texture.
Freezer: For longer storage, freeze assembled enchiladas before baking. Wrap each one tightly in plastic wrap and aluminum foil; they’ll last for up to 2 months. When ready to enjoy, bake directly from frozen, increasing the time until heated through.
Reheating: If reheating from frozen, remove the wrapping and cover with foil. Bake at 375°F (190°C) for about 45-55 minutes, or until heated evenly. Enjoy the same delicious flavors!
Zucchini Enchiladas: Customization Ideas
Eager to make these Zucchini Enchiladas your own? Let’s explore a world of delicious possibilities!
- Dairy-Free: Use a plant-based cheese alternative for a creamy topping without the dairy.
- Extra Veggies: Toss in some chopped bell peppers, spinach, or mushrooms to amp up the nutrition.
- Spicy Kick: Add diced jalapeños or a splash of hot sauce to the filling for an exciting, fiery flair.
- Meat Lovers: Substitute black beans with ground turkey, chicken, or beef for a heartier option.
- Herb Infusion: Try mixing in fresh herbs like cilantro or parsley into your filling for a burst of freshness.
- Mild Option: Replace chili powder with smoked paprika for a milder flavor that still adds depth to each bite.
- Sauce Swap: For a creamy twist, use a homemade avocado sauce instead of enchilada sauce—it’s both refreshing and vibrant.
- Texture Play: Add crushed tortilla chips on top before baking for a crunchy finish that adds a delightful textural contrast.
Remember, the beauty of these enchiladas lies in their flexibility. Don’t hesitate to experiment with what you have on hand or what flavors your family adores. And if you’re interested in more creative swaps, check out our guide on healthy ingredient substitutions or dive deeper into another fantastic recipe for vegetable enchiladas! Happy cooking!
Expert Tips for Zucchini Enchiladas
- Slice Carefully: Ensure your zucchini slices are thin enough to roll easily but thick enough not to tear. This will help maintain the structure of your enchiladas.
- Flavor Boost: Don’t hesitate to adjust the spice levels to your family’s liking. Adding more chili powder or fresh spices can elevate your Zucchini Enchiladas!
- Use a Mandoline: For uniformly sliced zucchini, a mandoline or vegetable peeler is invaluable. This ensures even cooking and better presentation.
- Make Ahead: You can assemble these enchiladas a day prior and store them in the fridge before baking. This is a wonderful time-saver for busy schedules!
- Feel Free to Experiment: Swap ingredients, like using ground turkey in place of black beans, for a fun twist. Enjoy the endless customization!
Zucchini Enchiladas Recipe FAQs
How do I choose the right zucchini for this recipe?
Absolutely! When selecting zucchini, look for ones that are firm and shiny with no dark spots or blemishes. Smaller zucchinis tend to be more tender and tastier, making them easier to roll without tearing. Aim for zucchinis that are about 6-8 inches long for the best results.
What’s the best way to store leftover Zucchini Enchiladas?
You can store your leftover Zucchini Enchiladas in an airtight container in the fridge for up to 3-4 days. When reheating, I recommend placing them in a preheated oven at 350°F (175°C) for about 15-20 minutes or until heated through. This method helps maintain the texture and flavor!
Can I freeze Zucchini Enchiladas?
Absolutely! To freeze, assemble the enchiladas but do not bake them. Wrap each enchilada tightly in plastic wrap and then in aluminum foil, ensuring all air is removed. They can be stored in the freezer for up to 2 months. When ready to enjoy, bake them directly from frozen, increasing the cooking time to 45-55 minutes at 375°F (190°C).
What if my zucchini slices are too thick or too thin?
Very! If your zucchini slices are too thick, they may not roll up easily, leading to a messy enchilada. Aim for 1/8-inch thickness for the best balance of flexibility and strength. If they’re too thin and tear, don’t worry; just slice additional zucchini to complete the rolling! A good kitchen tool like a mandoline can make this easier.
Are these enchiladas pet-friendly or allergy-safe?
While Zucchini Enchiladas are a healthy option, keep in mind that they contain cheese and beans, which aren’t suitable for pets. For allergies, be sure to substitute any ingredients according to your needs—like using dairy-free cheese or omitting black beans for those with specific sensitivities. Always check labels if using pre-made sauces or wraps to avoid allergens.
Can I add more vegetables to the filling?
Definitely! The customization potential is one of the best parts of these Zucchini Enchiladas. Feel free to mix in additional veggies such as bell peppers, spinach, or even corn. Adding them will enhance flavors and nutritional value, making this dish even more delightful for your family!
Zucchini Enchiladas: A Light and Cheesy Twist on Tradition
Ingredients
Equipment
Method
- Preheat your oven to 375°F (190°C).
- In a large mixing bowl, combine black beans, corn, cumin, chili powder, garlic powder, salt, pepper, and half of the shredded cheese. Mix thoroughly.
- Take the zucchini slices and lay them flat. Spoon some of the bean mixture onto each slice and roll them up tightly. Place the rolled enchiladas seam-side down.
- Coat the bottom of a baking dish with a bit of enchilada sauce, lay the rolled enchiladas in the dish, top with remaining enchilada sauce and sprinkle the rest of the cheese over.
- Bake for about 30 minutes until bubbly and the cheese has melted.
- Garnish with freshly chopped cilantro and serve hot.
")