")
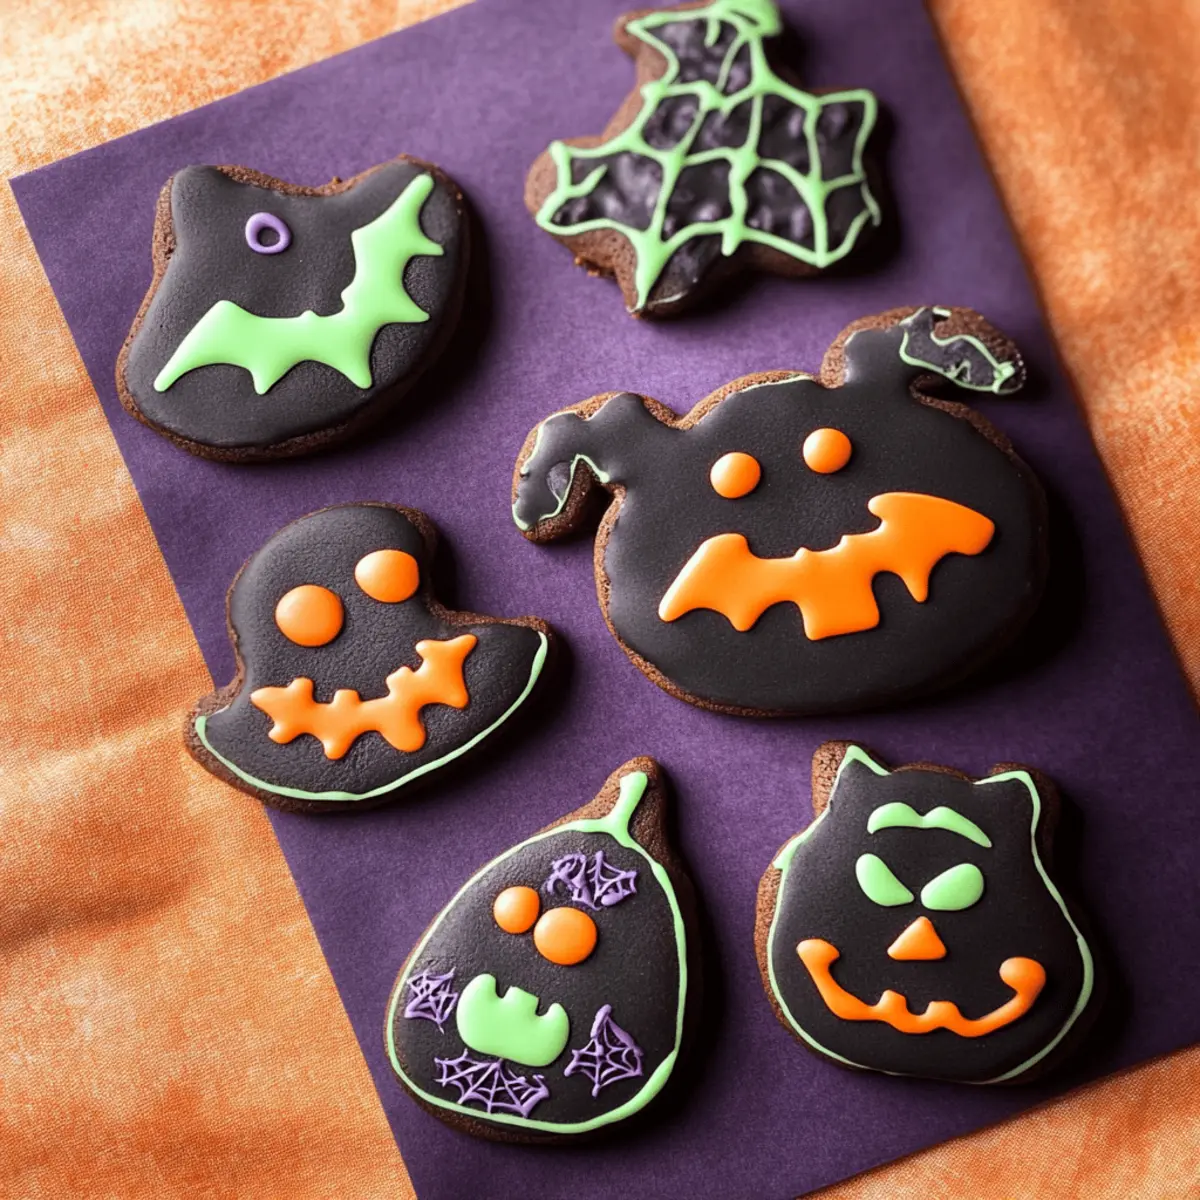
As the autumn leaves begin to swirl around, my kitchen transforms into a spooky bakery, bubbling with excitement and the aroma of chocolate. What better way to kick off the Halloween season than by whipping up a batch of Halloween Decorated Cookies? These spooktacular delights are not only a joy to make, but they’re also an excellent opportunity for family bonding, whether you’re crafting with kids or surprising your friends with festive treats. Featuring a rich chocolate flavor and a striking deep black hue from black cocoa powder, these cookies are playful and perfect for decorating. Plus, they’re versatile enough to accommodate your creative whims—whether it’s a sprinkle of colorful icing or a gourmet twist, they promise to keep the spirit of Halloween alive. Ready to explore the magic of baking? Let’s dive into the delightful world of these Halloween Decorated Cookies!
Why Are These Cookies So Irresistible?
Unforgettable Flavor: The rich chocolatey goodness from black cocoa powder brings an irresistible depth that distinguishes these cookies from the ordinary.
Family Fun: Perfect for a playful family activity, everyone can get involved in decorating, turning your kitchen into a vibrant Halloween hub.
Endless Variations: With suggestions for ingredient swaps and trendy color themes, you can personalize these cookies to match your unique style.
Perfect Texture: Each cookie strikes a delightful balance—soft yet structured, making them visually stunning and enjoyable to eat.
Simple Steps: With straightforward instructions, even novice bakers can craft impressive results that will wow friends and family.
These Halloween Decorated Cookies are a treat that will make your gatherings unforgettable. For more sweet inspirations, check out my recipe for Cool Whip Cookies or explore the magic of Cake Mix Cookies.
Halloween Decorated Cookies Ingredients
For the Cookie Dough
• Butter – Adds richness and tenderness; be sure it’s room temperature for easy mixing.
• Powdered Sugar – Sweetens the dough and contributes to a smooth texture in the cookies.
• Egg – Provides moisture and binds the ingredients together nicely.
• All-Purpose Flour – The essential structure component; sifted to avoid lumps for the smoothest dough.
• Black Cocoa Powder – Gives a rich, intense chocolate flavor and deep color; if needed, you can use Dutch process cocoa instead.
• Dutch Process Cocoa Powder – Ensures a well-rounded chocolate taste; a good substitute for those preferring a milder flavor.
• Salt – Enhances the overall taste and balances the sweetness of the cookies.
For the Royal Icing
• Egg Whites – Essential for the glossy finish of the icing; ensure they’re fresh for best results.
• Powdered Sugar – Sweetens and thickens the icing; adjust based on coverage needs.
• Vanilla Extract – Adds a delicious depth of flavor to the icing.
• Gel Food Coloring – Perfect for vibrant colors; keep covered when not in use to maintain consistency.
These Halloween Decorated Cookies promise to be a delightful treat for all, perfect for sharing and enjoying the festive spirit!
Step‑by‑Step Instructions for Halloween Decorated Cookies
Step 1: Prepare the Dough
Begin by creaming together 1 cup of room temperature butter and 1 cup of powdered sugar in a mixing bowl until light and fluffy, about 3-4 minutes. Next, incorporate 1 beaten egg, mixing well until fully combined. In a separate bowl, sift together 2 cups of all-purpose flour, 1/2 cup of black cocoa powder, 1/4 cup of Dutch process cocoa powder, and 1/2 teaspoon of salt. Gradually add this dry mixture to the wet ingredients, mixing until just combined to create your Halloween Decorated Cookies dough.
Step 2: Chill Dough
Once your dough is ready, shape it into a ball and wrap it tightly in plastic wrap. Chill the dough in the refrigerator for 30 to 45 minutes, which helps firm it up and prevents the cookies from spreading during baking. If you prefer to plan ahead, you can chill the dough for up to 2 days without compromising its quality, making it easier to prepare your Halloween Decorated Cookies when you’re ready.
Step 3: Roll Out
After chilling, sprinkle a clean surface with flour and place the dough on it. Using a rolling pin, roll out the dough to about 1/4 inch (or 4 mm) thickness between two sheets of parchment paper. This method prevents sticking and makes it easy to handle. Cut out spooky shapes using your favorite cookie cutters to create unique Halloween icons that will be the stars of your decorated cookies.
Step 4: Chill Cookies
Transfer the cut cookie shapes to a lined baking tray, ensuring they are spaced apart to allow for a bit of expansion. Cover the tray with plastic wrap or parchment paper and chill the cookies in the refrigerator for about 1 hour, or overnight if you prefer. This chilling step is crucial for achieving perfectly shaped Halloween Decorated Cookies that won’t lose their design while baking.
Step 5: Bake
Preheat your oven to 160°C (320°F) while the cookie shapes chill. Once ready, bake the cookies for approximately 10 minutes, watching closely as they should appear soft in the center but will firm up as they cool. Upon removing them from the oven, allow the cookies to rest on the tray for a few minutes before transferring them to a wire rack, where they’ll cool completely.
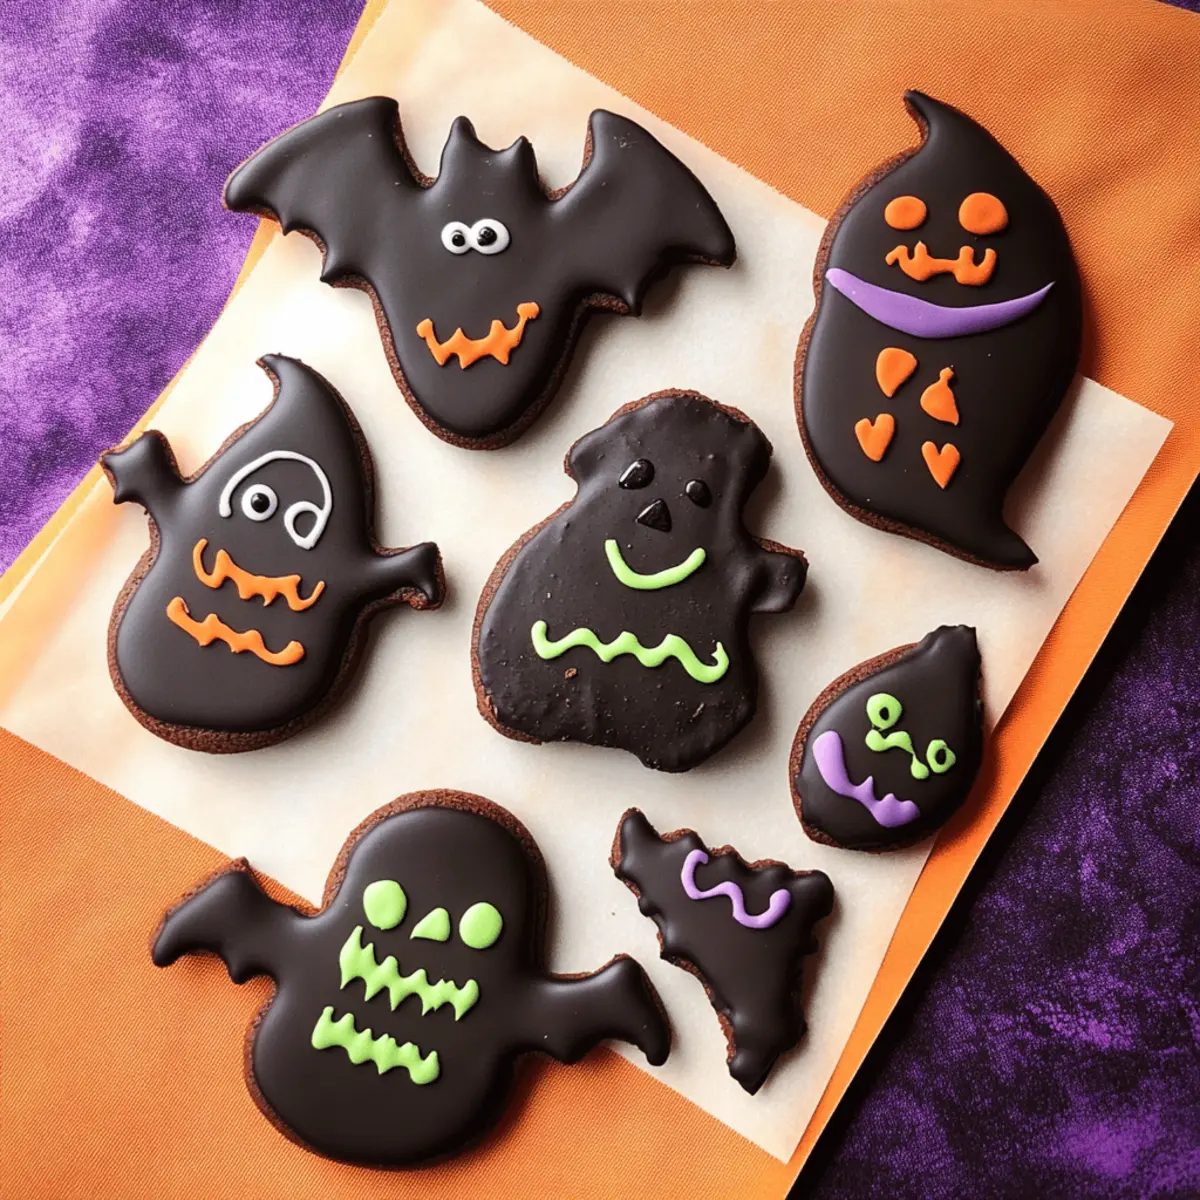
Step 6: Decorate
While the cookies cool, prepare your royal icing by combining fresh egg whites, powdered sugar, vanilla extract, and gel food coloring of your choice for vibrant decorations. Once the cookies have cooled, use piping bags to decorate them with your royal icing, creating fun and festive designs. Allow the icing to dry thoroughly for 3 to 6 hours, ensuring your Halloween Decorated Cookies are ready for display or gifting!
Storage Tips for Halloween Decorated Cookies
Room Temperature: Decorated cookies can last up to 1 week when stored in an airtight container, keeping them fresh and delightful for your Halloween festivities.
Refrigerator: If your cookies are leftover after a week, you can store them in the fridge for a slightly extended freshness, but they are best enjoyed at room temperature.
Freezer: For longer storage, freeze undecorated cookies for up to 2 months; wrap them tightly in plastic wrap and place in an airtight container to prevent freezer burn.
Reheating: If you prefer warm cookies, gently reheat them in the oven at 150°C (300°F) for about 5 minutes, ensuring they retain their lovely texture and flavor.
Make sure to keep your Halloween Decorated Cookies well-stored to enjoy their rich chocolatey goodness for as long as possible!
What to Serve with Halloween Decorated Cookies
As you gather round with friends and family to enjoy these spooky treats, consider pairing them with delightful additions that enhance your festive experience.
-
Chilled Milk: The classic combination of cookies and cold milk is unbeatable, adding a refreshing twist to rich chocolate flavors.
-
Hot Cocoa: This cozy drink elevates the chocolate experience, perfect for those chilly autumn nights filled with Halloween magic.
-
Pumpkin Spice Latte: Infuse your gathering with fall flavors! The warm spices of this iconic drink complement the sweetness of your cookies beautifully.
-
Apple Cider: Serve a warm or chilled glass to introduce a fruity note that balances the rich chocolate, creating the perfect flavor contrast.
-
Decorated Cupcakes: Offer these festive treats alongside the cookies for an eye-catching and deliciously sweet spread that will wow your guests.
-
Caramel Dipping Sauce: A drizzle of sweet caramel adds a luscious element to your cookies, creating a divine flavor harmony that every bite will savor.
Remember, creating a magical Halloween atmosphere with delectable treats will make your celebrations even more memorable!
Halloween Decorated Cookies: Fun Variations!
Feel free to unleash your creativity and customize these spooky treats with these enticing twists!
-
Cocoa Swap: Substitute black cocoa with regular unsweetened cocoa powder for a milder chocolate flavor. This is a great option for those who may find the black cocoa a bit too intense.
-
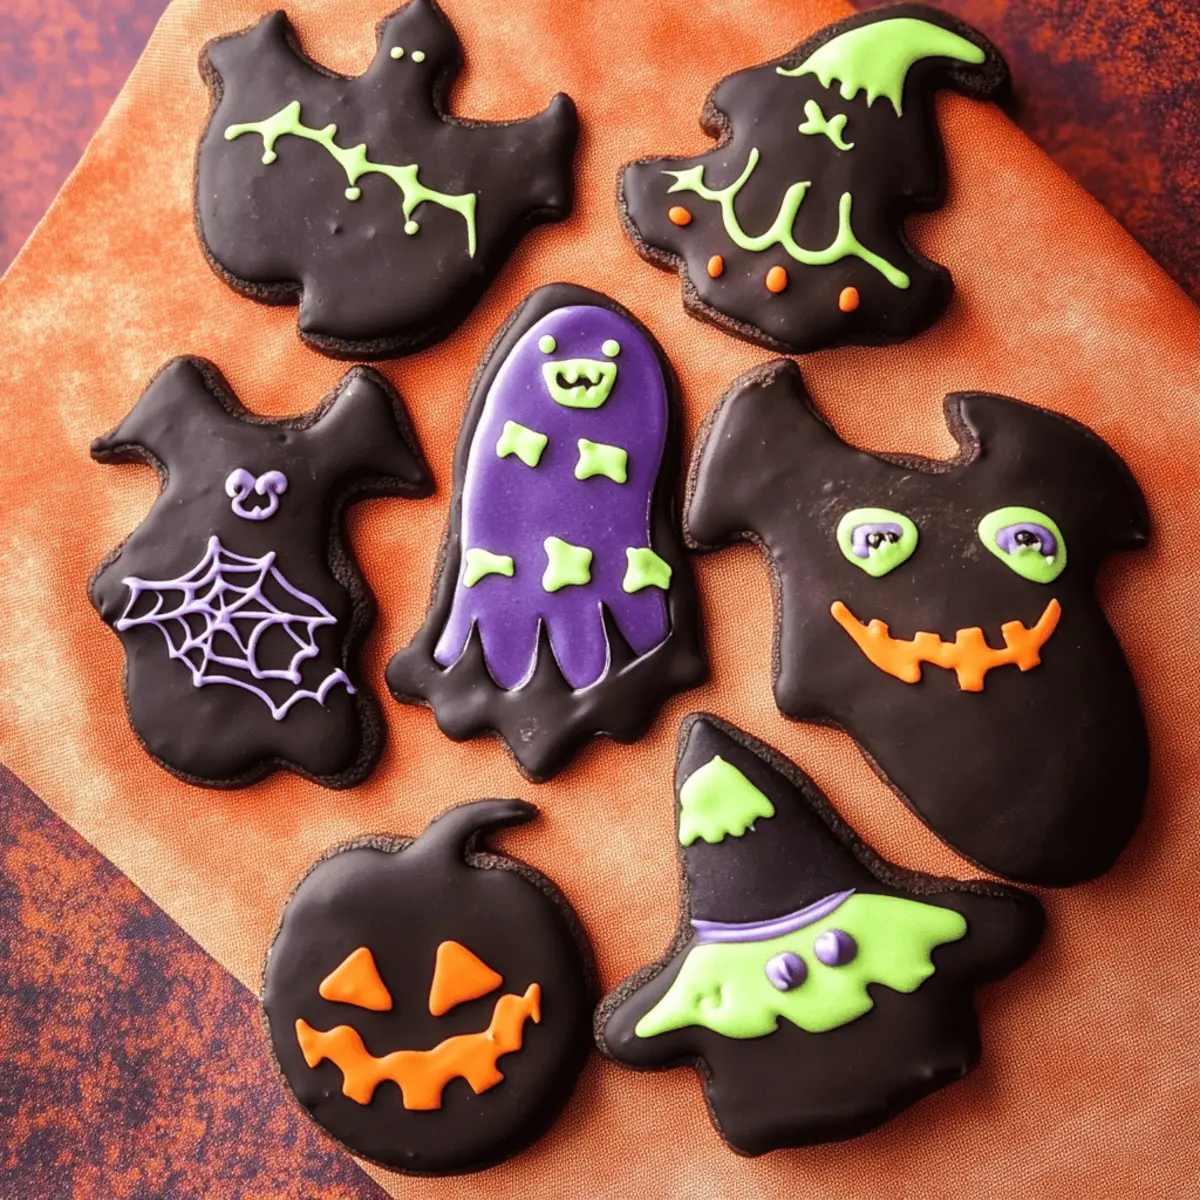
Vibrant Colors: Use different gel food coloring to create a variety of vibrant Halloween hues, like orange for pumpkins and purple for spooky ghosts. This is a fun way to get kids involved and let their imaginations run wild!
-
Spiced Delight: Add a pinch of cinnamon or nutmeg to the dough to introduce a warm, autumnal flavor that complements the chocolate brilliantly. Imagine the cozy aroma filling your kitchen as they bake!
-
Nutty Twist: Integrate finely chopped nuts, such as walnuts or hazelnuts, into the dough to add extra crunch and richness. It’s a delightful surprise that elevates the texture!
-
Cream Cheese Icing: Swap out royal icing for cream cheese frosting for a tangy, sweeter finish. This will add a delicious twist that balances the chocolatey goodness!
-
Fun Add-Ins: Mix in Halloween-themed sprinkles before rolling out your dough. These little bursts of color will make your cookies even more festive and inviting.
-
Minty Fresh: Add a few drops of peppermint extract to the dough for a refreshing, mint-flavored version. Just imagine the thrill of a chocolate-mint cookie at Halloween!
-
Chocolate Drizzle: After decorating with icing, drizzle melted chocolate over the top for an extra layer of indulgence. It’s the finishing touch that can turn an already-great cookie into something spectacular!
These variations allow you to not only enjoy baking but also create cookies that your friends and family will rave about! For more creative baking ideas, be sure to check out Chocolate Chips Cookies and don’t miss my recipe for Millies Cookies Bake.
Make Ahead Options
These Halloween Decorated Cookies are perfect for busy home cooks looking to save time during the festive season! You can prepare the cookie dough up to 2 days in advance; just wrap it tightly in plastic wrap and refrigerate. For even greater convenience, freeze the dough for up to 2 months—simply thaw it in the fridge overnight before rolling out. Additionally, you can cut the cookie shapes and chill them in the refrigerator for up to 24 hours before baking, ensuring they hold their spooky forms. When you’re ready to enjoy these delicious cookies, bake them straight from the chilled state and decorate them after they have completely cooled. They’ll taste just as fresh and delightful as when baked on the same day!
Expert Tips for Halloween Decorated Cookies
• Chill for Success: Always chill the dough and cut cookies to prevent spreading during baking—this ensures your Halloween Decorated Cookies maintain their spooky shapes.
• Get Creative: Experiment with different gel food coloring combinations for unique Halloween themes, such as ghosts, pumpkins, or spooky night skies.
• Texture Matters: Don’t overmix the dough once the dry ingredients are added; this keeps your cookies soft yet structured, making them a delight to eat.
• Cool Cookies: Allow cookies to cool completely before decorating; warm cookies might cause the royal icing to melt or run, affecting your designs.
• Taste Test: Adjust the balance of black cocoa and Dutch process cocoa according to your taste preferences for a more pronounced chocolate flavor in your Halloween Decorated Cookies.
Halloween Decorated Cookies Recipe FAQs
What is the best way to select ripe ingredients for this recipe?
Absolutely! When selecting ingredients, ensure that your butter is fresh and at room temperature for easy creaming—this will give your cookies that delightful texture. For eggs, choose large eggs with intact shells for optimal results. There’s no need for ripeness here, as most ingredients are pantry staples, but do check the expiration dates!
How should I store my Halloween Decorated Cookies?
The best way to store your decorated cookies is in an airtight container at room temperature; they can last up to 1 week this way. Make sure to separate layers with parchment paper to avoid them sticking together. If you have any leftovers after a week, they can be refrigerated, although they are best enjoyed at room temperature for the most delightful experience.
Can I freeze the Halloween Decorated Cookies?
You can freeze the undecorated cookies for up to 2 months! Wrap each cookie tightly in plastic wrap and place them in an airtight container to protect against freezer burn. When you’re ready to enjoy, simply thaw them at room temperature for a few hours, then decorate with icing as desired.
What should I do if my cookies spread too much during baking?
Very! If your cookies spread too much, it usually means the dough wasn’t cold enough or you may have overmixed it after adding the flour. For the best results, always chill the dough for at least 30–45 minutes, and do not skip chilling the cut cookies for an hour before baking. This will help them maintain their shape.
Are there any dietary considerations with these cookies?
If you or your guests have specific dietary restrictions, keep in mind that this recipe contains eggs and dairy. You can substitute the butter with a vegan option like coconut oil or a dairy-free butter alternative. For the royal icing, consider using aquafaba (the liquid from canned chickpeas) instead of egg whites for a vegan-friendly icing!
How do I achieve the best texture for my Halloween Decorated Cookies?
To achieve that perfect cookie texture, it’s essential not to overmix the dough once you add the dry ingredients. Mix until just combined to keep your cookies soft yet structured. Additionally, make sure to let the cookies cool completely before decorating with royal icing, as warm cookies can cause the icing to melt, leading to disfigured creations.

Halloween Decorated Cookies That Wow: Easy and Fun to Make
Ingredients
Equipment
Method
- Cream together the butter and powdered sugar until light and fluffy, then incorporate the egg.
- Sift together the flour, black cocoa, Dutch process cocoa, and salt, then gradually mix into the wet ingredients.
- Chill the dough for 30-45 minutes, then roll out to 1/4 inch thickness and cut into shapes.
- Chill the cut shapes for about 1 hour, then bake at 160°C (320°F) for approximately 10 minutes.
- Prepare royal icing with egg whites, powdered sugar, vanilla, and food coloring, then decorate the cooled cookies.
- Allow the icing to dry for 3 to 6 hours before displaying or gifting.
")