")
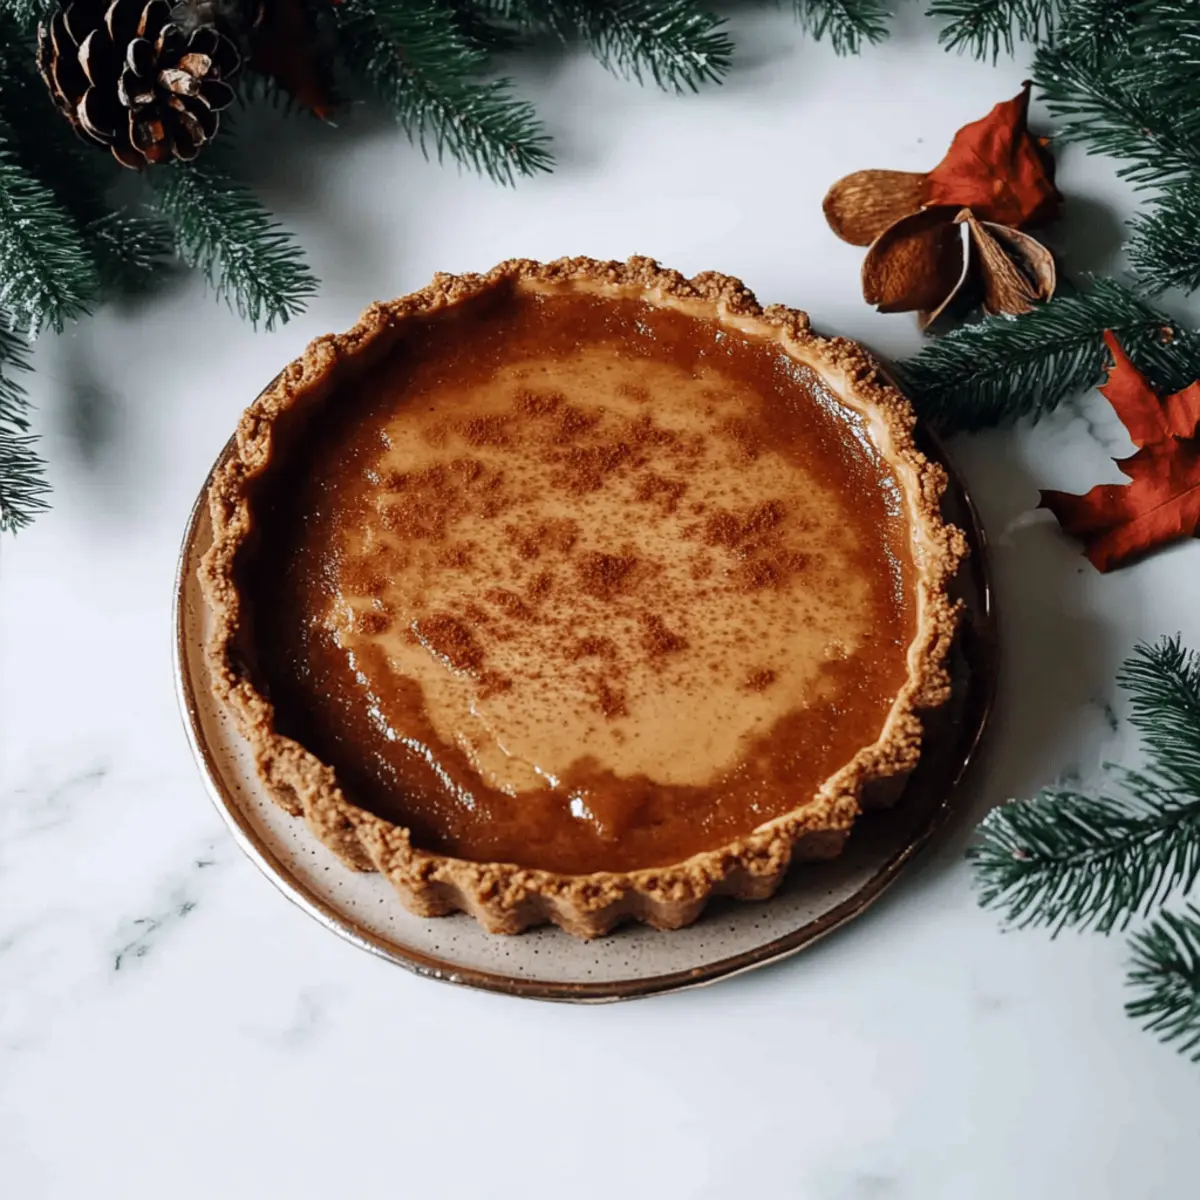
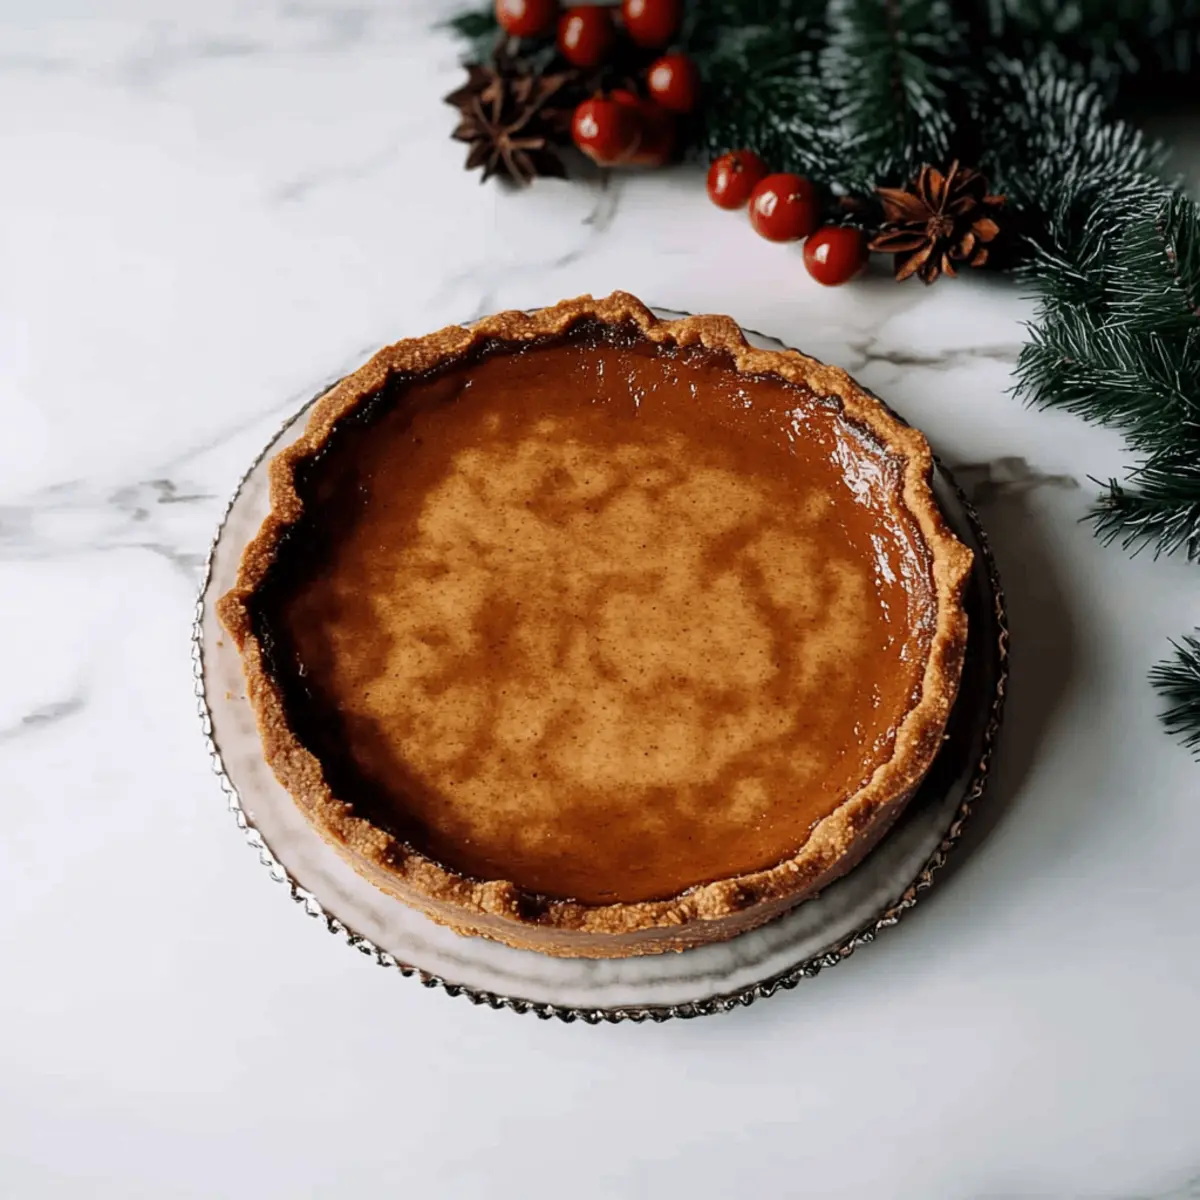
As I pulled my Baked Gingerbread Cheesecake out of the oven, the cozy aroma of cinnamon and ginger wrapped around me like a warm hug. This plant-based delight is not only a seasonal treat but also deliciously simple to whip up—perfect for those festive gatherings when you want to impress without spending hours in the kitchen. With its creamy filling made from wholesome ingredients and a crunchy almond chickpea crust, this vegan and gluten-free dessert brings all the comforts of traditional gingerbread without the guilt. It’s a delightful option for anyone weary of fast food and yearning for homemade goodness. Curious about how to indulge in a slice of this holiday magic? Let’s dive in!
Why is Baked Gingerbread Cheesecake a Must-Try?
Creamy Indulgence: This Baked Gingerbread Cheesecake combines a luscious vegan filling with the classic warmth of gingerbread spices, creating a dessert that feels both indulgent and wholesome.
Nutritious Twist: Filled with plant-based ingredients like cashews and silken tofu, it’s a healthier alternative that doesn’t compromise on flavor.
Make Ahead Magic: Perfect for the busy holiday season, this cheesecake can be prepared in advance, allowing you to spend more time with loved ones and less time in the kitchen.
Allergy-Friendly Delight: Being both gluten-free and vegan means it’s a crowd-pleaser that everyone can enjoy. Your guests will never guess it’s made without dairy!
Versatile Serving Options: Top with a dollop of coconut whipped cream or seasonal fruits for an added touch, and you’ve got a stunning presentation for any gathering.
For more festive flavors, check out Making Cheesecake Dip or relish a classic with a slice of Sara Lee Cheesecake. Each provides its own delightful take on cheesecake, perfect for your next celebration!
Baked Gingerbread Cheesecake Ingredients
For the Crust
• Almond Flour – This provides the base structure with a nutty flavor.
• Chickpea Flour – Adds protein and a unique texture; cornflour can be used for a creamier crust.
For the Filling
• Cashews – Soak these beforehand for a super creamy texture in your filling.
• Silken Tofu – Key for creaminess; ensure you use silken for the smoothest blend.
• Vegan Creme Fraiche – Adds a lovely tang; you can substitute with other non-dairy yogurts if needed.
For the Spices
• Ginger – A must-have for that classic gingerbread flavor.
• Cinnamon – Brings warmth and depth to the sweet profile.
• Cloves, Nutmeg, Allspice – Use these spices to enhance the holiday essence; adjust to taste.
• Orange Zest – Brightens the flavor with a citrus note that complements the spices.
For Sweetness
• Maple Syrup – This natural sweetener pairs perfectly, but feel free to use honey if you’re not strictly vegan.
Dive into the festive spirit with this Baked Gingerbread Cheesecake; it’s sure to bring warmth and joy to your holiday gatherings!
Step‑by‑Step Instructions for Baked Gingerbread Cheesecake
Step 1: Prepare the Crust
Preheat your oven to 350°F (175°C). In a mixing bowl, combine almond flour and chickpea flour until well blended. Press the mixture firmly into the base of a tart pan, creating an even layer. Bake for 10–12 minutes, or until the crust is lightly golden and fragrant. Once out of the oven, allow the crust to cool slightly while you prepare the filling.
Step 2: Make the Filling
In a high-speed blender, combine the soaked cashews, silken tofu, vegan creme fraiche, and a blend of spices including ginger, cinnamon, cloves, nutmeg, and allspice. Blend on high until the mixture is completely smooth, scraping down the sides as needed. This creamy filling is the heart of your Baked Gingerbread Cheesecake, so ensure it’s well combined before moving on.
Step 3: Combine
Pour the blended filling into the cooled almond chickpea crust, using a spatula to spread it evenly. Smooth the top for a beautiful finish, ensuring that the filling covers the crust completely. The texture should look creamy and combined, ready to bake into a perfect cheesecake.
Step 4: Bake
Place the assembled cheesecake in the preheated oven and bake for 50–60 minutes. The edges should look set while the center might still have a slight jiggle; this is normal as it will firm up while cooling. Keep an eye on it and enjoy the lovely aromas of your Baked Gingerbread Cheesecake as it bakes to perfection.
Step 5: Cool and Serve
Once baked, turn off the oven and leave the cheesecake inside for an additional hour to cool gradually, which helps prevent cracking. Afterward, transfer the cheesecake to a wire rack to cool completely before refrigerating it for at least 4 hours or overnight. Serve chilled, dusting with powdered coconut or topping with gingerbread cookies for a festive finish.
Expert Tips for Baked Gingerbread Cheesecake
-
**Soak Cashews: ** Ensure cashews are soaked for at least 4 hours for a creamy texture. This step is crucial to avoid a grainy filling.
-
Blend Smoothly: Blend the filling until completely smooth. Lumps can ruin the texture of your Baked Gingerbread Cheesecake, so be patient and scrape down the sides as needed.
-
Watch the Bake Time: Ovens vary, so keep an eye on your cheesecake. It should be set on the edges with a slight jiggle in the center. Overbaking can lead to a dry texture.
-
Cool Gradually: Allow the cheesecake to cool in the oven with the door slightly ajar for about an hour before removing. This helps to minimize cracking.
-
Chill Overnight: For the best flavor and texture, chill the cheesecake overnight before serving. This allows the spices to meld beautifully.
Make Ahead Options
These Baked Gingerbread Cheesecake delights are ideal for busy home cooks looking to save time during the festive season! You can prepare the crust and store it in an airtight container for up to 3 days in the refrigerator, preventing it from getting soggy. The filling can be made up to 24 hours in advance; simply blend your soaked cashews, silken tofu, and spices, then refrigerate it until you’re ready to assemble. When it’s time to serve, pour the filling into your cooled crust, bake as instructed, and allow the cheesecake to chill completely. This way, you’ll enjoy a show-stopping dessert with minimal last-minute effort, keeping your holiday gatherings stress-free and delicious!
How to Store and Freeze Baked Gingerbread Cheesecake
Fridge: Store any leftovers in an airtight container for up to 4 days. This keeps your Baked Gingerbread Cheesecake fresh while preserving its lovely flavors.
Freezer: If you’d like to keep it longer, wrap the cheesecake tightly in plastic wrap and then in aluminum foil. It can be frozen for up to 2 months without losing its creamy texture.
Thawing: To enjoy frozen cheesecake, transfer it to the fridge and allow it to thaw overnight. This method helps maintain the best flavor and texture.
Serving: When ready to serve, simply slice and enjoy! A topping of coconut whipped cream or seasonal fruits will elevate the experience.
Baked Gingerbread Cheesecake Variations
Feel free to get creative with this recipe—there are endless possibilities to suit your taste buds and dietary needs!
-
Nut-Free: Replace cashews with soaked raw sunflower seeds for a deliciously creamy filling that’s safe for nut allergies.
-
Spice it Up: Experiment by adding pumpkin spice in place of some ginger or cinnamon for a festive twist that sings of autumn.
-
Graham Cracker Crust: If you’re not strictly sticking to vegan or gluten-free, try a classic graham cracker crust for that nostalgic flavor and texture contrast.
-
Fruit Fusion: Add some pureed pumpkin or apple sauce to your filling for a fruity acidity that complements the spices beautifully, enhancing both flavor and texture.
-
Chocolate Lovers: Mix in some cocoa powder to the filling for a chocolatey gingerbread treat—because who can resist chocolate, especially during the holidays?
-
Coconut Bliss: Utilize coconut cream instead of vegan crème fraîche for a tropical note and a creamier texture that melts in your mouth.
-
More Zest: Increase the orange zest in your filling—this simple tweak adds brightness and a vibrant spin that elevates every bite.
Explore these variations and make this Baked Gingerbread Cheesecake truly your own! And if you’re interested in more delightful cheesecake options, consider trying Making Cheesecake Dip or indulging in a slice of classic Sara Lee Cheesecake. Each recipe brings its own charm to your table.
What to Serve with Baked Gingerbread Cheesecake?
As the fragrance of ginger and cinnamon fills your kitchen, envision the perfect side dishes that will elevate your dessert experience.
-
Coconut Whipped Cream: Creamy and light, this topping adds a rich yet airy contrast to the cheesecake’s dense texture. A dollop promises to enhance your indulgence.
-
Spiced Apple Compote: Warm, sweet, and tangy, this compote introduces a delightful fruitiness that pairs beautifully with the spicy notes of gingerbread. The contrast between hot and cold is simply divine!
-
Candied Pecans: Crunchy and sweet, these nuts provide a satisfying texture while their caramelized flavor beautifully complements the ginger spices. Plus, they add a lovely seasonal touch!
-
Fresh Cranberries: Bright and tart, they create a refreshing counterbalance to the creaminess of the cheesecake. Try them as a garnish for an elegant presentation.
-
Vegan Hot Chocolate: Rich and velvety, a cup of this drink amplifies the cozy vibes of your meal. The warm chocolate pairs perfectly with the flavors of ginger and spice.
-
Gingerbread Cookies: Keep the gingerbread theme going and offer a classic favorite alongside every slice of cheesecake. Their chewiness and additional spice will surely delight every guest.
-
Pumpkin Spice Latte: A delightful warm drink that echoes the flavors of the cheesecake, making it ideal for pairing during the cozy, festive months.
-
Bourbon Caramel Sauce: Drizzle this decadent sauce over the cheesecake for an extra touch of richness and a hint of kick—it’s a match made in dessert heaven!
Creating an unforgettable meal is about finding the perfect balance of flavors and textures. Any of these pairings will wonderfully complement the creamy goodness of your Baked Gingerbread Cheesecake!
Baked Gingerbread Cheesecake Recipe FAQs
What type of cashews should I use for this recipe?
Absolutely! Make sure to use raw, unsalted cashews for the best results. Soaking them for at least 4 hours will ensure they blend smoothly into a luscious filling, providing that creamy texture we all love.
How should I store leftovers of the Baked Gingerbread Cheesecake?
You can store any leftover cheesecake in an airtight container in the fridge for up to 4 days. This helps retain its delightful flavors and creamy texture, making it perfect for those late-night bites!
Can I freeze the Baked Gingerbread Cheesecake?
Yes, you absolutely can! To freeze, wrap the cheesecake tightly in plastic wrap, ensuring there are no exposed edges, then cover with aluminum foil. It can maintain its quality for up to 2 months in the freezer. When you’re ready to enjoy, simply transfer it to the fridge and let it thaw overnight for the best taste.
What if my cheesecake cracks while baking?
Very good question! Cracks can happen sometimes, but there are ways to minimize this. To prevent cracking, ensure you cool the cheesecake gradually in the oven with the door slightly ajar. This gentle cooling helps the cake adjust temperature gradually, reducing the likelihood of cracks.
Is this Baked Gingerbread Cheesecake suitable for allergies?
Definitely! This recipe is both gluten-free and vegan, making it a great option for guests with dietary restrictions. However, always double-check ingredient labels, especially for potential allergens like nuts or soy, and feel free to substitute for any allergies you might have!
Can I add other flavors to my Baked Gingerbread Cheesecake?
Absolutely! Don’t be shy to experiment! You can incorporate different spices such as pumpkin spice or even a splash of vanilla extract to enhance the flavors. Just remember to adjust the amount of sweetener accordingly to maintain balance.
Deliciously Creamy Baked Gingerbread Cheesecake Recipe
Ingredients
Equipment
Method
- Preheat your oven to 350°F (175°C). In a mixing bowl, combine almond flour and chickpea flour until well blended. Press the mixture firmly into the base of a tart pan, creating an even layer. Bake for 10–12 minutes, or until the crust is lightly golden and fragrant. Once out of the oven, allow the crust to cool slightly while you prepare the filling.
- In a high-speed blender, combine the soaked cashews, silken tofu, vegan creme fraiche, and a blend of spices including ginger, cinnamon, cloves, nutmeg, and allspice. Blend on high until the mixture is completely smooth, scraping down the sides as needed.
- Pour the blended filling into the cooled almond chickpea crust, using a spatula to spread it evenly. Smooth the top for a beautiful finish, ensuring that the filling covers the crust completely.
- Place the assembled cheesecake in the preheated oven and bake for 50–60 minutes. The edges should look set while the center might still have a slight jiggle; this is normal as it will firm up while cooling.
- Once baked, turn off the oven and leave the cheesecake inside for an additional hour to cool gradually. Afterwards, transfer the cheesecake to a wire rack to cool completely before refrigerating it for at least 4 hours or overnight.
")