")
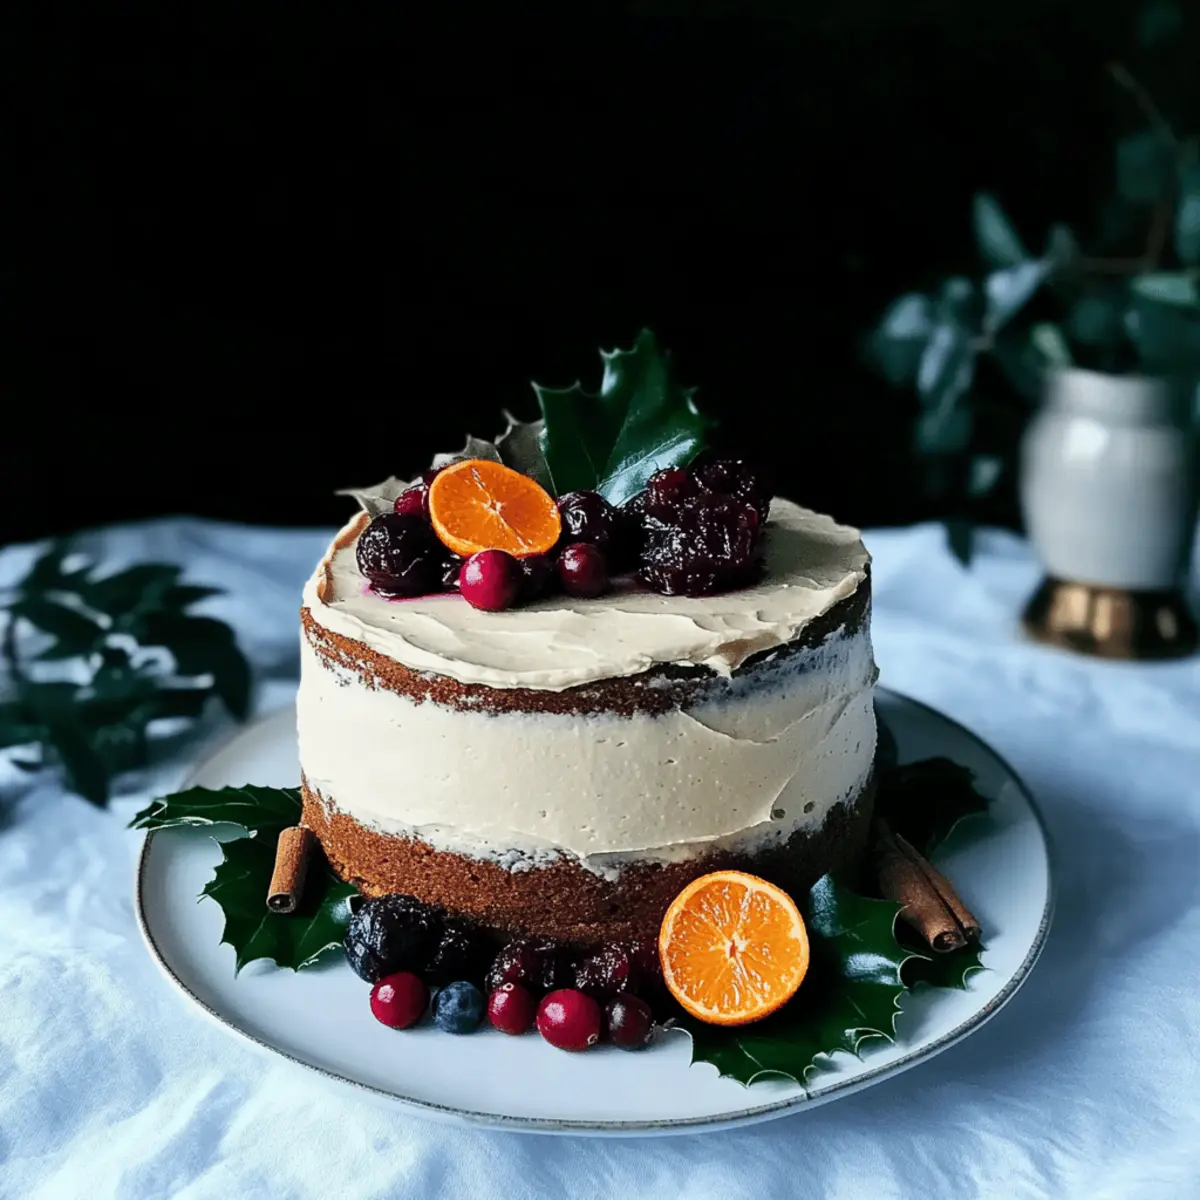
As the oven warms up and the scent of spices fills the kitchen, I can’t help but feel like a kid again, eagerly awaiting holiday treats. This Vegan & Gluten-Free Gingerbread Layer Cake with Cranberry Chia Jam beautifully captures that cozy nostalgia. Not only does it offer a delightful fusion of ginger and cinnamon warmth, but it also presents an enticing texture that rivals any traditional dessert. Plus, this recipe is a perfect crowd-pleaser, pleasing everyone from holiday guests to family diners while keeping things plant-based and wholesome. So, if you’re ready to elevate your seasonal baking game and add a special touch to your celebrations, stay with me to explore how to craft this stunning cake. What’s your favorite holiday dessert memory?
Why is Gingerbread Layer Cake a Must-Make?
Comforting Flavors: The warm spices of ginger and cinnamon will wrap you in cozy nostalgia, making it the perfect seasonal treat.
Vegan & Gluten-Free Delight: This recipe caters to various dietary needs without sacrificing taste or texture.
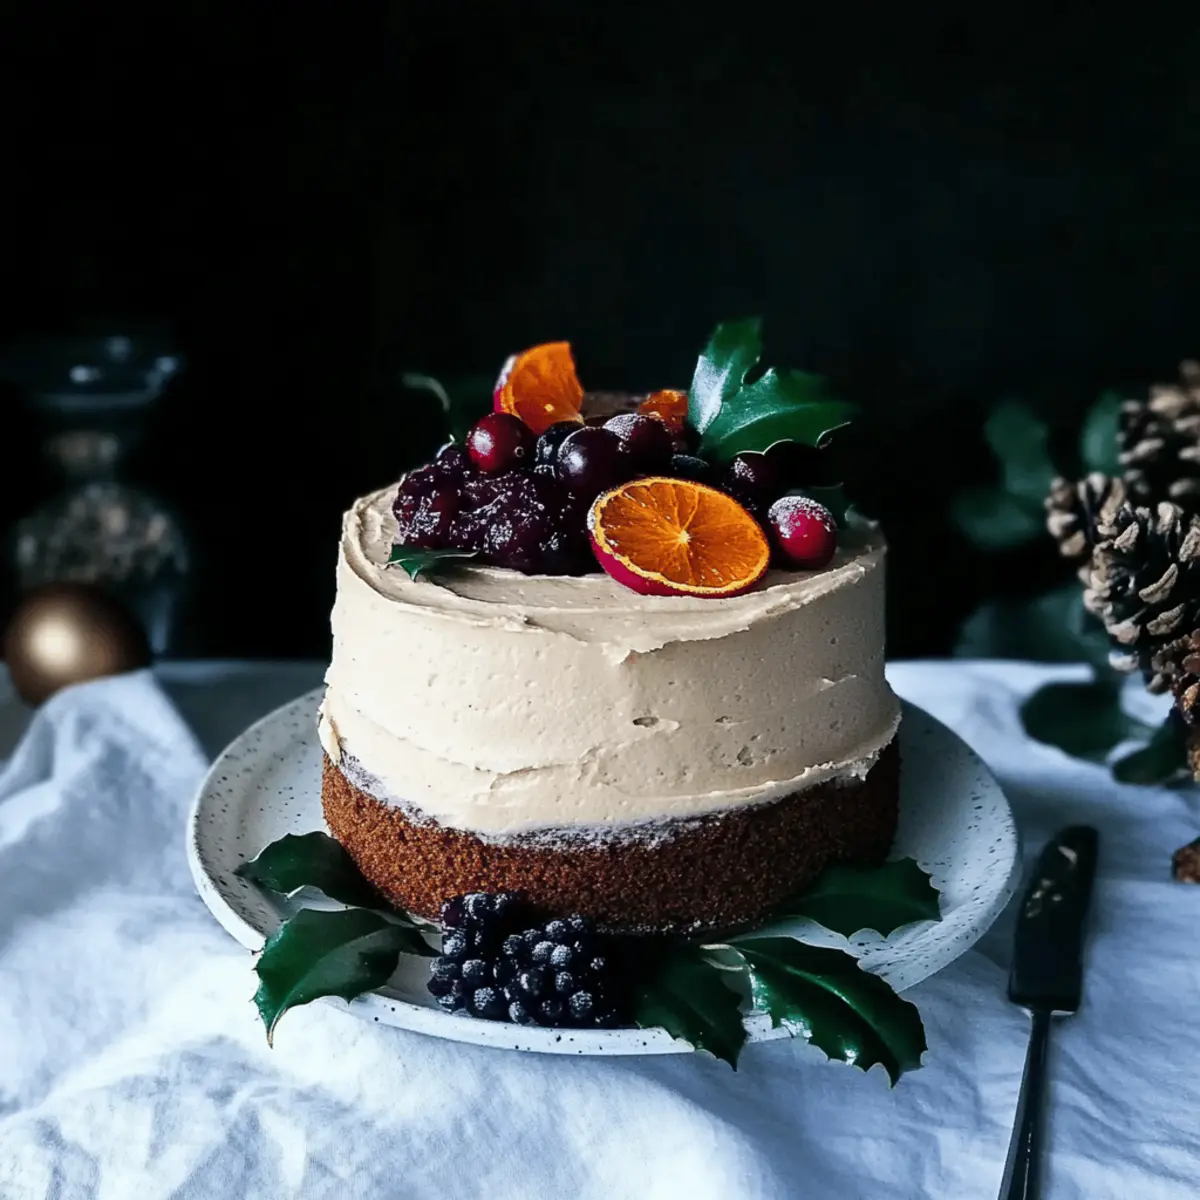
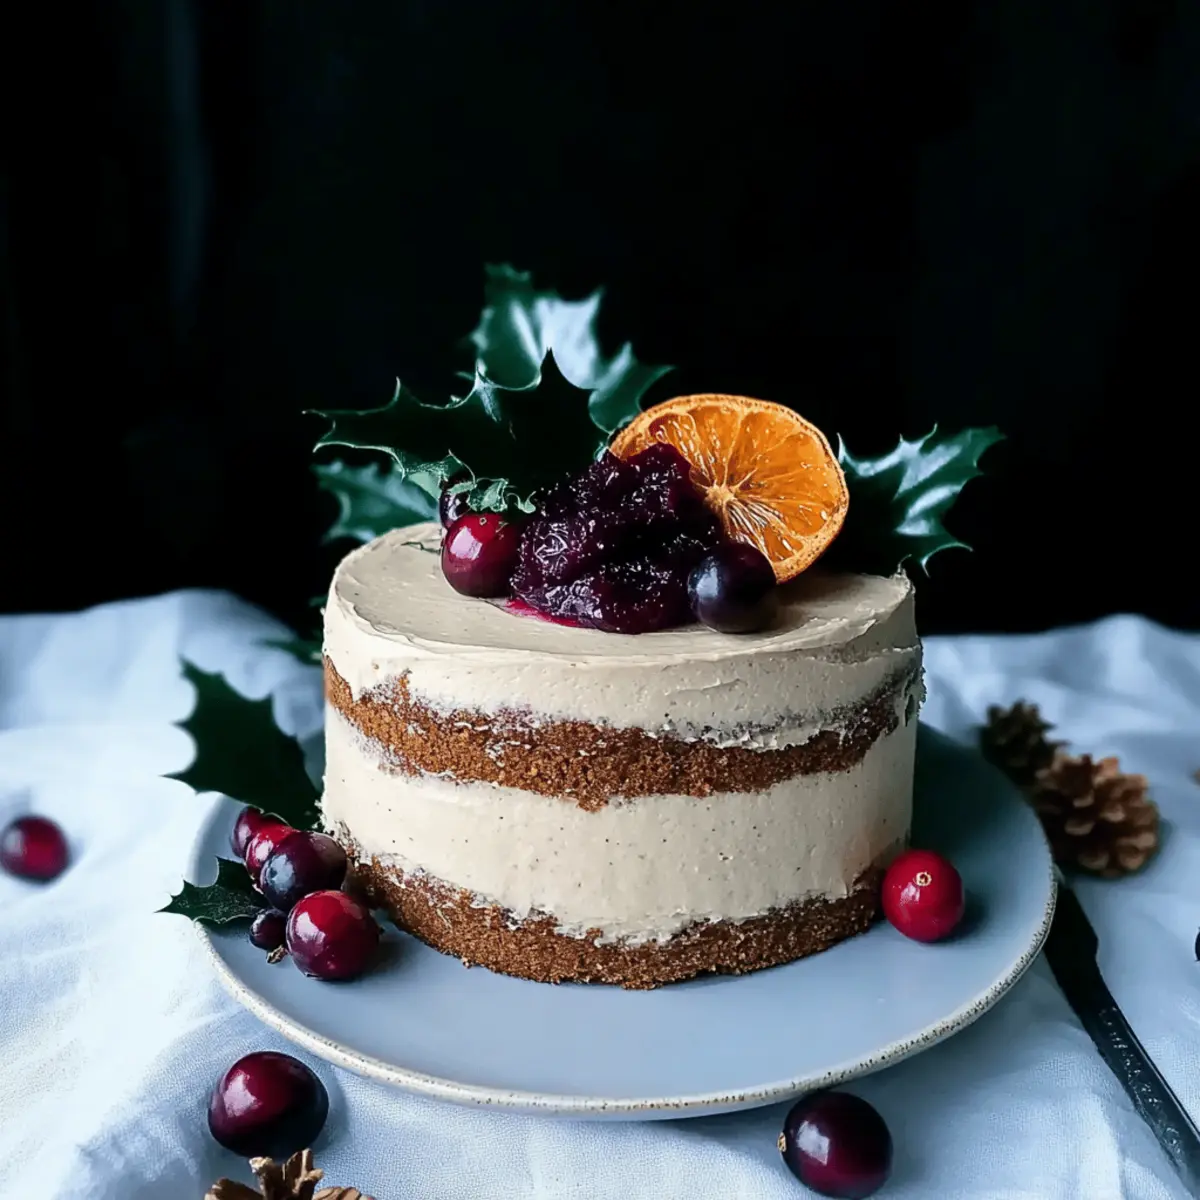
Show-Stopping Presentation: Layered with vibrant cranberry chia jam and creamy cashew frosting, it’s a visual feast!
Quick Prep Time: With easy-to-follow steps, you’ll have this impressive cake ready in no time, leaving you more moments to savor.
Versatile Enjoyment: Pair it with a warm cup of spiced tea or coffee for that extra layer of comfort during the holidays. Don’t forget to check out our Enchanting Barbie Cake if you’re looking for more festive inspiration!
Gingerbread Layer Cake Ingredients
• For a deliciously cozy baking experience, gather these wholesome ingredients!
For the Gingerbread Sponge Cake
- Teff flour – A gluten-free flour that provides a light texture; buckwheat can be used as a hearty alternative.
- Ginger powder – This spice gives the cake its signature warmth; fresh ginger can be a zesty substitution if desired.
- Cinnamon – Adds aromatic sweetness and warmth to the cake; don’t skimp on this classic spice!
- Baking powder – Ensures the cake rises beautifully and remains fluffy; make sure it’s fresh for the best results.
- Apple sauce – Moistens the cake and adds natural sweetness; pureed dates work well as a substitute.
- Non-dairy milk – For moisture and creaminess; almond or soy milk are both great options.
For the Cranberry Chia Jam
- Cranberries – Use fresh or frozen for that tart sweetness; dried cranberries can work in a pinch, but you may need to adjust the sweetness.
- Chia seeds – These thicken the jam and add healthy fats; ground flaxseeds can be an alternative.
- Maple syrup – Provides natural sweetness; agave nectar can serve as a suitable substitute.
For the Cashew Frosting
- Raw cashews – The base for a creamy, luscious frosting; soak them in water prior for that smooth consistency.
- Coconut oil – Adds richness and helps solidify the frosting; for a nut-free version, you can use soy or vegetable shortening.
- Powdered sugar – Sweetens the frosting; coconut sugar is a good alternative for a healthier option.
- Vanilla extract – Enhances the flavor of the frosting; be sure to use pure vanilla for the best taste.
Optional Toppings
- Fresh fruits – Use seasonal favorites like pomegranate seeds or sliced oranges for a festive touch!
- Nuts – Chopped pecans or walnuts make for a delightful crunchy contrast atop your cake, emphasizing that wintery feeling.
Step‑by‑Step Instructions for Gingerbread Layer Cake
Step 1: Prepare the Dry Ingredients
In a large mixing bowl, sift together 2 cups of teff flour, 2 teaspoons of ginger powder, 1 teaspoon of cinnamon, and 1 teaspoon of baking powder. This ensures everything is well combined and aerated, giving your Gingerbread Layer Cake a light texture. Set aside the dry mixture while you gather the wet ingredients.
Step 2: Combine the Wet Ingredients
In another bowl, mix together 1 cup of unsweetened apple sauce and 1 cup of non-dairy milk until smooth. This will provide moisture to your gingerbread cake. Make sure to use a whisk to achieve a creamy consistency, allowing for even distribution of flavors before combining with the dry ingredients.
Step 3: Mix the Batter
Pour the wet mixture into the bowl with the dry ingredients and stir until just combined. Avoid overmixing to keep your Gingerbread Layer Cake light and fluffy. The batter should appear thick but pourable. Once mixed, pour the batter into a greased 9-inch round cake tin, spreading it out evenly.
Step 4: Bake the Cake
Preheat your oven to 350°F (175°C) and bake the prepared cake for 30-35 minutes. You’ll know it’s done when a toothpick inserted into the center comes out clean. Carefully monitor the cake near the end of the baking time to prevent over-baking, which could result in a dry texture.
Step 5: Cool the Cake
Once baked, remove the cake from the oven and let it cool in the pan for about 10 minutes. Then, gently transfer it to a wire rack to cool completely. This process helps to maintain the moisture in your Gingerbread Layer Cake, allowing it to retain that deliciously tender crumb.
Step 6: Make Cranberry Chia Jam
While the cake cools, prepare the cranberry chia jam by combining 2 cups of cranberries, 1/4 cup of maple syrup, and 2 tablespoons of chia seeds in a saucepan. Cook on medium heat for about 10 minutes, stirring until the cranberries burst and the mix thickens. Let this jam cool and set as it cools.
Step 7: Prepare Cashew Frosting
In a blender, combine 1 cup of soaked raw cashews, 1/4 cup of melted coconut oil, 1/2 cup of powdered sugar, and 1 teaspoon of vanilla extract. Blend until creamy and smooth, ensuring there are no lumps. This luscious frosting will add a rich finish to your Gingerbread Layer Cake.
Step 8: Assemble the Cake
When the gingerbread cake is fully cooled, slice it in half horizontally to create two layers. Spread a layer of cranberry chia jam on the bottom layer, followed by a generous spread of cashew frosting. Carefully place the second layer on top and repeat with more jam and frosting on the top layer for a beautiful presentation.
Step 9: Decorate
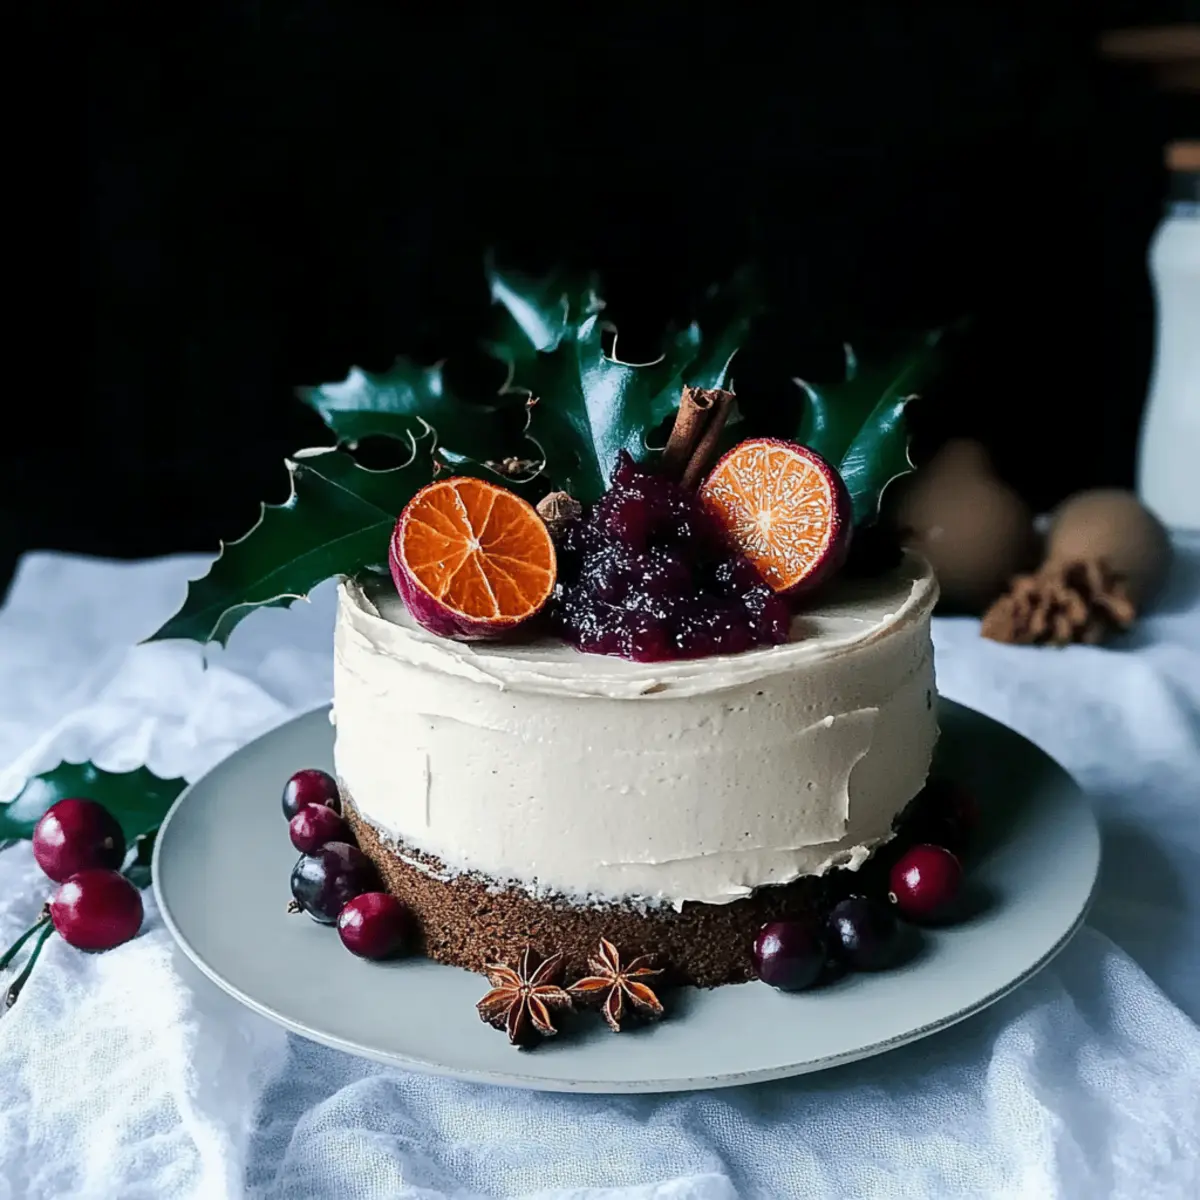
For a festive touch, decorate your Gingerbread Layer Cake with seasonal fruits such as pomegranate seeds or sliced oranges, and sprinkle chopped nuts like pecans or walnuts on top. This will not only enhance the visual appeal but also add delightful textures and flavors that resonate with the season.
Gingerbread Layer Cake Variations
Delight in the endless possibilities to customize your gingerbread layer cake, making it even more delicious!
-
Banana Swap: Replace apple sauce with mashed bananas for a rich flavor and added sweetness without extra sugar. It creates a lovely moistness that enhances every bite.
-
Flour Alternatives: Experiment with oat flour or almond meal to cater to different tastes; this can also provide unique flavors and textures in your cake. Each flour brings its own charm to the mix!
-
Jam Twist: Swap the cranberry chia jam for a spiced pear compote or pumpkin puree to give your cake a seasonal flair. This unexpected twist will surprise and delight your guests.
-
Nut-Free Option: For those with nut allergies, replace cashew frosting with a coconut whipped cream or silken tofu frosting. Both options provide a creamy topping without compromising flavor.
-
Extra Spices: Boost the spice levels by adding a pinch of cardamom or nutmeg to your cake batter for an aromatic twist. These spices add complexity, bringing warmth that feels like a cozy hug.
-
Cocoa Touch: For a chocolatey dimension, incorporate a few tablespoons of cocoa powder into your batter. This creates a delightful mocha gingerbread fusion—heavenly and unique!
-
Fruity Finish: Top your cake with fresh pomegranate seeds or candied citrus for a pop of color and flavor that embodies holiday cheer. They’re not just pretty; they add a delightful crunch!
-
Dairy-Free Cream Cheese: If you miss that tangy cream cheese frosting, try a dairy-free alternative made with soaked cashews and lemon juice for a luscious finish. It brings a zesty balance to your spiced cake.
With these variations, your gingerbread layer cake can be uniquely yours. Enjoy every scrumptious slice, surrounded by warmth and laughter! If you’re feeling adventurous, check out our Fricassee Cake Global for another delightful twist on classic cakes!
Make Ahead Options
These Vegan & Gluten-Free Gingerbread Layer Cakes are perfect for meal prep enthusiasts! You can prepare the cranberry chia jam up to 3 days in advance; simply refrigerate it in an airtight container to maintain its fresh flavors. The gingerbread sponge cake can be baked up to 24 hours ahead of time; allow it to cool completely, then wrap it tightly in plastic wrap to keep it moist. For an effortless assembly on the day of serving, make the cashew frosting the night before and store it in the fridge. When you’re ready to put everything together, layer the cooled cake with the jam and frosting, and enjoy bakery-quality results with minimal effort!
What to Serve with Gingerbread Layer Cake?
As the festive aroma of spices lingers in the air, elevate your treat with delightful pairings that echo the magic of the season.
-
Creamy Mashed Potatoes: Their buttery goodness creates a comforting contrast to the spiced cake, enhancing every bite. The smooth texture is an inviting contrast to the layers of your gingerbread delight.
-
Chamomile Tea: This gentle herbal infusion complements the warm spices beautifully, creating a serene sipping experience. Perfect for cozy gatherings or moments of reflection.
-
Spiced Apple Cider: A warm cup of this fragrant drink will match the cake’s cozy flavors, offering a seasonal touch that’s simply irresistible. Each sip deepens the festive atmosphere.
-
Cranberry Sauce: Keep the tart theme alive! Spread a bit on your plate for a burst of freshness that balances the richness of the cake. The tangy flavor will dance happily with the sweetness of the frosting.
-
Baked Pears: Drizzled with maple syrup and sprinkled with cinnamon, these tender bites add a fresh, juicy element alongside the cake’s rich flavors. A delightful way to enjoy fall’s bounty!
-
Chocolate Chai Latte: The warmth of chai spices enhances the cake while the creaminess of the latte intertwines beautifully with its texture. A perfect sip for a holiday gathering!
-
Chilled Coconut Cream: A luscious, dairy-free topping that can add softness and freshness on the side. Scoop a spoonful to enrich your experience with rich, creamy goodness.
-
Dark Chocolate Truffles: Indulgently rich yet sophisticated, these bites beautifully accompany the gingerbread layers and serve as a delightful treat to share with guests. The bitterness of dark chocolate offers a lovely contrast.
-
Vanilla Almond Biscotti: Crunchy and slightly sweet, these biscotti are perfect for dipping into your favorite warm beverage, adding a delightful crunch with each bite alongside the luscious cake.
-
Vanilla Bean Ice Cream: A cool and creamy addition that rounds out the spiced delight of your gingerbread layer cake, providing a soothing contrast with each sweet mouthful.
Expert Tips for Gingerbread Layer Cake
-
Fresh Ingredients: Always use fresh baking powder to ensure your gingerbread layer cake rises properly and achieves that fluffy texture.
-
Soak Cashews: For the creamiest cashew frosting, soak the cashews in water overnight; this ensures a smooth blend and rich consistency.
-
Avoid Overmixing: When combining wet and dry ingredients, mix until just incorporated. Overmixing can lead to a dense cake, which we want to avoid!
-
Jam Preparation: Make the cranberry chia jam a day ahead for the best results. This allows the flavors to meld beautifully and thickens the jam perfectly.
-
Layer with Care: When assembling your cake, spread the jam and frosting evenly between layers to achieve that beautiful, professional look and ensure every bite is satisfying.
How to Store and Freeze Gingerbread Layer Cake
Fridge: Store your gingerbread layer cake in an airtight container for up to 1 week. The flavors develop beautifully over time, enhancing the taste!
Freezer: You can freeze the cake for up to 3 months. Wrap individual slices in plastic wrap and then in aluminum foil to avoid freezer burn.
Reheating: When ready to enjoy, thaw overnight in the fridge. Warm slices for 10-15 seconds in the microwave, or until just heated through—perfect for cozy moments!
Whole Cake Storage: If you have leftover frosted cake, place it in the fridge immediately. Enjoy it chilled or warmed slightly for a delicious treat!
Gingerbread Layer Cake Recipe FAQs
What type of flour should I use for the Gingerbread Layer Cake?
Absolutely! For this gingerbread layer cake, I recommend using teff flour, as it gives a light texture and is gluten-free. If you prefer a heartier option, buckwheat flour is a fantastic substitute. You can also experiment with oat flour for a slightly nuttier flavor without gluten.
How should I store the Gingerbread Layer Cake?
Very easy! Store your gingerbread layer cake in an airtight container in the refrigerator for up to 1 week. This not only keeps it fresh but allows the flavors to meld beautifully, enhancing its overall taste. Just be sure to cover it well to prevent it from drying out.
Can I freeze the Gingerbread Layer Cake?
Sure thing! You can freeze the cake for up to 3 months. Simply wrap individual slices tightly in plastic wrap and then in aluminum foil to prevent freezer burn. When you’re ready to enjoy, thaw them in the fridge overnight. For a warm treat, pop the slices in the microwave for about 10-15 seconds until heated through.
What if my gingerbread cake turns out dense or heavy?
No worries! To avoid a dense cake, ensure your baking powder is fresh before use, as expired powder won’t provide the necessary lift. Additionally, mix your wet and dry ingredients until just combined. Overmixing is a common culprit in creating a heavy texture. If the batter seems too thick, consider adding a little more non-dairy milk for a lighter consistency.
Is this Gingerbread Layer Cake suitable for people with nut allergies?
Great question! While the recipe specifically calls for cashew frosting, you can easily modify it for nut allergies. Instead of cashews, you can use sunflower seed butter blended with powdered sugar and a touch of coconut oil for a creamy, nut-free frosting. Just be sure to check labels on all ingredients to ensure they are safe for those with allergies.
How can I make the cranberry chia jam in advance?
Absolutely, I recommend preparing the cranberry chia jam the night before to maximize flavors! Simply combine 2 cups of cranberries, 1/4 cup of maple syrup, and 2 tablespoons of chia seeds in a saucepan. Cook over medium heat for about 10 minutes, stirring until the cranberries burst and thicken. Allow it to cool and set overnight in the refrigerator before using it in your gingerbread layer cake.
Decadent Gingerbread Layer Cake That's Vegan and Gluten-Free
Ingredients
Equipment
Method
- In a large mixing bowl, sift together teff flour, ginger powder, cinnamon, and baking powder.
- In another bowl, mix together apple sauce and non-dairy milk until smooth.
- Pour the wet mixture into the dry ingredients and stir until just combined.
- Preheat oven to 350°F (175°C) and bake the cake for 30-35 minutes.
- Let the cake cool in the pan for about 10 minutes before transferring to a wire rack.
- Prepare the cranberry chia jam by cooking cranberries, maple syrup, and chia seeds for about 10 minutes.
- Blend soaked cashews, coconut oil, powdered sugar, and vanilla extract until creamy.
- Slice the cooled cake in half horizontally, spread jam and frosting between layers, and repeat on top.
- Decorate with fresh fruits and nuts for a festive touch.
")