")
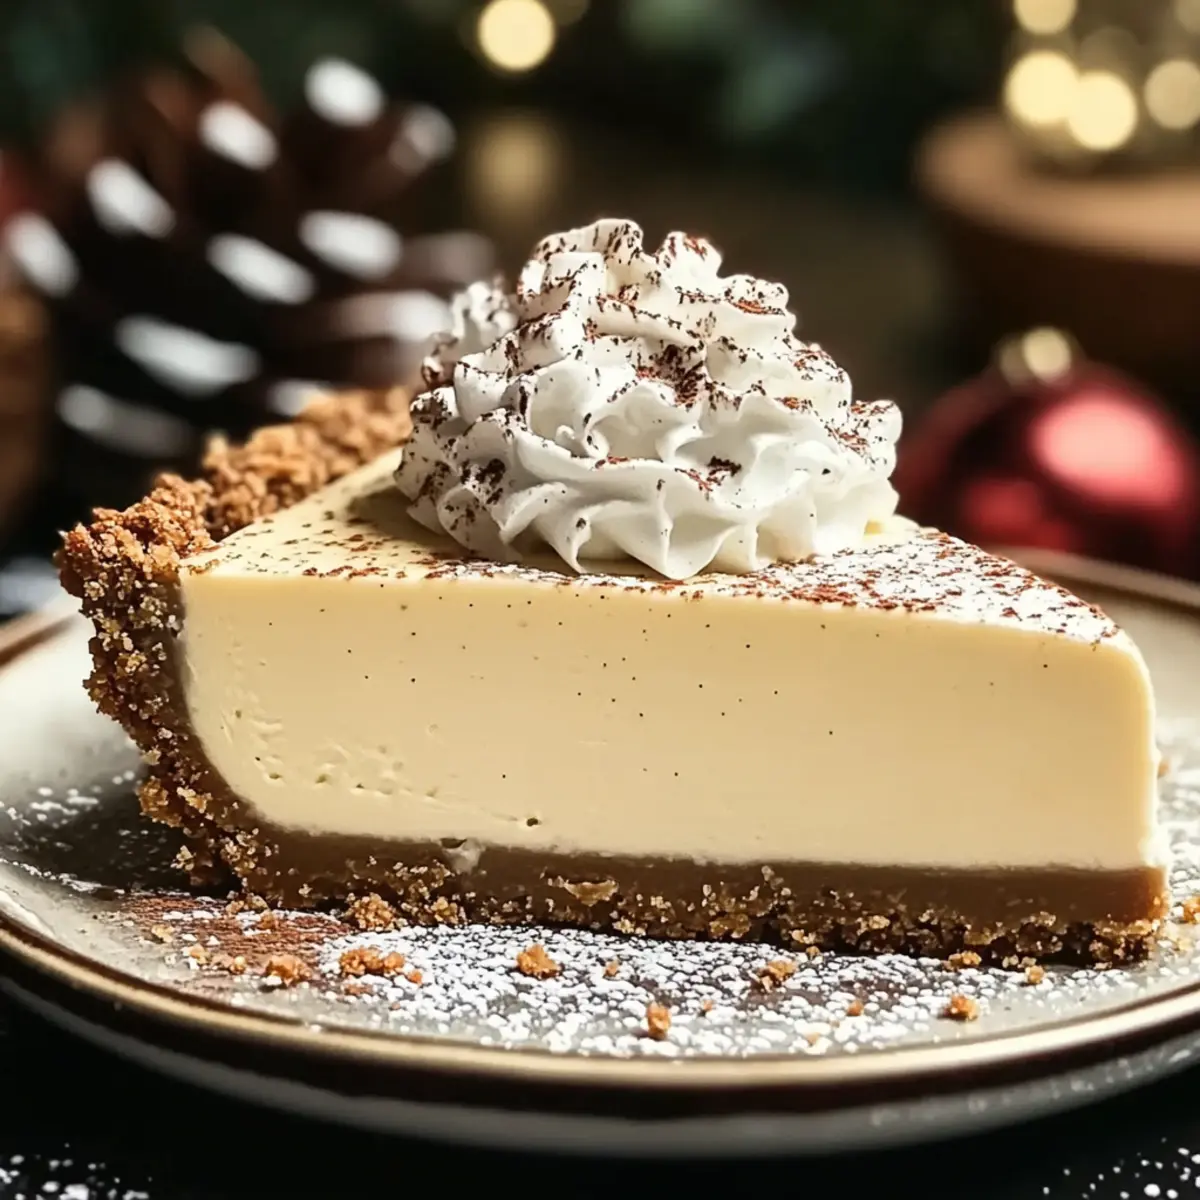
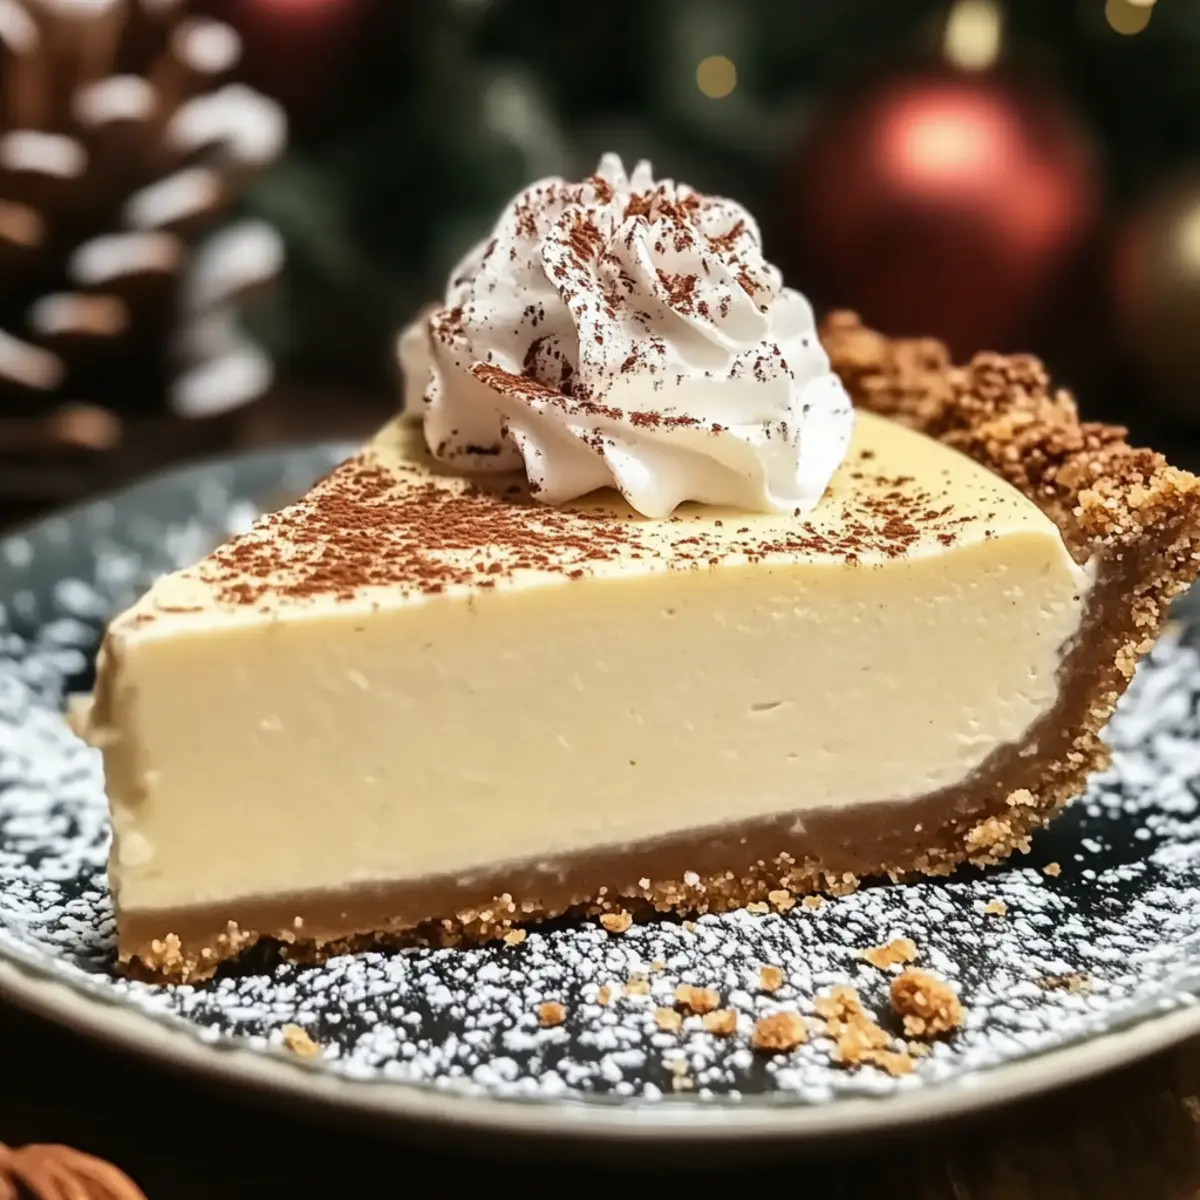
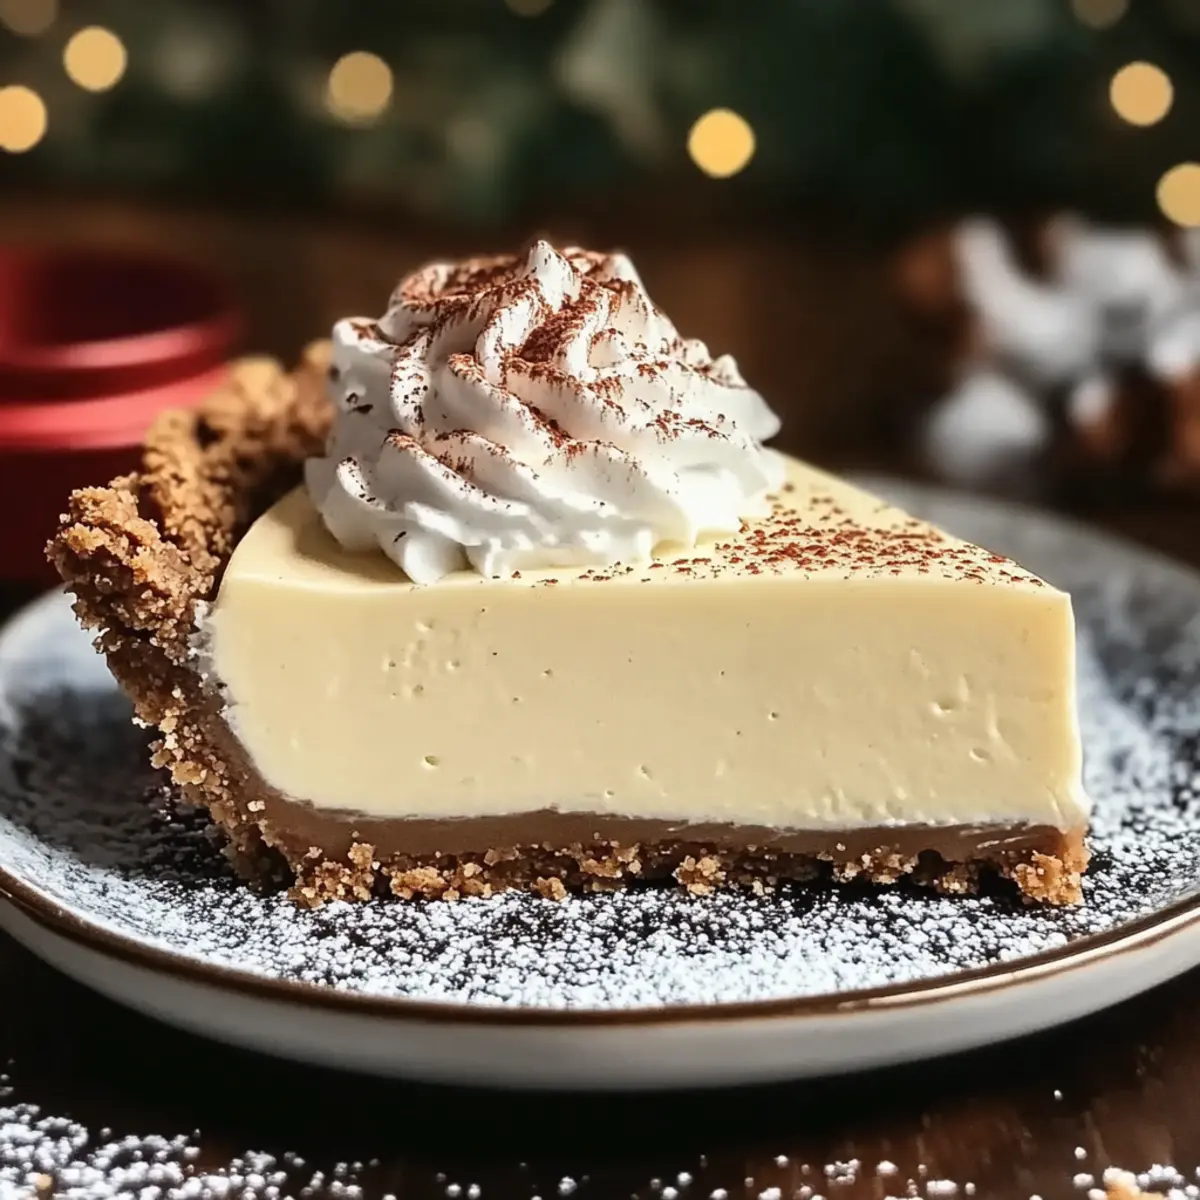
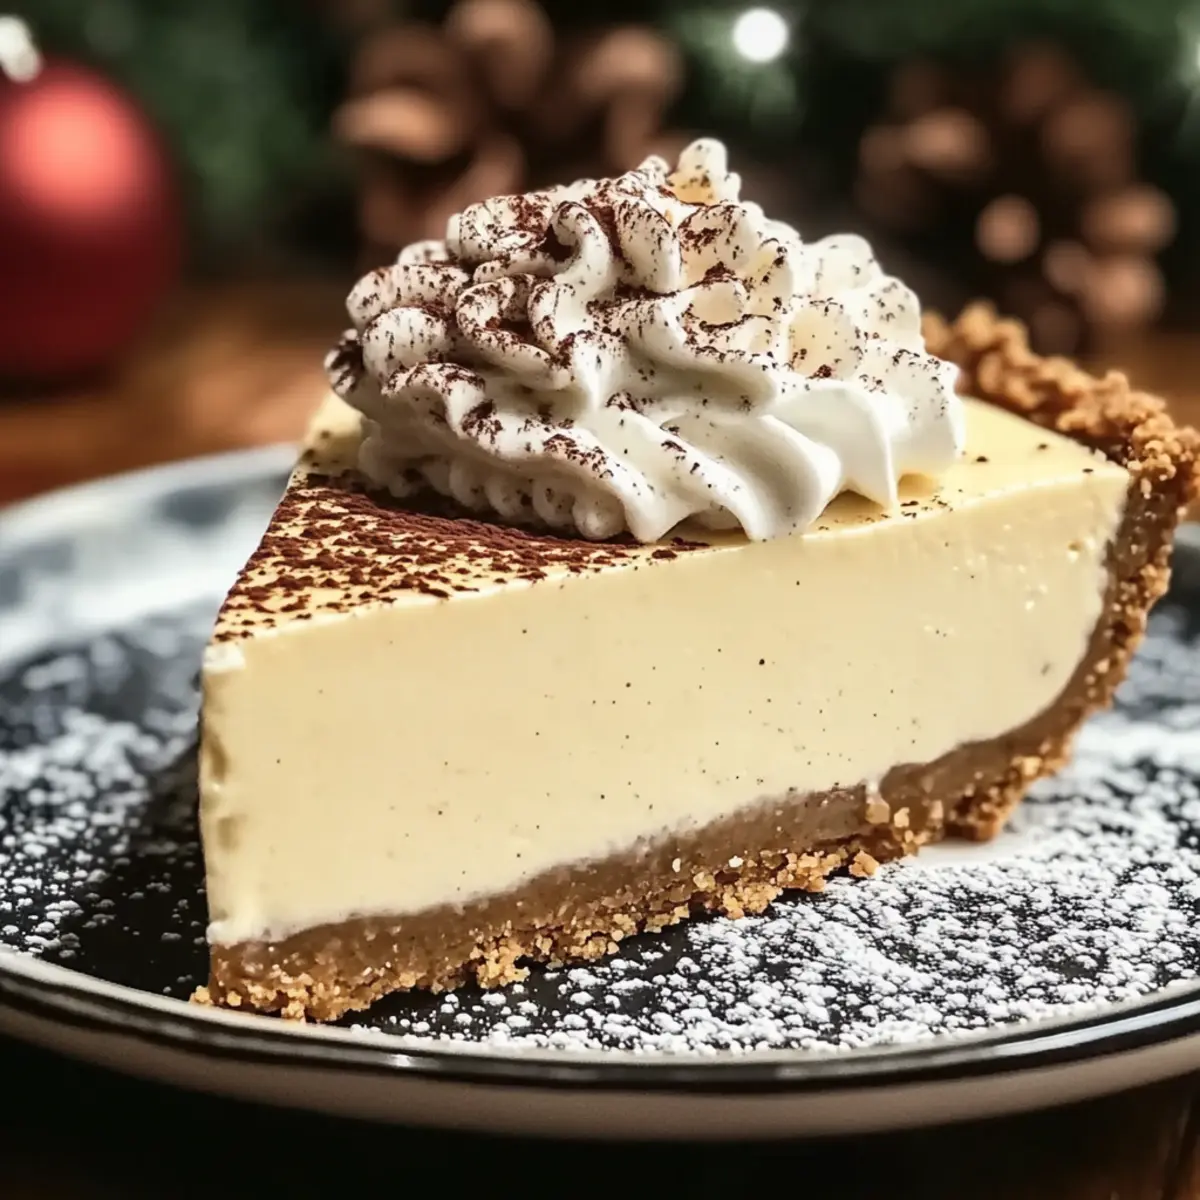
As I closed the door to my kitchen, a warm, spiced aroma enveloped me, instantly transporting me to cherished holiday memories. Today, I’m excited to share my Indulgent Eggnog Cream Pie with Gingersnap Crust, a dessert that perfectly marries the creamy, festive essence of eggnog with a crunchy, sweet crust. This easy-to-make holiday dessert not only captures the spirit of the season but also serves as a delightful crowd-pleaser that will leave your guests wanting seconds. With options for a gluten-free version and the ability to swap out traditional eggnog for a non-alcoholic alternative, everyone can indulge in this delightful treat. Whether you’re hosting a grand celebration or a cozy family gathering, this pie is sure to be the cherry on top of your festive spread. Are you ready to add a dash of joy to your dessert table? Let’s get started!
Why Is This Pie a Holiday Must-Have?
Simplicity at its finest: This pie is incredibly easy to make, ensuring that even beginners can impress their guests with a stunning dessert.
Creamy and dreamy: The luscious filling brings forth the nostalgic flavors of eggnog combined with festive spices, making every bite a holiday experience.
Crunchy contrast: The gingersnap crust offers a delightful textural twist that complements the smooth filling beautifully, elevating your dessert game.
Versatile options: With alternatives for gluten-free adjustments or non-alcoholic eggnog, everyone at your gathering can enjoy a slice. You can even explore delightful pairings such as Chicken Tortilla Soup for a balanced menu!
Crowd-pleasing delight: This pie will quickly become the star of your holiday dessert table, leaving your guests asking for the recipe!
Eggnog Cream Pie Ingredients
• This section covers everything you’ll need to create your own Eggnog Cream Pie from scratch.
For the Gingersnap Crust
- Gingersnap Cookies – the crunchy base for the pie’s crust; use gluten-free versions for a gluten-free option.
- Granulated Sugar – sweetens both the crust (¼ cup) and filling (1 cup); consider coconut or maple sugar for a fun twist.
- Unsalted Butter – (½ cup) melted butter binds the crust together seamlessly.
For the Creamy Filling
- Cream Cheese – (24 oz) softened for a rich and smooth filling; essential for that creamy texture!
- Eggnog – (1 cup) brings the holiday spirit; feel free to opt for non-alcoholic alternatives if preferred.
- Eggs – (3 large) provide structure to the filling, added one at a time for optimal creaminess.
- Vanilla Extract – (1 tsp) enhances the flavor beautifully.
- Ground Nutmeg – (¼ tsp) for a classic holiday spice; increase it for a bolder taste!
- Ground Cinnamon – (¼ tsp) adds a warm note that complements the eggnog perfectly.
- Rum or Rum Extract – optional (1 tbsp) to amplify the flavor profile of your Eggnog Cream Pie.
For Topping & Garnish
- Whipped Cream – light and fluffy topping for serving.
- Ground Nutmeg or Cinnamon – sprinkle for an inviting garnish.
- Mini Gingerbread Cookies or Crushed Gingersnaps – adorable decorative touches that make serving extra special.
Step‑by‑Step Instructions for Eggnog Cream Pie
Step 1: Preheat the Oven
Begin by preheating your oven to 325°F (163°C). This ensures that your Eggnog Cream Pie bakes evenly and achieves that perfect creamy texture. As the oven heats up, gather your ingredients so you’re ready for the next steps.
Step 2: Prepare the Gingersnap Crust
In a food processor, finely crush gingersnap cookies until they resemble coarse crumbs. Transfer them to a mixing bowl and combine with granulated sugar and melted butter, stirring until the mixture is crumbly yet holds together. Press the crust mixture firmly into a 9-inch springform pan, creating an even layer. Chill in the refrigerator for at least 15 minutes to set.
Step 3: Make the Cream Cheese Filling
In a large mixing bowl, beat softened cream cheese until smooth and creamy, using an electric mixer on medium speed. Gradually add granulated sugar and one cup of eggnog, mixing well after each addition. Be sure to scrape down the sides of the bowl, ensuring everything combines seamlessly for a velvety filling.
Step 4: Incorporate Eggs and Spices
Once the eggnog mixture is smooth, add the eggs one at a time, mixing gently to maintain a light consistency. After incorporating all three eggs, add the vanilla extract, ground nutmeg, ground cinnamon, and optional rum. Mix until everything is well combined, enhancing the festive flavor profile of your Eggnog Cream Pie.
Step 5: Set Up the Water Bath
To prevent cracks in your pie, wrap the bottom of the springform pan in aluminum foil to create a watertight seal. Place it inside a larger baking dish, and fill the dish with hot water until it reaches halfway up the sides of the springform pan. This water bath will ensure gentle baking.
Step 6: Bake the Pie
Carefully pour the creamy filling over the chilled gingersnap crust in the springform pan. Slide the whole setup into your preheated oven and bake for 55-65 minutes. Watch for the edges to be set while the center remains slightly wobbly, indicating it’s perfectly cooked.
Step 7: Cool Gradually
After baking, turn off the oven and leave the Eggnog Cream Pie inside for 1 hour. This gradual cooling process helps prevent cracks. Once cooled, remove the pie from the oven and carefully take it out of the water bath to avoid excess moisture.
Step 8: Chill the Pie
Refrigerate your Eggnog Cream Pie uncovered until cool, then cover it with plastic wrap and chill for at least 4 hours or ideally overnight. This chilling time allows the flavors to meld beautifully and gives the filling time to set to the perfect creamy texture.
Step 9: Garnish and Serve
Before serving, whip some cream until fluffy for a light topping, and carefully slice the chilled pie with a warm, dry knife for clean cuts. Garnish with a sprinkle of ground nutmeg or cinnamon. You can also decorate with mini gingerbread cookies or crushed gingersnaps for an extra festive touch.
How to Store and Freeze Eggnog Cream Pie
Fridge: Store the Eggnog Cream Pie in the refrigerator for up to 4-5 days. Make sure to cover it tightly with plastic wrap to prevent any odors from seeping in.
Freezer: To freeze slices, wrap them individually in plastic wrap and then place them in an airtight container or freezer bag. The pie can be frozen for up to 2 months without losing its creamy texture.
Thawing: When ready to enjoy, transfer the frozen slices to the fridge to thaw overnight, or leave them at room temperature for about 1 hour before serving.
Reheating: While this pie is best served cold, if you’d like to warm it slightly, use a microwave in short bursts to maintain the creamy quality without overheating.
Eggnog Cream Pie Variations & Substitutions
Feel free to play around with this Eggnog Cream Pie recipe to create something perfectly tailored just for you!
- Gluten-Free: Substitute regular gingersnap cookies with gluten-free gingersnap cookies for a delicious, inclusive treat.
- Dairy-Free: Use a dairy-free cream cheese alternative and non-dairy eggnog for a lactose-free version sure to impress everyone.
- Mini Pies: Use muffin tins to create individual servings – they’re adorable and perfect for holiday gatherings!
- Spiced Twist: Add a pinch of cloves or allspice to the filling for a lively spiced flavor that dances on your taste buds.
- Maple Sweetener: Replace granulated sugar with maple sugar for a deeper, richer sweetness that complements the festive flavors beautifully.
- Caramel Drizzle: Drizzle warm caramel sauce over each slice before serving for a touch of decadence that will elevate your dessert experience.
- Chocolate Lovers: Stir in a tablespoon of cocoa powder to the filling for a unique chocolate-egg nog fusion that’s sure to delight.
- Flavor Boost: Incorporate a teaspoon of almond extract in addition to vanilla for a slight nutty undertone, amplifying the overall flavor profile.
While you’re at it, consider pairing your pie with a comforting bowl of Chicken Tortilla Soup or a refreshing French Vanilla Creamer for a delightful feast that balances savory and sweet!
Make Ahead Options
These Indulgent Eggnog Cream Pies are perfect for busy home cooks looking to save time during the hectic holiday season! You can prepare the gingersnap crust up to 24 hours in advance—simply prepare it, press it into the pan, and refrigerate. The creamy filling can also be made up to 3 days ahead; just mix the ingredients and store it in an airtight container in the refrigerator until you are ready to bake. When you’re ready to serve, pour the filling over the chilled crust and proceed with baking as instructed. This way, you’ll have a delicious holiday dessert ready to impress your guests with minimal last-minute effort!
Expert Tips for Eggnog Cream Pie
Prevent Cracks: Avoid overmixing the filling and stick to a slow, gentle baking process. A water bath helps maintain even baking.
Chill Time Matters: Always allow the pie to cool completely in the fridge for at least 4 hours, ensuring a perfectly set creamy texture.
Flavor Boost: For a deeper flavor, replace regular sugar with coconut or maple sugar in the crust and filling.
Personalize It: Experiment with different spices like cloves or allspice in the filling for a unique twist on the classic eggnog cream pie.
Cutting Cleanly: Use a warm, dry knife to slice the pie – this prevents the filling from sticking and keeps your pieces looking neat!
What to Serve with Indulgent Eggnog Cream Pie with Gingersnap Crust
As you indulge in the creamy, festive flavors of this delightful pie, consider these perfect pairings to create a memorable holiday spread.
-
Spiced Hot Cider: This warm beverage complements the pie’s flavors, adding a cozy touch that enhances the holiday spirit.
-
Vanilla Bean Ice Cream: The creaminess of ice cream contrasts beautifully with the pie’s texture, creating a delightful experience with every bite.
-
Fresh Green Salad: A crisp, refreshing salad balances the richness of the pie, offering a fresh contrast to the sweetness.
-
Chocolate Mint Cookies: The minty notes harmonize with the festive spices, providing a delightful treat alongside your pie.
-
Gingerbread Latte: Enjoy this spiced coffee drink for a festive lift that fully embraces the season’s flavors.
-
Homemade Cheesecake: Serve miniature slices for a variety of textures and flavors; their richness will be a hit with your dessert table.
These pairings not only highlight the creamy eggnog filling but also create a balanced menu that festively celebrates the joy and warmth of the holiday season.
Eggnog Cream Pie with Gingersnap Crust Recipe FAQs
How do I select ripe ingredients for this pie?
Absolutely! When choosing ingredients for your Eggnog Cream Pie, opt for fresh cream cheese that is well within its expiration date for the best texture. Look for eggnog that has a rich, creamy consistency; avoid any that seems overly watery. For the spices, fresh ground nutmeg and cinnamon will truly enhance the flavors, so choose those that smell strong and fragrant.
What is the best way to store leftover pie?
Very! After enjoying your Eggnog Cream Pie, store it in the refrigerator, tightly covered with plastic wrap or in an airtight container. This way, it can stay fresh for up to 4-5 days. Keeping it covered will help maintain its creamy texture and prevent odors from other foods seeping in.
Can I freeze slices of Eggnog Cream Pie?
Yes! If you want to save some for later, wrap each slice tightly in plastic wrap and place them in an airtight container or freezer bag. This way, they can be frozen for up to 2 months. Just remember to label with the date, so you know when to enjoy them next!
What if my pie cracks during baking?
To prevent cracks, ensure you’re not overmixing the filling, as that introduces too much air which can cause cracking when baking. Also, baking with a water bath helps distribute heat evenly. If cracks do appear, don’t worry! They can be hidden under whipped cream or festive toppings when serving.
Is this pie safe for people with allergies?
Certainly! For those with gluten sensitivities, simply substitute regular gingersnap cookies with gluten-free ones. Additionally, if anyone has a dairy allergy, consider using dairy-free cream cheese and eggnog alternatives. Always double-check ingredient labels to ensure they meet the necessary dietary needs.
How long in advance can I make the pie?
I often make this pie a day or two in advance, which really allows the flavors to meld beautifully. Prepare the crust and filling separately, refrigerate them, then assemble and chill before serving. This prep method is a great way to lessen stress on the day of your holiday gathering!
Creamy Eggnog Cream Pie with a Crunchy Gingersnap Twist
Ingredients
Equipment
Method
- Preheat your oven to 325°F (163°C).
- Finely crush gingersnap cookies in a food processor, then mix with sugar and melted butter. Press mixture into a 9-inch springform pan and chill for 15 minutes.
- In a mixing bowl, beat cream cheese until smooth. Gradually add sugar and eggnog, mixing well.
- Add eggs one at a time, mixing gently. Incorporate vanilla, nutmeg, cinnamon, and optional rum.
- Wrap the bottom of the springform pan in aluminum foil and place it in a larger baking dish. Fill with hot water halfway up the sides.
- Pour the filling over the crust and bake for 55-65 minutes until edges are set but center is slightly wobbly.
- Turn off the oven and leave pie inside for 1 hour to cool gradually. Remove from oven and water bath.
- Refrigerate uncovered until cool, then cover and chill for at least 4 hours or overnight.
- Whip cream for topping, slice the pie with a warm knife, and garnish with nutmeg or cinnamon and decorative cookies.
")