")
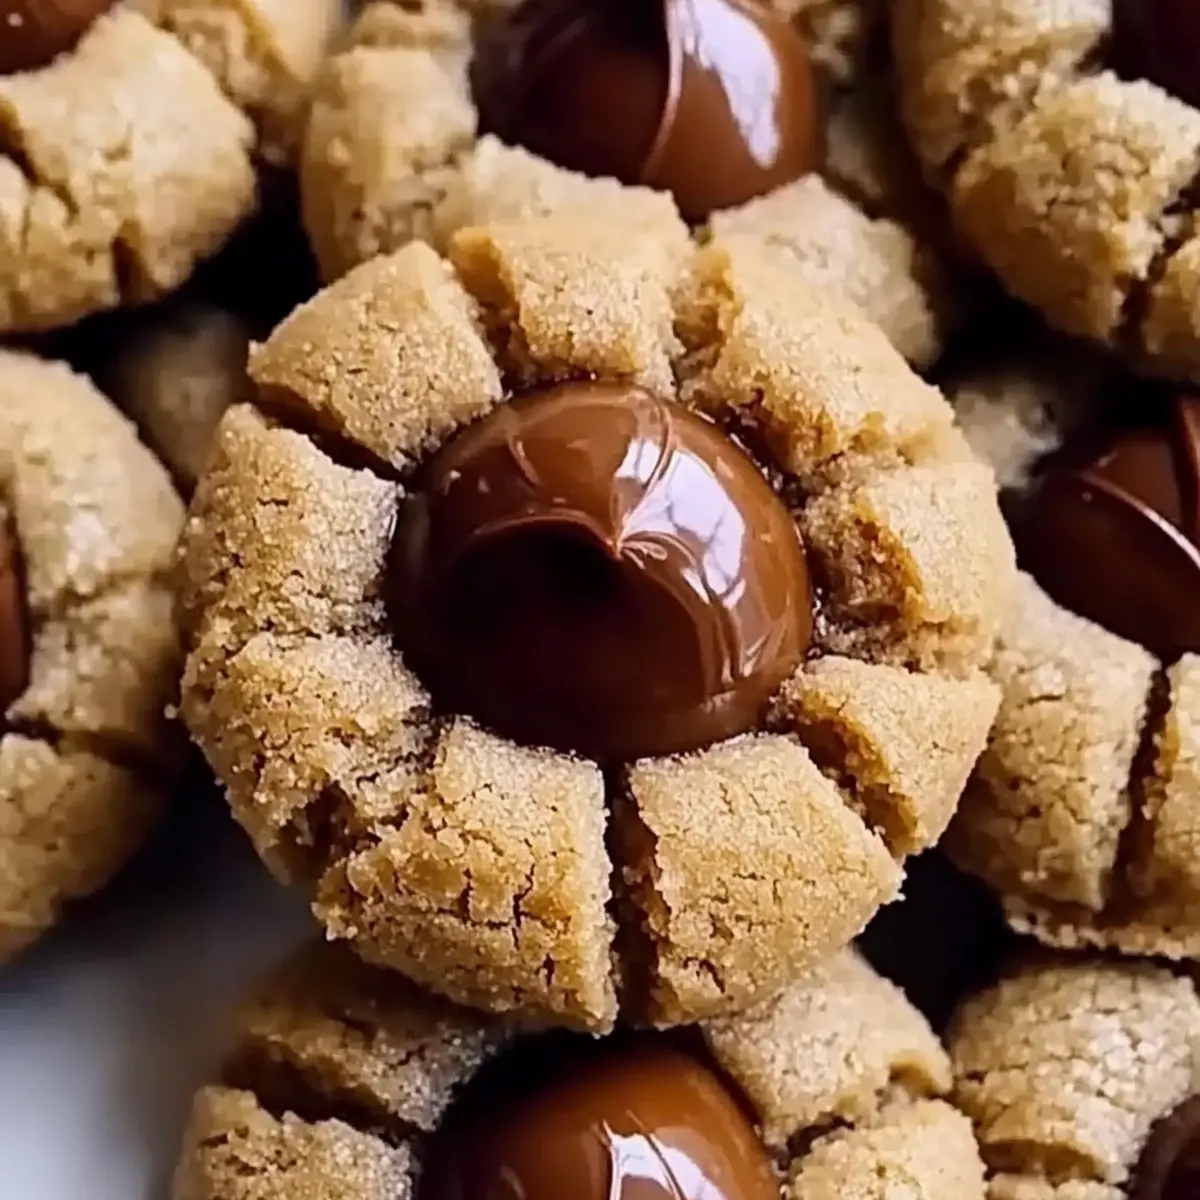
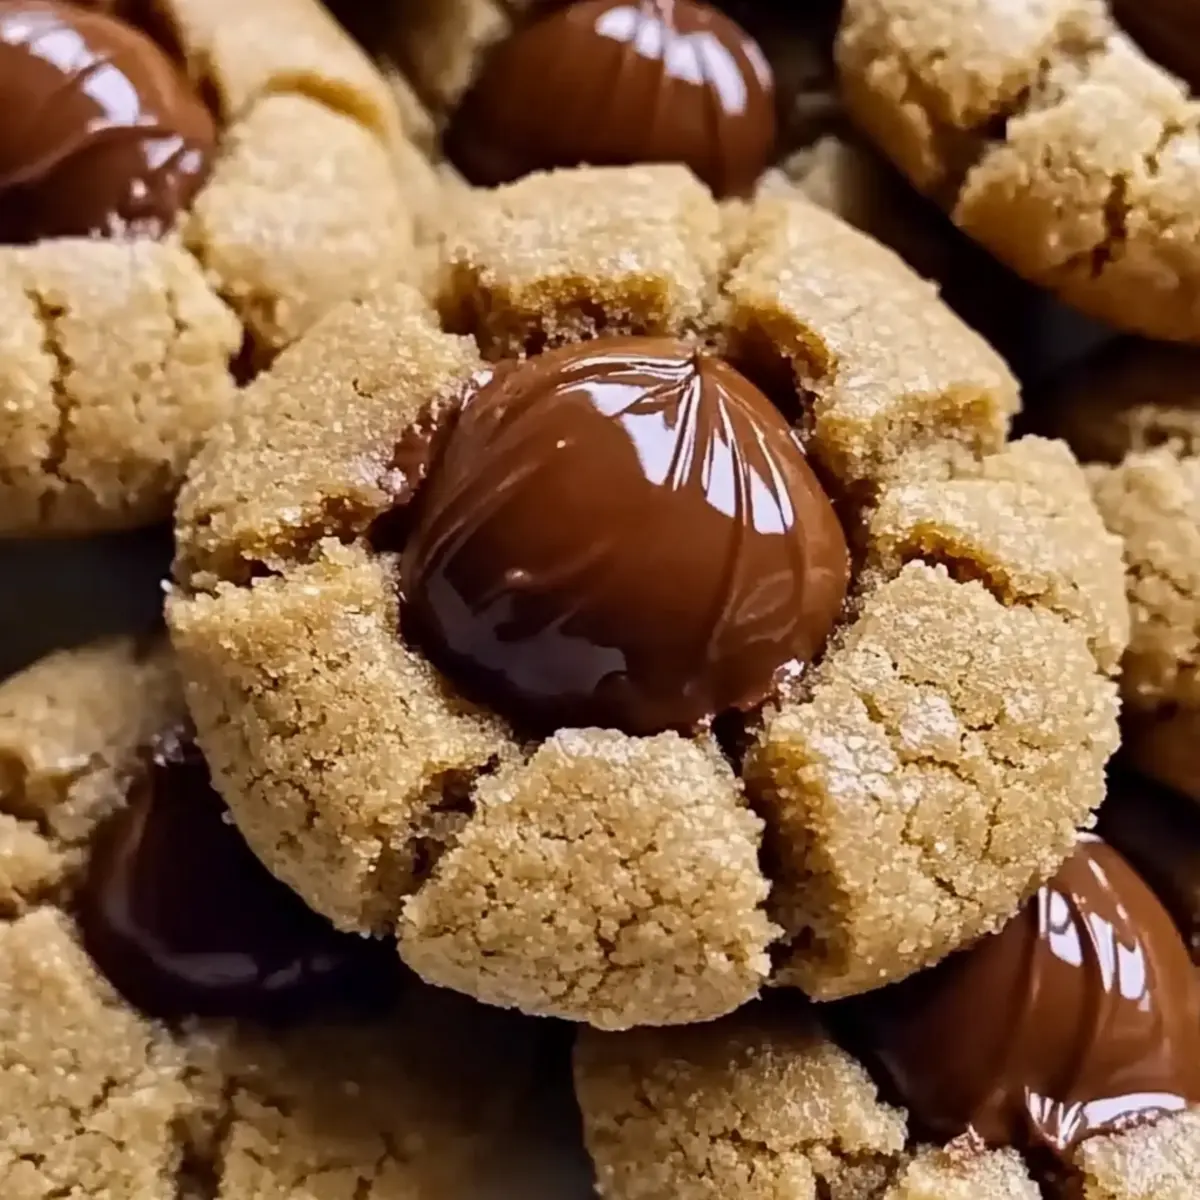
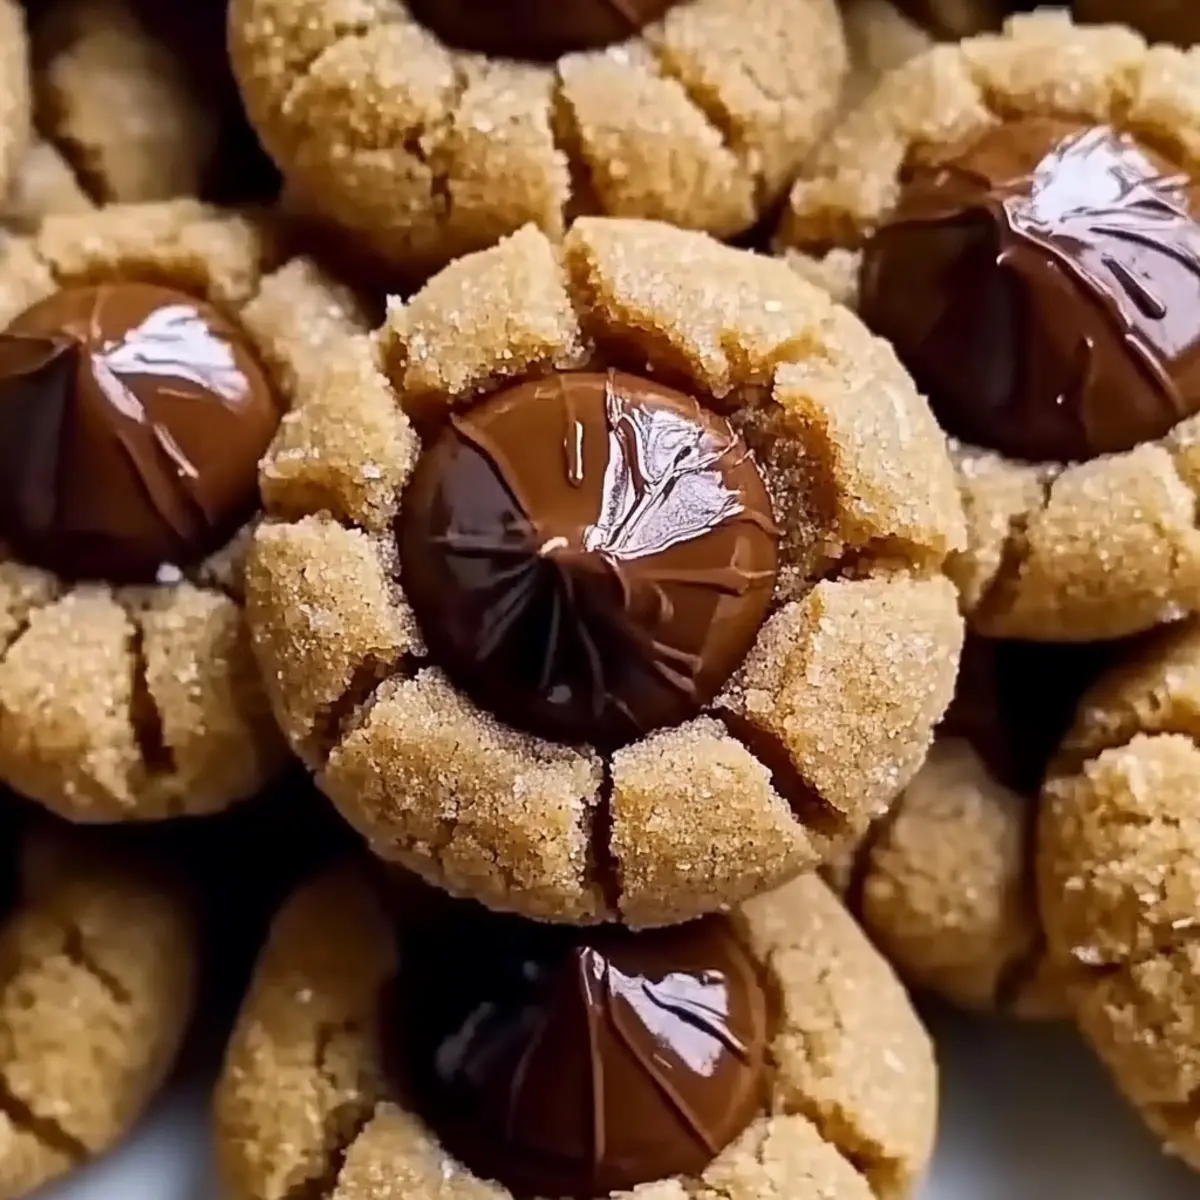
The aroma of freshly baked cookies wafted through my grandmother’s kitchen, a memory that welcomes warmth every holiday season. Classic Peanut Butter Blossoms are a delightful nod to that cherished past, marrying the creamy goodness of peanut butter with luscious chocolate kisses. Not only are these cookies a fun and simple bake, but they also stand out as a crowd-pleaser at gatherings, ensuring smiles all around. The joy of mixing the dough and pressing those chocolate morsels into each cookie is more than just a step—it’s a cherished tradition. Whether you’re looking for the perfect dessert to share or simply a sweet treat to savor at home, these Peanut Butter Blossoms will not disappoint. Are you ready to create your own delicious memories?
Why are Peanut Butter Blossoms so beloved?
Nostalgic Tradition: These cookies evoke fond memories of childhood baking with family, making them perfect for creating new memories.
Easy to Make: With simple ingredients and straightforward steps, even beginner bakers will find joy in whipping these up.
Crowd-Pleasing Treat: Their unique combination of peanut butter and chocolate invites smiles from kids and adults alike, ensuring they vanish quickly at gatherings.
Customizable Delight: Feel free to swap in dark chocolate kisses or even peanut butter cups for a fun twist!
For additional delicious snack ideas, don’t miss out on these Peanut Butter Crackers or the delightful Caramel Kentucky Butter.
Peanut Butter Blossoms Ingredients
• Prepare to bake with all the essentials!
For the Cookie Dough
- All-Purpose Flour – Essential for structure; ensure proper measurement for the best texture.
- Baking Soda – This leavening agent helps create a light and fluffy cookie.
- Salt – Balances the sweetness beautifully; use kosher or table salt for best results.
- Creamy Peanut Butter – The star flavor of these Peanut Butter Blossoms; consider sunbutter for a nut-free option.
- Unsalted Butter – Adds richness and moisture; make sure it’s at room temperature for easy mixing.
- Granulated Sugar – Sweetness and texture; feel free to adjust the quantity to your liking.
- Light Brown Sugar – Introduces moisture and depth; lightly pack it for accuracy.
- Large Egg – Binds the mix and adds moisture; room temperature is best for easier blending.
- Milk – Provides moisture; any plant-based milk works well as a substitute.
- Vanilla Extract – Enhances the overall flavor; using pure vanilla makes a noticeable difference.
For the Topping
- Hershey Kisses (11 oz) – The perfect melty topping; try dark chocolate or flavored variations for a twist!
Step‑by‑Step Instructions for Peanut Butter Blossoms
Step 1: Prep Dry Ingredients
In a medium bowl, whisk together 2 cups of all-purpose flour, 1 teaspoon of baking soda, and 1/2 teaspoon of salt until well mixed. This step is crucial for ensuring an even distribution of leavening and flavor throughout your Peanut Butter Blossoms. Set this mixture aside while you prepare the wet ingredients.
Step 2: Cream Mixture
In a large mixing bowl, beat together 1 cup of creamy peanut butter, 1/2 cup of unsalted butter (at room temperature), 1/2 cup of granulated sugar, and 1/2 cup of light brown sugar using an electric mixer on medium speed. Continue until the mixture is smooth and creamy, about 2-3 minutes. Scraping the sides of the bowl helps ensure everything is well blended.
Step 3: Incorporate Wet Ingredients
Add 1 large egg, 2 tablespoons of milk, and 1 teaspoon of vanilla extract to the creamy mixture. Mix on low speed until fully combined, ensuring no visible streaks of egg remain. This mixture should appear rich and homogeneous, beckoning you to continue crafting those delightful Peanut Butter Blossoms.
Step 4: Combine Mixtures
Gradually add the dry ingredients into the wet mixture, mixing on low speed until just combined. Take care not to overmix; the dough should be thick and slightly sticky. You’ll notice the rich peanut butter aroma intensifying as the ingredients meld together, creating a delightful base for your cookies.
Step 5: Chill Dough
Cover the bowl with plastic wrap and refrigerate the dough for at least 1 hour. Chilling the dough is essential to achieving cookies that hold their shape while baking. This step ensures your Peanut Butter Blossoms will have a beautiful, thick texture and prevent excessive spreading in the oven.
Step 6: Prep for Baking
Preheat your oven to 375°F (190°C) and prepare baking sheets by lining them with parchment paper. As the oven warms, this step sets the stage for perfectly baked cookies. The aroma of your chilled dough will soon fill the air as your Peanut Butter Blossoms take shape.
Step 7: Shape Cookies
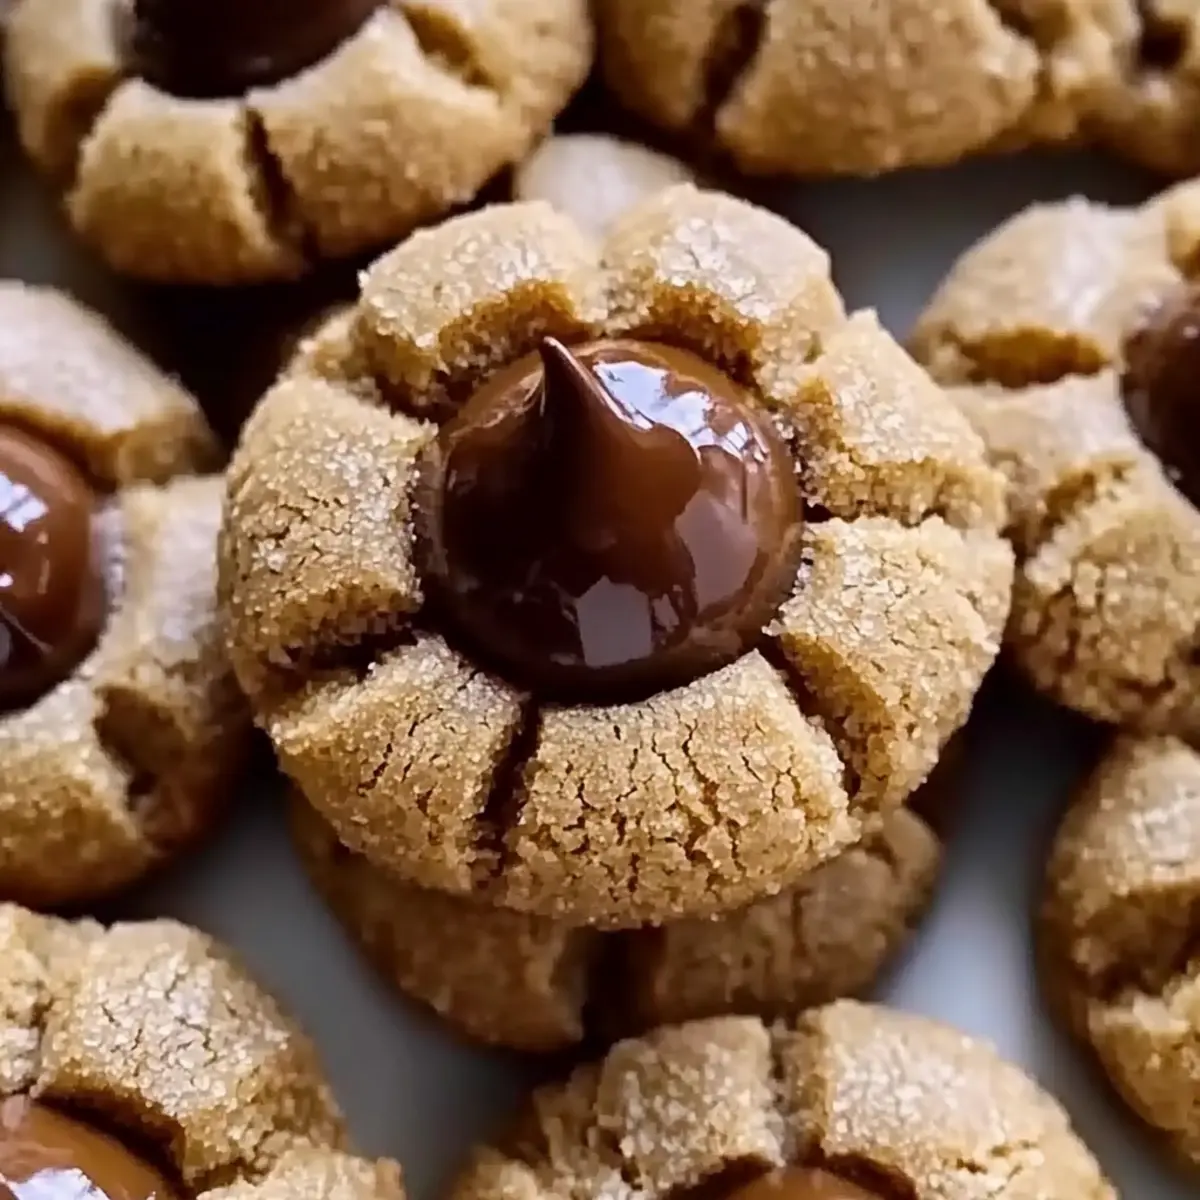
Once the dough has chilled, use a cookie scoop or your hands to roll the dough into 1-inch balls. Roll each ball in granulated sugar for a lovely finishing touch and place them a few inches apart on the prepared baking sheets. The sugar coating adds a sweet crunch that pairs beautifully with the soft cookie.
Step 8: Bake
Bake the cookies in the preheated oven for 7-8 minutes, until the edges are set and the tops look slightly puffy. Remove the baking sheets from the oven and immediately press a Hershey Kiss into the center of each cookie. Return to the oven for an additional 2 minutes. This step brings the cookies to life, creating that iconic chocolate center.
Step 9: Cool Cookies
Allow the cookies to cool on the baking sheets for 5-10 minutes before transferring them to a wire rack. The cookies will firm up slightly as they cool, while the chocolate kisses will remain melty and inviting. Relish the moment as you see your delightful Peanut Butter Blossoms come together!
Peanut Butter Blossoms Variations
Feel free to get creative and make these Peanut Butter Blossoms your own with some fun adaptations!
-
Nut-Free Option: Substitute creamy peanut butter with sunbutter to create a delicious nut-free version perfect for school snacks.
-
Chocolate Swaps: Use dark chocolate kisses or even chocolate-covered caramel to add a unique flavor twist that chocolate lovers will adore. This simple change can elevate your cookies to a whole new level!
-
Crunchy Additions: Fold in 1 cup of chopped pecans or walnuts for a delightful crunch that complements the creamy peanut butter. Nuts add not just texture but also a rich, nutty flavor.
-
Dairy-Free Delight: Swap out the unsalted butter with vegan butter and the milk for almond or oat milk to enjoy a dairy-free treat everyone can enjoy. This ensures that no one misses out on the cookie goodness!
-
Flavor Boost: Add 1 teaspoon of cinnamon or a sprinkle of sea salt on top before baking for a flavor enhancement that makes these cookies even more irresistible.
-
Mini Cookies: For bite-sized treats, reduce the dough ball size to just ½ inch and adjust the baking time to 5-6 minutes for quick, poppable desserts. These little gems are perfect for parties and gatherings!
-
Stuffed Variation: Instead of a kiss, fill each dough ball with a chocolate or peanut butter cup for a gooey surprise in the middle that will delight each bite. This creates an unexpected, indulgent experience.
-
Seasonal Twist: Incorporate festive sprinkles or change the chocolate topping based on the season. For example, use white chocolate for a winter theme or colored chocolates for holiday celebrations.
Thinking of more delicious treats? Check out these delectable Peanut Butter Crackers and the blissful Caramel Kentucky Butter for more inspiration in the kitchen!
How to Store and Freeze Peanut Butter Blossoms
Airtight Container: Store your Peanut Butter Blossoms in an airtight container at room temperature for up to 1 week to keep them soft and chewy.
Refrigeration: If you prefer, they can be kept in the fridge for up to 2 weeks; just ensure they’re in an airtight container to prevent them from drying out.
Freezing: To freeze, place the cookies in a single layer on a baking sheet until firm, then transfer to a freezer bag or airtight container. They can be frozen for up to 3 months.
Reheating: To enjoy a warm cookie, pop them in the microwave for 10-15 seconds, or warm briefly in an oven at 350°F for a few minutes.
Expert Tips for Peanut Butter Blossoms
- Measure Flour Precisely: Avoid dense cookies by spooning flour into the measuring cup and leveling it off, ensuring the right cookie texture.
- Room Temperature Ingredients: Always use room temperature butter, egg, and milk for a smoother dough and better incorporation of flavors.
- Do Not Skip Chilling: Chilling the dough for at least an hour helps maintain shape and prevents the cookies from becoming flat during baking.
- Perfect Baking Time: Keep a close eye on the cookies; they should look slightly underbaked in the center for that soft, chewy Peanut Butter Blossoms texture.
- Chocolate Kiss Choices: Feel free to mix it up! Dark chocolate kisses or even caramel-filled options can add a delightful twist to your cookies.
What to Serve with Peanut Butter Blossoms?
The joy of baking is amplified when you create a full meal experience around your delightful treats.
-
Milkshake: A rich, creamy milkshake balances sweetness, making it a classic pairing with your cookies.
-
Coffee: The bold flavors of coffee perfectly complement the sweetness of the Peanut Butter Blossoms, creating a comforting experience.
-
Vanilla Ice Cream: Pairing warm cookies with a scoop of vanilla ice cream adds a delightful creaminess and luxury that everyone loves.
-
Chocolate-Covered Strawberries: These fresh berries provide a fresh contrast to the peanut butter cookies while keeping the chocolate theme alive.
-
Caramel Sauce: A drizzle of warm caramel on the cookies enhances their richness, creating a decadent treat that feels indulgent.
-
Fruit Salad: A light and refreshing fruit salad introduces a vibrant burst of flavor, cleansing the palate after each sweet bite.
-
Hot Chocolate: Cozy up with a cup of hot chocolate for a deliciously sweet treat, perfect for sharing with family or friends.
-
Pecan Pie: This nutty dessert not only brings contrasting flavors but ties back to shared traditions that will evoke warm feelings.
Each of these pairings adds a special touch to your Peanut Butter Blossoms, turning simple treats into memorable moments.
Make Ahead Options
Preparing Peanut Butter Blossoms ahead of time is a game changer for busy bakers! You can mix the cookie dough and refrigerate it for up to 24 hours; just be sure to wrap it tightly in plastic wrap to prevent drying out. Alternatively, you can shape the cookie dough into 1-inch balls, roll them in granulated sugar, and keep them in an airtight container in the freezer for up to 3 months. When you’re ready to bake, simply place them on a lined baking sheet and adjust the baking time, adding a minute or two if baking from frozen. This way, you’ll have fresh, delicious Peanut Butter Blossoms ready to impress at a moment’s notice!
Peanut Butter Blossoms Recipe FAQs
What type of peanut butter is best for Peanut Butter Blossoms?
I recommend using creamy peanut butter for that smooth texture and rich flavor. Natural peanut butter can work too, but be sure to stir it well to mix the oils back in and ensure a consistent dough.
How should I store my Peanut Butter Blossoms?
Store your Peanut Butter Blossoms in an airtight container at room temperature for up to 1 week. If you want to maintain their softness, consider adding a slice of bread to the container, as it helps keep moisture in.
Can I freeze Peanut Butter Blossoms?
Absolutely! To freeze your Peanut Butter Blossoms, place them in a single layer on a baking sheet and freeze until firm. After that, transfer them to a freezer bag or an airtight container, where they can last for up to 3 months. When you’re ready to indulge, thaw at room temperature or warm them in the microwave for 10-15 seconds.
How can I prevent my cookies from spreading too much?
Chilling the dough for at least 1 hour is essential to prevent excessive spreading. Additionally, ensure that your baking sheets are lined with parchment paper and that you’re not overmixing the dough, which can also affect the texture of your cookies.
Are Peanut Butter Blossoms safe for those with nut allergies?
For anyone with nut allergies, I suggest substituting the peanut butter with sunbutter, which offers a similar creamy texture without the nuts. Always double-check for any packaging that may indicate cross-contamination.
What if I want to customize my Peanut Butter Blossoms?
The more the merrier! Feel free to swap Hershey Kisses for dark chocolate or flavored varieties, or even mix in chopped nuts or chocolate chips for added texture. These adjustments can make your cookies uniquely yours!
Peanut Butter Blossoms: Irresistibly Soft Cookie Delight
Ingredients
Equipment
Method
- In a medium bowl, whisk together 2 cups of all-purpose flour, 1 teaspoon of baking soda, and 1/2 teaspoon of salt until well mixed.
- In a large mixing bowl, beat together 1 cup of creamy peanut butter, 1/2 cup of unsalted butter, 1/2 cup of granulated sugar, and 1/2 cup of light brown sugar until smooth.
- Add 1 large egg, 2 tablespoons of milk, and 1 teaspoon of vanilla extract to the creamy mixture, mixing until fully combined.
- Gradually add the dry ingredients to the wet mixture, mixing on low speed until just combined.
- Cover the bowl with plastic wrap and refrigerate the dough for at least 1 hour.
- Preheat your oven to 375°F (190°C) and prepare baking sheets with parchment paper.
- Once chilled, roll the dough into 1-inch balls, roll in granulated sugar, and place on the baking sheets.
- Bake the cookies for 7-8 minutes until edges are set and tops look puffy. Press a Hershey Kiss into each cookie and return to the oven for an additional 2 minutes.
- Allow cookies to cool on baking sheets for 5-10 minutes before transferring to a wire rack.
")