")
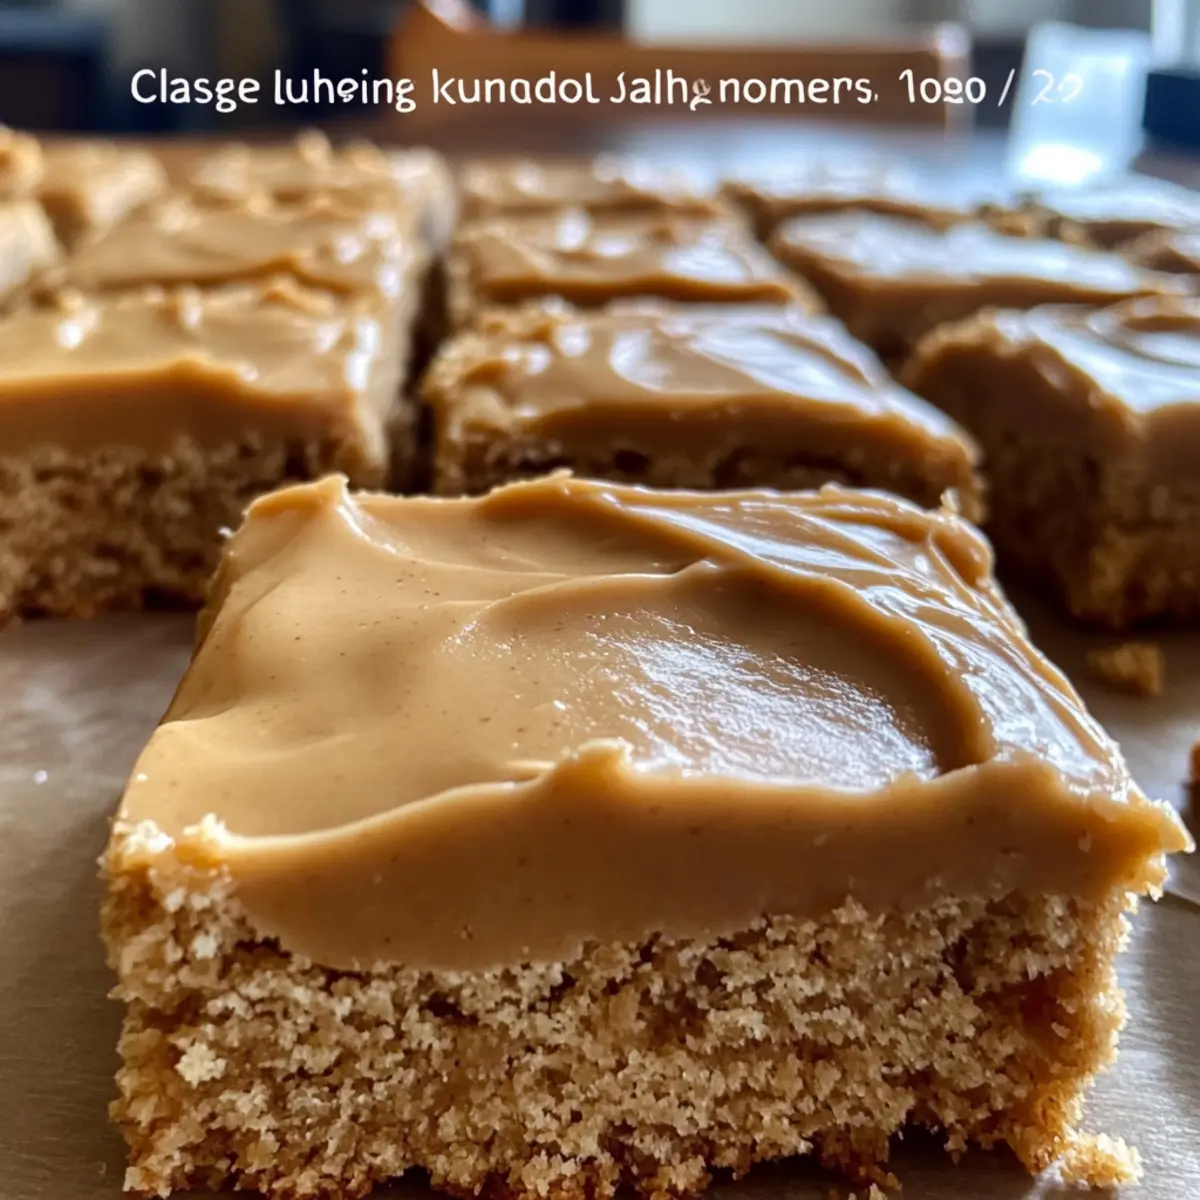
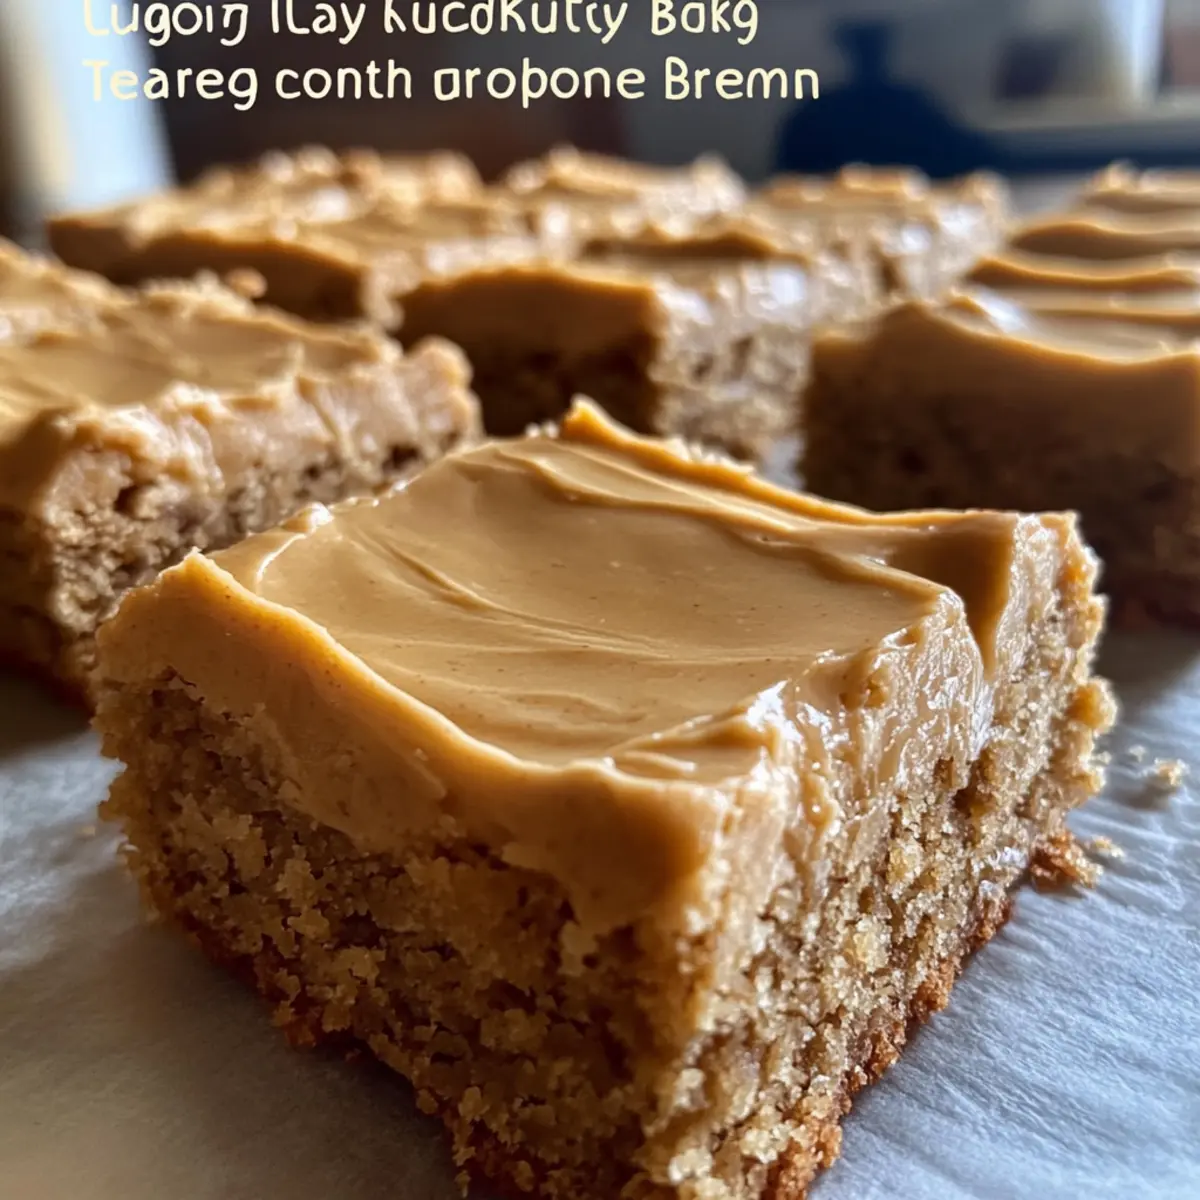
The aroma wafting from the oven transports me back to sunny school days, where sweet moments were often marked by Peanut Butter Lunch Lady Bars. This classic recipe perfectly captures that soft, cake-like texture we all craved, topped with a creamy frosting that’s impossible to resist. Not only are these bars a nostalgic delight, but they also shine as a crowd-pleaser, making them ideal for potlucks, family gatherings, or just a cozy night in. With quick prep and a generous yield, you’ll spend less time in the kitchen and more time enjoying what’s truly important—sharing delicious moments with loved ones. Curious about how to whip up this slice of childhood bliss? Let’s dive into the sweet details!
Why are Peanut Butter Lunch Lady Bars special?
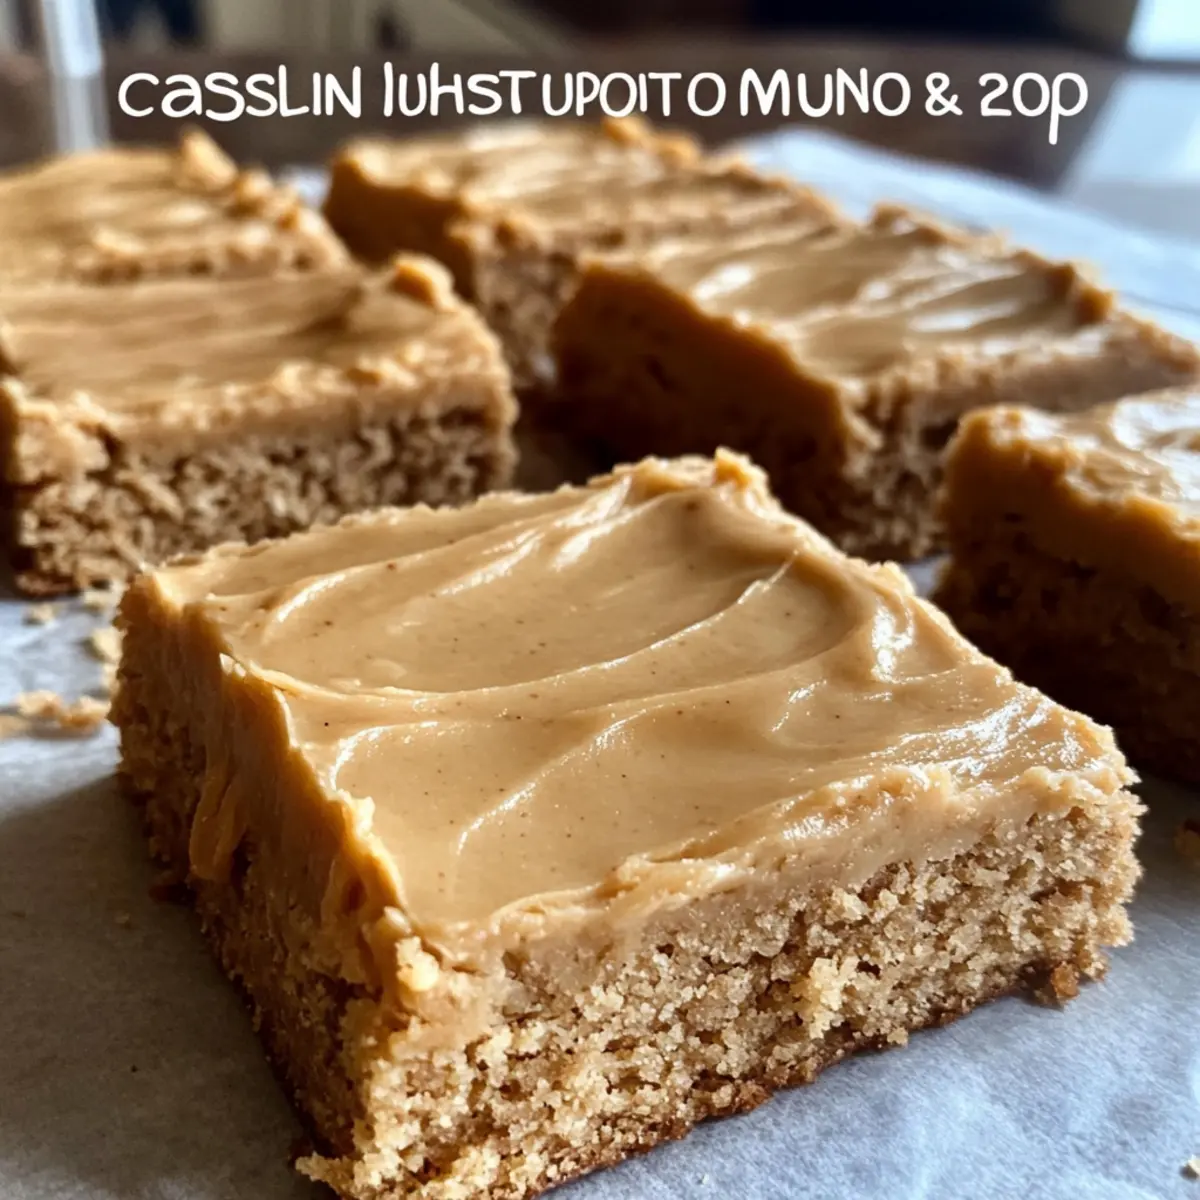
Nostalgic moments come alive with every bite of these Peanut Butter Lunch Lady Bars, evoking sweet memories from school days and bake sales. Easy to make, this recipe requires minimal ingredients and is perfect for those who want to whip up something quickly without sacrificing flavor. Crowd-pleasing by nature, these bars are ideal for potlucks or family gatherings, ensuring there’s something for everyone to enjoy. Versatile in possibility, you can easily customize them with crunchy peanut butter or a drizzle of chocolate on top. For a delicious snack to share, consider pairing them with some Peanut Butter Crackers for an extra treat!
Peanut Butter Lunch Lady Bars Ingredients
For the Batter
- All-Purpose Flour – Provides the necessary structure for the bars to hold together nicely.
- Granulated Sugar – Adds the perfect amount of sweetness and moisture to the bars.
- Baking Soda – Ensures the bars rise evenly during baking for a soft texture.
- Salt – Enhances the flavors, balancing out the sweetness.
- Whole Milk – Contributes to a rich, moist texture that keeps the bars tender.
- Vanilla Extract – Boosts the overall flavor profile without overpowering the peanut butter.
- Eggs – Bind the ingredients together, adding richness to the batter.
- Unsalted Butter – Combines with the peanut butter for a rich base; unsalted allows for better control of saltiness.
- Creamy Peanut Butter – The star of the show, delivering that iconic flavor and creamy texture.
For the Frosting
- Powdered Sugar – Key for creating a smooth, spreadable frosting that complements the bars perfectly.
- Additional Milk – Thins the frosting to the ideal consistency, making it easy to spread.
Curious to create these nostalgic Peanut Butter Lunch Lady Bars? Gather these ingredients and let’s get baking!
Step‑by‑Step Instructions for Peanut Butter Lunch Lady Bars
Step 1: Preheat and Prepare
Start by preheating your oven to 400°F (200°C). Grease a 13×18-inch sheet pan or line it with parchment paper, allowing for easy removal of the bars later. This first step is crucial, as a properly prepared pan ensures that your Peanut Butter Lunch Lady Bars bake evenly and don’t stick.
Step 2: Combine Dry Ingredients
In a large mixing bowl, whisk together the all-purpose flour, granulated sugar, baking soda, and salt until thoroughly blended. This dry mixture is the foundation of your bars and helps create that tender texture. Make sure there are no lumps for an even consistency before setting it aside.
Step 3: Mix Wet Ingredients
In another bowl, combine the whole milk, vanilla extract, and beaten eggs. Whisk until well incorporated, creating a smooth liquid mixture that will add moisture and richness to your Peanut Butter Lunch Lady Bars. Let this sit as it blends harmoniously with the dry ingredients later.
Step 4: Melt Butter and Peanut Butter
In a medium saucepan over medium heat, melt together the unsalted butter and creamy peanut butter until the mixture starts to bubble gently. Remove the saucepan from the heat immediately. This step infuses your bars with a lovely peanut flavor that’s simply irresistible and sets the stage for combining with the other ingredients.
Step 5: Blend Mixtures
Pour the dry ingredient mixture into the melted peanut butter and butter mixture. Gently stir until just combined, then add the wet milk and egg mixture. Mix everything until smooth and fully integrated, ensuring no dry pockets remain. This will create a wonderful batter for your Peanut Butter Lunch Lady Bars.
Step 6: Bake the Batter
Spread the batter evenly in the prepared sheet pan, using a spatula for uniform thickness. Bake in the preheated oven for about 20 minutes or until a toothpick inserted in the center comes out clean. Be careful not to overbake; the bars should be set but still soft to maintain that delightful texture.
Step 7: Prepare the Frosting
While the bars are baking, you can prepare the frosting. In a saucepan, melt more butter and peanut butter together over medium heat, allowing it to come to a gentle boil. Once boiling, stir in the additional milk and then gradually whisk in the powdered sugar until the mixture is smooth and creamy, creating the perfect topping for your bars.
Step 8: Frost the Bars
After the Peanut Butter Lunch Lady Bars have cooled for a few minutes, pour the warm frosting over them. Use a spatula to spread the frosting evenly, ensuring every inch gets that rich, creamy layer. Let the frosting set before slicing the bars into squares, allowing them to cool completely for the best results.
What to Serve with Peanut Butter Lunch Lady Bars
Indulging in Peanut Butter Lunch Lady Bars is a comforting experience, but you can elevate your dessert game by pairing them with delightful accompaniments.
-
Cold Milk: This classic pairing enhances the creamy texture of the bars, making each bite a nostalgic treat reminiscent of childhood lunchboxes.
-
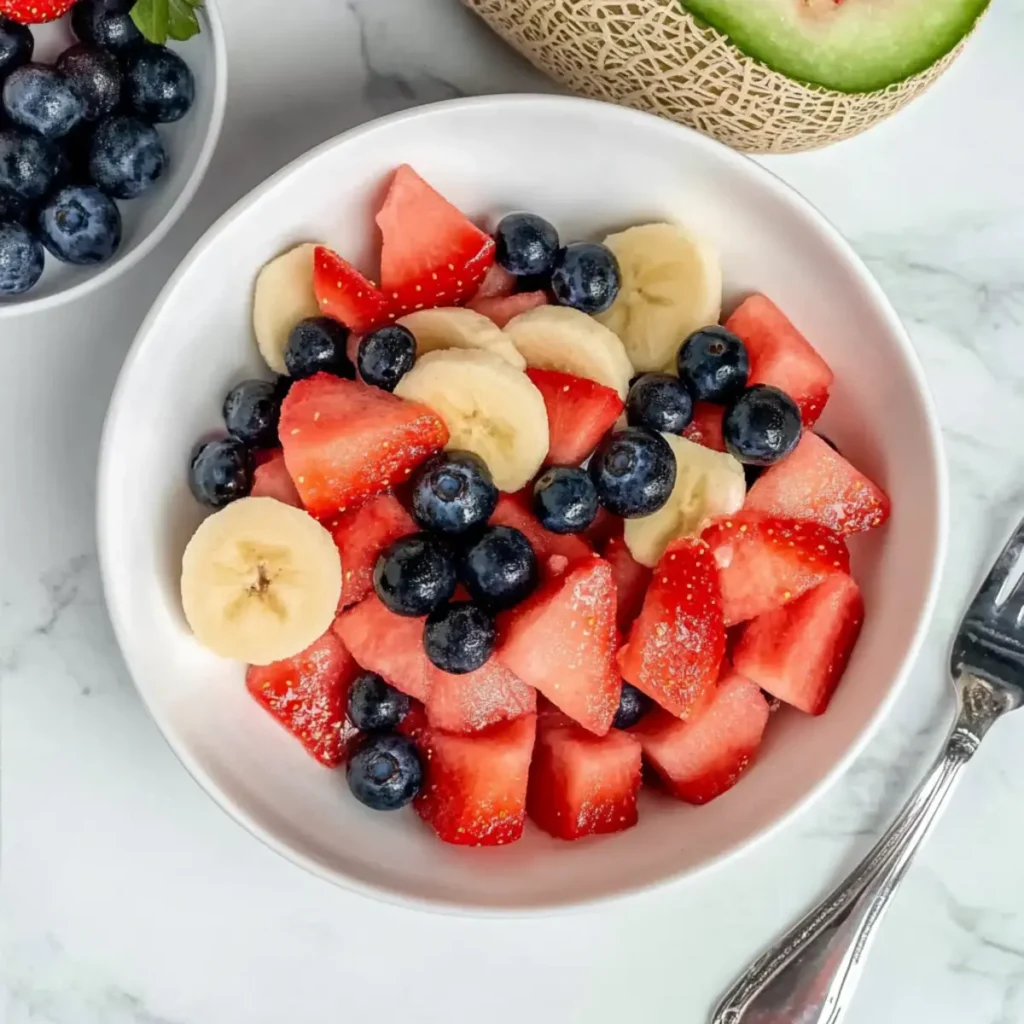
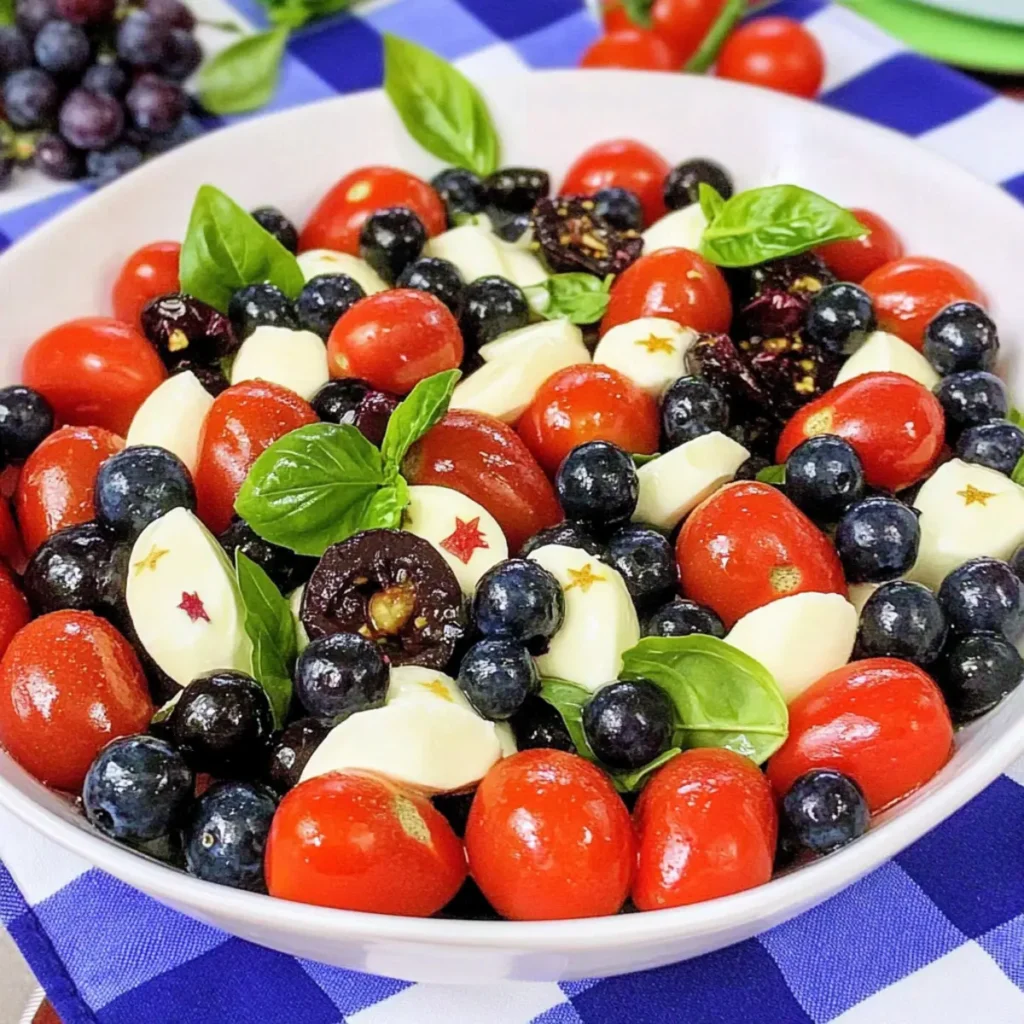
Fruity Side Salad: A refreshing fruit salad provides a burst of freshness that beautifully balances the rich peanut butter flavor.
-
Ice Cream Scoop: A scoop of vanilla or chocolate ice cream adds a delightful contrast, creating a delightful hot-and-cold experience that’s simply irresistible.
-
Aromatic Coffee: The rich notes of coffee complement the sweetness of the bars, making it a perfect partner for an afternoon snack or dessert.
-
Chocolate Drizzle: For extra indulgence, drizzle melted chocolate over the bars. This decadent touch enhances their richness, making them utterly scrumptious.
-
Peanut Butter Cookie Crumble: To amp up the peanut butter goodness, sprinkle crushed peanut butter cookies on top for added texture and flavor.
Serve these delicious pairings alongside your Peanut Butter Lunch Lady Bars, and watch the smiles light up the faces of those you love!
Storage Tips for Peanut Butter Lunch Lady Bars
Room Temperature: Keep your Peanut Butter Lunch Lady Bars in an airtight container at room temperature for up to a week, maintaining their soft texture and delightful flavor.
Fridge: If you prefer, store the bars in the fridge for about 10 days. Just ensure they’re tightly wrapped to avoid drying out or absorbing odors from other foods.
Freezer: Wrap the bars individually or as a whole in plastic wrap and then foil, placing them in a freezer-safe bag. They can be frozen for up to two months, making them perfect for a make-ahead treat.
Reheating: Let the bars thaw in the fridge overnight before enjoying. For a warm treat, you can microwave them for about 10-15 seconds.
Make Ahead Options
These Peanut Butter Lunch Lady Bars are a fantastic choice for meal prep enthusiasts! You can make the batter up to 24 hours in advance by preparing it and refrigerating it in an airtight container. When you’re ready to bake, simply remove the batter from the fridge, allow it to come to room temperature for about 30 minutes, then spread it in the pan and bake as directed. Additionally, you can frost the bars and store them in an airtight container at room temperature for up to 3 days, maintaining their delicious taste and texture. Just remember to let the bars cool completely before applying the frosting for a flawless finish. This way, you’ll have a nostalgic dessert on hand, ready to share with loved ones!
Expert Tips for Peanut Butter Lunch Lady Bars
-
Even Batter Distribution: Use a spatula to carefully spread the batter evenly in the pan. This helps ensure that your bars bake uniformly and don’t end up with uneven textures.
-
Watch the Time: Keep a close eye on your bars as they bake. Overbaking can lead to dry bars; they should spring back lightly when touched and a toothpick should come out clean, but moist.
-
Cooling Counts: Allow the bars to cool completely before adding the frosting. This prevents melting and ensures a smooth frosting application, leading to the best results.
-
Flavor Balance: Consider adding a pinch of salt to the frosting to enhance the peanut butter flavor. This simple addition adds complexity to the sweetness and rounds out the taste.
-
Texture Variation: Experiment with using crunchy peanut butter instead of creamy for a different texture. This can add a delightful crunch, while still delivering that nostalgic flavor.
Peanut Butter Lunch Lady Bars Variations
Feel free to explore these fun twists on the classic recipe to create your own special batch!
-
Crunchy Peanut Butter: Substitute creamy peanut butter with crunchy for delightful texture and added nutty crunch.
-
Chocolate Drizzle: Drizzle melted chocolate over the frosting after it sets for a decadent chocolatey treat. This sweet addition will surely elevate the experience!
-
Nutty Add-Ins: Toss in chopped nuts or mini chocolate chips to the batter for extra flavor and texture. It adds a unique twist that elevates each bite.
-
Dairy-Free: Swap whole milk for almond or oat milk, and use a dairy-free butter substitute to make these bars suitable for a dairy-free diet.
-
Gluten-Free: Use a gluten-free flour blend instead of all-purpose flour to cater to gluten sensitivities. Making this recipe inclusive means everyone can enjoy!
-
Maple Frosting: Replace part of the powdered sugar in the frosting with maple syrup for a sweet, earthy flavor twist. It adds an exciting new depth to the familiar taste.
-
Spiced Version: Add cinnamon or nutmeg to the batter for a warm, fragrant hint. These spices give a cozy twist that’s perfect for fall!
-
Fruity Twist: Fold in some mashed bananas or applesauce for a fruitier flavor twist, adding moisture and natural sweetness. These additions can bring an exciting new flavor profile to the bars!
For more ideas to inspire your sweet cravings, consider pairing your bars with Pepper Lunch Homemade for a delightful meal lineup or indulge in a slice of Caramel Kentucky Butter for dessert!
Peanut Butter Lunch Lady Bars Recipe FAQs
How do I choose the right peanut butter for my bars?
Absolutely! For the best flavor and texture in your Peanut Butter Lunch Lady Bars, I recommend using creamy peanut butter. It blends smoothly into the batter and frosting, providing that classic taste. If you prefer a bit of crunch, feel free to use crunchy peanut butter instead. Just keep in mind that it will add a different texture to your bars!
How should I store my Peanut Butter Lunch Lady Bars?
To keep your bars fresh, store them in an airtight container at room temperature for up to a week. If you’re craving them after a few days, don’t worry! You can also refrigerate them for about 10 days. Just ensure they’re well-wrapped to prevent dryness or odors from sneaking in.
Can I freeze Peanut Butter Lunch Lady Bars?
Absolutely! To freeze your bars, wrap them tightly in plastic wrap first, then place them in a freezer-safe bag. This way, they’ll stay fresh for up to 2 months. When you’re ready to enjoy them, thaw them in the fridge overnight. You can even warm them in the microwave for about 10-15 seconds for a cozy treat!
What should I do if my bars turn out dry?
If you find your Peanut Butter Lunch Lady Bars are dry, the culprit is often overbaking. Always keep an eye on the bars, as they should spring back lightly when touched and a toothpick should come out clean but moist. If this happens, don’t fret! A drizzle of frosting can also help bring some moisture back.
Are these bars safe for people with nut allergies?
These Peanut Butter Lunch Lady Bars are not suitable for those with nut allergies, given their primary ingredient is peanut butter. For a nut-free alternative, consider using sun butter or a seed butter to replicate that creamy texture and flavor without the risks associated with nuts. It’s always best to check with your guests before serving!
Nostalgic Peanut Butter Lunch Lady Bars for Sweet Memories
Ingredients
Equipment
Method
- Preheat your oven to 400°F (200°C) and grease a 13×18-inch sheet pan.
- In a large bowl, whisk together flour, sugar, baking soda, and salt.
- In another bowl, combine milk, vanilla extract, and beaten eggs.
- Melt butter and peanut butter together in a saucepan over medium heat.
- Combine dry ingredients with the melted mixture, then add wet ingredients until smooth.
- Spread the batter evenly in the prepared pan and bake for about 20 minutes.
- For frosting, melt more butter and peanut butter in a saucepan, stir in milk and whisk in powdered sugar.
- Once the bars have cooled, pour frosting over and spread evenly. Let set before slicing.
")