")
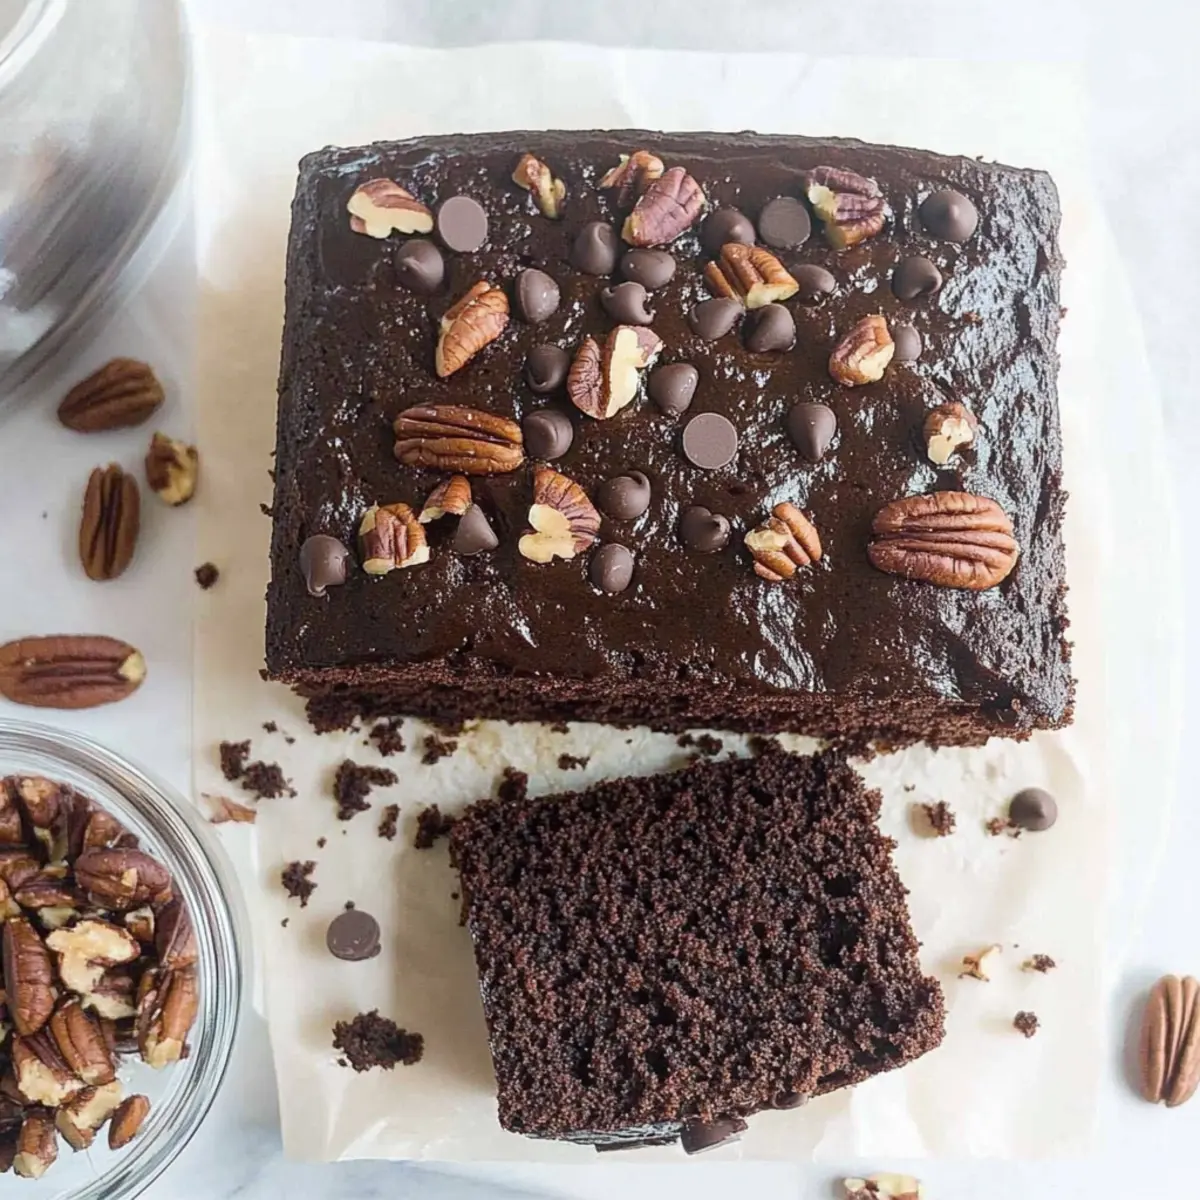
As I rummaged through my pantry for inspiration, a treasure trove of cocoa and oats caught my eye, igniting the spark for something special: a Devil’s Food Snack Cake. This chocolatey delight is not just any dessert; it’s a harmonious blend of moistness and a unique texture that sets it apart from the usual cakes. What I love most about this recipe is its ease of preparation—no frosting required, making it a perfect potluck companion! Plus, it’s a fantastic way to satisfy those sweet cravings without the hassle of elaborate decorations. Whether you’re heading to a friend’s barbecue or just want to indulge yourself on a lazy Sunday, this cake is utterly transportable and ready to impress. Curious about how to whip up this chocolatey goodness? Let’s dive into the recipe!
Why is this cake a must-try?
Simplicity is key: With no frosting needed, this Devil’s Food Snack Cake is truly a breeze to prepare.
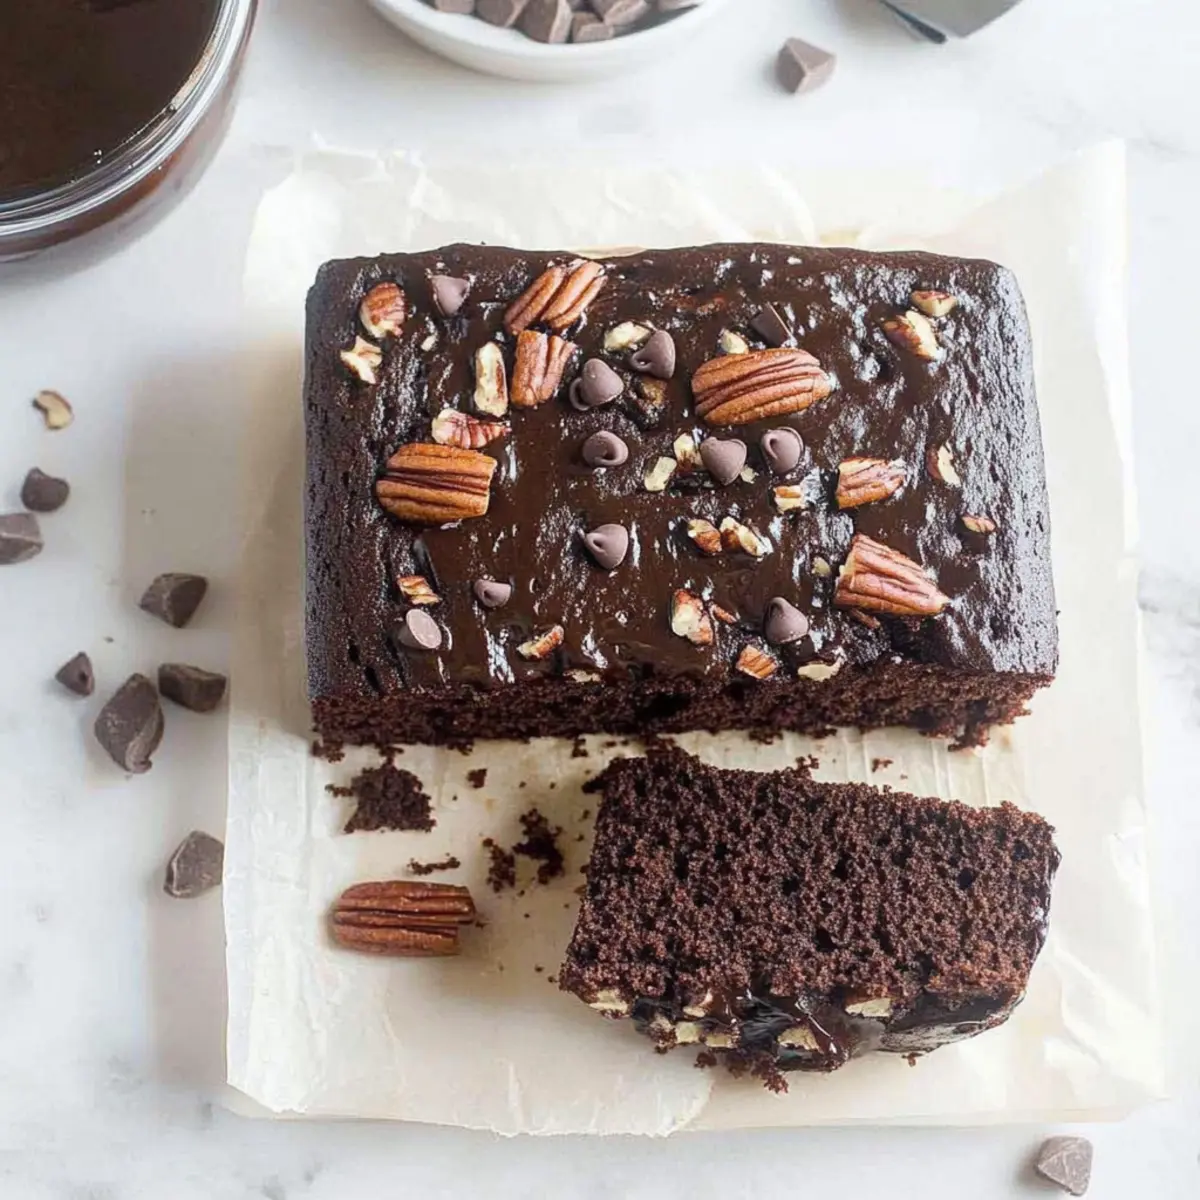
Decadent Flavor: Each bite is packed with rich chocolate, thanks to dark baking cocoa and mini chocolate chips.
Unique Texture: The addition of oats creates a delightful chewiness, making it more than just your average cake.
Versatile delight: Perfect for potlucks, camping trips, or simply enjoying at home, this recipe fits any occasion.
Storage-Friendly: Make ahead and store easily—whether at room temperature or in the freezer, it’s as convenient as it is delicious!
For even more delicious ideas, check out our Peanut Butter Snack for a tasty treat that pairs wonderfully with this cake!
Devil’s Food Snack Cake Ingredients
For the Cake
- Quick-Cooking Oats – Adds texture and moisture; rolled oats can be used instead.
- Boiling Water – Hydrates the oats, helping them blend seamlessly into the cake.
- Butter (softened) – Provides richness and a tender crumb that enhances the cake’s moistness.
- Sugar – Sweetens the cake; coconut sugar is a healthier alternative.
- Brown Sugar (packed) – Contributes depth of flavor and additional moisture.
- Large Eggs – Binds the ingredients and adds structure; consider whipping egg whites for a lighter texture.
- Buttermilk – Adds acidity, which activates baking soda for better leavening; substitute with milk plus vinegar or yogurt if necessary.
- Canola Oil – Helps to keep the cake moist; can be swapped with vegetable oil or melted coconut oil.
- Vanilla Extract – Enhances flavor; almond extract can be used for a different twist.
- All-Purpose Flour – Provides structure for the cake; can be substituted with a gluten-free flour blend.
- Whole Wheat Flour – Adds nuttiness and nutrition; use all-purpose flour for a lighter cake if needed.
- Dark Baking Cocoa – Gives a rich chocolate flavor; Dutch-processed cocoa is an excellent substitute.
- Instant Coffee Granules – Intensifies the chocolate flavor; feel free to omit if you’re not a coffee fan.
- Baking Soda – Serves as a leavening agent; do not substitute without adjusting other ingredients.
- Salt – Balances flavors and enhances the sweetness.
- Miniature Semisweet Chocolate Chips – Offers delightful bursts of chocolate; swap for milk or dark chocolate chips based on preference.
- Chopped Pecans – Adds crunch and flavor; walnuts can be used instead, or omit for a nut-free option.
This Devil’s Food Snack Cake not only satisfies sweet cravings but also brings texture and depth to your dessert table!
Step‑by‑Step Instructions for Devil’s Food Snack Cake
Step 1: Preheat and Prepare
Begin by preheating your oven to 350°F (175°C). While it warms, prepare a 13×9-inch baking pan by greasing it lightly. This is key for the easy release of your delicious Devil’s Food Snack Cake after baking. Have your mixing bowls and whisk ready to make the process smooth and enjoyable.
Step 2: Combine Oats and Water
In a large bowl, combine quick-cooking oats and boiling water, stirring well to ensure the oats are fully saturated. Allow this mixture to stand for 10 minutes, giving the oats time to tenderize and absorb the water. You’ll notice the oats swelling up, which adds to the cake’s unique texture once baked.
Step 3: Cream Butter and Sugars
In a separate bowl, use an electric mixer to beat the softened butter, granulated sugar, and packed brown sugar together until the mixture becomes light and crumbly—about 2 minutes. This creamy base helps to incorporate air into the batter, setting the foundation for your rich and moist cake.
Step 4: Add Eggs and Liquid Ingredients
Next, add the large eggs one at a time to the butter-sugar mixture, ensuring each one is fully incorporated before adding the next. Follow this with the buttermilk, canola oil, and vanilla extract. Mix well until everything is combined; the batter will be smooth and glossy, awaiting the dry ingredients.
Step 5: Mix Dry Ingredients
In another bowl, whisk together the all-purpose flour, whole wheat flour, dark baking cocoa, instant coffee granules, baking soda, and salt. This step is crucial as it evenly distributes the leavening agent and cocoa, ensuring a uniform chocolate flavor throughout your Devil’s Food Snack Cake.
Step 6: Combine Wet and Dry Mixtures
Gradually add the dry ingredient mixture to the wet batter, stirring gently to combine. Once incorporated, fold in the prepared oat mixture along with miniature semisweet chocolate chips and chopped pecans. The batter will be thick and chocolatety, dotted with lovely textures from the oats and nuts.
Step 7: Transfer to Pan and Bake
Pour the batter into your greased baking pan, spreading it evenly with a spatula. Sprinkle any remaining chocolate chips and pecans on top for an extra touch of flavor and presentation. Place the pan into the preheated oven and bake for 35-40 minutes, or until a toothpick inserted in the center comes out clean, signaling it’s done.
Step 8: Cool and Serve
Once baked, remove the cake from the oven and allow it to cool in the pan for about 10 minutes. Then transfer it to a wire rack to cool completely. The cake will become even more decadent as it sets, making it a delightful treat to slice and share, perfect for gatherings or a cozy night at home.
What to Serve with Devil’s Food Snack Cake
Indulging in a slice of this chocolatey delight opens up a world of pairing possibilities that will elevate your dessert experience.
- Whipped Cream: A fluffy dollop adds a creamy contrast to the rich chocolate flavors, creating a delightful balance.
- Vanilla Ice Cream: This classic pairing melts beautifully over the warm cake, enhancing the overall decadence with a cold touch.
- Fresh Berries: Bright and juicy berries like raspberries or strawberries bring a refreshing tartness, cutting through the cake’s sweetness.
- Chocolate Sauce: Drizzling warm chocolate sauce on top intensifies the chocolate experience for true chocoholics seeking indulgence.
- Coffee or Espresso: The rich, bitter notes of coffee complement the cake’s deep chocolate flavors, making each bite even more satisfying.
- Milk or Almond Milk: A refreshing glass of cold milk, dairy or plant-based, helps balance the sweetness while enhancing the cake’s moisture.
- Nutty Granola: Crunchy granola sprinkled on top or served alongside offers a delightful textural contrast that pairs well with the moist cake.
- Chocolate-Covered Espresso Beans: For a fun twist, serve these as a crunchy snack that echoes the cake’s chocolatey depth, perfect for coffee lovers.
- Coconut Whipped Cream: Light and airy with a hint of tropical flavor, this creamy topping elevates the dessert into a delightful escape.
Each of these pairings brings its own unique twist to the rich flavor of the Devil’s Food Snack Cake, ensuring your dessert experience is nothing short of exceptional!
Storage Tips for Devil’s Food Snack Cake
-
Room Temperature: Store the Devil’s Food Snack Cake in an airtight container at room temperature for up to 3 days. This keeps it moist and ready to enjoy any time!
-
Fridge: If you prefer, you can refrigerate the cake for up to a week. Just make sure it’s well-wrapped to prevent it from drying out.
-
Freezer: Freeze slices in airtight freezer bags for up to 3 months. Allow them to thaw in the fridge before serving, and you’ll have a delicious chocolate treat on hand whenever a craving strikes!
-
Reheating: To enjoy a warm slice, pop it in the microwave for 10-15 seconds. This will enhance the chocolate flavor and bring back that fresh-baked goodness!
Make Ahead Options
These Devil’s Food Snack Cakes are perfect for busy home cooks who want to save time without sacrificing flavor! You can prepare the batter up to 24 hours in advance by mixing everything except the chocolate chips and pecans. Store it in an airtight container in the refrigerator to ensure it stays fresh. This way, when you’re ready to bake, simply fold in the chocolate chips and nuts, pour it into your greased pan, and bake as directed. For optimal quality, avoid letting the batter sit for longer than a day and ensure you preheat your oven right before baking so the texture remains just as delicious and moist. Enjoy the convenience of a homemade treat with minimal fuss!
Devil’s Food Snack Cake Variations
Make this delicious dessert your own with these delightful twists that will elevate your Devil’s Food Snack Cake!
-
Gluten-Free: Use almond flour instead of all-purpose flour for a gluten-free version that’s just as fabulous.
-
Dairy-Free: Swap buttermilk with almond milk mixed with a tablespoon of vinegar, and use coconut oil in place of butter. It’s a creamy, dairy-free alternative!
-
Enhanced Chocolate: Replace semi-sweet chocolate chips with dark chocolate chips for a deeper flavor that chocolate lovers will adore. Think of it as a rich indulgence in every bite.
-
Spiced Up: Add a teaspoon of cinnamon or a splash of orange zest to the batter for a surprising twist that adds warmth and vibrancy to your dessert.
-
Nut-Free Option: Simply omit the pecans for a nut-free version. Your cake will still be utterly delightful and safe for gatherings.
-
Mini Treats: Bake in muffin tins for individual servings! They’ll be delightful bite-sized snacks, perfect for sharing or school lunches.
-
Fruity Finish: Jot a handful of fresh raspberries or cherries into the batter for a fruity surprise that brightens each morsel beautifully.
-
Frosting-Free: For a decadent treat without the fuss, top with a dusting of powdered sugar or a scoop of homemade vanilla ice cream while keeping it transport-friendly.
As you experiment, consider pairing this cake with a rich Strawberry Cake Filling for an explosion of flavors! Happy baking!
Expert Tips for Devil’s Food Snack Cake
-
Room Temperature Butter: Ensure your butter is softened to room temperature for easier mixing, resulting in a lighter texture for your cake.
-
Avoid Over-Mixing: To keep the cake light and airy, mix just until combined; over-mixing can lead to a dense Devil’s Food Snack Cake.
-
Check Doneness Early: Start checking for doneness about five minutes before the suggested baking time, as ovens can vary, and you want to avoid overbaking.
-
Intensify Chocolate Flavor: For a richer chocolate taste, consider increasing the amount of cocoa powder or adding a splash of brewed coffee to your batter.
-
Nut-Free Option: If you need to make this cake nut-free, simply omit the chopped pecans, and it will still be just as delicious and satisfying!
Devil’s Food Snack Cake Recipe FAQs
How do I choose the best oats for this cake?
You want to use quick-cooking oats for this Devil’s Food Snack Cake, as they absorb the boiling water efficiently and contribute to the cake’s texture. If you only have rolled oats on hand, they can be a substitute; just blend them into smaller pieces to mimic the quick-cooking oats’ consistency.
What’s the best way to store leftover cake?
Store your Devil’s Food Snack Cake in an airtight container at room temperature for up to 3 days. If you need to keep it longer, refrigerate it for up to a week, ensuring it’s well-wrapped to prevent it from drying out. It’s as convenient as it is delicious—perfect for snacking!
Can I freeze this cake for later enjoyment?
Absolutely! To freeze your Devil’s Food Snack Cake, first, ensure it’s completely cooled. Slice it into individual portions, then wrap each slice tightly in plastic wrap and place in an airtight freezer bag. You can store it in the freezer for up to 3 months. When you’re ready to indulge, simply thaw it in the refrigerator overnight or use the microwave for a quick reheat.
What if my cake turns out dense?
If your cake ends up looking and tasting dense, there’s a chance that it was over-mixed. To avoid this, make sure to mix the batter just until ingredients are combined. Additionally, check your baking soda’s freshness, as it should be active to help the cake rise. If you prefer extra sponginess, you can also whip the egg whites before folding them into the mixture.
Are there any allergy considerations with this recipe?
Yes, this recipe contains eggs and nuts, so it’s not suitable for individuals with egg or nut allergies. If you’d like to make a nut-free version, simply omit the chopped pecans; this cake will still be just as scrumptious and satisfying. For egg allergies, you can try using a flaxseed meal substitution (1 tablespoon of flaxseed meal mixed with 2.5 tablespoons of water for each egg).
How can I add more flavor to my cake?
For those looking to enhance the flavor of your Devil’s Food Snack Cake, consider adding in a splash of brewed coffee to deepen the chocolate notes. You can also experiment with spices like cinnamon or a splash of orange zest for a unique flavor twist—it’s all about making it your own!
Devil's Food Snack Cake for Ultimate Chocolate Lovers
Ingredients
Equipment
Method
- Preheat the oven to 350°F (175°C) and grease a 13x9-inch baking pan.
- Combine quick-cooking oats and boiling water in a large bowl, stirring well. Let stand for 10 minutes.
- Beat softened butter, granulated sugar, and packed brown sugar together until light and crumbly, about 2 minutes.
- Add eggs one at a time to the butter-sugar mixture, incorporating fully before each addition, then add buttermilk, oil, and vanilla extract, mixing until smooth.
- Whisk together all-purpose flour, whole wheat flour, cocoa, coffee granules, baking soda, and salt in a separate bowl.
- Gradually add dry ingredients to the wet batter, stirring gently, then fold in the oat mixture, chocolate chips, and pecans.
- Transfer the batter to the greased baking pan and bake for 35-40 minutes or until a toothpick comes out clean.
- Let cool in the pan for 10 minutes, then transfer to a wire rack to cool completely.
")