
As I knead the dough, I can’t help but be transported to a lively German beer garden, where the aroma of fresh-baked pretzel rolls fills the air. These Homemade Pretzel Rolls are not just a delicious indulgence; they’re surprisingly easy to whip up and don’t rely on harsh ingredients like lye. Whether you choose to craft them into traditional round shapes or delightful slider buns, they promise a delightful salty crust and a fluffy interior that will elevate any meal. Plus, they’re perfect for gatherings or simply enjoying as a comforting snack straight from the oven. Ready to dive into the world of homemade pretzel perfection? Let’s get started!
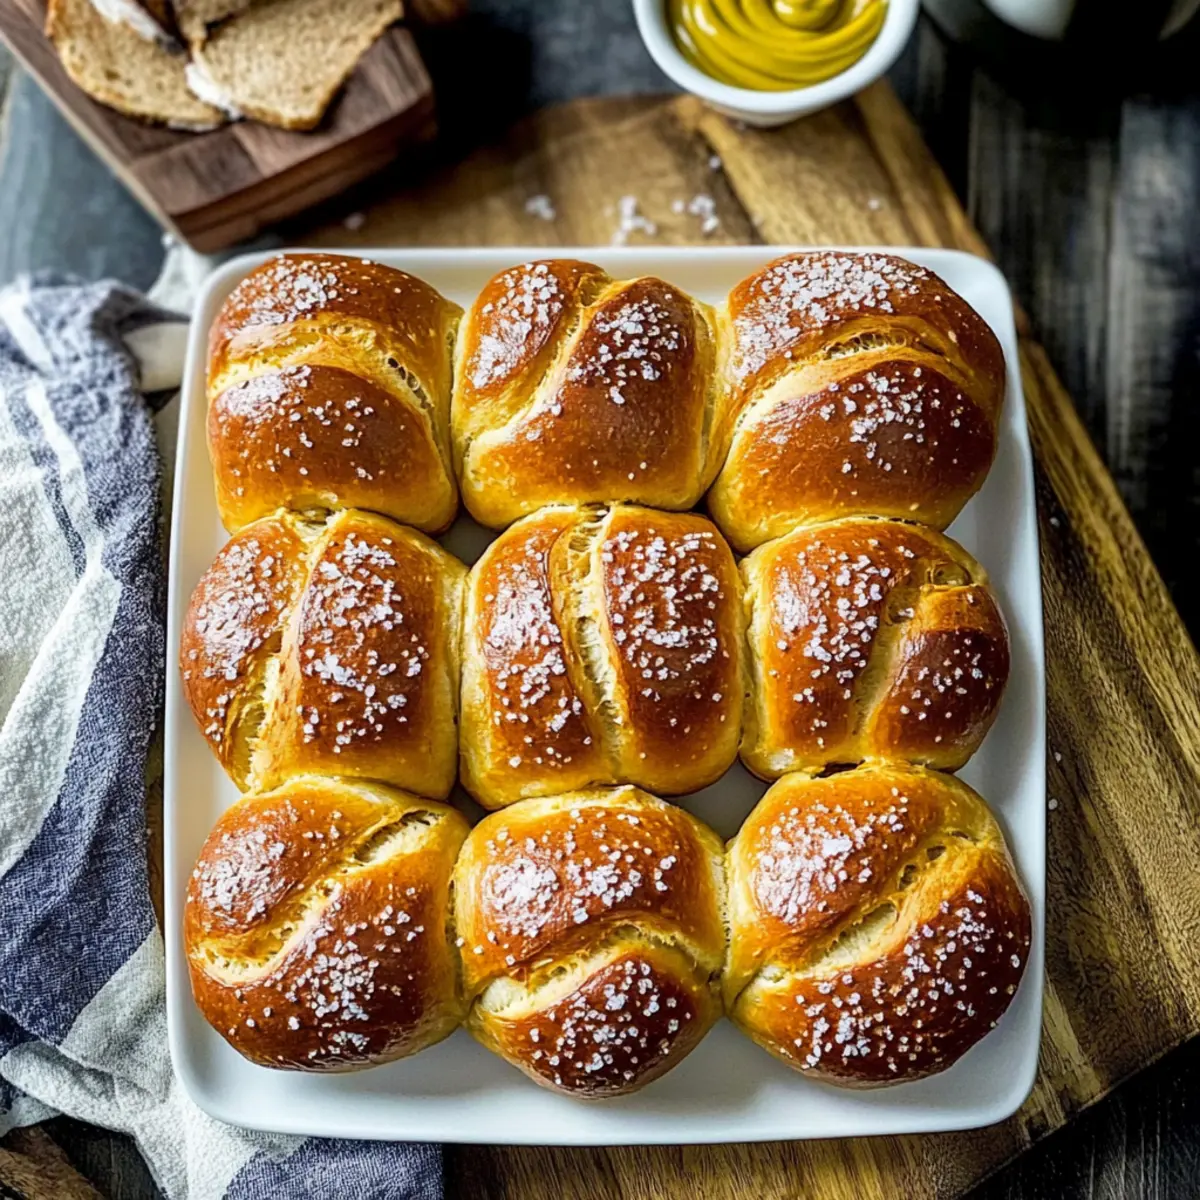
Why are These Pretzel Rolls a Must-Try?
Easy Preparation: This recipe allows you to create bakery-style pretzel rolls at home with minimal effort.
Flavor Explosion: Each bite offers a perfect balance of salty and savory, thanks to the unique baking soda bath method.
Versatility: Shape them into traditional rolls or sliders for any occasion, from snack time to dinner parties. Dive into variations by topping with garlic or cheese for added flair!
Crowd-Pleasing: These rolls are sure to impress family and friends, turning any meal into a special treat. For more baking inspiration, check out our Sourdough Dinner Rolls!
Comfort Food: Freshly baked and warm, nothing beats the satisfaction of enjoying these homemade delights right out of the oven.
Pretzel Rolls Ingredients
For the Dough
• Water – 1 ½ cups, at 110°F; warm water is essential for activating the yeast.
• Yeast – 1 tablespoon (active dry yeast); fresh yeast will give you the best rise for your pretzel rolls.
• All-Purpose Flour – 4 ½ cups; unbleached flour helps achieve the perfect chewy texture.
• Salt – 1 teaspoon; it enhances flavor and is crucial for a well-balanced taste.
For the Baking Soda Bath
• Baking Soda – ¼ cup; used for browning the pretzel rolls, this creates that classic taste and color.
Optional Toppings
• Melted Butter – for brushing before serving; adds richness and a shiny finish.
• Coarse Salt – to sprinkle on top; elevates the rustic charm and flavor of the rolls.
Step-by-Step Instructions for Pretzel Rolls
Step 1: Prepare the Dough
In a large mixing bowl, combine 1 ½ cups of warm water (at 110°F) with 1 tablespoon of active dry yeast. Let it stand for about 5 minutes until the mixture becomes frothy. Then, mix in 4 ½ cups of all-purpose flour and 1 teaspoon of salt. Knead the dough on a floured surface until it is smooth and elastic, roughly 8-10 minutes.
Step 2: First Rise
Place the kneaded dough in a lightly greased bowl, covering it with a clean kitchen towel. Allow the dough to rise in a warm place, such as an oven with the light on, for about 1-2 hours or until it doubles in size. You’ll know it’s ready when the dough feels puffy and has increased significantly in volume.
Step 3: Shape Rolls
Once the dough has risen, punch it down gently to release the air. Divide the dough into 10-12 equally sized portions, depending on your desired roll size. Shape each portion into a round ball or a slider shape while ensuring they are smooth and taut. Place the shaped rolls on a parchment-lined baking sheet, keeping space between them to allow for expansion.
Step 4: Second Rise
Cover the shaped rolls with a damp kitchen towel and let them rise again for about 30 minutes. During this time, they should puff up slightly. You’ll notice they become softer and fuller, preparing them for the baking soda bath that will enhance their signature pretzel crust.
Step 5: Prepare the Bath
In a large pot, bring 10 cups of water to a rolling boil. Carefully add ¼ cup of baking soda to the boiling water. This mixture creates the alkaline environment needed for that characteristic pretzel flavor and golden-brown color. Make sure to stir well to dissolve the baking soda completely.
Step 6: Bathe the Rolls
One by one, gently lower each roll into the boiling baking soda water. Let them bathe for about 30 seconds, ensuring they get fully submerged. Using a slotted spoon, remove the rolls and allow any excess water to drain before returning them to the baking sheet. This step is crucial for achieving that delicious pretzel crust.
Step 7: Bake
Preheat your oven to 425°F (220°C). Once fully heated, place the baking sheet with your prepared pretzel rolls in the oven and bake for 15-20 minutes. Keep an eye on them; they should be a deep golden brown, indicating they are fully baked and ready to enjoy.
Step 8: Final Touches
After baking, remove the pretzel rolls from the oven and let them cool slightly. If desired, brush them with melted butter for an extra rich flavor, and sprinkle with coarse salt to enhance their rustic appeal. These Homemade Pretzel Rolls are now ready to be served warm, making any meal feel special.
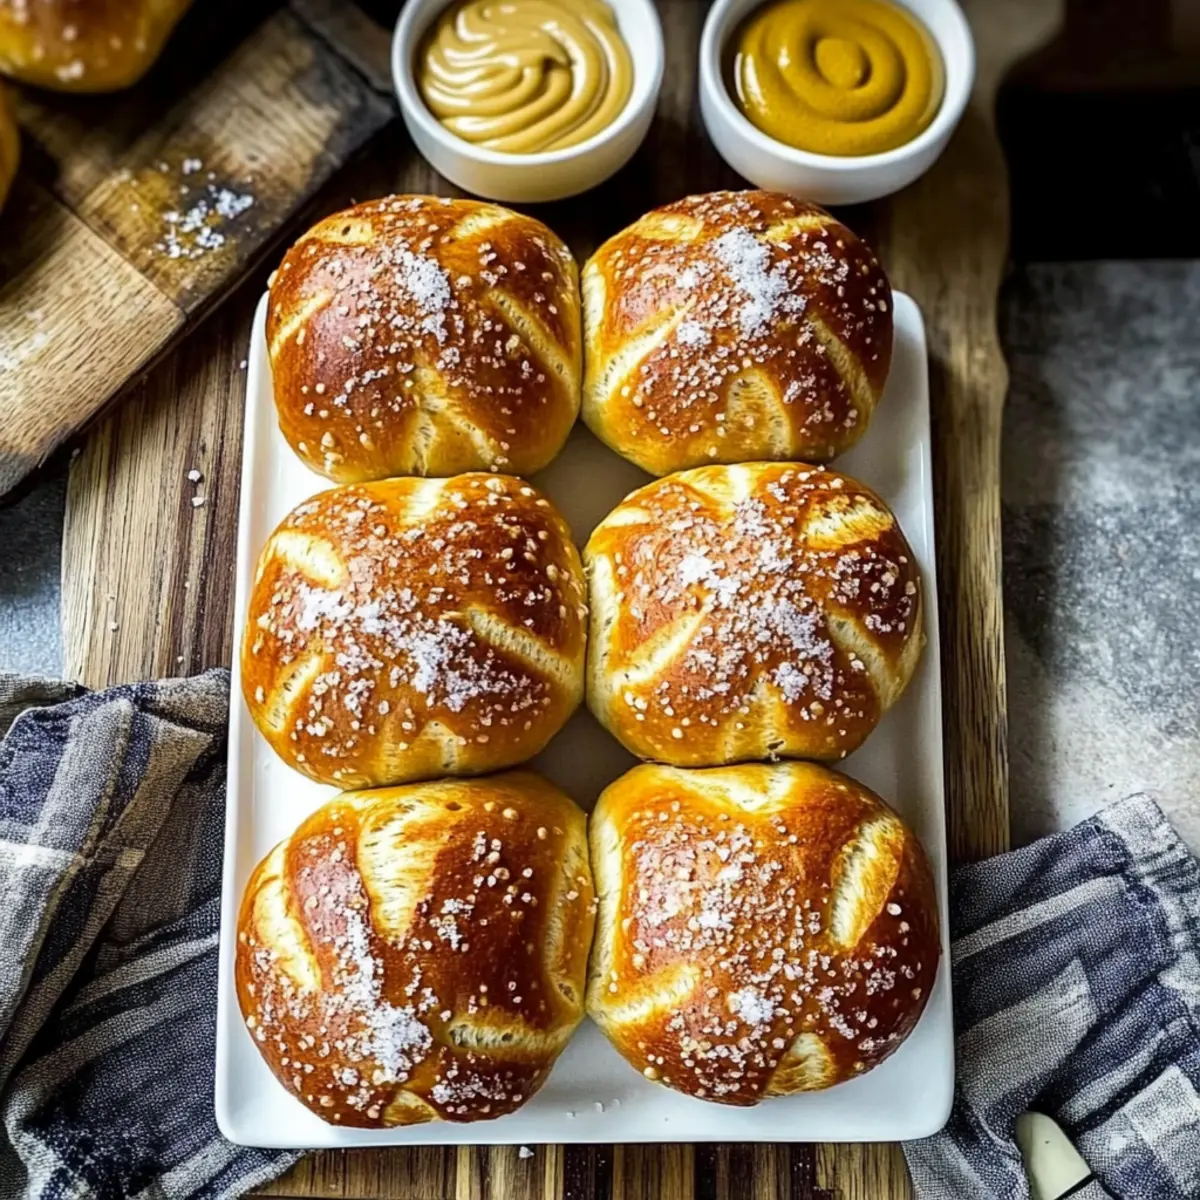
What to Serve with Homemade Pretzel Rolls
Warm and inviting, these soft and chewy rolls can effortlessly transform your meal into a delightful experience.
- Classic Mustard Dip: This tangy complement cuts through the rich flavor, making each bite of the pretzel roll even more enjoyable.
- Creamy Cheese Spread: Enhance the indulgence with a luscious cheese spread. Its richness pairs beautifully with the rolls’ salty crust.
- Savory Bratwurst: Grill up some bratwurst for a hearty meal. Slipping them inside the rolls makes for an unforgettable slider experience.
- Honey Butter: For a sweet twist, whip up honey butter. The sweetness balances the saltiness, turning each pretzel roll into a delightful treat.
- Crisp Green Salad: Serve with a fresh salad to add a crunchy texture and lightness, creating a well-rounded meal. Pair with a zesty vinaigrette for extra flavor!
- Craft Beer: A cold craft beer enhances the experience, echoing the playful spirit of German beer gardens. It’s a classic pairing that never fails.
- Apple Pie: For dessert, serve warm apple pie to create a cozy finale to your meal. The contrast of flavors will leave everyone wanting more.
- Roasted Garlic Hummus: This creamy alternative offers a modern twist, providing a smooth dip that elevates the experience while complementing the rolls’ texture.
- Herb-Infused Olive Oil: Drizzle olive oil infused with fresh herbs for a light, aromatic dip. The earthiness beautifully complements the bread’s chewiness.
- Sparkling Lemonade: A refreshing drink option, sparkling lemonade adds a delightful zest while perfectly balancing the savory elements of your meal.
Make Ahead Options
These Homemade Pretzel Rolls are perfect for busy weeknights or gatherings, allowing you to prep in advance and still enjoy fresh-baked goodness! You can prepare the dough up to 24 hours ahead by following the first rise and shaping the rolls, then refrigerate them on the baking sheet, covered loosely with plastic wrap to prevent drying. When you’re ready to bake, let them sit at room temperature for about 30 minutes before proceeding with the baking soda bath and baking instructions. This ensures they rise properly and maintain their delightful texture—just as delicious as if they were made fresh that same day! Enjoy the convenience of meal prep without sacrificing flavor!
Storage Tips for Pretzel Rolls
Room Temperature: Store your homemade pretzel rolls in an airtight container for up to 2 days. This helps to maintain their deliciously soft texture and prevents them from drying out.
Fridge: If you need to keep them longer, place the rolls in the fridge, but be aware that this may slightly affect texture. Enjoy within 4 days for the best results.
Freezer: For longer storage, freeze the pretzel rolls in a plastic freezer bag for up to 3 months. Make sure they’re wrapped tightly to prevent freezer burn.
Reheating: To enjoy frozen pretzel rolls, thaw them in the fridge overnight and reheat in a preheated oven at 350°F for about 10 minutes to bring back that lovely chewy crust.
Pretzel Rolls: Customize Your Experience
Feel free to embrace your creativity and personalize these delicious Pretzel Rolls to fit your tastes!
-
Slider Buns: Shape the dough into smaller portions for perfect slider-sized rolls, ideal for mini sandwiches or snacks.
These little bites are great for entertaining, especially when filled with pulled pork or juicy burgers. -
Garlic Infusion: Mix garlic powder or minced garlic into the dough for a savory twist that elevates their flavor profile.
The fragrant aroma will fill your kitchen and add a delightful kick that everyone will love! -
Cheesy Delight: Incorporate shredded cheese directly into the dough or sprinkle on top before baking for added richness.
Imagine biting into warm, gooey, cheesy goodness that melts in your mouth—pure comfort! -
Sweet Surprise: For dessert-style rolls, fill the dough with chocolate chips or sweetened cream cheese before shaping.
These treats can be a unique dessert that brings joy to any gathering or a cozy night in! -
Herb Toppings: Experiment with toppings such as dried herbs like rosemary or thyme to infuse herbal notes into the crust.
This simple addition enhances not just the flavor but also the visual appeal of your rolls! -
Spicy Kick: Add a dash of cayenne pepper to the dough for a subtle heat that complements the salty crust beautifully.
For those who love a bit of spice, these pretzel rolls are sure to bring that fiery enjoyment! -
Stuffed Options: Try stuffing the rolls with ingredients like pepperoni and mozzarella for a playful twist on traditional pretzels.
These stuffed delights turn your rolls into mini pizzas, perfect for quick bites or game day snacks!
While you’re exploring variations, consider pairing these Pretzel Rolls with zingy mustard or our Sourdough Dinner Rolls for a delightful contrast of flavors. Happy baking!
Expert Tips for Perfect Pretzel Rolls
-
Warm Water: Always use water at 110°F to ensure yeast activation. Skipping this step can lead to a dense dough that won’t rise properly.
-
Gradual Flour Addition: Keep the dough slightly sticky; add flour gradually during kneading to avoid over-kneading, which can make your pretzel rolls tough.
-
Boiling Time: Do not over-boil the rolls in the baking soda bath for too long. Thirty seconds is ideal to achieve that chewy texture without toughness.
-
Space Them Out: When shaping and placing the rolls on the baking sheet, leave enough space between them. This allows for proper rising and prevents them from sticking together.
-
Preheat Oven: Ensure your oven is preheated before baking the rolls. An oven that’s at the right temperature helps create that desirable golden-brown crust on your pretzel rolls.
Homemade Pretzel Rolls Recipe FAQs
What should I look for when selecting ingredients for my pretzel rolls?
Absolutely! When choosing your ingredients, start with the yeast. Fresh, active dry yeast is crucial for that fluffy texture, so check the expiration date for optimal results. For the water, it must be warm, around 110°F, to properly activate the yeast. Lastly, use unbleached all-purpose flour for the best texture—avoid bleached flour to maintain that delightful chewiness!
How should I store leftover pretzel rolls?
Very simply! Store your homemade pretzel rolls in an airtight container at room temperature for up to 2 days. If you need to keep them longer, pop them in the fridge for about 4 days, but know that they might lose some of their soft texture. For longer storage, freeze them in a plastic freezer bag for up to 3 months. Just make sure to remove as much air as possible!
Can I freeze pretzel rolls? If so, how?
Absolutely, freezing pretzel rolls is a fantastic way to enjoy them later! After they’ve cooled completely, wrap each roll tightly in plastic wrap, then place them in a freezer-safe plastic bag. Label it with the date and enjoy them within 3 months for the best flavor. To reheat, simply thaw them overnight in the refrigerator and then place them in a preheated oven at 350°F for about 10 minutes for that freshly baked taste.
What is the common issue if my pretzel rolls are too tough?
The key here is to avoid overdoing the baking soda bath! If you leave the rolls in the boiling water for too long—more than 30 seconds—you might end up with overly tough pretzel rolls. Additionally, be cautious with kneading; if you over-knead the dough, it can lead to a dense texture. Keeping the dough slightly sticky is also crucial for that perfect chewy consistency.
Are there any dietary considerations I should take into account?
Of course! If you’re making these pretzel rolls for someone with dietary restrictions, ensure to check for allergies. The main ingredients include gluten from the all-purpose flour, so they’re not suitable for those who are gluten-sensitive or have celiac disease. Additionally, if you’re serving them to pets, especially dogs, it’s best to avoid any toppings with salt, as they can be harmful to their health.
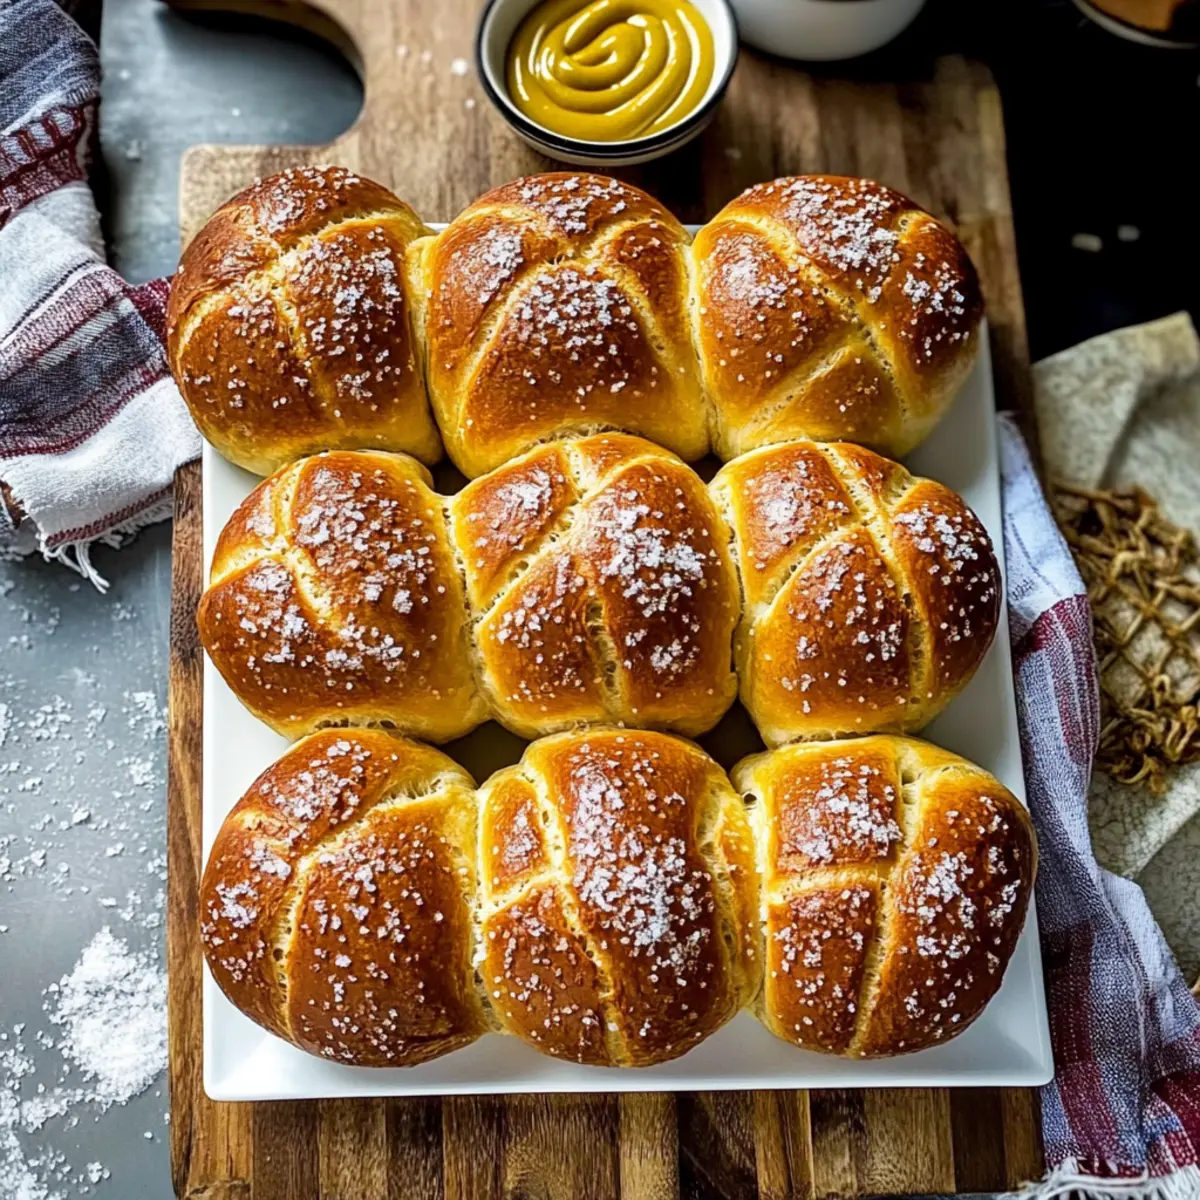
Soft Pretzel Rolls Made Easy – No Lye and Full of Flavor
Ingredients
Equipment
Method
- In a large mixing bowl, combine 1 ½ cups of warm water with 1 tablespoon of active dry yeast. Let it stand for about 5 minutes until frothy. Then mix in 4 ½ cups of all-purpose flour and 1 teaspoon of salt. Knead the dough until smooth and elastic, roughly 8-10 minutes.
- Place the kneaded dough in a lightly greased bowl and cover with a clean kitchen towel. Allow the dough to rise in a warm place for about 1-2 hours or until it doubles in size.
- Punch the dough down gently to release air and divide it into 10-12 portions. Shape each into a round ball or slider shape and place on a parchment-lined baking sheet.
- Cover the shaped rolls with a damp towel and let them rise again for about 30 minutes.
- In a large pot, bring 10 cups of water to a boil. Carefully add ¼ cup of baking soda and stir well.
- Gently lower each roll into the boiling water one by one for about 30 seconds. Remove with a slotted spoon to drain excess water.
- Preheat the oven to 425°F. Bake the rolls for 15-20 minutes until deep golden brown.
- Remove from the oven, let them cool slightly, and if desired, brush with melted butter and sprinkle with coarse salt before serving.