
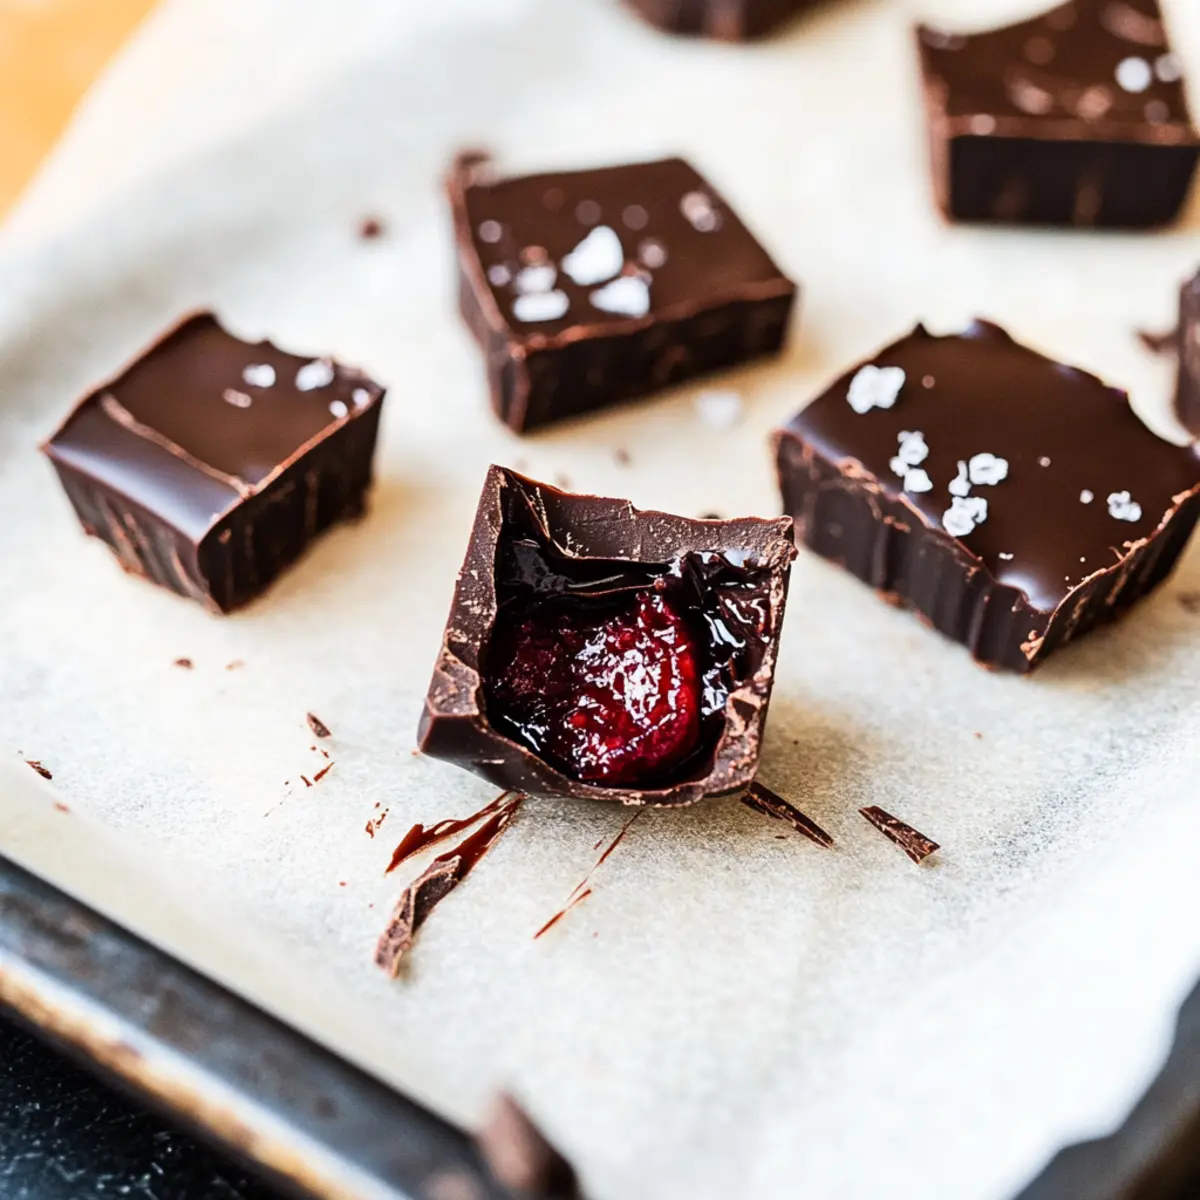
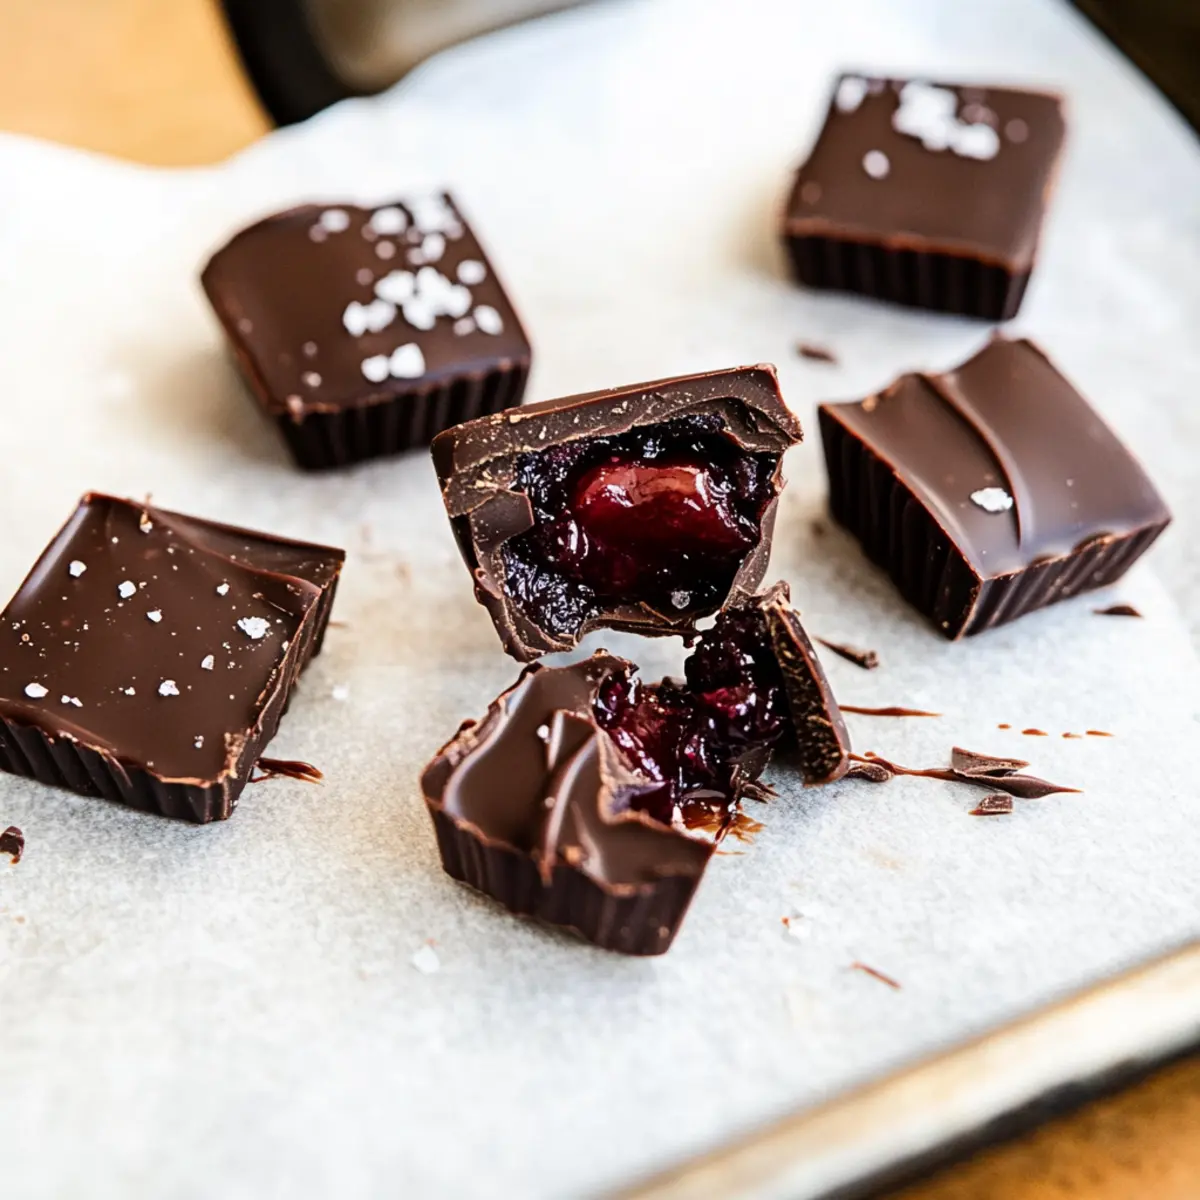
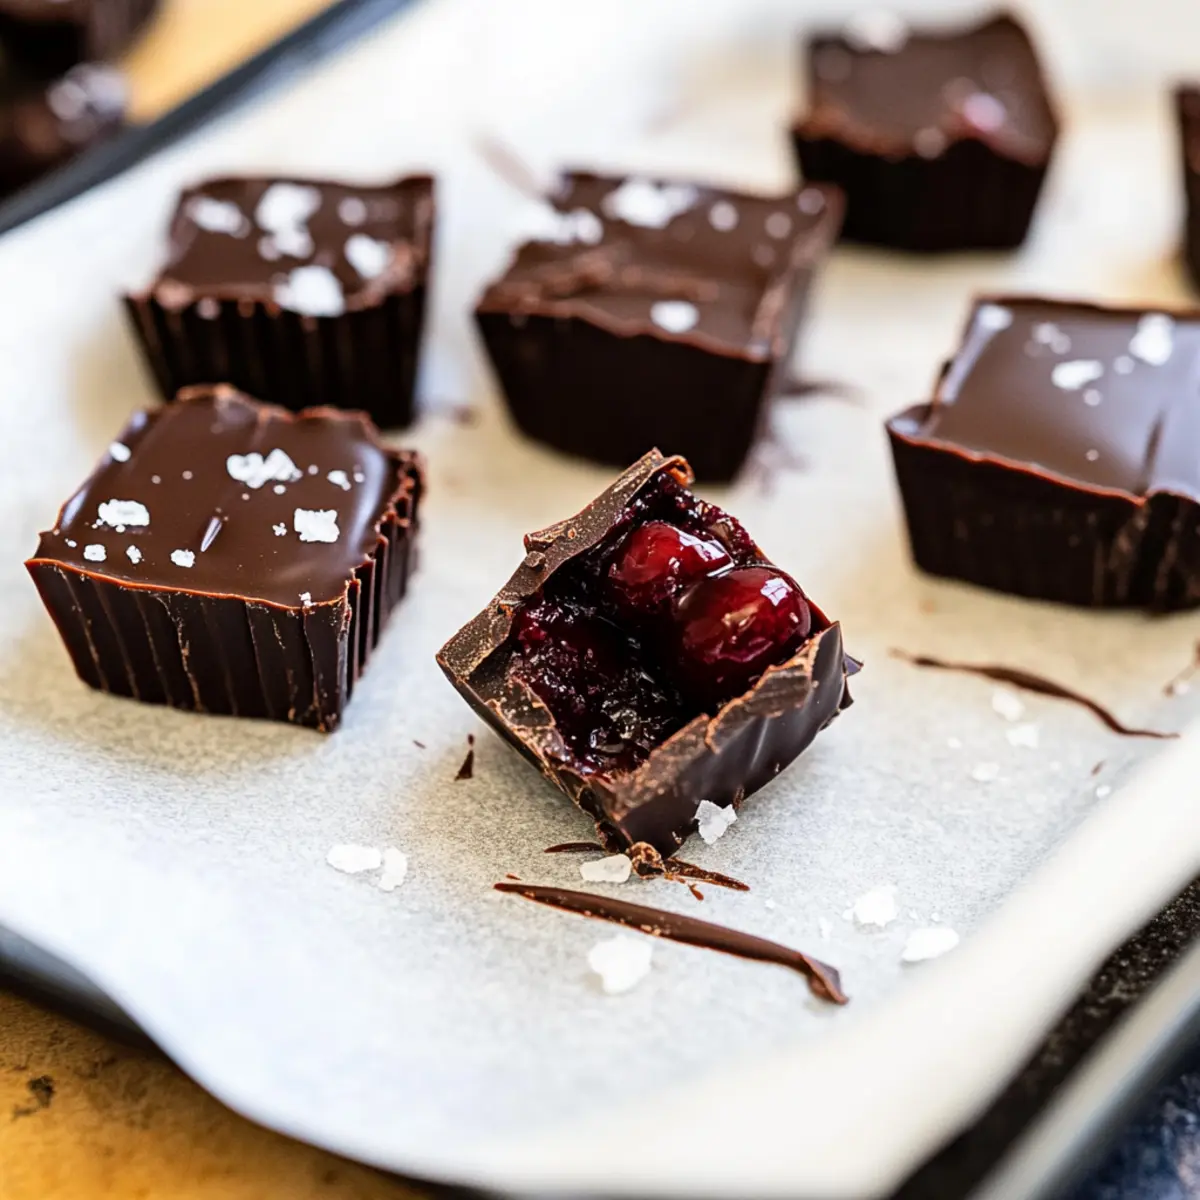
Biting into a luscious treat often feels like discovering a secret joy, doesn’t it? These Dark Chocolate Cherry Cups are just what your sweet tooth has been waiting for. Enveloping a gooey, honey-sweetened cherry core in rich dark chocolate, these bites are not only gluten-free but also a breeze to prepare. With minimal effort and a freezer-friendly twist, you’ll have a delightful dessert ready for any occasion—whether it’s Valentine’s Day or a cozy evening at home. Plus, they’re perfect for impressing friends and family, showcasing your culinary flair without the fuss. Are you ready to indulge in this homemade decadence?
Why are Dark Chocolate Cherry Cups irresistible?
Decadent Flavor: The blend of rich dark chocolate and sweet, juicy cherries creates a symphony of taste that’s hard to resist. Each bite melts in your mouth, merging creamy and fruity in perfect harmony.
Effortless Preparation: No prior baking skills? No problem! These cups are simple to make, letting anyone create a gourmet-inspired dessert.
Gluten-Free Delight: Enjoy these treats without worry! They cater to those avoiding gluten while still providing satisfying sweetness, making them ideal for everyone.
Adaptable Treats: Looking to experiment? Swap cherries for your favorite fruits like strawberries or raspberries. You can even try using white chocolate for a sweeter touch.
Freezer-Friendly: With a quick freeze time, you can whip these up ahead of time. Just stash them in the freezer and serve later, perfect for unexpected guests or special occasions.
Enjoy these delightful treats, and if you’re in the mood for more sweet inspiration, check out my Swiss Chocolate Chalet and Chocolate Chips Cookies recipes for even more indulgent options!
Dark Chocolate Cherry Cups Ingredients
• A simple yet delightful mix of flavors to create your treats!
For the Cherry Filling
- Cherries – Fresh or frozen provide that juicy center; if using frozen, thaw slightly for easy chopping.
- Honey – Acts as a natural sweetener for the cherries; can be swapped with maple syrup for a vegan version.
- Salt – Just a pinch enhances the cherry flavor beautifully.
For the Chocolate Coating
- Dark Chocolate – Choose a high-quality option for a rich outer layer that hardens beautifully.
- Coconut Oil – Adds a glossy texture to your chocolate, making it easier to work with; substitute with vegetable oil if needed.
Enjoy crafting these delightful Dark Chocolate Cherry Cups and impress your loved ones with homemade goodness!
Step‑by‑Step Instructions for Dark Chocolate Cherry Cups
Step 1: Prepare Cherry Filling
Start by pitting and chopping your cherries into small pieces. In a small skillet, combine the cherries with honey and a pinch of salt, then cover and simmer over medium heat for 20 minutes. Stir occasionally, allowing the cherries to soften and release their juices. Once finished, remove from heat and let the cherry filling cool completely.
Step 2: Melt Chocolate
In a microwave-safe bowl, combine high-quality dark chocolate and coconut oil for that glossy finish. Microwave the mixture in 20-second increments, stirring in between until it’s smooth and fully melted. Aim for a luxurious, flowing consistency, which is essential for coating your Dark Chocolate Cherry Cups perfectly.
Step 3: Mold Preparation
Next, grab your candy molds or mini muffin liners and begin the assembly. Spoon a small amount of the melted chocolate into each mold, just enough to create a base layer. Use the back of a spoon to spread it to ensure an even coating. Allow this chocolate layer to set slightly before proceeding to the next step.
Step 4: Fill and Top
Once the first layer is set, add a generous spoonful of your cooled cherry filling into the center of each mold. Ensure the filling is well-distributed for a delightful burst in every bite. Carefully pour more melted chocolate over the filling, covering it completely. This step seals in the cherries and creates that scrumptious outer layer.
Step 5: Freeze
Now it’s time to set your creations. Place the filled molds in the freezer and allow them to freeze for 4 to 6 hours until they are firm and fully set. This time ensures that your Dark Chocolate Cherry Cups hold their shape perfectly when removed from the molds.
Step 6: Serve
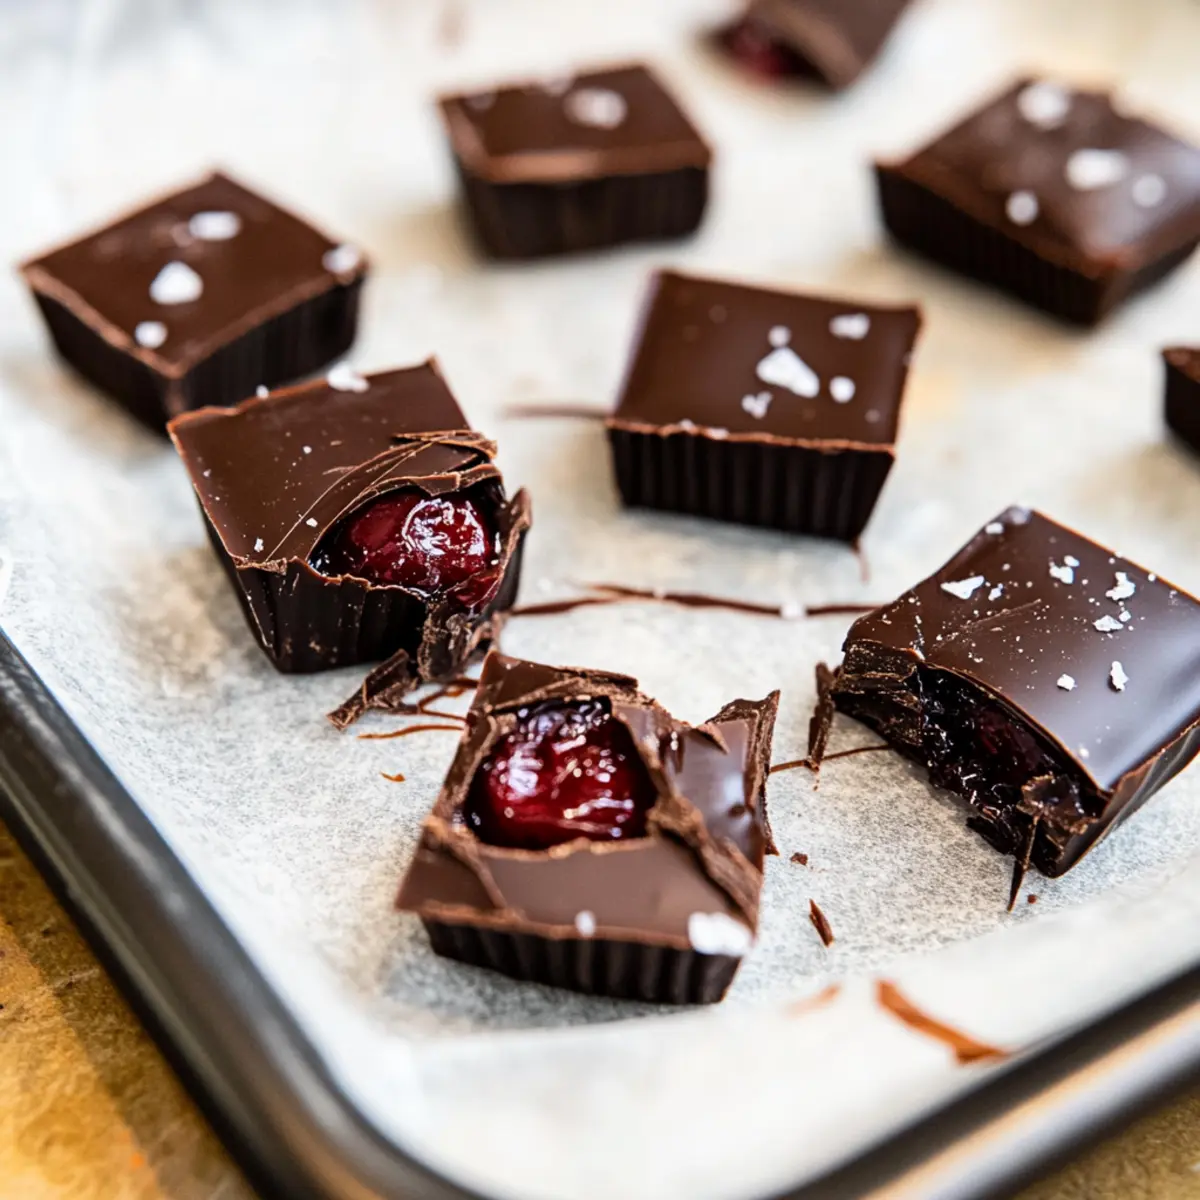
Once set, gently remove the Dark Chocolate Cherry Cups from the molds. If desired, drizzle some extra melted chocolate on top and sprinkle with flaky sea salt for an elegant finish. Store any leftovers in an airtight container in the freezer, ready to impress whenever the craving strikes.
What to Serve with Dark Chocolate Cherry Cups
Enhance your dessert experience with delicious accompaniments that elevate every bite of sweetness.
-
Vanilla Ice Cream: Creamy and cool, it pairs beautifully with the rich chocolate, creating a delightful contrast in temperature and texture.
-
Fresh Berries: Strawberries or raspberries add a burst of freshness, complementing the chocolate and cherry flavors while introducing a vibrant pop of color.
-
Whipped Cream: Light and airy, a dollop of whipped cream balances the richness with its smooth texture and subtle sweetness.
-
Coffee or Espresso: The bitterness of a good brew contrasts perfectly with the sweetness of the cups, enriching your dessert experience.
-
Mint Leaves: A sprig of mint not only adds a refreshing flavor profile but also provides a beautiful garnish that brightens the presentation.
-
Dark Chocolate Drizzle: A touch of extra dark chocolate on top enhances the intense chocolate flavor and elevates the treat’s visual appeal.
-
Homemade Hot Chocolate: Pair these cups alongside a warm mug of hot chocolate for an indulgent treat on a cozy evening.
-
Cheese Platter: A selection of creamy cheeses introduces a savory element, creating a delightful juxtaposition to the sweet chocolate and cherries.
Expert Tips for Dark Chocolate Cherry Cups
-
Mold Matters: Use silicone molds for easy removal or mini muffin liners if silicone isn’t available. Your Dark Chocolate Cherry Cups will thank you!
-
Chill Wisely: Ensure you freeze the cups for at least 4 hours. This is crucial for them to hold shape during removal.
-
Proper Thawing: If using frozen cherries, remember to drain excess water after thawing. This prevents soggy filling and enhances texture.
-
Elevate Presentation: Don’t hesitate to drizzle extra melted chocolate on top and sprinkle with flaky sea salt. This simple touch makes your treats look as good as they taste.
-
Mix It Up: Feeling adventurous? Swap cherries with other fruits or experiment with different chocolate types. Who knows what delightful variations you might discover!
Dark Chocolate Cherry Cups Variations
Feel free to customize your Dark Chocolate Cherry Cups with these delicious twists that will awaken your taste buds!
-
Berry Bliss: Swap cherries for fresh raspberries or strawberries for a vibrant fusion of fruity flavors. Imagine the sweetness of berries paired with rich chocolate—a delightful summer treat!
-
White Chocolate Wonder: Use creamy white chocolate instead of dark for a sweeter, milder version that still delights the senses. This twist can make them more appealing for those with a sweeter palate.
-
Nutty Crunch: Incorporate crushed almonds or hazelnuts into the chocolate layer for added texture and a delightful crunch. The combination of flavors adds depth and a gourmet touch to each bite.
-
Spicy Kick: Add a pinch of cayenne pepper or chili powder to the melted chocolate for a surprising spicy contrast to the sweetness. This bold twist will intrigue and excite adventurous eaters!
-
Minty Freshness: Mix in a few drops of peppermint extract with the melted chocolate for a refreshing mint flavor that beautifully complements the cherry. Perfect for those who enjoy a fresh, cool taste.
-
Coconut Cream: Substitute coconut oil with coconut cream for a tropical twist that infuses a rich, creamy texture into your chocolate coating. Each bite will transport you to a sunny beach!
-
Zesty Lemon: Add a touch of lemon zest to the cherry filling for a citrusy brightness that balances the sweetness. This refreshing variation will make the flavors pop!
-
Coffee Infusion: Stir in instant espresso powder to the melted chocolate for a delightful mocha flavor that enhances the richness. This twist is an elegant touch for coffee lovers.
Enjoy these versatile ideas, and if you’re looking for more sweet inspirations, check out my Swiss Chocolate Chalet and Chocolate Chips Cookies for even more delightful recipes!
Storage Tips for Dark Chocolate Cherry Cups
Fridge: Store your Dark Chocolate Cherry Cups in an airtight container in the fridge for up to 3 days for optimal freshness and flavor.
Freezer: If you want to keep them longer, place the cups in a freezer-safe container and store for up to one month. Just ensure they’re well-wrapped to prevent freezer burn.
Reheating: For a delightful treat, let the cups thaw in the fridge before serving. This maintains their texture, making them perfect for indulging whenever the craving strikes.
Room Temperature: If you’re serving them at a gathering, they can sit out for up to 2 hours for guests to enjoy their rich flavors.
Make Ahead Options
These Dark Chocolate Cherry Cups are perfect for busy home cooks who want to save time and still enjoy a delightful treat! You can prepare the cherry filling up to 24 hours in advance by pitting and chopping the cherries, then simmering them with honey and salt. Refrigerate the cooled mixture in an airtight container to keep it fresh. The melted chocolate can also be prepared a few hours ahead; simply melt it, allow it to cool slightly, and then pour it into the molds with the cherry filling when you’re ready to finish. When serving, just freeze the assembled cups for about 4 to 6 hours as instructed. With this prep strategy, you’ll have a beautiful dessert ready to impress your family at a moment’s notice!
Dark Chocolate Cherry Cups Recipe FAQs
How do I choose the best cherries for my Dark Chocolate Cherry Cups?
Absolutely! For the best flavor, select fresh cherries that are plump, firm, and have a bright color. Avoid those with dark spots or wrinkled skin. If using frozen cherries, choose high-quality ones with no added sugar, and make sure to thaw and drain excess water before chopping.
How should I store my Dark Chocolate Cherry Cups?
To maintain their delightful taste, store your Dark Chocolate Cherry Cups in an airtight container in the fridge for up to 3 days. For longer storage, place them in a freezer-safe container; they’ll stay fresh for up to one month. Just make sure they’re wrapped well to prevent freezer burn.
Can I freeze Dark Chocolate Cherry Cups? How?
Yes, freezing is a great option! To freeze your Dark Chocolate Cherry Cups, ensure they are completely set first. Place them in a single layer in a freezer-safe container, separating layers with parchment paper if stacked. Seal the container and keep it in the freezer for up to 3 months. When ready to enjoy, let them thaw in the fridge for the best texture.
What if my chocolate is not melting smoothly?
No worries! If your chocolate isn’t melting smoothly, try microwaving it in shorter increments, such as 10-15 seconds, stirring in between. If it gets too thick, add a splash of coconut oil to help thin it out. Just be careful not to overheat, as that can cause the chocolate to seize.
Are Dark Chocolate Cherry Cups suitable for people with allergies?
While Dark Chocolate Cherry Cups are naturally gluten-free, check the labels on your ingredients to ensure there are no cross-contaminants if someone in your home has allergies. If concerned about chocolate, look for allergen-free options made with safe ingredients. If you’d like a vegan version, swap the honey for maple syrup!
Dark Chocolate Cherry Cups: A Sweetly Indulgent Delight
Ingredients
Equipment
Method
- Start by pitting and chopping your cherries into small pieces. In a small skillet, combine the cherries with honey and a pinch of salt, then cover and simmer over medium heat for 20 minutes, occasionally stirring. Remove from heat and let cool completely.
- In a microwave-safe bowl, combine dark chocolate and coconut oil. Microwave in 20-second increments, stirring in between until smooth and fully melted.
- Grab your candy molds or mini muffin liners. Spoon a small amount of melted chocolate into each mold for a base layer, spreading it evenly. Allow this layer to set slightly.
- Add a generous spoonful of cooled cherry filling into each mold, ensuring it's well-distributed. Carefully pour more melted chocolate over the filling, covering it completely.
- Place the filled molds in the freezer for 4 to 6 hours until firm and fully set.
- Once set, gently remove the cups from the molds. Drizzle extra melted chocolate on top and sprinkle with flaky sea salt if desired.