")
The first bite of a freshly canned dill pickle is like a crisp wave of summer washing over your senses, instantly transporting you to sun-soaked picnics and lazy afternoons. With just a handful of ingredients, my Easy Homemade Canned Dill Pickles recipe transforms ordinary cucumbers into zesty delights that brighten up any meal or snack. Not only are these pickles a fun and rewarding canning project, but they also allow you to customize the flavors according to your taste—think garlic kicks or spicy twists. Plus, with their low-sugar option and gluten-free status, you can savor these crunchy treats year-round without a hint of guilt. Ready to add some zing to your pantry? Let’s dive into the delicious world of pickling!

Why Are Homemade Pickles So Irresistible?
Irresistible Crunch: Every bite boasts a satisfying crunch that outshines any store-bought alternative.
Customizable Flavors: Experiment with spices and herbs like mustard seeds or crushed red pepper flakes for a unique twist that fits your palate.
Simple Process: With just a few easy-to-follow steps, you’ll be canning like a pro in no time, making these pickles accessible to any home cook.
Healthy Snacking: Enjoy a guilt-free, low-calorie snack option packed with flavor—perfect for those who want to indulge without compromise!
Year-Round Enjoyment: Preserve the taste of summer to savor throughout the year, adding an extra zing to sandwiches, salads, and charcuterie boards.
Creative Variations: Don’t hesitate to switch up the vinegars for diverse flavor profiles—apple cider vinegar adds a lovely sweetness while maintaining the tang! You might also enjoy discovering the unique taste of Dill Pickle Soup as a delicious complement to these pickles.
Canned Dill Pickle Ingredients
• Dive into the crunchy goodness of homemade pickles with the perfect ingredients!
For the Pickling Brine
- Water – Use filtered or distilled water for the best flavor.
- White Vinegar – Provides that essential tang; apple cider vinegar is a great low-sugar option if you prefer a milder taste.
- Salt – Pickling salt is ideal for the perfect brine, but kosher or sea salt can work as substitutes.
- Sugar – Helps balance acidity; adjust to taste for a low-sugar option.
For the Pickles
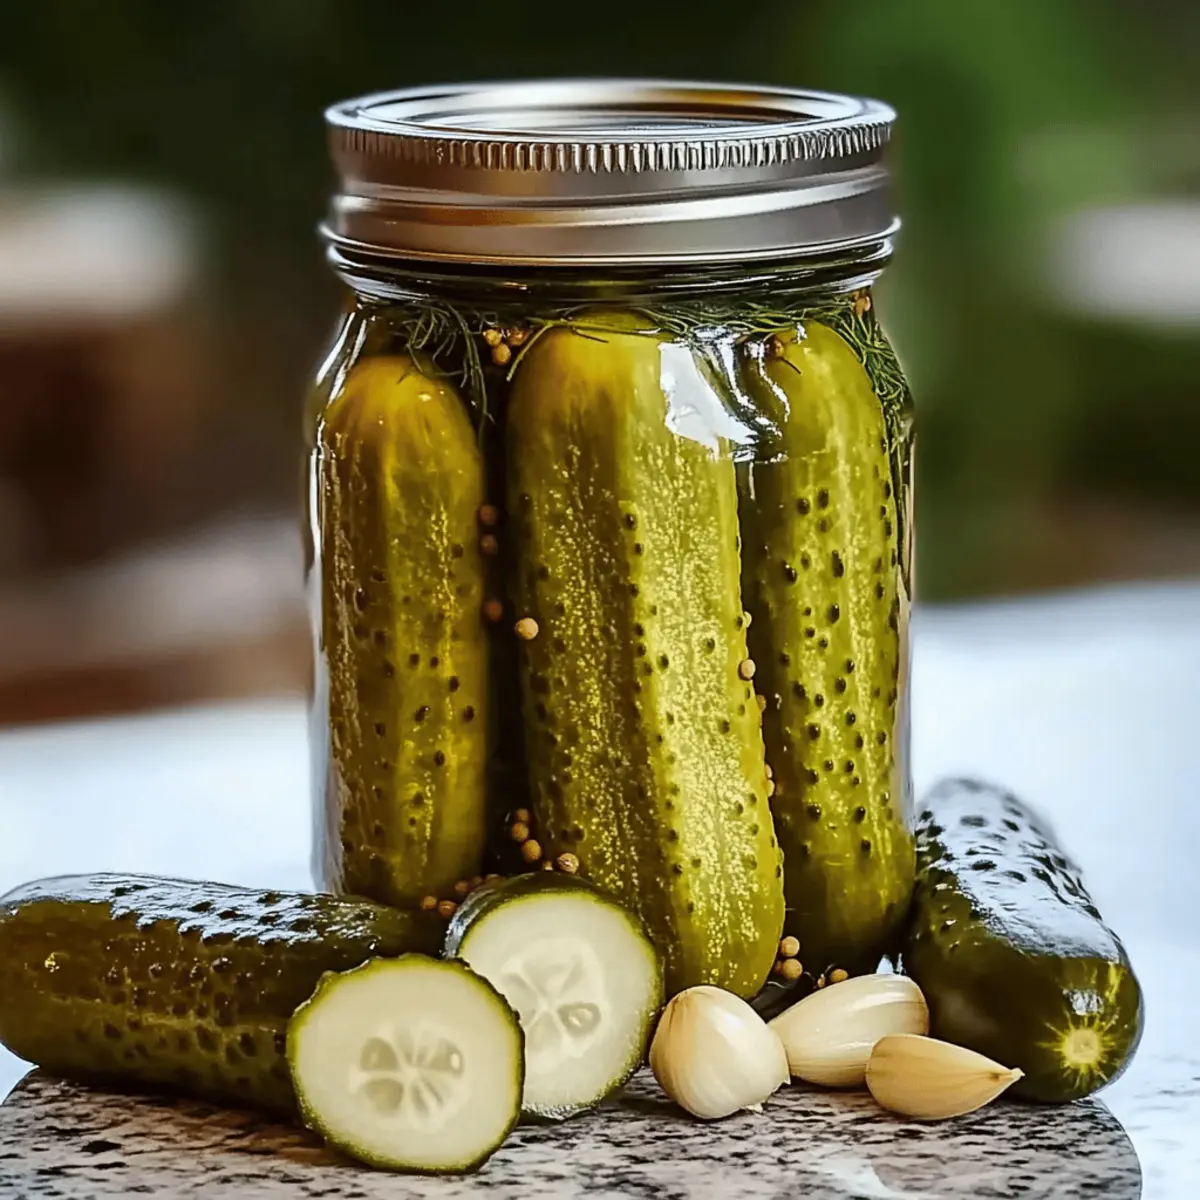
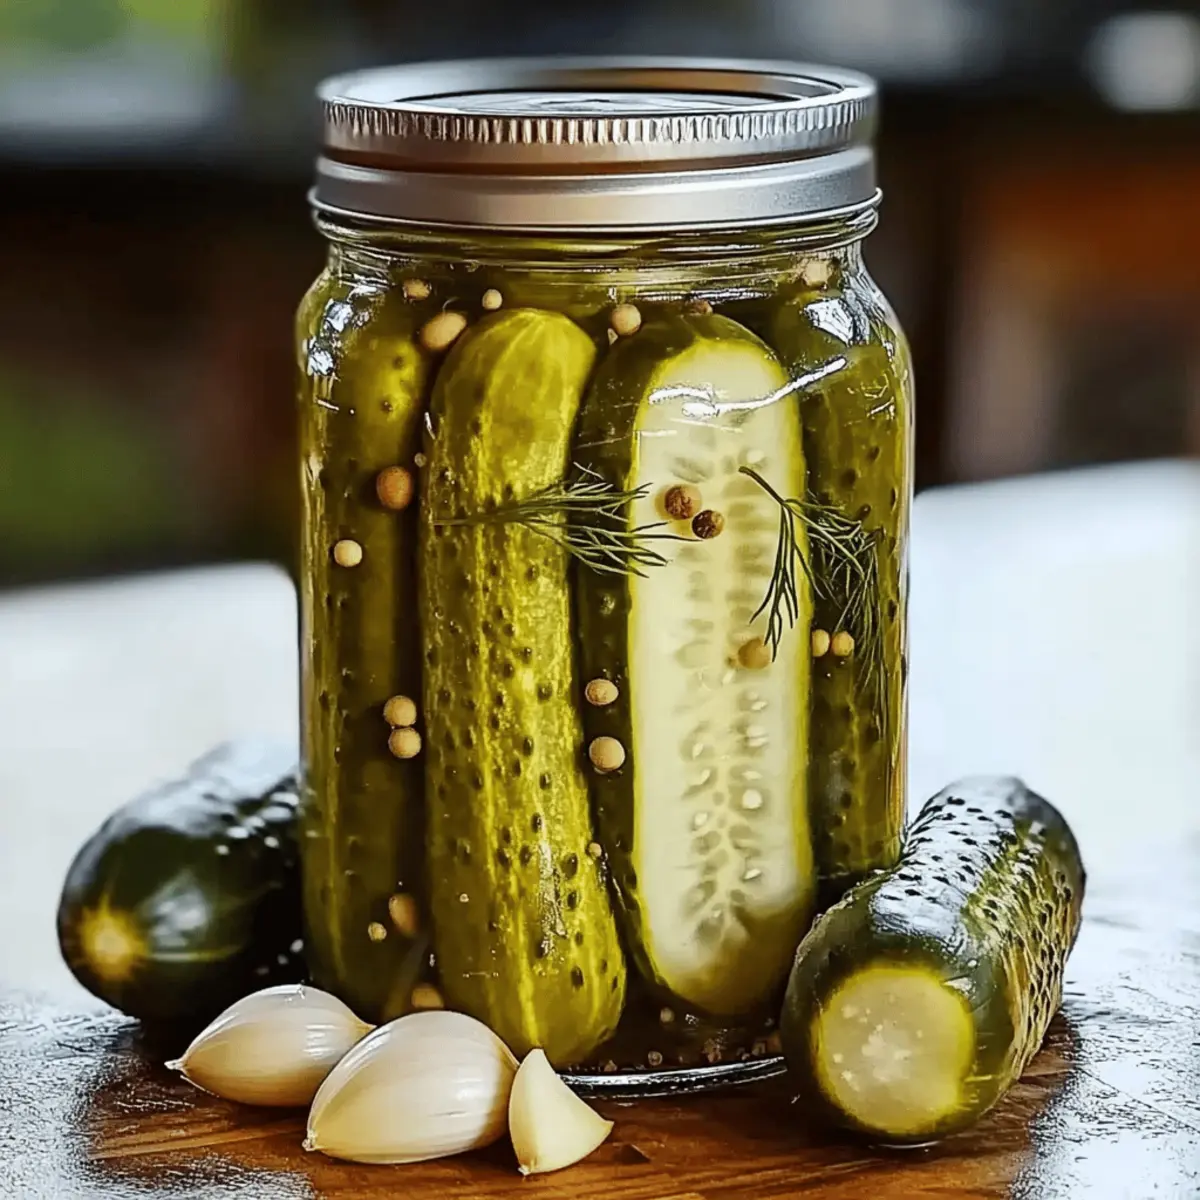
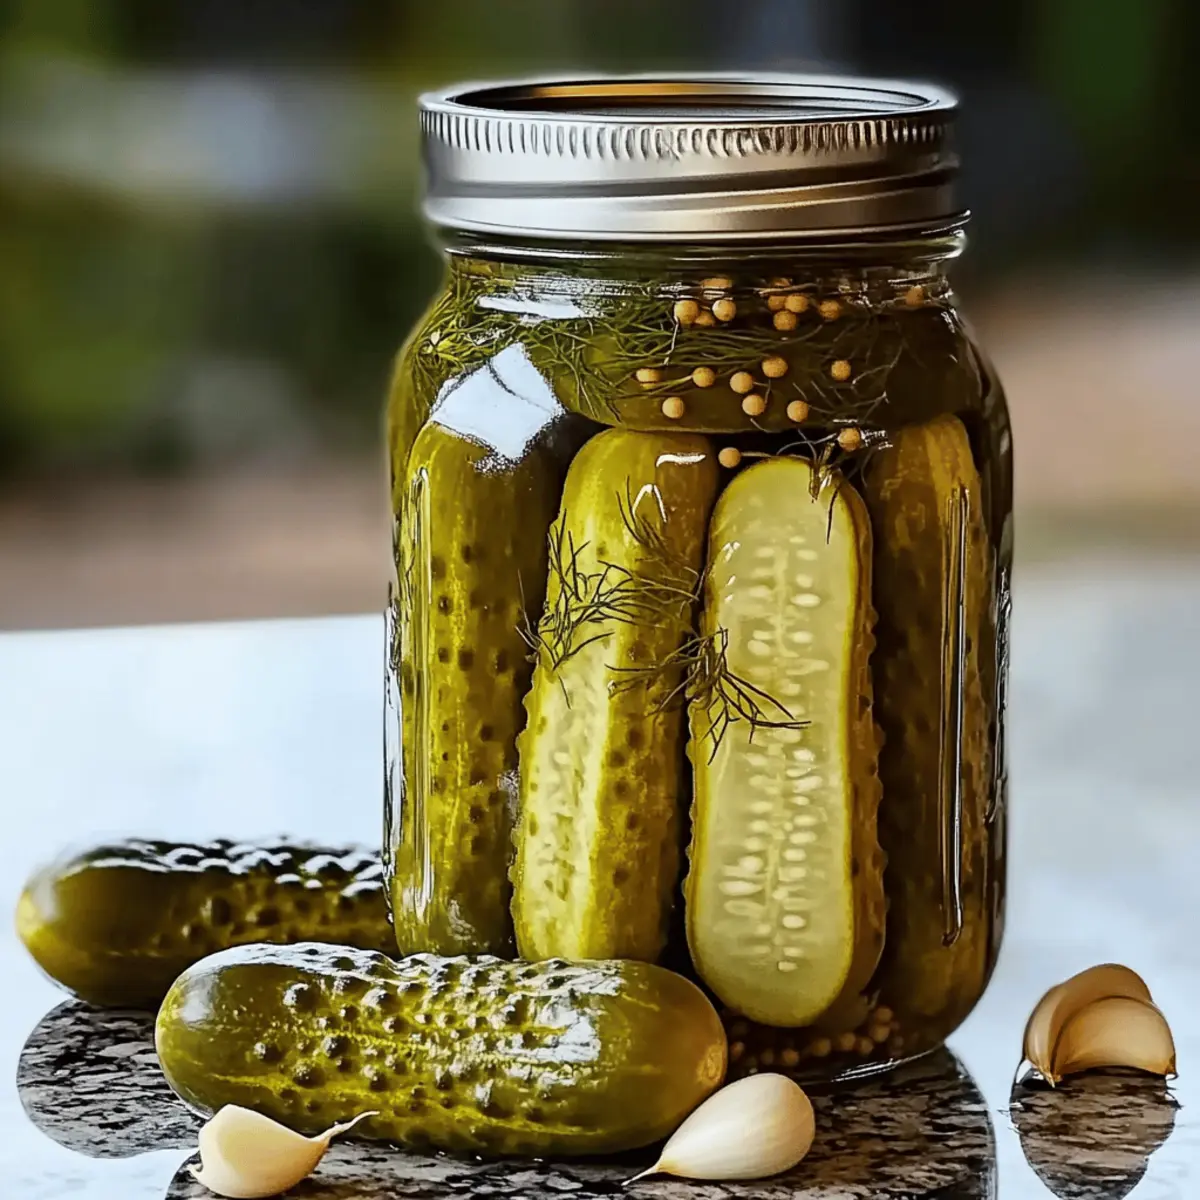
- Pickling Cucumbers – Choose firm cucumbers with bumpy skin; they maintain crunchiness during canning.
- Garlic Cloves – Fresh garlic enhances flavor; feel free to omit if garlic isn’t your thing.
- Fresh Dill Sprigs – Complements the pickling brine beautifully; switch to dried dill if necessary, adjusting the amount accordingly.
Extra Flavor Boosters
- Crushed Red Pepper Flakes – Add for a kick of heat, customizing your pickles to your palate.
- Mustard Seeds or Coriander Seeds – Experiment with these spices for unique flavors in every jar!
With these ingredients at hand, you’re well on your way to enjoying your very own canned dill pickles that bring summer’s essence right to your table!
Step‑by‑Step Instructions for Canned Dill Pickles
Step 1: Prepare Jars
Begin by sterilizing your canning jars and lids. Place them in a large pot of boiling water for 10 minutes to ensure they are clean and ready for the pickling process. This step is crucial for safe food preservation and will help your canned dill pickles stay fresh longer.
Step 2: Prepare Cucumbers
While the jars sterilize, wash the pickling cucumbers under cold running water to remove any dirt. Once clean, cut the cucumbers into your desired shapes—spears or slices work great. This preparation not only enhances the pickles’ appearance but also makes them easy to pack into jars.
Step 3: Make Brine
In a medium pot, combine filtered water, white vinegar, salt, and sugar. Bring this mixture to a vigorous boil over medium-high heat, stirring until the salt and sugar dissolve completely. As the brine bubbles and froths, the fragrant aroma will fill your kitchen, signaling that it’s ready for the cucumbers.
Step 4: Pack Jars
Once your jars are sterilized, start layering the cucumber slices, garlic cloves, and fresh dill sprigs inside. Pack them tightly but leave about half an inch of headspace at the top of each jar. This step is essential to ensure the cucumbers remain submerged in the brine for perfect flavor infusion in your canned dill pickles.
Step 5: Pour Brine
Carefully ladle the steaming hot brine into each jar, filling it to cover the cucumbers completely. Be cautious as the brine is hot; you may want to use a funnel to minimize spills. Once filled, wipe the rims of the jars with a clean cloth to ensure a good seal.
Step 6: Process Jars
Seal the jars tightly with the sterilized lids. Place them back in the boiling water bath, ensuring that the water covers the jars by at least an inch. Process the jars in the boiling water for 10 minutes, which helps create a vacuum seal and enhances the preservation of your canned dill pickles.
Step 7: Cure Pickles
After processing, carefully remove the jars and allow them to cool to room temperature on a clean kitchen towel. Store the sealed jars in a cool, dark place for at least two weeks. During this time, the flavors will meld beautifully, transforming your pickles into a tangy, delicious condiment ready to enjoy!
Canned Dill Pickle Variations
Feel free to explore the world of pickling and make these delightful treats uniquely yours!
-
Spicy Kick: Add crushed red pepper flakes to your brine for an exciting burst of heat that will wake up your taste buds.
-
Herbal Allure: Include fresh herbs like thyme or oregano in your jars to infuse your pickles with aromatic flavors that will transport you to a herb garden.
-
Sweet Upgrade: Swap in apple cider vinegar for a slightly sweeter tang that beautifully complements the crisp cucumbers.
-
Savory Twist: Toss in some mustard seeds or coriander seeds for an extra layer of flavor. These spicy additions will make every bite more interesting!
-
Garlic Lovers: For an intense garlic experience, add extra cloves of fresh garlic to your jars. The robust flavor will marry perfectly with every pickle.
-
Savory Suprise: Consider adding black peppercorns or dill seeds for a peppery bite, enhancing the traditional dill flavor with a twist!
-
Balsamic Bliss: Use balsamic vinegar instead of white or apple cider vinegar for a sweet, rich flavor profile that pairs wonderfully with charcuterie boards.
-
Tangy and Zesty: Don’t forget to experiment with lemon slices added to your jars. They contribute a refreshing burst of brightness that elevates the pickles’ flavor.
These variations will not only diversify your canning experience but also evoke a delightful range of flavors to suit any palate. If you’re interested in exploring more unique tastes, you might also enjoy discovering the unique taste of Salvadoran Quesadilla. Happy pickling!
What to Serve with Easy Homemade Canned Dill Pickles
Fresh, tangy slices of pickles can transform a simple meal into a flavor-packed experience that sings of summer!
- Classic Grilled Cheese: Melty cheese and crispy bread come alive when paired with the tanginess of dill pickles, adding a delightful crunch to each bite.
- Barbecue Pulled Pork Sandwiches: The sweet and smoky flavors of barbecue balance beautifully with the sharpness of pickles, creating a perfect contrast in taste and texture.
- Charcuterie Board: Arrange your pickles alongside cured meats, artisan cheeses, and assorted nuts for a stunning appetizer that’s bursting with flavor and color.
- Potato Salad: Creamy potato salad garnished with diced dill pickles adds a refreshing zest, elevating a classic dish to new heights.
- Burgers: A crisp pickle slice is the ultimate condiment for burgers, cutting through the richness and enhancing each juicy mouthful.
- Bloody Mary Cocktail: These pickles make for an excellent garnish, adding a zesty crunch that elevates the traditional drink experience.
- Tacos: The acidity of pickles complements spicy taco fillings perfectly, adding a crunch that balances the flavors harmoniously.
- Grilled Fish: Serve alongside grilled fish for a fresh pop of flavor that enhances the overall dish, bringing your seafood meal to life.
- Savory Lentil Soup: As a side, pickles contrast the warmth and depth of lentil soup, adding a refreshing zing to your cozy bowl.
Expert Tips for Canned Dill Pickles
-
Choose Fresh Cucumbers: Use only firm, fresh pickling cucumbers with bumpy skin for the best crunch; avoid soft or blemished ones to prevent sogginess.
-
Proper Sterilization: Always sterilize jars and lids in boiling water to eliminate bacteria, ensuring a proper seal which is crucial for safe canning of your canned dill pickles.
-
Mind the Headspace: Leave about half an inch of headspace when packing jars; this air allows for expansion during processing and ensures the pickles remain submerged in brine.
-
Give Them Time: Resist the urge to dig in too soon; let the pickles cure for at least two weeks. This allows the flavors to develop fully, creating that irresistible zing.
-
Check the Seal: After processing, ensure lids are sealed properly; if any jars haven’t sealed, refrigerate immediately and consume within two weeks to avoid spoilage.
Make Ahead Options
These Easy Homemade Canned Dill Pickles are perfect for meal prep enthusiasts seeking to save time. You can wash and cut the cucumbers into spears or slices up to 24 hours in advance, storing them in a sealed container in the refrigerator to keep them crisp. Additionally, you can prepare the pickling brine (water, vinegar, salt, and sugar) and refrigerate it up to 3 days ahead. When you’re ready to complete the canning process, simply pack the cucumbers with garlic and dill in your sterilized jars, pour the prepared brine over them, and process as directed. Trust me, your homemade pickles will remain just as delicious and full of flavor!
How to Store and Freeze Canned Dill Pickles
Room Temperature: Store sealed jars of canned dill pickles in a cool, dark place for up to one year to maintain optimal flavor and texture.
Fridge: Once opened, refrigerate your pickles immediately and consume within two months for the best taste and crunch.
Freezer: While pickles are not typically frozen, you can freeze brined cucumbers before canning. Only freeze cucumbers for up to three months for use in cooked dishes or salads later.
Reheating: If using, simply thaw frozen cucumbers in the fridge overnight and prepare them in your favorite recipes—wonderful additions to soups or casseroles!
Canned Dill Pickles Recipe FAQs
What kind of cucumbers should I use for pickling?
For the best results, use firm pickling cucumbers that have bumpy skin. These types of cucumbers maintain their crunchiness during the canning process. Avoid using soft or blemished cucumbers, as they can lead to soggy pickles.
How do I store my canned dill pickles?
Once your jars are sealed, store them in a cool, dark place, away from direct sunlight. Properly sealed jars can last for up to one year. After opening, it’s best to refrigerate them and consume within two months to ensure peak freshness and crunch.
Can I freeze pickles?
While it’s not common to freeze pickles, you can freeze cucumbers before canning. Simply wash and cut them, then pack them into airtight containers or freezer bags. They can be frozen for up to three months and are great for use in cooked dishes, such as soups or casseroles.
What should I do if my jars do not seal?
If you notice that any of your jars haven’t sealed properly after processing, don’t panic! Simply refrigerate those jars immediately and consume their contents within two weeks. Alternatively, you can reprocess the jars within 24 hours by following the canning process again.
Can I adjust the sugar content in the brine?
Absolutely! You can adjust the sugar in the brine according to your taste preferences. If you prefer a lower-sugar option, simply reduce the amount of sugar used. Just keep in mind that this might affect the overall balance of flavors, so feel free to taste as you go!
Are these canned dill pickles safe for pets?
While pickles are generally safe for humans, they can be too salty and acidic for pets. It’s best to keep pickles out of your pet’s diet. If you want to share a crunchy treat with your furry friend, consider offering slices of plain cucumber instead!
Canned Dill Pickles: Crunchy Goodness Just Like Grandma's
Ingredients
Equipment
Method
- Sterilize canning jars and lids in boiling water for 10 minutes.
- Wash pickling cucumbers and cut into desired shapes.
- In a medium pot, combine water, vinegar, salt, and sugar. Bring to a boil, stirring until dissolved.
- Layer cucumber slices, garlic cloves, and dill sprigs inside sterile jars.
- Ladle hot brine into jars, covering cucumbers completely.
- Seal jars tightly and place in boiling water bath, processing for 10 minutes.
- Remove jars and cool to room temperature on a towel for at least two weeks.
")