")
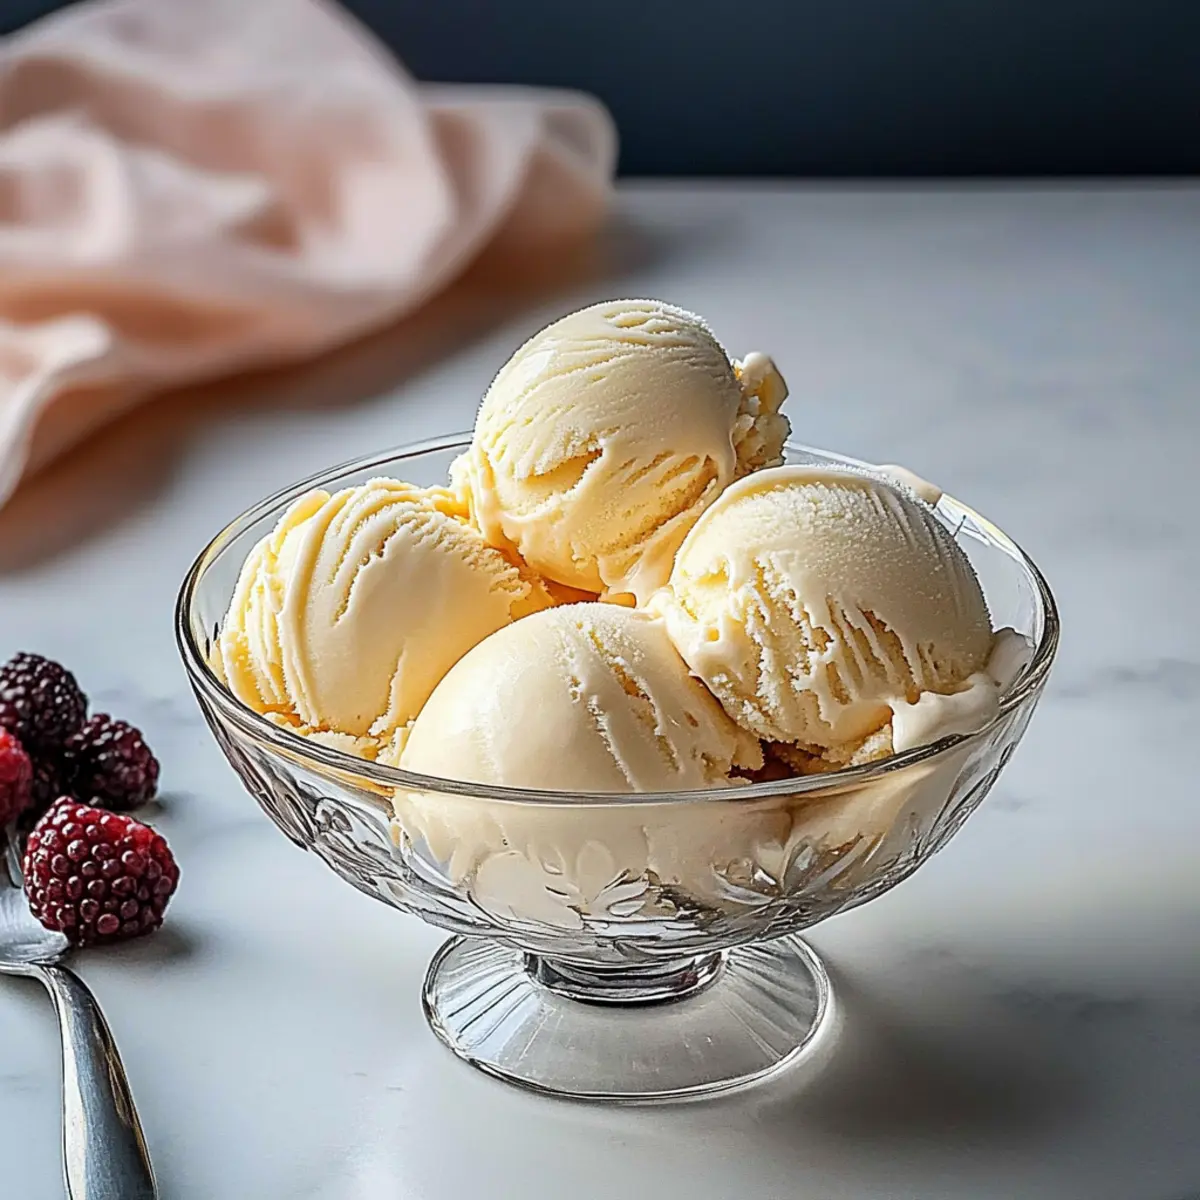
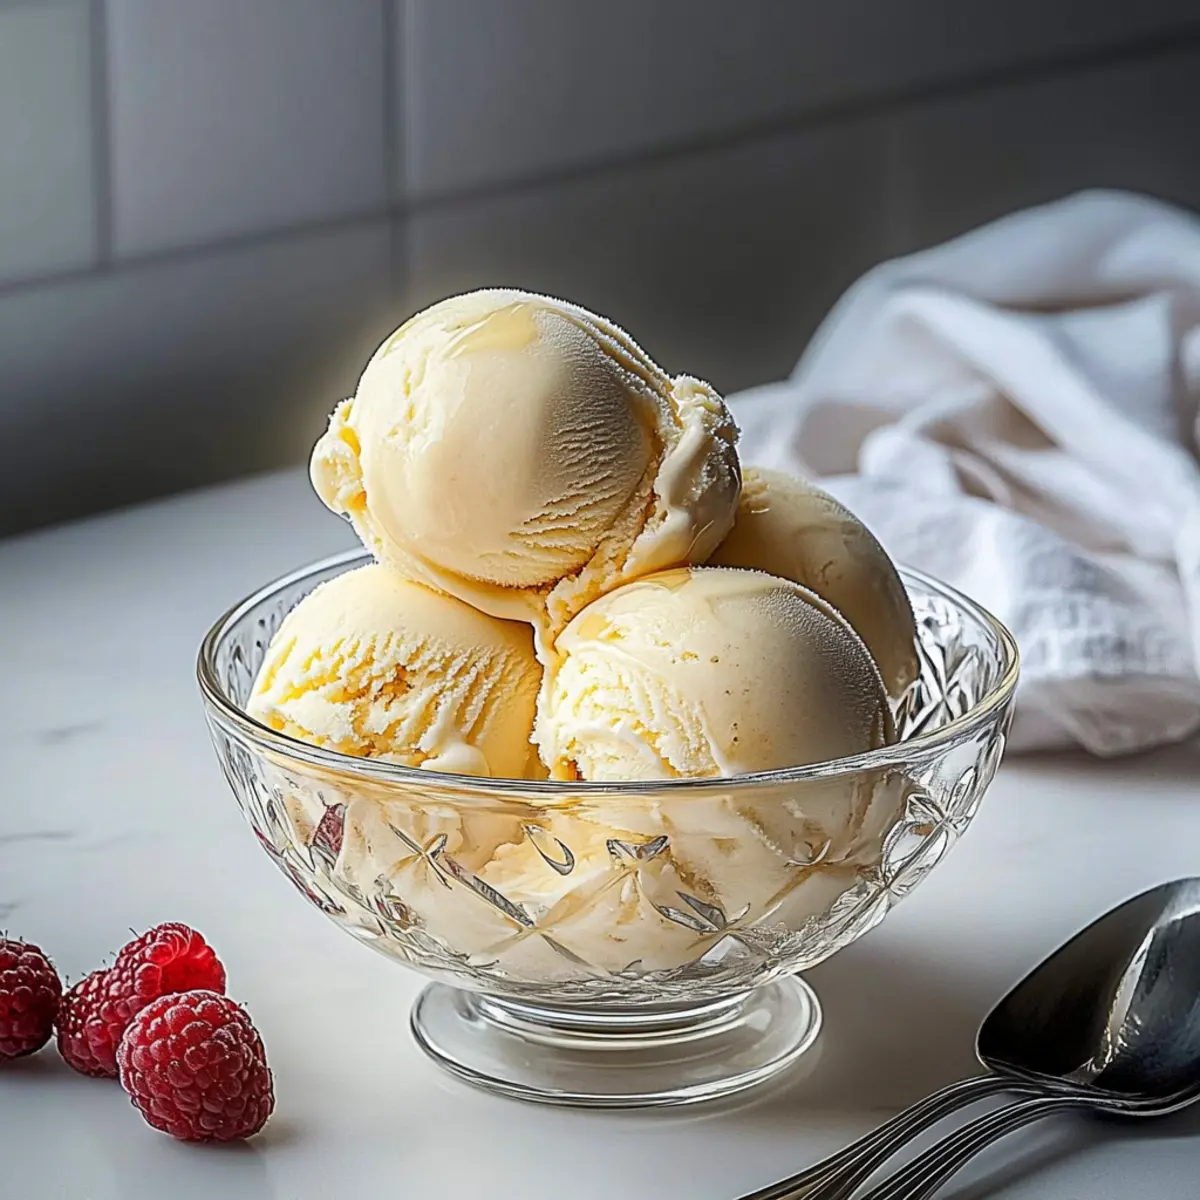
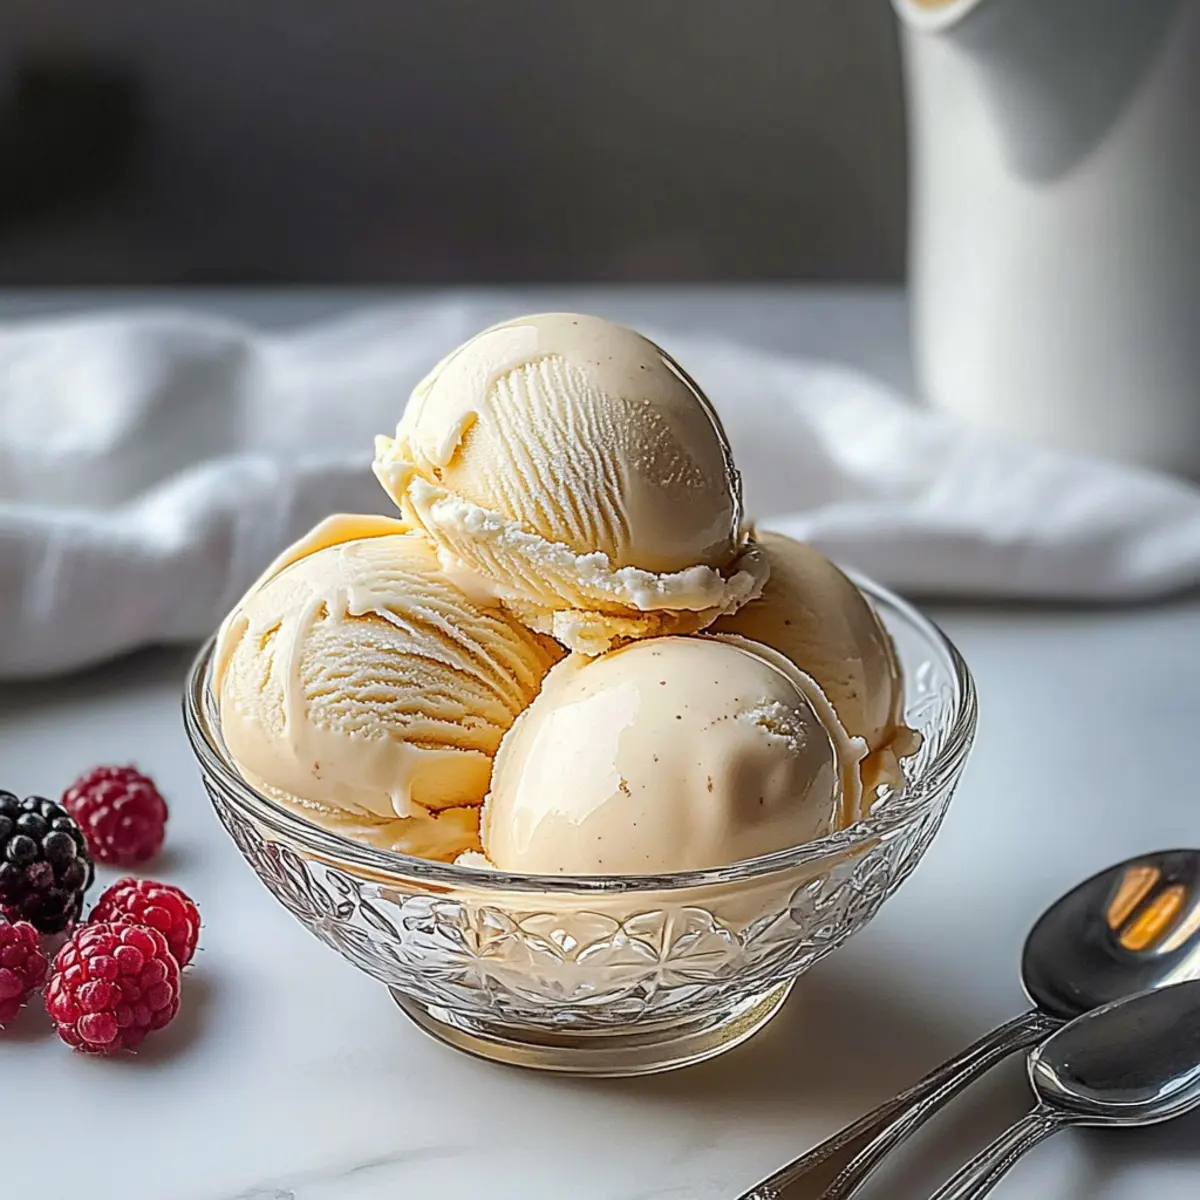
As the sun sets on another warm day, I can’t help but crave something delightfully refreshing and indulgent. Enter this creamy Cheesecake Ice Cream, a perfect fusion of rich cream cheese and the natural sweetness of maple syrup. Not only is this treat incredibly easy to whip up, but it also offers a no-churn option, making it accessible to every home chef eager to deviate from the typical store-bought options. Plus, with the ability to customize it for dairy-free diets, everyone can join in on the fun. Picture this: a velvety, smooth scoop that captures the essence of cheesecake, minus the oven. Are you ready to sprinkle a little magic into your next dessert? Let’s uncover this delicious adventure together!
Why Will You Adore This Ice Cream?
Simplicity at Its Best: This cheesecake ice cream recipe is incredibly straightforward, allowing anyone to enjoy homemade goodness without extensive skills.
Smooth & Creamy Delight: Each scoop is gloriously creamy, featuring a delightful balance of tangy cheesecake flavor and the rich sweetness of maple syrup.
Versatile for All Diets: With options for dairy-free substitutions and sweeteners, this ice cream ensures everyone can indulge, making it a hit at gatherings.
No-Churn Option: No ice cream maker? No problem! This recipe allows you to whip up a delicious batch with ease, perfect for spontaneous dessert cravings.
Crowd-Pleasing Treat: Whether it’s a summertime barbecue or a cozy family night, this cheesecake ice cream will leave your guests wanting more! Enhance the experience with a delightful drizzle of maple syrup or fresh berries, and watch those smiles grow.
Cheesecake Ice Cream Ingredients
For the Ice Cream Base
- Milk – Provides the custard’s foundation; non-dairy options like coconut milk work beautifully for a dairy-free alternative.
- Heavy Cream – Adds richness and creaminess; feel free to use non-dairy alternatives for a lighter version.
- Maple Syrup – Serves as a natural sweetener with an earthy twist; you can substitute it with monk fruit or stevia syrup for lower-calorie options.
- Cream Cheese – Crucial for that signature cheesecake flavor and texture; vegans can opt for vegan cream cheese for a dairy-free twist.
- Egg Yolks – Ensure richness and help thicken the custard; always temper them to keep the eggs smooth and beautiful.
- Vanilla Extract – Enhances the overall flavor, making every scoop truly delightful; no substitutions needed here!
Step‑by‑Step Instructions for Cheesecake Ice Cream
Step 1: Heat the Base
In a medium saucepan over medium heat, combine milk, heavy cream, and maple syrup. Continuously stir the mixture, bringing it to a gentle simmer, which should take about 5 minutes. Look for small bubbles forming along the edges without reaching a full boil. This warm base will infuse flavors while ensuring the right texture for your creamy Cheesecake Ice Cream.
Step 2: Prepare the Cream Cheese Mixture
In a mixing bowl, beat the softened cream cheese, egg yolks, and vanilla extract together until the mixture turns pale yellow and slightly thickens, about 2-3 minutes. Make sure the cream cheese is at room temperature for smooth blending. This creamy base is essential for achieving that luscious cheesecake flavor in your ice cream.
Step 3: Temper the Eggs
Gradually whisk in about ½ cup of the warm milk mixture into the egg and cream cheese blend. This step, known as tempering, should be done slowly to prevent the eggs from scrambling. Keep whisking until combined; it should feel warm but not hot to the touch. This will create a smooth texture for your Cheesecake Ice Cream.
Step 4: Thicken the Custard
Return the tempered mixture to the saucepan with the remaining milk mixture. Over medium heat, whisk constantly for about 4-5 minutes until the custard thickens and coats the back of a spoon. You’ll know it’s done when it bubbles lightly. This thickened custard will be the foundation for your ice cream’s creamy consistency.
Step 5: Cool the Custard
Once thickened, pour the custard into a heatproof bowl. Cover it with plastic wrap, pressing it against the surface to prevent a skin from forming. Allow it to cool at room temperature before refrigerating for at least 4 hours or until completely chilled. This cooling process is crucial for the best texture in your Cheesecake Ice Cream.
Step 6: Churn the Ice Cream
After chilling, pour the custard into an ice cream maker and churn according to the manufacturer’s instructions, typically for 20-30 minutes. You’ll notice it gradually thickens and softens. If you don’t have an ice cream maker, transfer the mix into a freezer-safe container and stir every hour until frozen, ensuring a creamy final product.
Step 7: Final Freeze and Serve
Once churned, transfer your smooth, creamy Cheesecake Ice Cream into an airtight container. Freeze it for at least 4 hours or until firm. Before serving, allow the ice cream to soften for about 10 minutes at room temperature for easier scooping. It’s the perfect way to enjoy a creamy treat that everyone will love!
Make Ahead Options
These Cheesecake Ice Creams are fantastic for meal prep enthusiasts! You can prepare the custard base up to 24 hours in advance by following steps 1 through 5, then letting it chill in the refrigerator. Once your custard is set and cool, just churn it in the ice cream maker when you’re ready to indulge. To ensure the best quality, store it in an airtight container, pressing plastic wrap against the surface to prevent ice crystals from forming. Once churned, it can be kept in the freezer for up to 1 week, and for a delightful scoop, let it soften at room temperature for about 10 minutes before serving. With this make-ahead option, you’ll savor creamy, dreamy Cheesecake Ice Cream without the last-minute rush!
What to Serve with Creamy Cheesecake Ice Cream?
As you enjoy the delightful flavors of this homemade treat, consider these mouthwatering pairings to complete your dessert experience.
-
Fresh Berries: The tartness of strawberries, raspberries, or blueberries enhances the creamy backdrop, creating a refreshing contrast. Their vibrant colors also add a touch of elegance to your dessert presentation.
-
Chocolate Sauce: A rich drizzle of chocolate sauce not only adds a luscious sweetness but also a decadent touch that perfectly balances the tangy cheesecake flavor. It’s an irresistible combo everyone will love!
-
Graham Cracker Crumbs: Sprinkle some graham cracker crumbs on top for added crunch and a nod to traditional cheesecake crust. This simple addition elevates the texture and makes each bite uniquely satisfying.
-
Whipped Cream: A dollop of light, fluffy whipped cream creates a heavenly texture and amplifies the sweetness, making your dessert feel indulgent. Consider a hint of vanilla to complement the flavors beautifully.
-
Caramel Sauce: Rich caramel sauce introduces an irresistible flavor twist. The buttery, salty notes enhance the sweet and tangy elements of the cheesecake ice cream perfectly.
-
Mint Leaves: Fresh mint leaves cast a vibrant hue while offering a refreshing finish to the dessert. They cleanse the palate and add a gourmet touch that’s sure to impress guests.
-
Iced Coffee: The boldness of cold brew or iced coffee elevates the dessert experience, contrasting the creamy sweetness and enhancing the rich flavors. It’s a delightful pairing for those warm evenings.
-
Shortbread Cookies: Crumbly shortbread cookies on the side invite a satisfying crunch while blending perfectly with the ice cream’s texture. They’re an easy yet elegant companion that everyone will adore.
Expert Tips for Cheesecake Ice Cream
Tempering with Care: Add the warm milk mixture slowly to the egg mixture to avoid scrambling. This step is crucial for a smooth cheesecake ice cream.
Perfect Storage: Use an airtight container to store your ice cream in the freezer, ensuring it lasts up to a week. Press plastic wrap against the surface to prevent ice crystals.
Serving Softness: If your ice cream is too hard to scoop, let it sit at room temperature for about 10 minutes before serving. This little trick makes it perfectly scoopable.
Churning Alternatives: No ice cream maker? No worries! Transfer the mixture into a freezer-safe container and stir every hour until fully frozen for creamy results.
Flavor Enhancements: Experiment with mix-ins like crushed cookies, chocolate chips, or fruit to elevate your cheesecake ice cream to the next level of deliciousness!
How to Store and Freeze Cheesecake Ice Cream
Airtight Container: Keep your cheesecake ice cream in an airtight container for optimal freshness; it will last up to a week in the freezer without losing quality.
Prevent Ice Crystals: To avoid ice crystals from forming, press plastic wrap directly onto the surface of the ice cream before sealing the container.
Freezing Tips: For longer storage, cheesecake ice cream can be frozen for up to 3 months. Ensure it is well-wrapped to maintain its creamy texture.
Softening Before Serving: When ready to enjoy, let your cheesecake ice cream sit at room temperature for about 10 minutes before scooping for best results!
Cheesecake Ice Cream Variations
Feel free to make this cheesecake ice cream uniquely yours with these delightful alternatives!
-
Dairy-Free: Switch out milk and cream for coconut milk and vegan cream cheese for a delicious plant-based treat. You won’t lose the rich flavor, and your dairy-free friends will appreciate it!
-
Sweetener Swap: Replace maple syrup with agave nectar or honey for a slightly different flavor profile. Each sweetener brings its own character, making it fun to experiment!
-
Chocolate Lovers: Add semi-sweet chocolate chips or crushed Oreos for a decadent twist. The bittersweet chocolate will create a delicious contrast with the cheesecake’s tanginess.
-
Fruit Fusion: Fold in fresh berries, like blueberries or strawberries, before churning for a fruity touch. Their natural sweetness and burst of flavor elevate each scoop!
-
Nutty Crunch: Incorporate crushed nuts such as pecans or almonds for an added crunch. The nutty contrast will surprise and delight your taste buds!
-
Cookie Crust: Layer the ice cream in a pie dish with crushed graham crackers for a frozen cheesecake pie. This twist embraces the classic cheesecake experience in frozen form!
-
Coffee Infusion: Stir in a tablespoon of instant coffee granules or cold brew for a mocha cheesecake flavor. It’s an indulgent way to kickstart your day with dessert!
-
Spicy Kick: For a surprise heat, a pinch of cinnamon or cayenne can add warmth to your ice cream. Balance is key, so start small and taste as you go.
Don’t forget to serve your creations with a delightful drizzle of homemade French Vanilla Creamer or even top with a scoop of Taro Ice Cream for a unique dessert experience! Each variation will inspire you to rethink this classic ice cream. Enjoy!
Cheesecake Ice Cream Recipe FAQs
How should I select milk for this cheesecake ice cream?
Absolutely! For the best results, choose whole milk for a creamy base that enhances the richness of the ice cream. If you prefer a dairy-free option, coconut milk works wonders and will give that delightful tropical touch.
What’s the best storage method for cheesecake ice cream?
I recommend storing your cheesecake ice cream in an airtight container to maintain its freshness. It will keep beautifully in the freezer for up to a week. To prevent undesirable ice crystals from forming, simply press plastic wrap directly onto the surface of the ice cream before sealing the container.
Can I freeze cheesecake ice cream for longer?
Very! If you’re looking to keep this creamy delight for longer, cheesecake ice cream can be frozen for up to 3 months. Just ensure it’s tightly wrapped to help preserve its luscious texture and flavor during that time.
What should I do if my cheesecake ice cream is too hard to scoop?
No worries at all! If you find yourself struggling with a hard scoop, let your cheesecake ice cream sit at room temperature for about 10 minutes before serving. This gentle softening time will make scooping a breeze and keep the experience enjoyable and delicious.
Are there any dietary considerations I should be aware of with this recipe?
Absolutely, there are plenty of options! You can swap traditional cream cheese for a vegan alternative for a dairy-free version, and use non-dairy milk and heavy cream. Plus, maple syrup can be replaced with monk fruit or stevia syrup if you’re looking for lower-calorie sweeteners!
What if my egg yolks scramble during the tempering process?
Oh dear! If your egg yolks scramble, don’t fret; all you need to do is start again with new eggs. To prevent this mishap, always add the warm milk mixture slowly into the egg mixture while stirring continuously. This gentle approach keeps everything smooth and velvety in texture.

Creamy Cheesecake Ice Cream You'll Crave All Summer Long
Ingredients
Equipment
Method
- In a medium saucepan over medium heat, combine milk, heavy cream, and maple syrup. Stir continually and bring to a gentle simmer for about 5 minutes.
- In a mixing bowl, beat cream cheese, egg yolks, and vanilla together until pale yellow and thickened for 2-3 minutes.
- Gradually whisk in about ½ cup of the warm milk mixture into the egg and cream cheese blend to temper the eggs.
- Return the tempered mixture to the saucepan with the remaining milk. Whisk constantly over medium heat for 4-5 minutes until thick.
- Pour the custard into a heatproof bowl and cover with plastic wrap, cooling at room temperature then refrigerating for at least 4 hours.
- Pour the chilled custard into an ice cream maker and churn for 20-30 minutes until thick. Alternatively, freeze and stir every hour.
- Transfer the ice cream to an airtight container and freeze for at least 4 hours or until firm. Allow to soften for 10 minutes before serving.
")