")
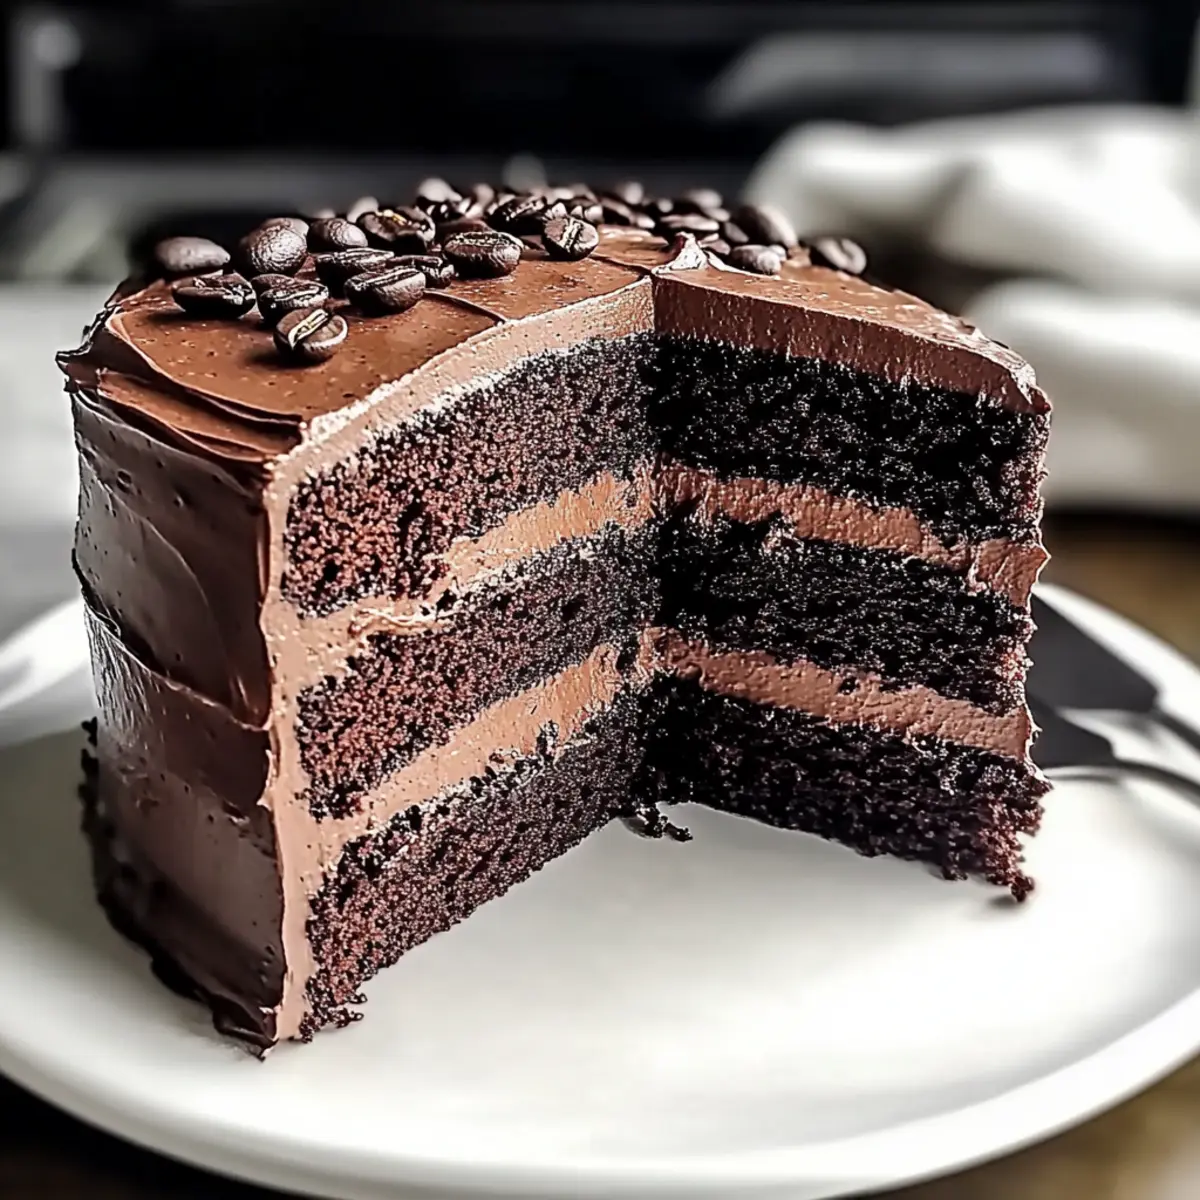
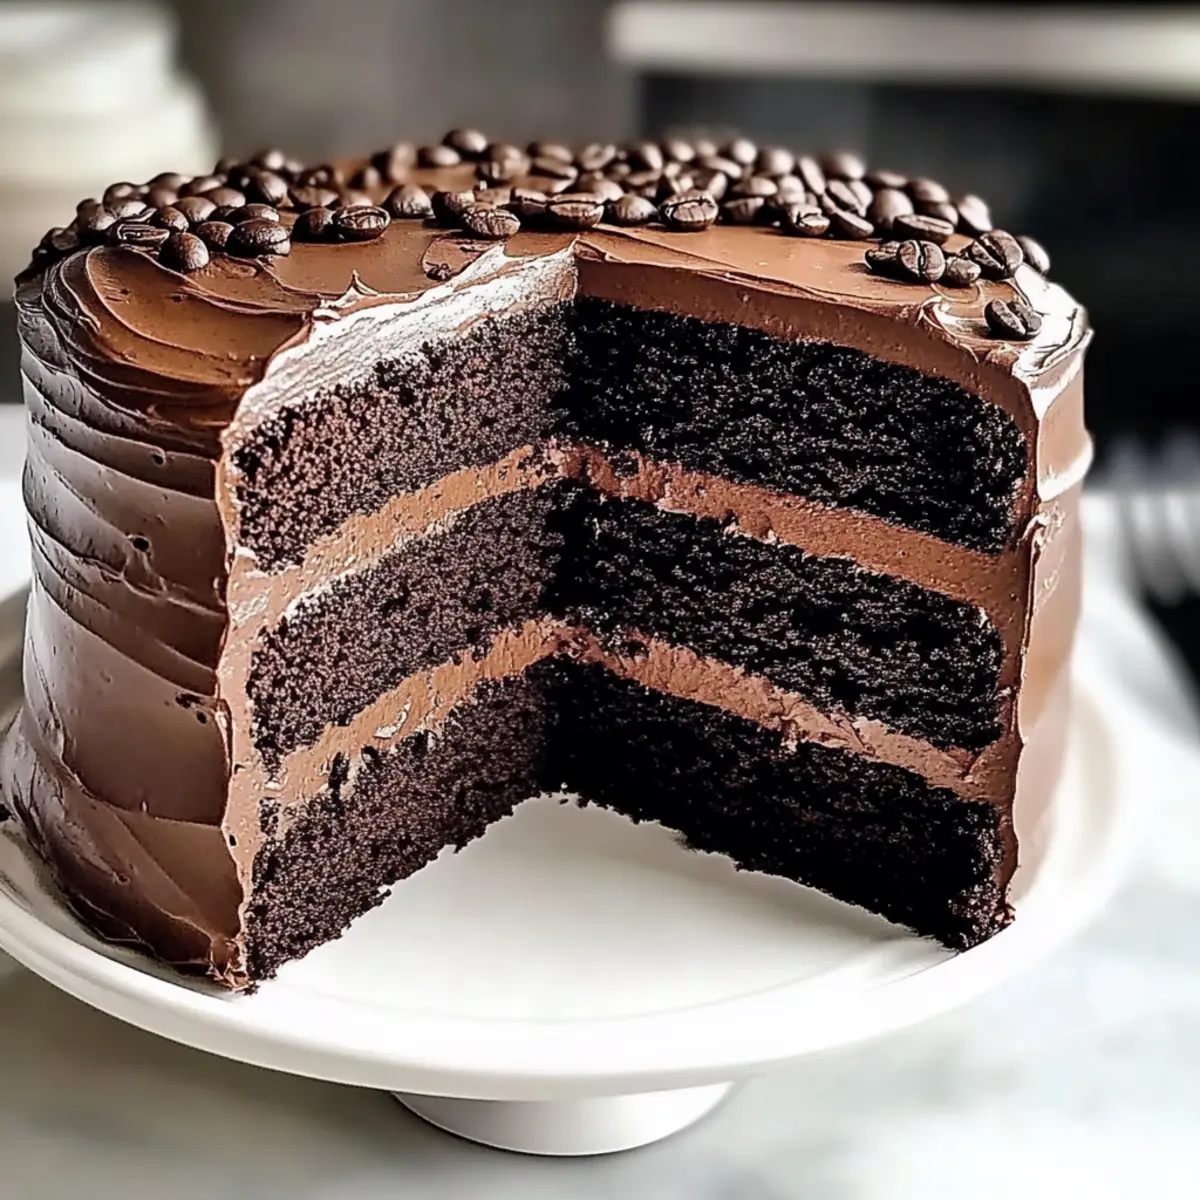
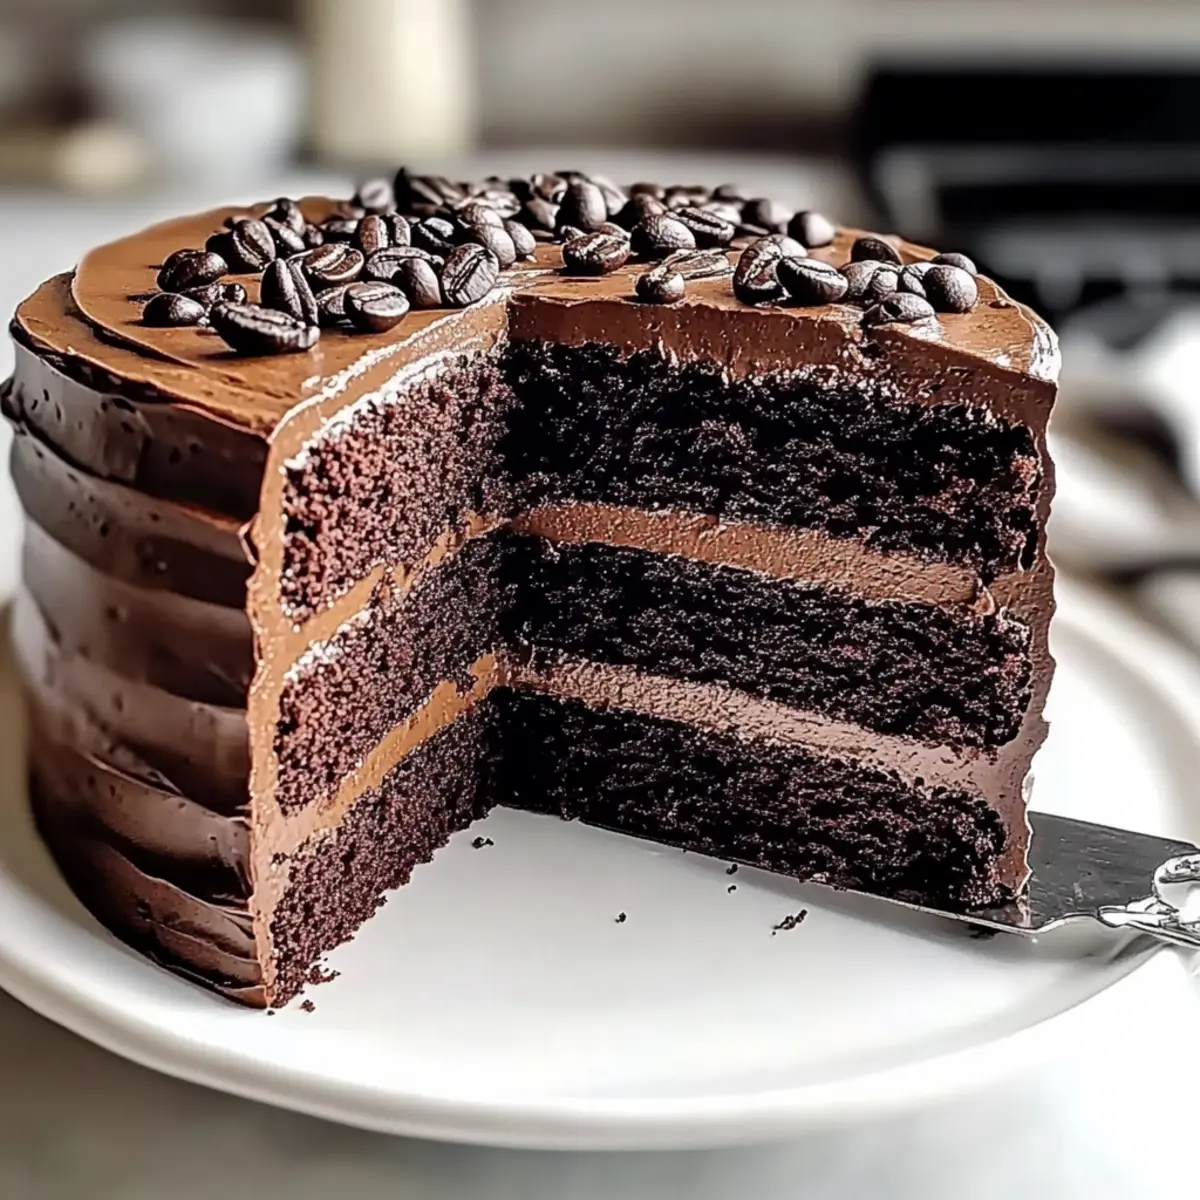
As I sifted through the pantry looking for my secret weapon, the rich aroma of freshly brewed coffee wafted through the air, instantly sparking my creativity. Today, I’m excited to share my go-to indulgence: a Chocolate Espresso Cake that combines the best of both worlds—deep, dark chocolate and a bold coffee kick. This showstopper is not only incredibly simple to whip up, making it perfect for busy home chefs, but it also impresses everyone at the table (yes, even those coffee critics!). With its fudgy texture and rich flavor, it’s the ideal dessert to satisfy your sweet tooth without the fuss of complicated techniques. Have you been on the hunt for something uniquely delicious and exceptionally easy to make? Let’s dive into this recipe together!
Why is this cake a must-try?
Decadent Indulgence: This Chocolate Espresso Cake is a true showstopper that combines rich chocolate and robust coffee flavors, creating a dessert that’s pure bliss.
Easy to Make: With straightforward instructions, you don’t need to be a pro to impress your friends and family with this mouthwatering treat.
Crowd-Pleasing Delight: Perfect for gatherings, it’s sure to win over coffee lovers and dessert enthusiasts alike.
Textural Harmony: The fudgy, moist cake paired with a silky chocolate frosting creates an unforgettable experience in every bite.
Make-Ahead Friendly: Prepare the frosting in advance or bake layers ahead of time to save on busy days.
Looking for more delicious cake ideas? Try the Lemon Cake Mix or explore this Enchanting Barbie Cake for your next celebration!
Chocolate Espresso Cake Ingredients
For the Cake
• All-Purpose Flour – Provides structure to the cake; consider whole wheat flour for a healthier alternative.
• Cocoa Powder – Contributes rich chocolate flavor; Dutch-processed cocoa brings a milder taste.
• Dark Brown Sugar – Adds moisture and depth; swap for light brown sugar if you prefer a milder sweetness.
• Granulated Sugar – Balances flavor and sweetness perfectly.
• Baking Powder & Baking Soda – Essential leavening agents to ensure a nice rise.
• Salt – Enhances sweetness and balances the flavors.
• Eggs – Bind ingredients together while adding moisture.
• Vegetable Oil – Keeps the cake moist; use melted butter for a richer flavor if desired.
• Vanilla Extract – Brings aromatic sweetness to the cake.
• Hot Coffee – Activates dry ingredients and enhances the mocha essence of the Chocolate Espresso Cake.
For the Frosting
• Heavy Cream – Creates a silky, luxurious texture for the frosting.
• Sugar (for Frosting) – Sweetens your frosting to perfection.
• Chocolate (Dark & Semi-Sweet) – Forms the base of indulgent frosting; choose high-quality chocolate for the best results.
• Instant Coffee Granules – Offers a smooth and robust coffee flavor.
• Water – Helps dissolve coffee granules seamlessly.
Get ready to whip up an irresistible Chocolate Espresso Cake. Each ingredient plays a crucial role in achieving that fudgy, dreamy indulgence that will leave everyone wanting more!
Step‑by‑Step Instructions for Chocolate Espresso Cake
Step 1: Prepare the Frosting
Begin by combining dark and semi-sweet chocolate with the instant coffee granules in a bowl. In a saucepan, heat heavy cream and sugar over medium heat, stirring until the sugar dissolves and the mix is steaming, but not boiling. Pour this mixture over the chocolate and coffee; whisk until smooth. Cover and chill the frosting in the refrigerator for 30 minutes to thicken.
Step 2: Make the Cake Batter
Preheat your oven to 350°F (175°C) and grease two 9-inch round cake pans. In a large mixing bowl, whisk together the all-purpose flour, cocoa powder, baking powder, baking soda, and salt. In another bowl, mix the eggs, granulated sugar, dark brown sugar, vegetable oil, vanilla extract, and hot coffee until well combined. Gradually fold the dry ingredients into the wet mix until you have a smooth batter.
Step 3: Bake the Cake
Carefully divide the cake batter evenly between the two prepared pans, using a spatula to smooth out the tops. Bake the cakes in the preheated oven for 25-30 minutes, or until a toothpick inserted in the center comes out clean. Once baked, allow them to cool in the pans for 10 minutes before gently transferring the cakes to a wire rack to cool completely.
Step 4: Prepare Coffee Soak
While the cakes cool, prepare the coffee soak. In a small bowl, whisk together hot water and the remaining instant coffee granules until dissolved. Set aside and let this mixture cool to room temperature, which will add an extra layer of flavor to your Chocolate Espresso Cake.
Step 5: Assemble the Cake
Once the cakes have cooled, carefully slice each layer in half horizontally, creating four layers total. Place the bottom layer on a serving plate and brush generously with the coffee soak, allowing it to soak in. Spread a layer of chilled frosting on top, then repeat the process for each layer, stacking them neatly.
Step 6: Apply Crumb Coat
Once the layers are stacked, apply a thin layer of frosting over the entire cake to seal in any crumbs; this is known as the crumb coat. Use an offset spatula for a smooth finish. Place the cake in the refrigerator for about 15-20 minutes to set the crumb coat, ensuring a cleaner look for the final frosting layer.
Step 7: Final Frosting Touch
After the crumb coat has set, remove the cake from the refrigerator. Smooth a final layer of frosting over the top and sides of the cake with your spatula. Feel free to decorate the top with chocolate shavings or coffee beans for an extra touch. Your gorgeous Chocolate Espresso Cake is now ready to be served and impress your guests!
What to Serve with Chocolate Espresso Cake
When it’s time to elevate your dessert spread, consider these delightful pairings that enhance the experience of your Chocolate Espresso Cake.
-
Vanilla Ice Cream: The creamy, cool contrast to rich chocolate amplifies flavor, making each bite a decadent indulgence.
-
Whipped Cream: A fluffy dollop is perfect for adding lightness and a touch of sweetness that balances the cake’s richness beautifully.
-
Espresso: Serve alongside a shot of espresso for coffee enthusiasts, amplifying the cake’s mocha flavor with an authentic coffee kick.
-
Fresh Berries: Juicy raspberries or strawberries introduce a tart freshness, creating a delightful contrast with the cake’s fudgy texture.
-
Chocolate Ganache Drizzle: For chocolate lovers, a warm ganache brings an ultra-luxurious element that deepens the cake’s flavor profile.
-
Caramel Sauce: Drizzling warm caramel adds a sweet, buttery note that pairs wonderfully with the rich coffee and chocolate combination.
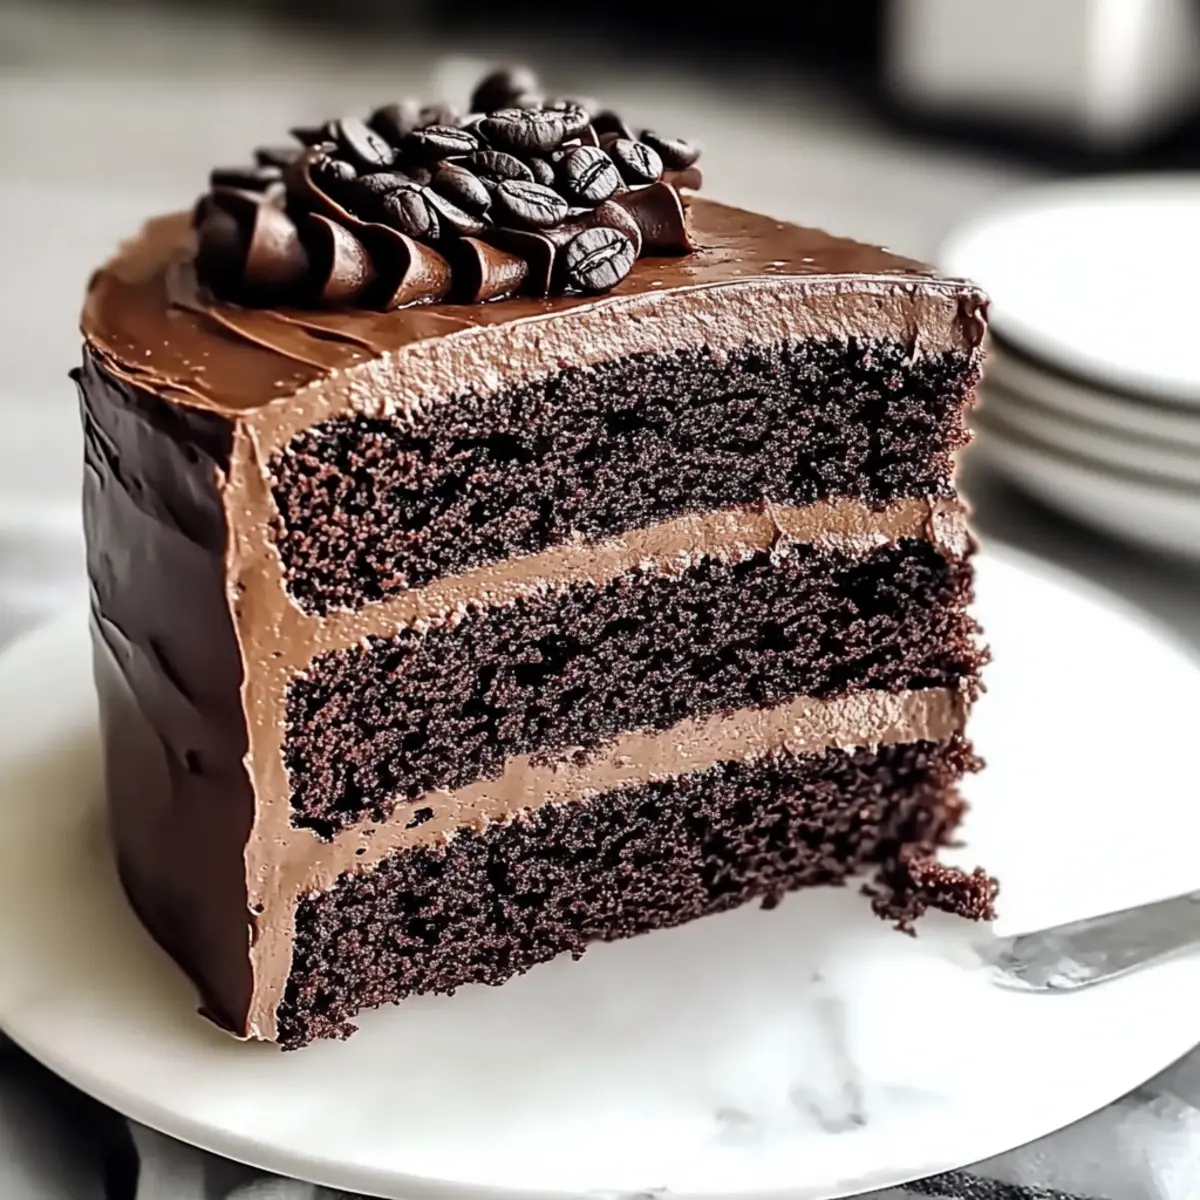
Consider presenting a slice of the cake with a scoop of ice cream, offering a warm-and-cold sensation that guests will adore. Each of these accompaniments can transform your dessert into a truly stunning finale for any meal!
Chocolate Espresso Cake Variations
Customize your Chocolate Espresso Cake with these delightful twists and substitutions that will tickle your taste buds!
-
Gluten-Free: Swap all-purpose flour for a gluten-free blend to cater to those with gluten sensitivities. Your cake will still be rich and delicious!
-
Dairy-Free: Replace heavy cream with coconut cream and use dairy-free chocolate for an equally delightful result, perfect for vegan friends.
-
Nutty Addition: Stir in finely chopped walnuts or hazelnuts into the batter for an added crunch. This will give your cake a lovely texture and flavor boost!
-
Decadent Liquer: Incorporate a splash of coffee liqueur or bourbon into the batter for an irresistible adult twist. The flavors of coffee and chocolate will harmonize beautifully.
-
Flavored Coffee Twist: Experiment with flavored coffee blends, such as vanilla or hazelnut, for a unique coffee note that enhances the cake’s flavor profile.
-
Mocha Frosting: For a change in frosting, combine cocoa powder with the chocolate frosting to create a mocha flavor that elevates this cake even further.
-
Layered Delight: Use raspberry or strawberry jam between the layers for a fruity contrast to the rich chocolate, making every slice a sensational treat.
For more delightful cake ideas, don’t miss out on our Chocolate Chalet Cake or the luscious Coconut Cake Vape. These variations and links will surely inspire your next baking adventure!
How to Store and Freeze Chocolate Espresso Cake
Fridge: Store your Chocolate Espresso Cake in an airtight container for up to one week to maintain its rich, fudgy texture and flavor.
Freezer: For long-term storage, wrap individual slices in plastic wrap and aluminum foil, then freeze for up to 3 months. Thaw in the fridge overnight before serving.
Reheating: If desired, reheat slices in the microwave for about 10-15 seconds to revive that fresh-from-the-oven taste, perfect for indulgent moments.
Room Temperature: You can keep the cake at room temperature for about 2 days, but make sure to cover it to prevent it from drying out.
Make Ahead Options
These Chocolate Espresso Cake preparations are perfect for busy home cooks looking to streamline their meal prep! You can bake the cake layers up to 3 days in advance; simply allow them to cool completely before wrapping them tightly in plastic wrap and refrigerating. The frosting can also be made up to 24 hours ahead—just store it in the refrigerator, ensuring you bring it to room temperature and give it a quick rewhip before frosting the cake. When you’re ready to assemble, just slice the cooled cake layers, brush them with your coffee soak, and layer with the frosting for a decadent dessert that tastes just as delicious as when freshly made!
Expert Tips for Chocolate Espresso Cake
• Quality Ingredients: Use high-quality dark chocolate and freshly brewed coffee to enhance the overall flavor of your Chocolate Espresso Cake.
• Proper Mixing: Avoid overmixing the batter; this can lead to a denser cake. Mix just until ingredients are combined for a light, fudgy texture.
• Crumb Coat Technique: Applying a crumb coat helps to seal in crumbs. Chill the cake after this step to ensure a smooth final frosting layer.
• Layer Soaking: Brush each layer generously with the coffee soak to infuse moisture and rich coffee flavor throughout the cake.
• Chill the Frosting: Let the frosting chill for optimal spreadability. This thickens it, making it easier to achieve a beautiful finish on your cake.
• Decorative Touches: Get creative with garnishes like chocolate shavings or coffee beans for an impressive presentation that will wow your guests!
Chocolate Espresso Cake Recipe FAQs
How do I choose the right coffee for the cake?
Absolutely! Using freshly brewed coffee will elevate the flavor of your Chocolate Espresso Cake. I recommend using a medium to dark roast, as these provide a robust flavor that effectively complements the rich chocolate. If you’re a fan of flavored coffee, try incorporating a hazelnut or vanilla blend for a unique twist.
How should I store leftover cake?
To keep your Chocolate Espresso Cake fresh, simply store it in an airtight container in the refrigerator for up to one week. This will help retain its amazing fudgy texture. For longer storage, wrap the cake slices in plastic wrap followed by aluminum foil and freeze for up to 3 months. When you’re ready to enjoy, just let them thaw in the refrigerator overnight.
Can I freeze the cake? How do I do it?
Yes, you absolutely can freeze it! Here’s how: Once your Chocolate Espresso Cake has cooled completely, slice it into individual portions. Wrap each slice tightly in plastic wrap, followed by a layer of aluminum foil to prevent freezer burn. Label with the date and keep it in the freezer for up to 3 months. When you’re ready to enjoy a slice, simply transfer it to the refrigerator to thaw overnight, or microwave for 10-15 seconds for a quick treat.
What should I do if my cake comes out too dense?
If your Chocolate Espresso Cake turns out denser than expected, it might be due to overmixing. When combining the wet and dry ingredients, mix just until combined—no need for perfection. For next time, make sure to measure the flour accurately—too much can lead to a heavy cake. It’s also essential to use fresh baking powder and baking soda, as expired leavening agents can impede the rise.
What are some allergy considerations I should keep in mind?
If you’re catering to individuals with allergies, consider using egg substitutes like flaxseed meal or applesauce for those allergic to eggs. For a gluten-free version, you can swap in a 1:1 gluten-free baking flour. Additionally, always check the labels on your ingredients, especially the chocolate and instant coffee granules, to avoid any hidden allergens.
Can pets eat any of the cake ingredients?
It’s best to keep your Chocolate Espresso Cake away from pets. Chocolate and caffeine can be toxic to dogs and cats, so be sure to store leftovers securely out of their reach. If you’re looking to share a treat with your furry friends, consider making a pet-safe cake specifically designed for them!
Indulge in Rich Chocolate Espresso Cake Bliss
Ingredients
Equipment
Method
- Prepare the frosting by combining dark and semi-sweet chocolate with instant coffee granules. Heat heavy cream and sugar until the sugar dissolves, then pour it over the chocolate and whisk until smooth. Chill in the refrigerator for 30 minutes.
- Preheat oven to 350°F (175°C) and grease two 9-inch round pans. Whisk together flour, cocoa powder, baking powder, baking soda, and salt in a large bowl. In another bowl, mix eggs, granulated sugar, dark brown sugar, oil, vanilla, and hot coffee until combined. Fold dry ingredients into wet ingredients until smooth.
- Divide batter between prepared pans and bake for 25-30 minutes or until a toothpick comes out clean. Cool in pans for 10 minutes before transferring to a wire rack to cool completely.
- Once the cakes are cool, slice each layer in half horizontally, creating four layers. Brush each layer with coffee soak, then spread chilled frosting on top, repeating for each layer.
- Apply a crumb coat with a thin layer of frosting over the entire cake and chill for 15-20 minutes to set.
- Smooth a final layer of frosting over the cake and decorate as desired. Serve and enjoy!
")