")
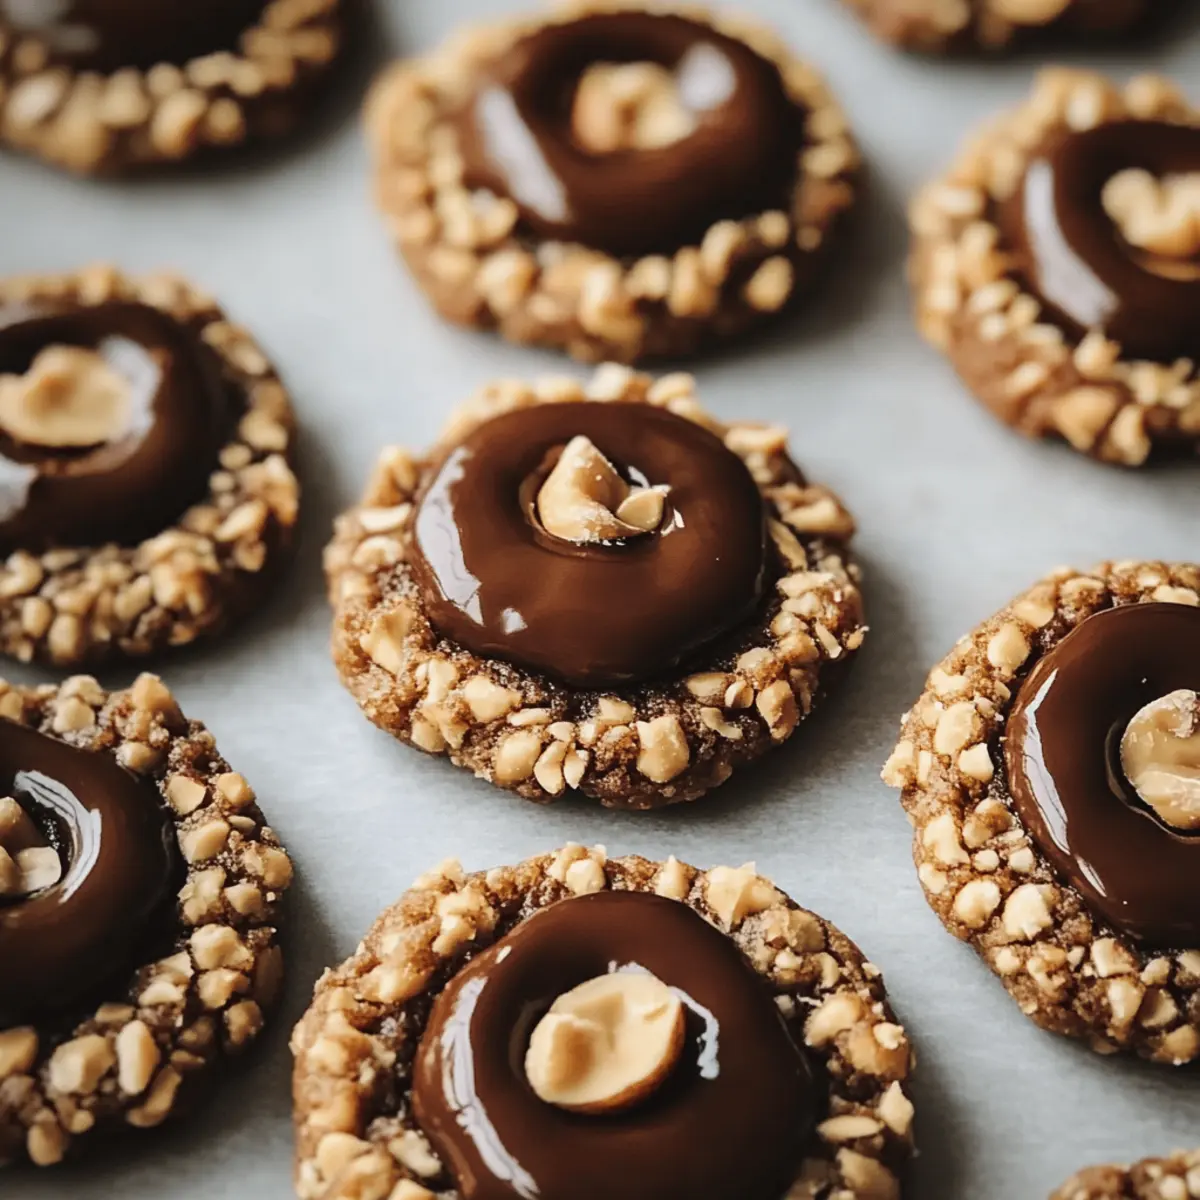
As I watched the chocolate chips melt into a gooey center, I couldn’t help but smile, anticipating the magic of my Chocolate Hazelnut Thumbprint Cookies. The process of creating these treats is almost an art form, where buttery dough transforms into decadent cookies rolled in crunchy hazelnuts. Not only do they deliver an irresistible combination of textures, but they also offer the kind of rich flavor that reminds us why we love homemade treats. Perfect for both festive gatherings and a sweet everyday indulgence, these cookies are sure to impress. Plus, with easy variations to play with, like swapping in caramel or fruit jams, there’s room for creativity and personalization. So, are you ready to whip up a batch that will make your kitchen smell heavenly?
Why Will You Crave These Cookies?
Irresistible Flavors: The blend of rich chocolate and nutty hazelnuts makes every bite a heavenly experience.
Easy to Make: With straightforward steps, you can whip these cookies up in no time, even as a beginner.
Versatile Variations: Feel free to experiment! Try filling them with fruit jams or caramel for a delightful twist.
Crowd Pleaser: Perfect for gatherings, these cookies are sure to impress family and friends, much like the delightful Millies Cookies Bake experience.
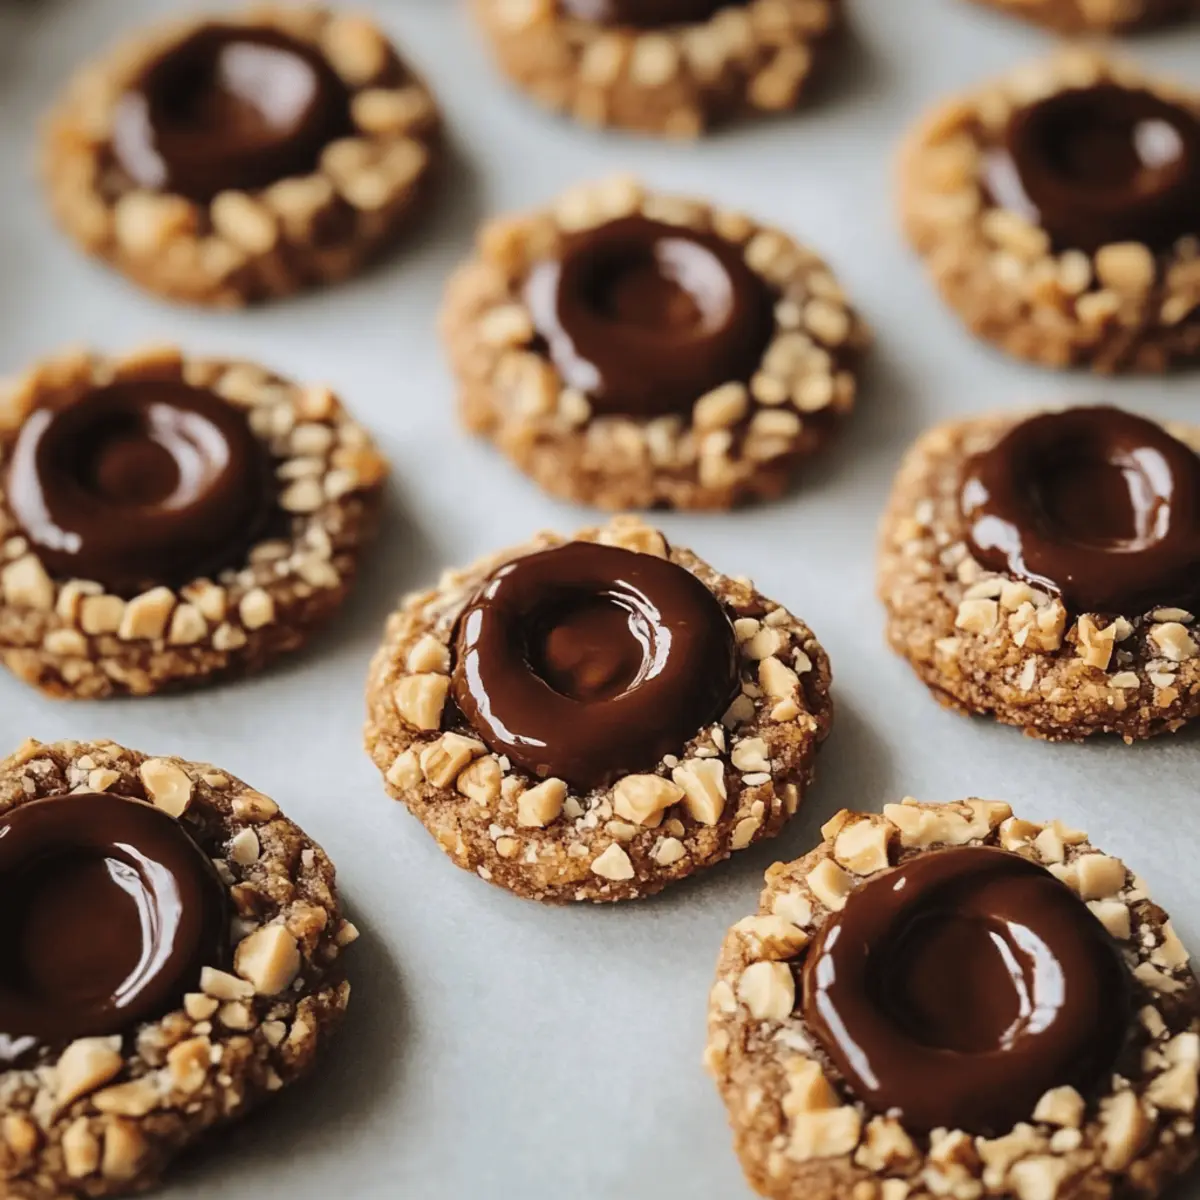
Beautiful Presentation: Their charming thumbprint design and toppings make them visually stunning, ideal for festive occasions.
Long-Lasting Treats: Store these cookies easily, ensuring your sweet cravings are satisfied for days to come. Enjoy your homemade indulgence!
Chocolate Hazelnut Thumbprint Ingredients
For the Dough
- Unsalted Butter – Provides richness and moisture for a tender cookie. Ensure it is softened for easy mixing.
- Granulated Sugar – Adds sweetness to balance the cocoa’s bitterness. Can be substituted with brown sugar for a deeper flavor.
- Vanilla Extract – Enhances the overall flavor profile. Use pure vanilla for the best taste.
- All-Purpose Flour – The main structural component of the cookie. Substitute with gluten-free flour blend if needed.
- Cocoa Powder – Adds chocolate flavor and a dark color to the dough. Use unsweetened cocoa for the best results.
- Salt – Enhances flavor by balancing sweetness. Do not omit, as it is essential for taste.
For the Coating
- Finely Chopped Hazelnuts – Coating that adds crunch and a nutty flavor. Substitute with chopped almonds or walnuts if desired.
For the Filling
- Chocolate Hazelnut Spread (such as Nutella) – The decadent filling that defines the cookie. For variation, use fruit jams like raspberry or strawberry.
- Whole Hazelnuts (optional) – For garnish and added texture. Consider toasting for enhanced flavor.
Step‑by‑Step Instructions for Chocolate Hazelnut Thumbprint Cookies
Step 1: Prep the Dough
Begin by creaming together 1 cup of softened unsalted butter and 1 cup of granulated sugar in a mixing bowl until the mixture is light and fluffy, about 3-5 minutes. Then, blend in 1 teaspoon of pure vanilla extract for a fragrant touch. This forms the foundation of your Chocolate Hazelnut Thumbprint Cookies.
Step 2: Combine Dry Ingredients
In a separate bowl, sift together 2 cups of all-purpose flour, ½ cup of unsweetened cocoa powder, and ½ teaspoon of salt. Gradually add this dry mixture to the creamed butter and sugar, mixing until a soft dough forms. It should be cohesive yet slightly sticky, perfect for rolling into balls.
Step 3: Roll the Cookies
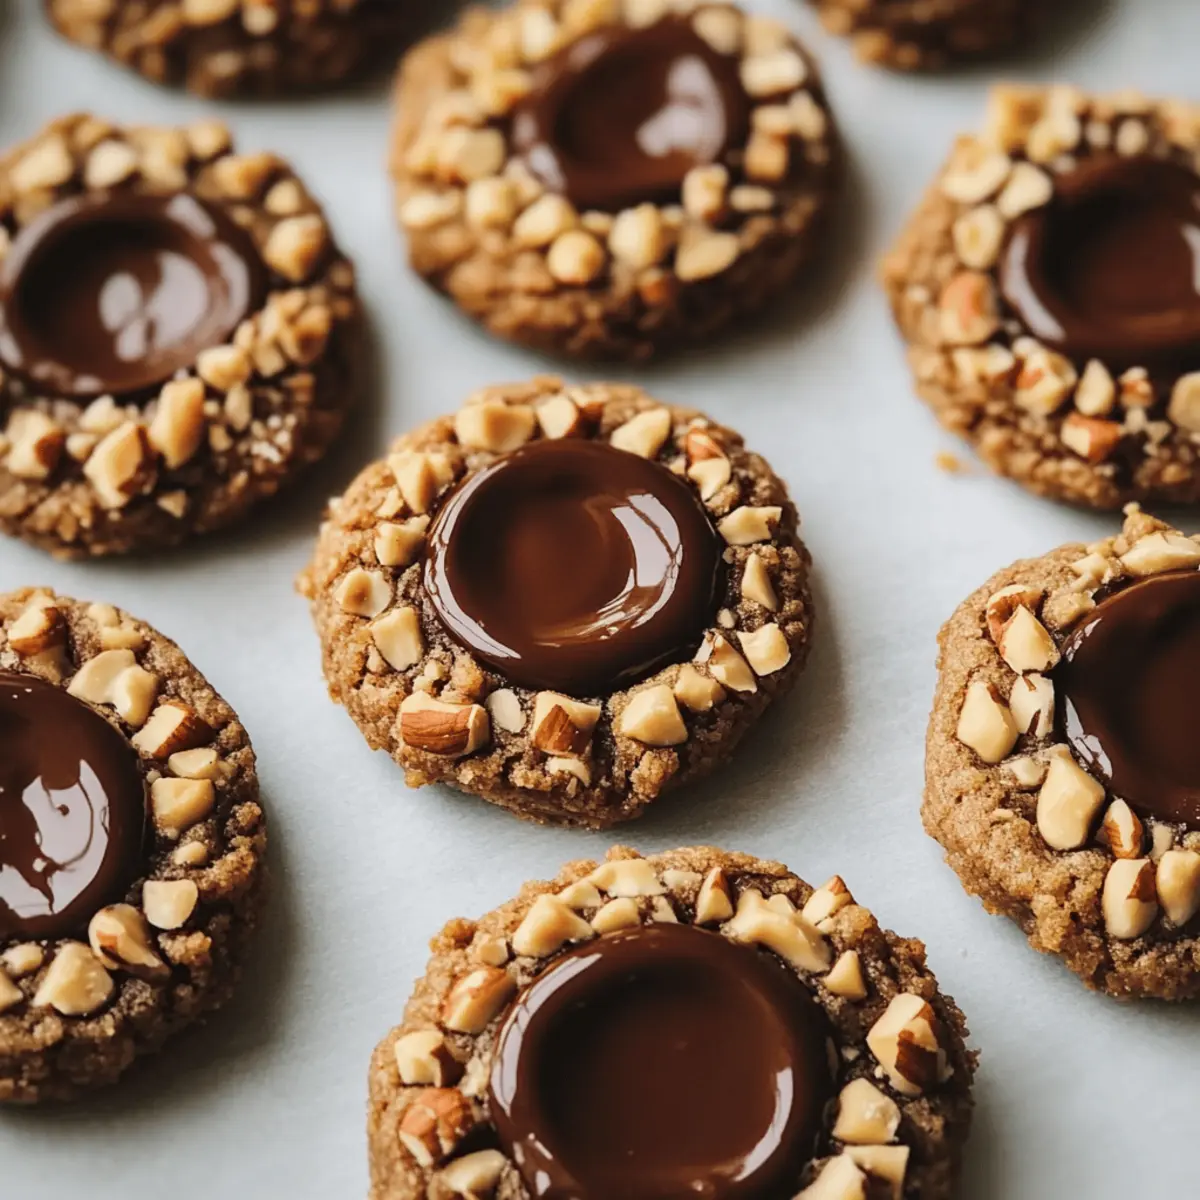
Preheat your oven to 350°F (175°C) and line a baking sheet with parchment paper. Take small portions of the dough and roll them into 1-inch balls. Then, gently roll each ball in finely chopped hazelnuts, ensuring they are well-coated. This adds a delightful crunch to your Chocolate Hazelnut Thumbprint Cookies.
Step 4: Create Indentations
Using the back of a rounded measuring spoon or a melon baller, press a thumbprint into each dough ball. Aim for a deep enough indentation to accommodate a generous filling later on. This step is crucial for creating the signature look of your Chocolate Hazelnut Thumbprint Cookies.
Step 5: Bake
Place the prepared cookies on the lined baking sheet, spacing them about 2 inches apart. Bake in your preheated oven for 10-12 minutes, or until set but still soft in the center. After removing them from the oven, re-press the thumbprint with the scoop tool while they are warm for perfect pockets.
Step 6: Fill
Allow the cookies to cool for about 5 minutes on the baking sheet before transferring them to a wire rack. Once slightly cooled, fill each thumbprint with your favorite chocolate hazelnut spread, ensuring each center is generously filled and beautifully glossy.
Step 7: Garnish (if desired)
For an extra touch of elegance, gently press a whole hazelnut into the center of each filled thumbprint cookie. This not only enhances the visual appeal but also adds a wonderful crunch, making your Chocolate Hazelnut Thumbprint Cookies even more irresistible.

What to Serve with Irresistible Chocolate Hazelnut Thumbprint Cookies
Indulging in these rich cookies opens the door to endless delicious pairings that make the experience even more delightful.
-
Fresh Berries: The tartness of strawberries or raspberries cuts through the sweetness, creating a refreshing balance to the rich cookies. A berry medley adds a pop of color and a juicy contrast!
-
Creamy Vanilla Ice Cream: A scoop of vanilla ice cream melts beautifully over warm cookies, enhancing the chocolate with its creamy, sweet flavor for an unforgettable dessert.
-
Espresso or Coffee: Sipping on a rich espresso alongside these cookies intensifies the chocolate flavors, creating a cozy moment perfect for sharing or savoring alone.
-
Chocolate Milk: A nostalgic pairing, chocolate milk amplifies the chocolatey goodness of the cookies while offering a playful reconciliation with childhood memories.
-
Spiced Chai Tea: The aromatic spices in chai tea provide a warm and inviting contrast to the nutty and sweet notes of the cookies, perfect for a relaxing afternoon treat.
-
Pecan Pie Bars: Elevate your cookie offering with some pecan pie bars; their chewy, nutty sweetness beautifully complements the chocolate hazelnut flavor and adds a festive touch.
-
Nutty Granola: On a lighter note, serve these cookies with a side of nutty granola or yogurt for a delightful crunch that pairs excellently with the cookie’s texture.
Make Ahead Options
These Chocolate Hazelnut Thumbprint Cookies are perfect for meal prep enthusiasts looking to save time during busy weeknights! You can prepare the cookie dough up to 24 hours in advance by mixing it and then refrigerating it in an airtight container. Additionally, the formed cookie balls can be rolled in chopped hazelnuts and frozen for up to 3 months before baking. When you’re ready to bake, simply preheat your oven, place the frozen cookie balls on a lined baking sheet, and bake them directly—no need to thaw! For the best results, fill the thumbprints with chocolate hazelnut spread right after they come out of the oven, so the filling melts slightly for a glossy finish. Enjoy having homemade treats ready to impress your family at a moment’s notice!
Expert Tips for Chocolate Hazelnut Thumbprint Cookies
-
Butter Consistency: Always ensure your butter is softened to room temperature for easy mixing, resulting in a smooth, creamy dough.
-
Chop Hazelnuts Finely: The finer the hazelnuts, the better they’ll adhere to the cookie dough, creating a beautiful, uniform coating on your Chocolate Hazelnut Thumbprint Cookies.
-
Deep Indentations: Make the thumbprint deep enough before baking; this helps you fill it generously with chocolate hazelnut spread later on.
-
Bake Just Right: Monitor baking time carefully—cookies should be set but soft in the center, ensuring a chewy texture that pairs perfectly with the filling.
-
Storage Tips: To keep your cookies fresh, store them in an airtight container. You can freeze them for longer storage, allowing you to enjoy these treats anytime!
How to Store and Freeze Chocolate Hazelnut Thumbprint Cookies
-
Room Temperature: Store the cookies in an airtight container for up to one week. This will keep them fresh while maintaining their delightful texture.
-
Fridge: If you prefer a longer shelf life, you can keep them in the fridge for up to two weeks. Just ensure they are well-wrapped to prevent drying out.
-
Freezer: For longer storage, freeze the cookies for up to three months. Place them in a single layer on a baking sheet until solid, then transfer to an airtight container.
-
Reheating: To enjoy the cookies warm, simply reheat them in the oven at 350°F (175°C) for about 5-7 minutes. This will refresh their texture and flavor!
Chocolate Hazelnut Thumbprint Cookies Variations
Feel free to customize your Chocolate Hazelnut Thumbprint Cookies adventure with these delightful variations!
-
Fruit Jam Filling: Opt for raspberry or strawberry jam for a fruity burst that complements the chocolate beautifully. This twist adds a refreshing tang and a pop of color to your cookies.
-
Caramel Delight: Swap the filling for decadent caramel or dulce de leche, completing with a sprinkle of sea salt for an irresistible sweet-salty combo. This option gives your cookies a rich, luxurious twist that will leave everyone wanting more.
-
Nutty Alternatives: Try substituting hazelnuts with chopped almonds or walnuts. These alternatives bring a different flavor profile and texture, creating a unique twist that can become a new favorite!
-
Spicy Kick: Add a hint of cayenne or chili powder to the dough for an exciting spicy twist. This unexpected heat will tantalize your taste buds and elevate the flavor experience.
-
Coconut Bliss: Substitute finely chopped hazelnuts with sweetened shredded coconut for a tropical flair. These cookies will transport you to paradise with every chewy bite.
-
Minty Freshness: Add a few drops of peppermint extract to the dough or use a mint chocolate filling for a refreshing minty twist. This variation is perfect for the holidays or any time you want a refreshing twist.
-
Double Chocolate: Use dark chocolate cocoa powder and fill with a darker chocolate ganache for a chocolate lover’s dream. Every bite will be rich and utterly decadent, perfect for satisfying those serious chocolate cravings.
-
Lemon Zing: Incorporate lemon zest into the dough for a bright, citrusy flavor that contrasts beautifully with chocolate. This surprising addition will awaken your senses and brighten your day.
Experimenting with these variations can make your baking experience even more enjoyable! For more cookie ideas, check out the delightful Cool Whip Cookies or the indulgent Swiss Chocolate Chalet for more inspiration!
Chocolate Hazelnut Thumbprint Cookies Recipe FAQs
How do I pick ripe hazelnuts?
Absolutely! When selecting hazelnuts, look for firm, unblemished nuts that are free from dark spots or any signs of mold. Fresh hazelnuts should feel heavy for their size and have a crunchy texture. If you can, taste one for nuttiness; if it’s stale, it’s best to choose another batch!
How long do Chocolate Hazelnut Thumbprint Cookies last at room temperature?
These cookies are delightful treats that can stay fresh in an airtight container for up to one week at room temperature. However, to maintain their best texture and taste, I recommend enjoying them within the first few days after baking.
Can I freeze Chocolate Hazelnut Thumbprint Cookies?
Yes! For longer enjoyment, you can freeze your cookies for up to 3 months. Just place them in a single layer on a baking sheet in the freezer until solid. Once frozen, transfer them to an airtight container, separating layers with parchment paper. To enjoy them again, thaw them at room temperature or briefly warm them in the oven!
What should I do if my cookies spread too much while baking?
If your cookies spread too much, it might be because the dough was too warm or you didn’t use enough flour. Ensure that your butter is softened but not melted, and chill the dough for 30 minutes before rolling. Another tip is to monitor the baking time; removing them as soon as they are baked can help maintain their shape!
Do Chocolate Hazelnut Thumbprint Cookies contain allergens?
Yes, these cookies contain several common allergens, including dairy (butter) and nuts (hazelnuts). If you’re baking for someone with allergies, consider using dairy-free alternatives like margarine and substituting pecans or sunflower seeds for the hazelnuts. Always check labels for potential cross-contamination with allergens.
Delicious Chocolate Hazelnut Thumbprint Cookies You’ll Love
Ingredients
Equipment
Method
- Begin by creaming together the unsalted butter and granulated sugar in a mixing bowl until light and fluffy, about 3-5 minutes. Blend in the vanilla extract.
- In a separate bowl, sift together the all-purpose flour, cocoa powder, and salt. Gradually add this mixture to the creamed butter and sugar, mixing until a soft dough forms.
- Preheat your oven to 350°F (175°C) and line a baking sheet with parchment paper. Roll small portions of the dough into 1-inch balls and coat them with finely chopped hazelnuts.
- Using the back of a rounded measuring spoon, press a thumbprint into each dough ball, creating a deep enough indentation for the filling.
- Place the cookies on the lined baking sheet, spacing them about 2 inches apart. Bake for 10-12 minutes, until set but still soft in the center.
- Allow the cookies to cool for about 5 minutes on the baking sheet before transferring them to a wire rack. Fill each thumbprint with the chocolate hazelnut spread.
- Garnish with a whole hazelnut in the center of each filled cookie, enhancing both the visual appeal and texture.
")