")
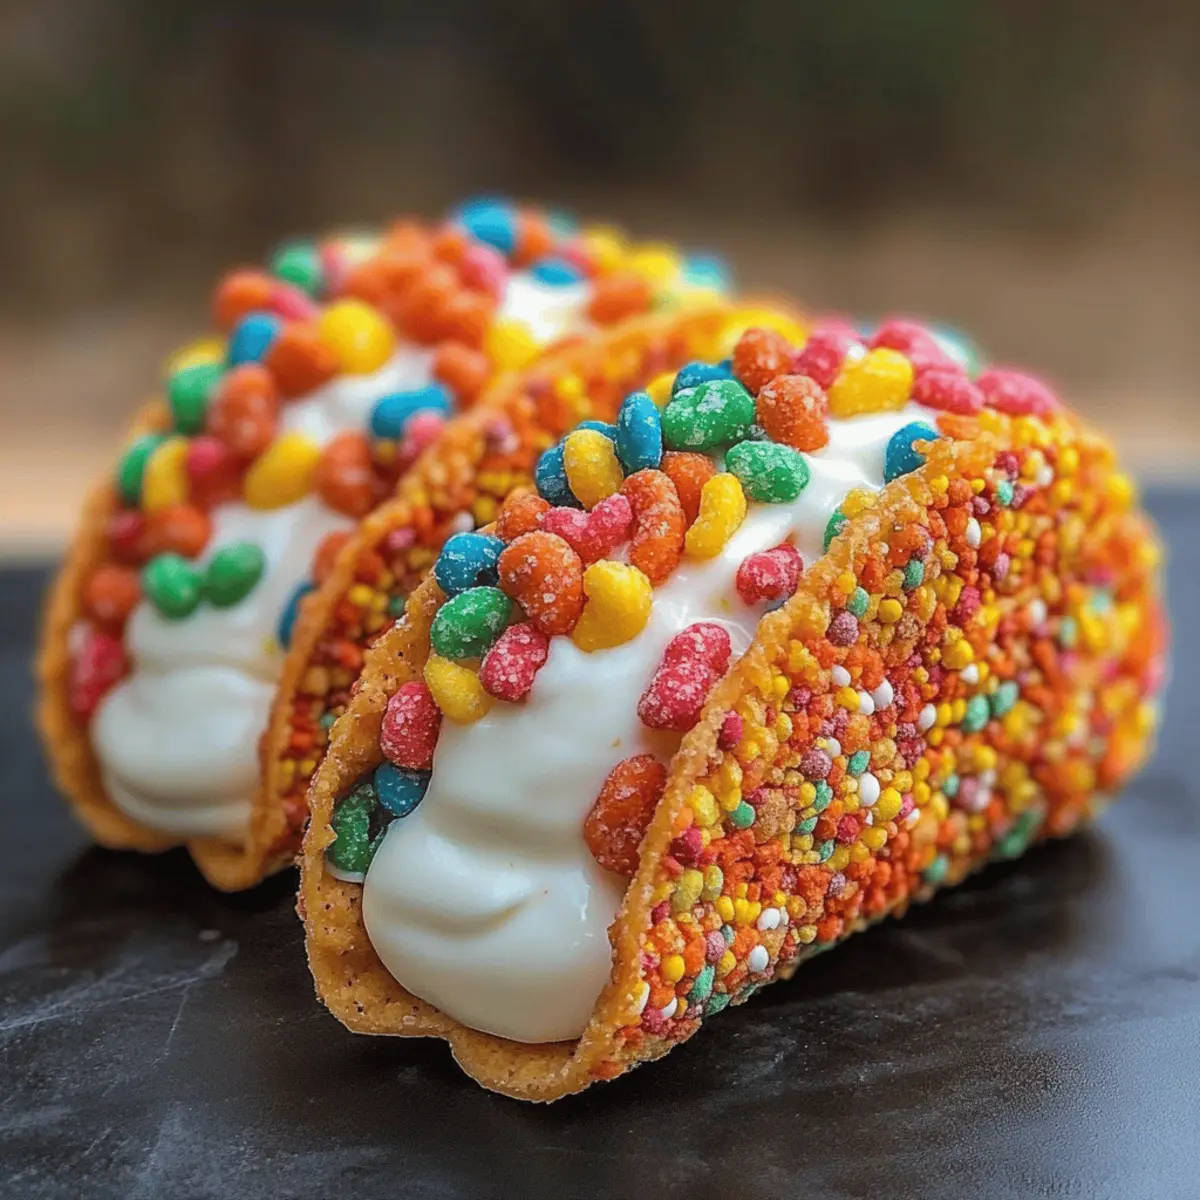
Nothing quite says fun like a dessert that turns your favorite cereal into a whimsical treat! These Fruity Pebbles Cheesecake Tacos are a colorful celebration of sweet nostalgia, perfect for family gatherings or a playful night in. With their crunchy cereal shells and creamy cheesecake filling, this recipe is not only easy to whip up, but also incredibly customizable—think Cocoa Pebbles for a chocolate twist or Cinnamon Toast Crunch for a warm, spiced vibe. Plus, they’re vegetarian-friendly, making them a delightful choice for everyone at your table. Are you ready to dive into this fun and delicious dessert idea that will leave your guests smiling and coming back for seconds?
Why will you adore this dessert?
Whimsical Fun: These Fruity Pebbles Cheesecake Tacos are the ultimate crowd-pleaser, bringing smiles to kids and adults alike.
Customizable Delights: Easily adapt the flavors with options like Cocoa Pebbles or even a splash of orange liqueur for an adult twist.
Quick and Simple: This recipe is straightforward, perfect for those busy weeknights or last-minute gatherings.
Vibrant Presentation: Beautifully colorful and visually appealing, these tacos create an exciting dessert table that sparks joy.
Nostalgic Treat: Relive your childhood snack time with a sophisticated touch, making every bite a delightful experience.
Serve alongside some delicious Sara Lee Cheesecake for even more creamy goodness!
Fruity Pebbles Cheesecake Tacos Ingredients
For the Taco Shells
• Fruity Cereal – Provides structure and delightful flavors; any colorful brand works great.
• Unsalted Butter – Binds the cereal together and adds richness; melted butter makes mixing easier.
For the Cheesecake Filling
• Cream Cheese – The base for a rich and creamy filling; ensure it’s softened for smooth mixing.
• Powdered Sugar – Sweetens the filling; sifting prevents any lumps for a silky texture.
• Pure Vanilla Extract – Enhances the cheesecake flavor; always choose pure for the best taste.
• Whipped Cream – Lightens the filling, creating fluffiness; gently fold it in to keep that airy texture.
For Garnishing
• Additional Fruity Cereal – Used for garnish to add both crunch and visual appeal; it’s a fun finishing touch!
Experiment with variations like Cocoa Pebbles or Cinnamon Toast Crunch to create your own take on these Fruity Pebbles Cheesecake Tacos!
Step‑by‑Step Instructions for Fruity Pebbles Cheesecake Tacos
Step 1: Prepare the Taco Shell Mixture
Start by melting 4 tablespoons of unsalted butter in a microwave-safe bowl. In a separate mixing bowl, combine your fruity cereal and the melted butter, stirring until each piece is thoroughly coated. This mixture should be slightly sticky yet moldable. Once combined, it’s time to shape these tacos!
Step 2: Form the Taco Shells
Using your hands, take small portions of the cereal mixture and press them firmly into taco-shaped molds or greased muffin tins, creating a hollow shell. Make sure the cereal is compact, ensuring it holds its shape when removed. Chill the shells in the refrigerator for at least 30 minutes until they become firm and ready for filling.
Step 3: Make the Cheesecake Filling
While the shells chill, prepare the filling by beating 8 ounces of softened cream cheese in a mixing bowl until light and fluffy. Gradually sift in 1 cup of powdered sugar and add 1 teaspoon of pure vanilla extract, mixing until the mixture is smooth and creamy with no lumps. This filling will provide a rich contrast to the crispy shells.
Step 4: Incorporate the Whipped Cream
To lighten the cheesecake filling, gently fold in 1 cup of whipped cream using a spatula. Be careful to not overmix, as you want to maintain the airy and fluffy texture. The combination of the creamy filling and whipped cream is crucial for the delightful bite of your Fruity Pebbles Cheesecake Tacos.
Step 5: Fill the Taco Shells
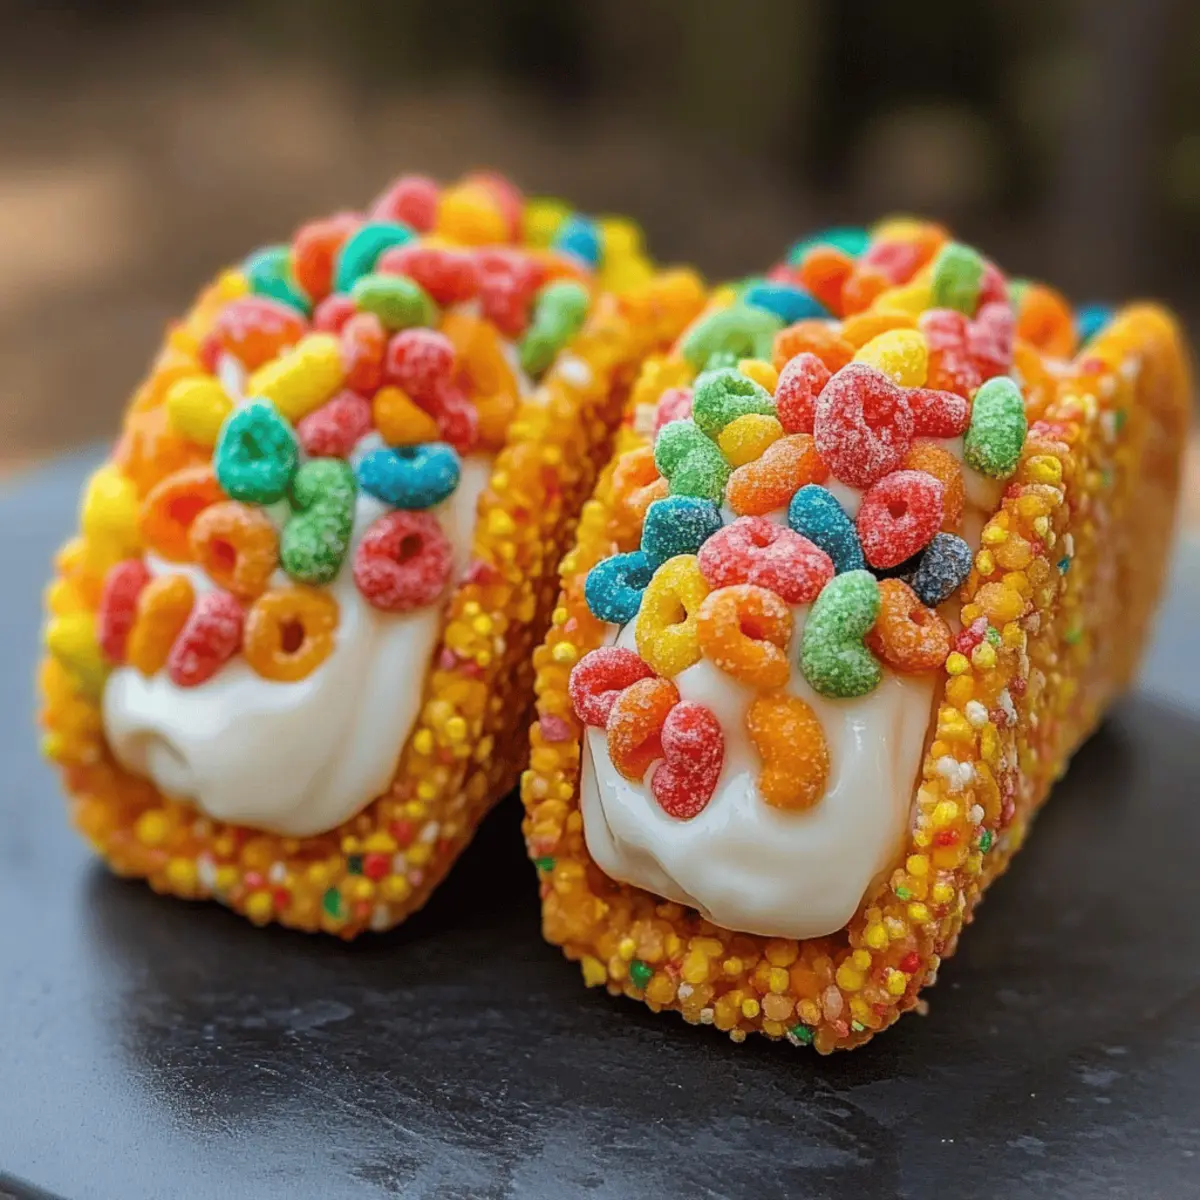
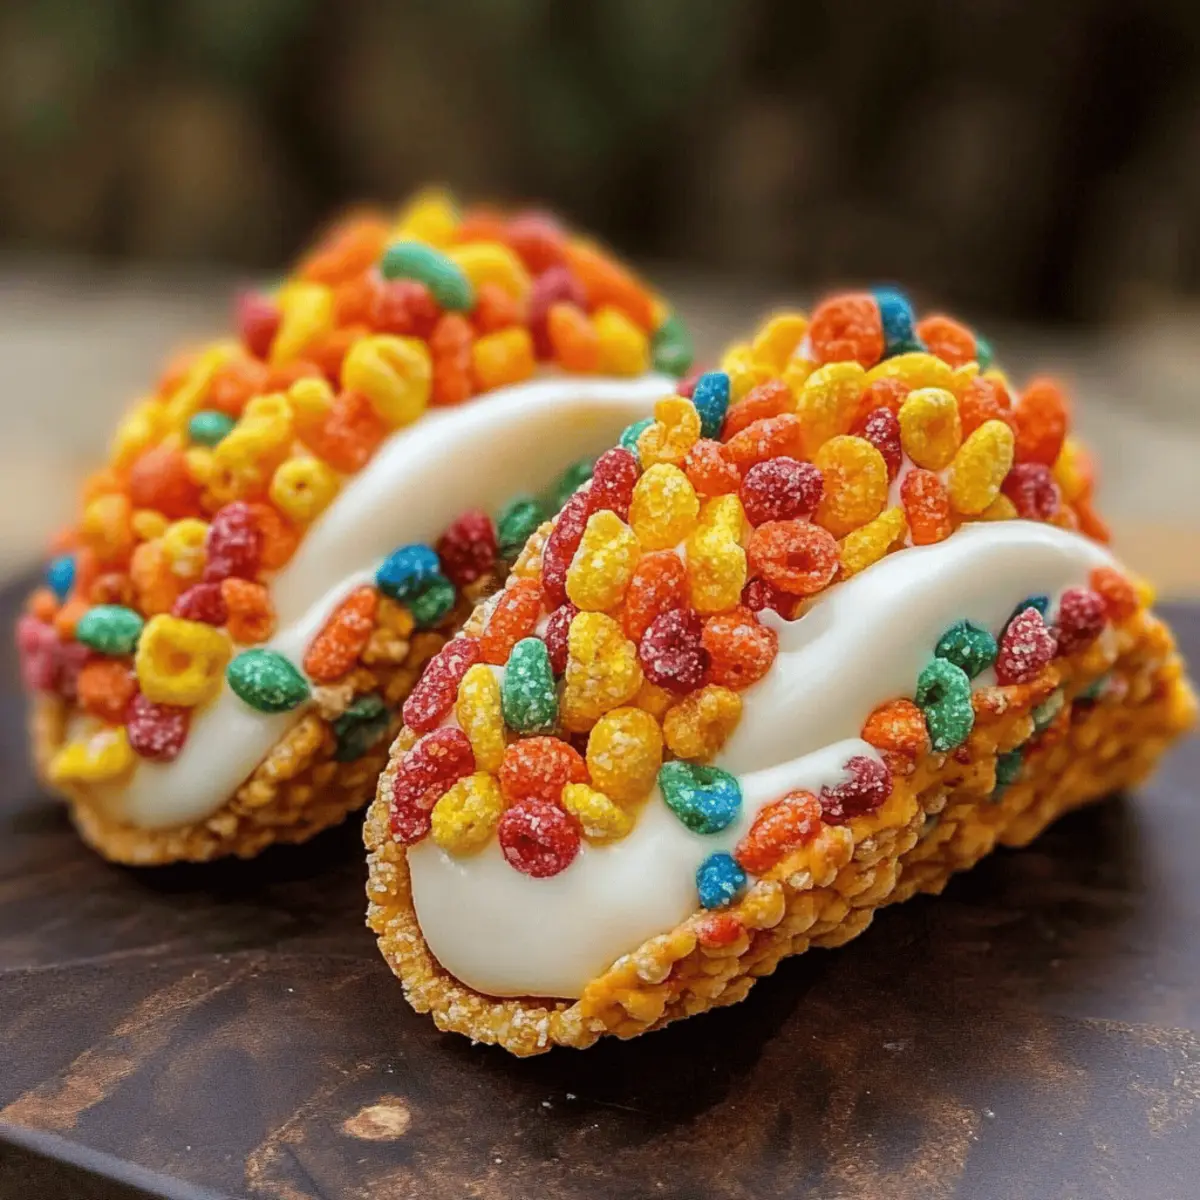
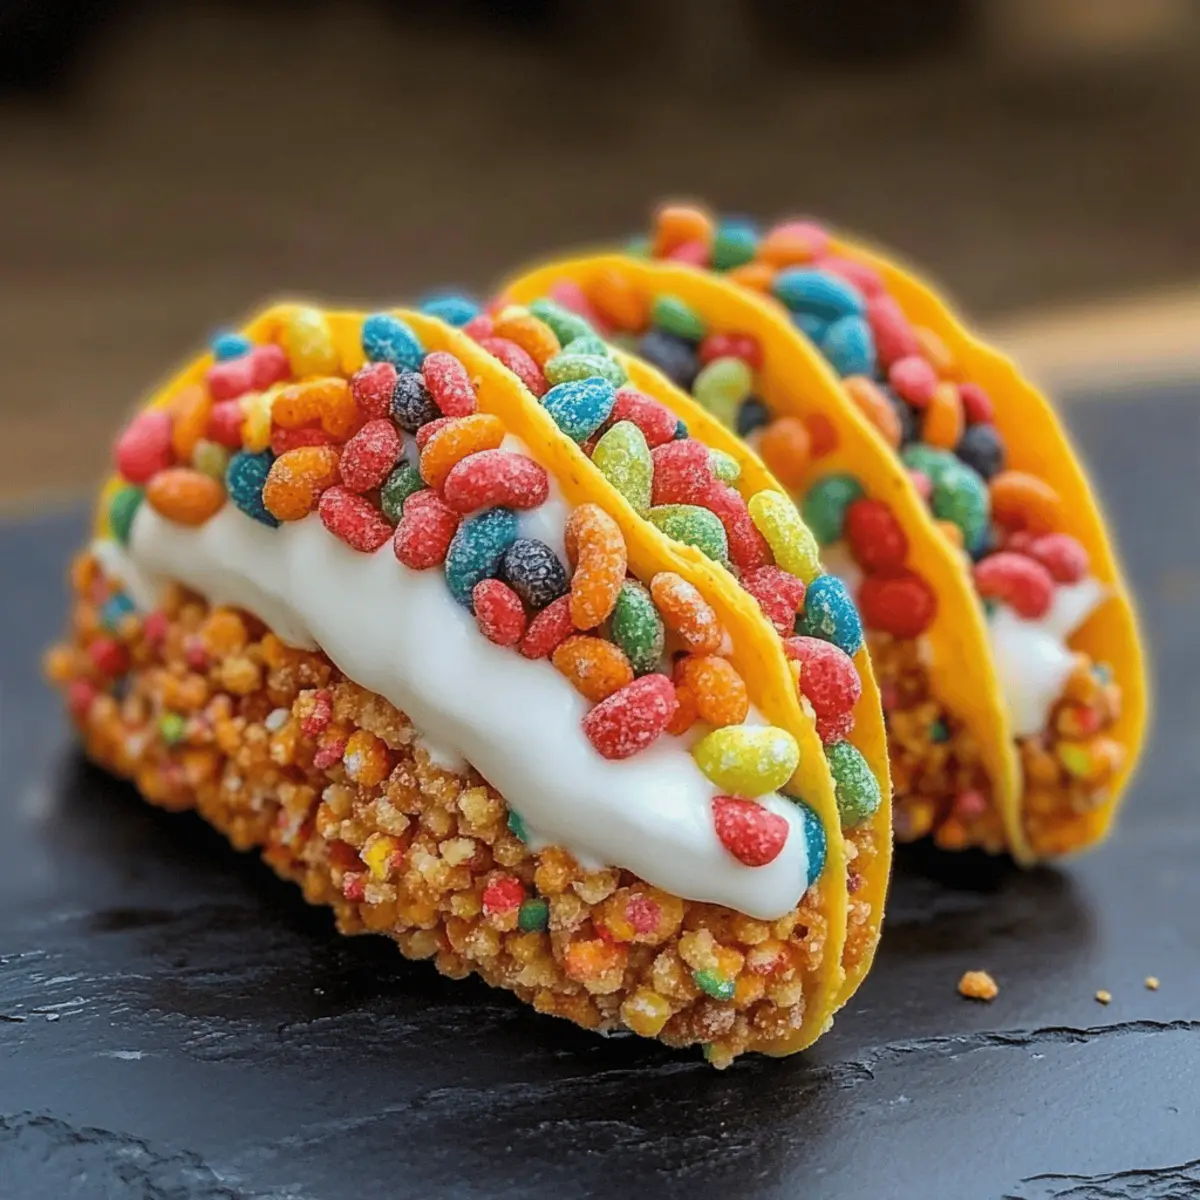
Once your taco shells are set and firm, remove them from the refrigerator. Using a spoon, generously fill each taco shell with the creamy cheesecake mixture, allowing it to mound slightly for a fun presentation. The colorful contrast of the creamy filling against the cereal shell will surely excite your guests.
Step 6: Garnish and Serve
Finish off your Fruity Pebbles Cheesecake Tacos by garnishing with additional fruity cereal on top for added crunch and visual flair. Serve immediately for the best texture. Alternatively, you can chill the tacos for up to 1 hour for a firmer texture, ensuring they remain a delightful treat!
How to Store and Freeze Fruity Pebbles Cheesecake Tacos
Room Temperature: Store assembled tacos at room temperature for no more than 1 hour, as the shells may become soggy.
Fridge: Keep leftover tacos covered in an airtight container in the refrigerator for up to 24 hours to maintain freshness.
Freezer: For long-term storage, freeze unfilled taco shells in a tightly sealed container for up to 2 months. Make sure they are completely cool before freezing.
Reheating: To enjoy crispy taco shells again, reheat in an oven at 350°F (175°C) for about 5 minutes, then fill with freshly made cheesecake filling.
What to Serve with Fruity Pebbles Cheesecake Tacos?
Indulging in these delightful Fruity Pebbles Cheesecake Tacos opens the door to an array of delicious accompaniments, turning your dessert into a mesmerizing experience.
-
Tropical Fruit Salad: A vibrant mix of pineapples, mangoes, and berries adds a refreshing brightness that complements the sweetness of the tacos.
-
Coconut Whipped Cream: This light and airy topping enhances the creamy texture and livens up the flavor, bringing a tropical twist.
-
Chocolate Drizzle: A decadent swirl of melted chocolate provides a rich contrast, elevating the playful presentation of your dessert.
-
Vanilla Ice Cream: The cold creaminess is a delightful counterbalance to the crispy taco shells, making each bite even more enjoyable.
-
Milkshakes: A fruity or vanilla milkshake pairs perfectly, creating a nostalgic, whimsical vibe that echoes the essence of your tacos.
-
Festive Sprinkles: Add a sprinkle of fun colored sprinkles on top of your tacos for an extra pop of color and crunch. This simple touch will make your dessert even more festive!
Each of these delightful pairings beautifully enhances the experience of your Fruity Pebbles Cheesecake Tacos, making them a truly unforgettable treat.
Expert Tips for Fruity Pebbles Cheesecake Tacos
-
Perfect Texture: Ensure cream cheese is at room temperature before mixing to achieve a smooth, creamy filling that blends effortlessly with the whipped cream.
-
Avoid Soggy Shells: Assemble the tacos no more than 4 hours before serving to keep the shells crispy while enjoying the creamy cheesecake filling.
-
Chill Thoroughly: Let the taco shells chill for at least 30 minutes after shaping them; this helps them hold their form and enhances their crunch.
-
Easy Cleanup: Line your taco molds or muffin tins with parchment paper for easy removal and cleanup, making the process less stressful.
-
Garnish Wisely: Use the colorful fruity cereal as a garnish just before serving for maximum crunch and visual appeal in your Fruity Pebbles Cheesecake Tacos.
Fruity Pebbles Cheesecake Tacos Variations
Feel free to let your creativity shine by adding your own twist to these delightful tacos!
-
Cocoa Pebbles: Swap out fruity cereal for Cocoa Pebbles for a chocolatey indulgence that’s perfect for chocoholics.
Imagine rich cocoa flavors complimenting your creamy filling—a perfect match! -
Cinnamon Toast Crunch: Use this cereal for a warm, spiced touch. The cinnamon adds an exciting twist that meshes beautifully with the cheesecake.
-
Orange Liqueur: For an adult-only version, stir in a tablespoon of orange liqueur and finish with a sprinkle of orange zest for a zesty surprise.
-
Festive Colors: Coordinate your cereal colors to match any holiday theme—think red and green for Christmas or pastel hues for Easter. It’s a fun way to celebrate through dessert!
-
Nutty Crunch: Add crushed nuts like pecans or almonds to the cereal mixture for extra texture and a subtly nutty flavor.
-
Fruit Fusion: Incorporate fresh berries or sliced bananas into your cheesecake filling for vibrant taste bursts and a pop of fresh color.
-
Dairy-Free: Substitute cream cheese with a dairy-free alternative to make these treats suitable for lactose-intolerant friends, ensuring everyone can enjoy this dreamy dessert.
-
Mini Versions: Create bite-sized tacos using smaller molds for a fun party appetizer. These adorable little bites are sure to impress your guests!
For an even sweeter adventure, consider pairing these with a classic Sara Lee Cheesecake for a heavenly dessert spread. Don’t forget to check out my tips for Making Cheesecake Dip to accompany your delightful tacos!
Make Ahead Options
These Fruity Pebbles Cheesecake Tacos are perfect for meal prep, allowing busy home cooks to save time while still impressing their guests! You can prepare the taco shells up to 3 days in advance; just store them in an airtight container to keep them fresh and crunchy. The cheesecake filling can be made ahead and refrigerated for up to 24 hours before you’re ready to assemble. To finish, simply fill the taco shells with the creamy cheesecake mixture, garnish with additional fruity cereal, and serve for a delightful dessert experience. This way, you’ll have a whimsical treat ready in minutes, allowing you to enjoy more valuable time with your loved ones!
Fruity Pebbles Cheesecake Tacos Recipe FAQs
How do I choose the best Fruity Cereal for the taco shells?
Absolutely! Look for colorful fruity cereals that have a vibrant look and a crunchy texture. You can use any brand that resembles Fruity Pebbles; just make sure the cereal pieces are not too large for easy shaping of the taco shells.
What’s the best way to store leftover Fruity Pebbles Cheesecake Tacos?
To keep your tacos fresh, store any leftovers in an airtight container in the refrigerator for up to 24 hours. If you have unfilled taco shells, they can be kept at room temperature for a brief period and stored in a sealed container for up to 2 months in the freezer.
Can I freeze Fruity Pebbles Cheesecake Tacos?
Certainly! For best results, freeze the unfilled taco shells in a tightly sealed container for up to 2 months. Make sure they are completely cool before freezing. When you are ready to enjoy them, reheat the shells in an oven preheated to 350°F (175°C) for about 5 minutes until they are crispy again, then fill them with freshly prepared cheesecake filling.
What if my cheesecake filling is too lumpy?
If your filling isn’t smooth, it might be due to cold cream cheese. Ensure you allow the cream cheese to come to room temperature before mixing; this helps it blend seamlessly. If it’s already mixed and lumpy, simply continue to beat until smooth, or strain the mixture through a fine mesh sieve to remove any lumps!
Are Fruity Pebbles Cheesecake Tacos suitable for people with allergies?
Very! These tacos can be made vegetarian-friendly but take care if any of your guests have specific allergies, especially to dairy (from the cream cheese and whipped cream) or gluten (if using certain cereals). Consider alternate ingredients, such as dairy-free cream cheese and whipped cream, for a deliciously accommodating dessert!
How can I make the filling fluffier?
To ensure a wonderfully fluffy cheesecake filling, make sure to use room temperature cream cheese, and gently fold in the whipped cream. Avoid overmixing to keep that airy texture. If you like, you can also whip the cream separately before folding it in, which often gives an added lightness to the filling.
Enjoy creating your delightful Fruity Pebbles Cheesecake Tacos!
Fruity Pebbles Cheesecake Tacos for a Whimsical Dessert Delight
Ingredients
Equipment
Method
- Start by melting 4 tablespoons of unsalted butter in a microwave-safe bowl. In a separate mixing bowl, combine your fruity cereal and the melted butter, stirring until each piece is thoroughly coated. This mixture should be slightly sticky yet moldable. Once combined, it's time to shape these tacos!
- Using your hands, take small portions of the cereal mixture and press them firmly into taco-shaped molds or greased muffin tins, creating a hollow shell. Make sure the cereal is compact, ensuring it holds its shape when removed. Chill the shells in the refrigerator for at least 30 minutes until they become firm and ready for filling.
- While the shells chill, prepare the filling by beating 8 ounces of softened cream cheese in a mixing bowl until light and fluffy. Gradually sift in 1 cup of powdered sugar and add 1 teaspoon of pure vanilla extract, mixing until the mixture is smooth and creamy with no lumps.
- To lighten the cheesecake filling, gently fold in 1 cup of whipped cream using a spatula. Be careful to not overmix, as you want to maintain the airy and fluffy texture.
- Once your taco shells are set and firm, remove them from the refrigerator. Using a spoon, generously fill each taco shell with the creamy cheesecake mixture, allowing it to mound slightly for a fun presentation.
- Finish off your Fruity Pebbles Cheesecake Tacos by garnishing with additional fruity cereal on top for added crunch and visual flair. Serve immediately for the best texture.
")


