")
The aroma of sizzling garlic filled the kitchen as I peeked into my oven, my mouth watering in anticipation. Today, I’m excited to share my go-to recipe for Cheesy Garlic Chicken Wraps—an easy weeknight dinner that banishes takeout fatigue! These delightful wraps are not only beginner-friendly, but they also come together in a snap, making them perfect for busy evenings. Imagine biting into a warm tortilla, melting mozzarella cheese, and flavorful chicken wrapped snugly around fresh spinach and tomatoes—it’s pure comfort in every bite. Whether you’re a seasoned home-chef or just looking for a fun way to elevate your dinner routine, this recipe promises to be both satisfying and simple. Are you ready to roll up your sleeves and dive into a wrap experience that will leave everyone asking for seconds?
Why Try These Garlic Chicken Wraps?
Simplicity makes this recipe a breeze! With minimal prep and cooking time, you’ll have a delicious meal on the table in no time. Mouthwatering flavors combine tender chicken, aromatic garlic, and gooey cheese, creating a harmony that your taste buds will rave about. Versatile enough to suit any palate, you can easily swap in grilled veggies for a vegetarian twist or spice things up with jalapeños! Crowd-pleaser appeal means even picky eaters will love these wraps. Plus, if you’re a fan of Marry Chicken Pasta or Buffalo Chicken Bombs, you’ll find this recipe just as satisfying and fun to make!
Garlic Chicken Wraps Ingredients
• Here’s everything you’ll need for these delicious Garlic Chicken Wraps!
For the Wrap Filling
- Chicken Breasts – A lean protein option; boneless, skinless breasts work best.
- Olive Oil – Helps marinate the chicken for deeper flavor and juiciness.
- Garlic (minced) – Fresh garlic adds intense aromatic depth to the wraps.
- Salt – Essential for enhancing the natural flavors; adjust to your liking.
- Black Pepper – For a hint of warmth; freshly ground is preferred.
- Paprika – Adds a smoky note; substitute with cayenne for more heat.
- Dried Oregano – Infuses earthy herbal notes; Italian seasoning works as well.
- Onion Powder – Offers a touch of sweetness; fresh onions can change texture.
- Shredded Mozzarella Cheese – Melts beautifully for that gooey wrap experience.
- Grated Parmesan Cheese – Brings a rich, nutty flavor to the mix.
- Baby Spinach Leaves – Adds freshness and crunch; arugula can be a nice swap.
- Cherry Tomatoes (halved) – Balanced acidity and sweetness; dice regular tomatoes smaller.
- Fresh Parsley (chopped) – Garnishes for color and added freshness.
- Sour Cream or Greek Yogurt – A creamy side option that complements the wraps.
For the Wrap Base
- Flour Tortillas – The ultimate foundation; whole wheat tortillas add fiber.
Enjoy crafting these Garlic Chicken Wraps that will surely become a favorite for quick dinners!
Step‑by‑Step Instructions for Cheesy Garlic Chicken Wraps
Step 1: Preheat the Oven
Begin by preheating your oven to 375°F (190°C). This ensures that your Garlic Chicken Wraps cook evenly and become beautifully golden while baking. Setting the oven ahead gives you a chance to prepare the filling without waiting later, making the entire process smoother and more efficient.
Step 2: Prepare the Marinade
In a medium bowl, whisk together olive oil, minced garlic, salt, black pepper, paprika, dried oregano, and onion powder. This aromatic mixture will infuse the chicken with delightful flavors. Aim for a consistent blend, ensuring every piece of chicken is well-coated.
Step 3: Pound the Chicken
Using a meat mallet, pound the chicken breasts to a uniform thickness of about ½ inch. This technique promotes even cooking, ensuring your chicken remains juicy and tender. Take your time with this step for the best results, as it significantly impacts the texture of your finished Garlic Chicken Wraps.
Step 4: Marinate the Chicken
Place the pounded chicken in the marinade, ensuring it’s fully coated. Cover the bowl and allow it to marinate for at least 20 minutes, or up to 2 hours in the refrigerator. This allows the flavors to penetrate the chicken thoroughly, making every bite deliciously seasoned.
Step 5: Cook the Chicken
Heat a skillet over medium heat and add the marinated chicken breasts. Sear them for about 7-8 minutes per side until they reach an internal temperature of 165°F (75°C) and are golden brown. Look for a nice crust on the outside, signaling that it’s cooked perfectly. Once done, let the chicken rest before slicing.
Step 6: Assemble the Wraps
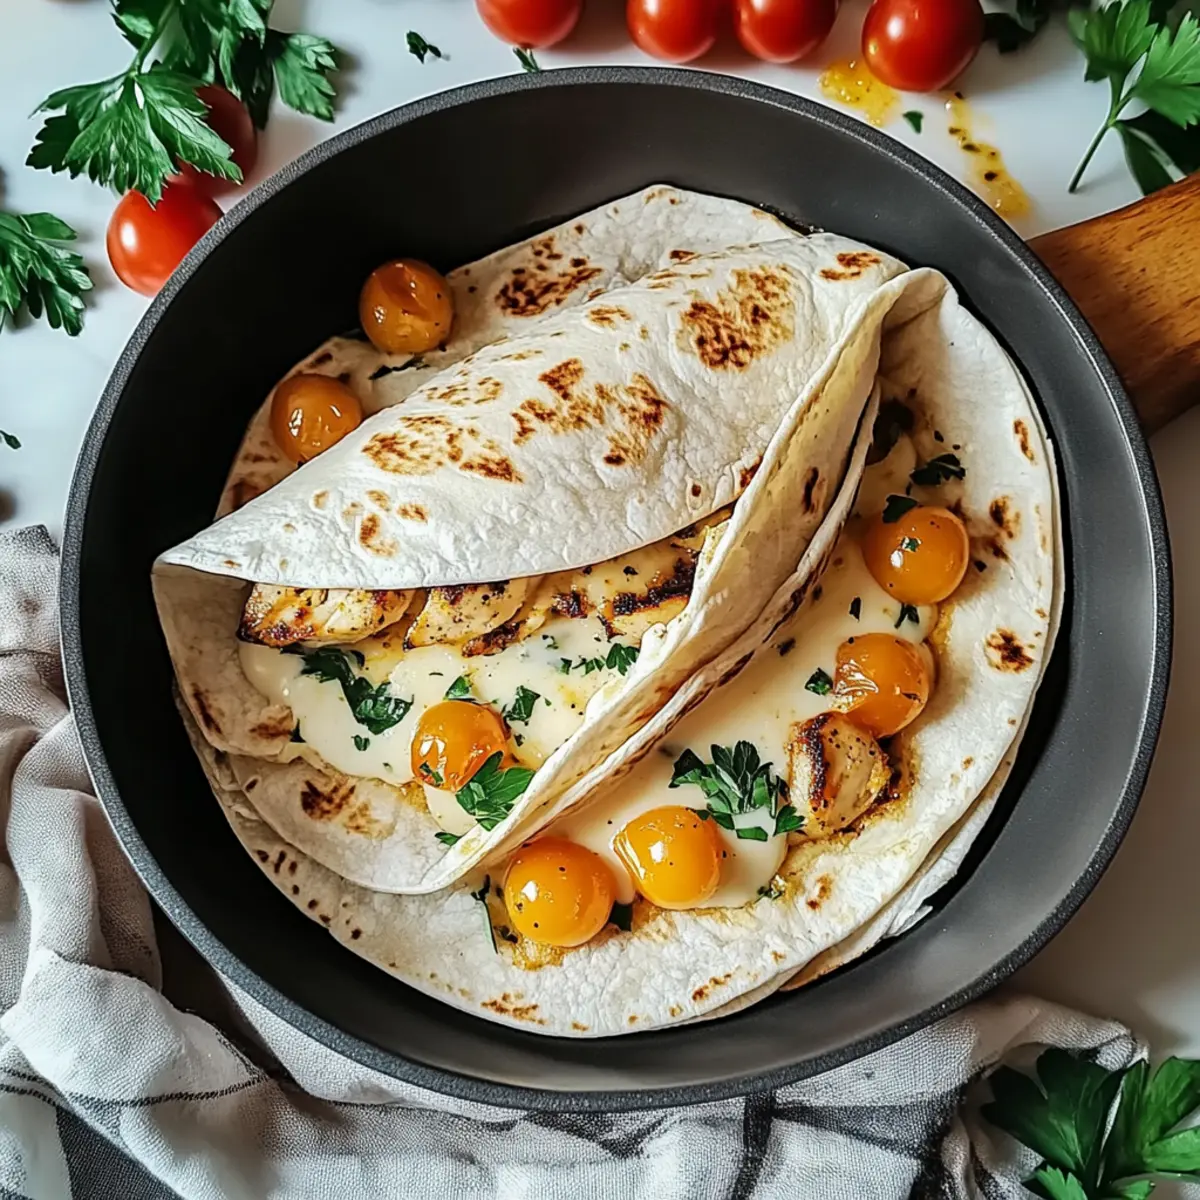
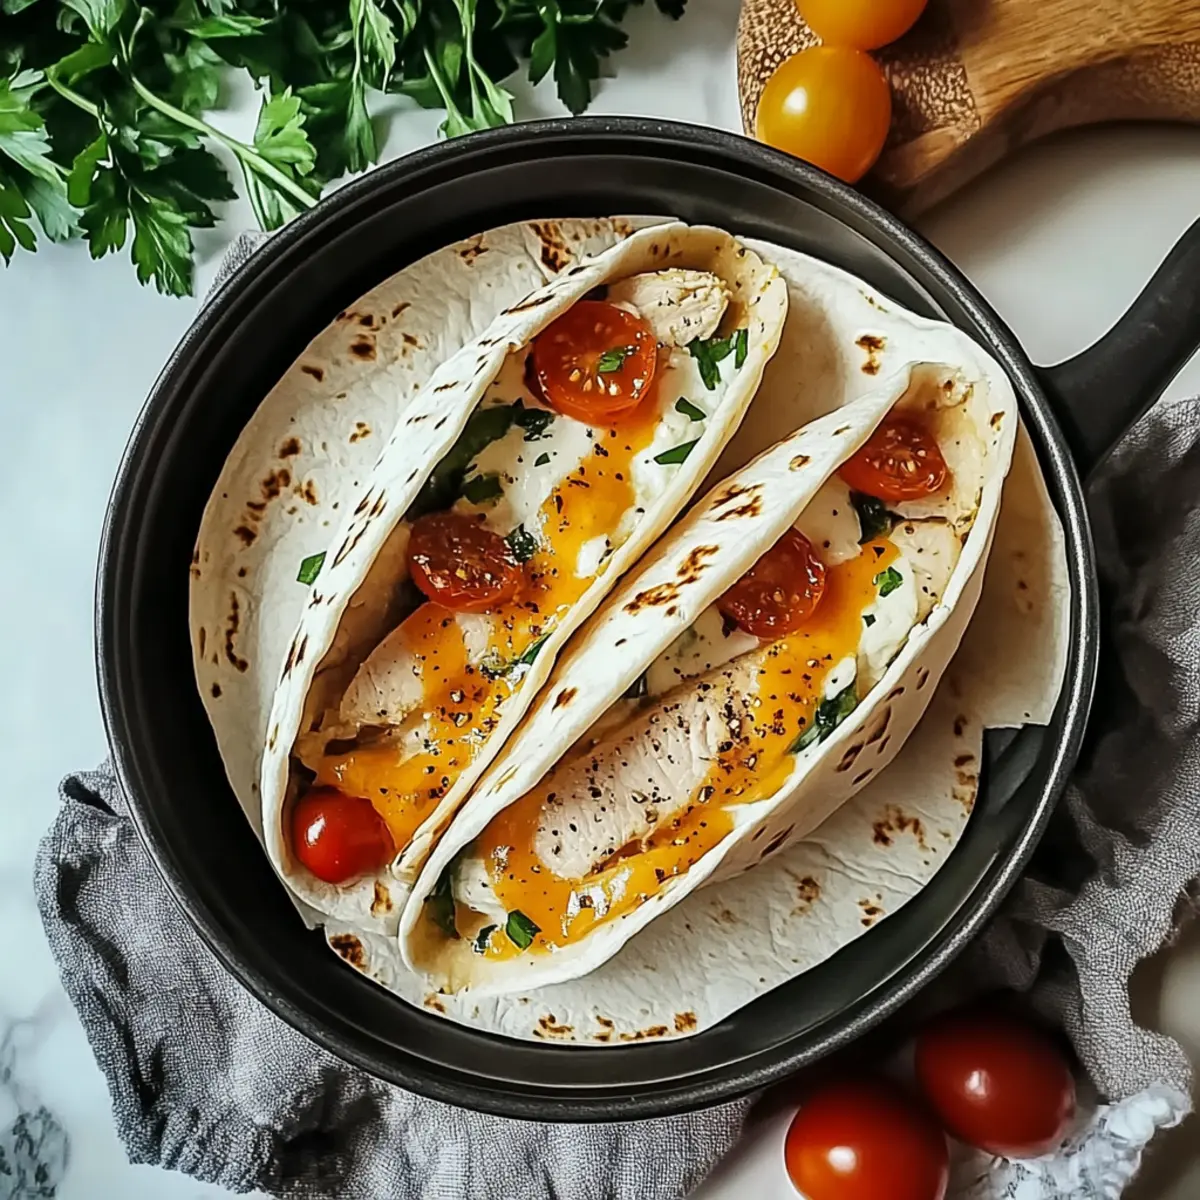
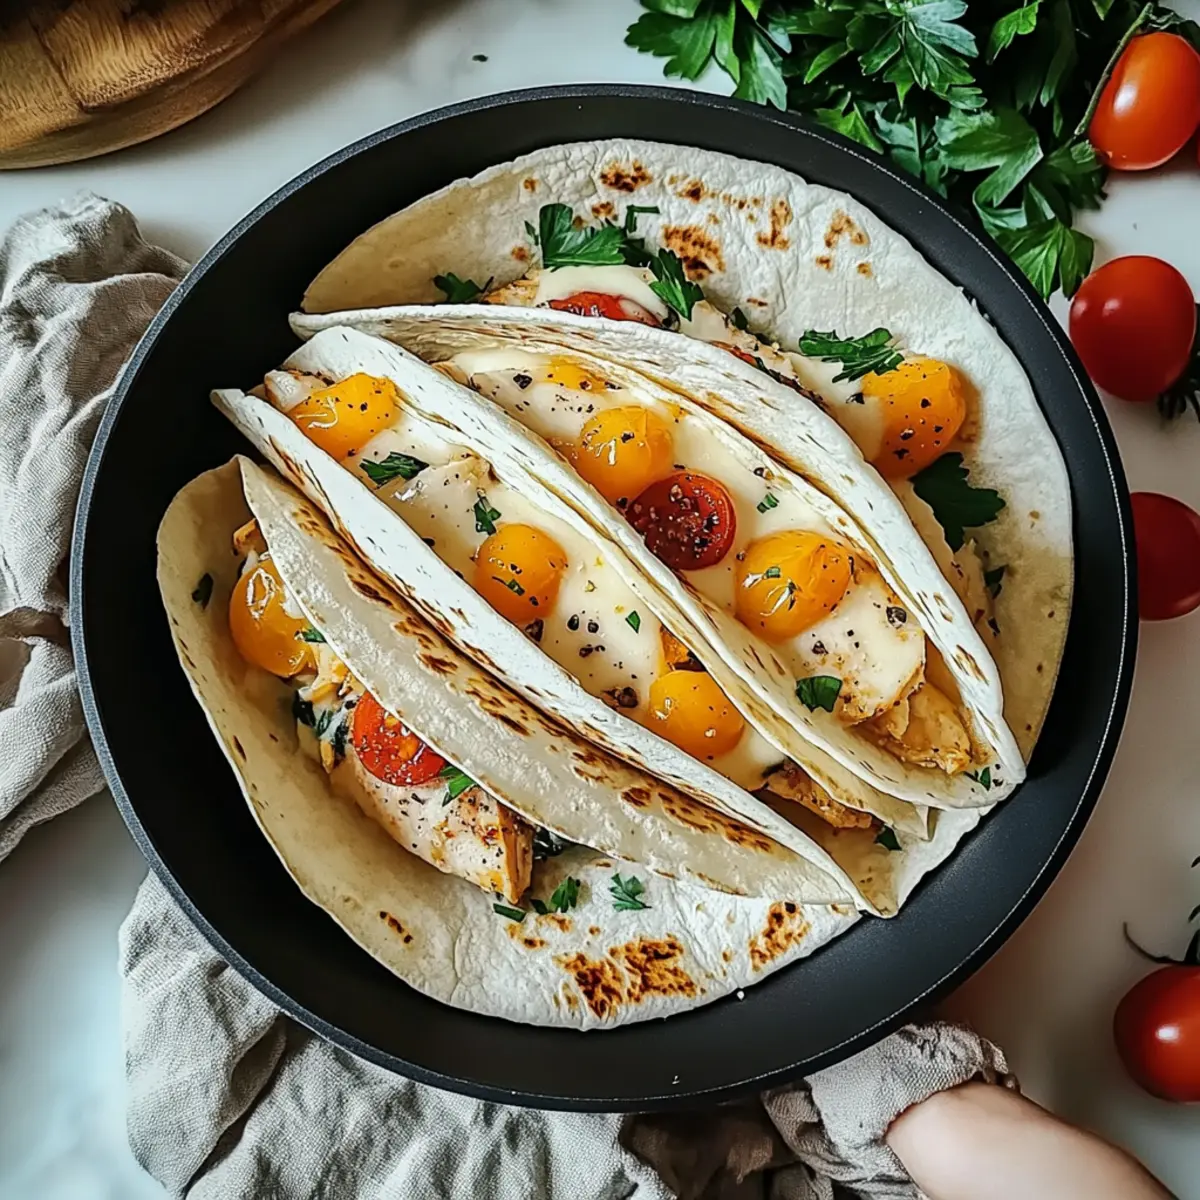
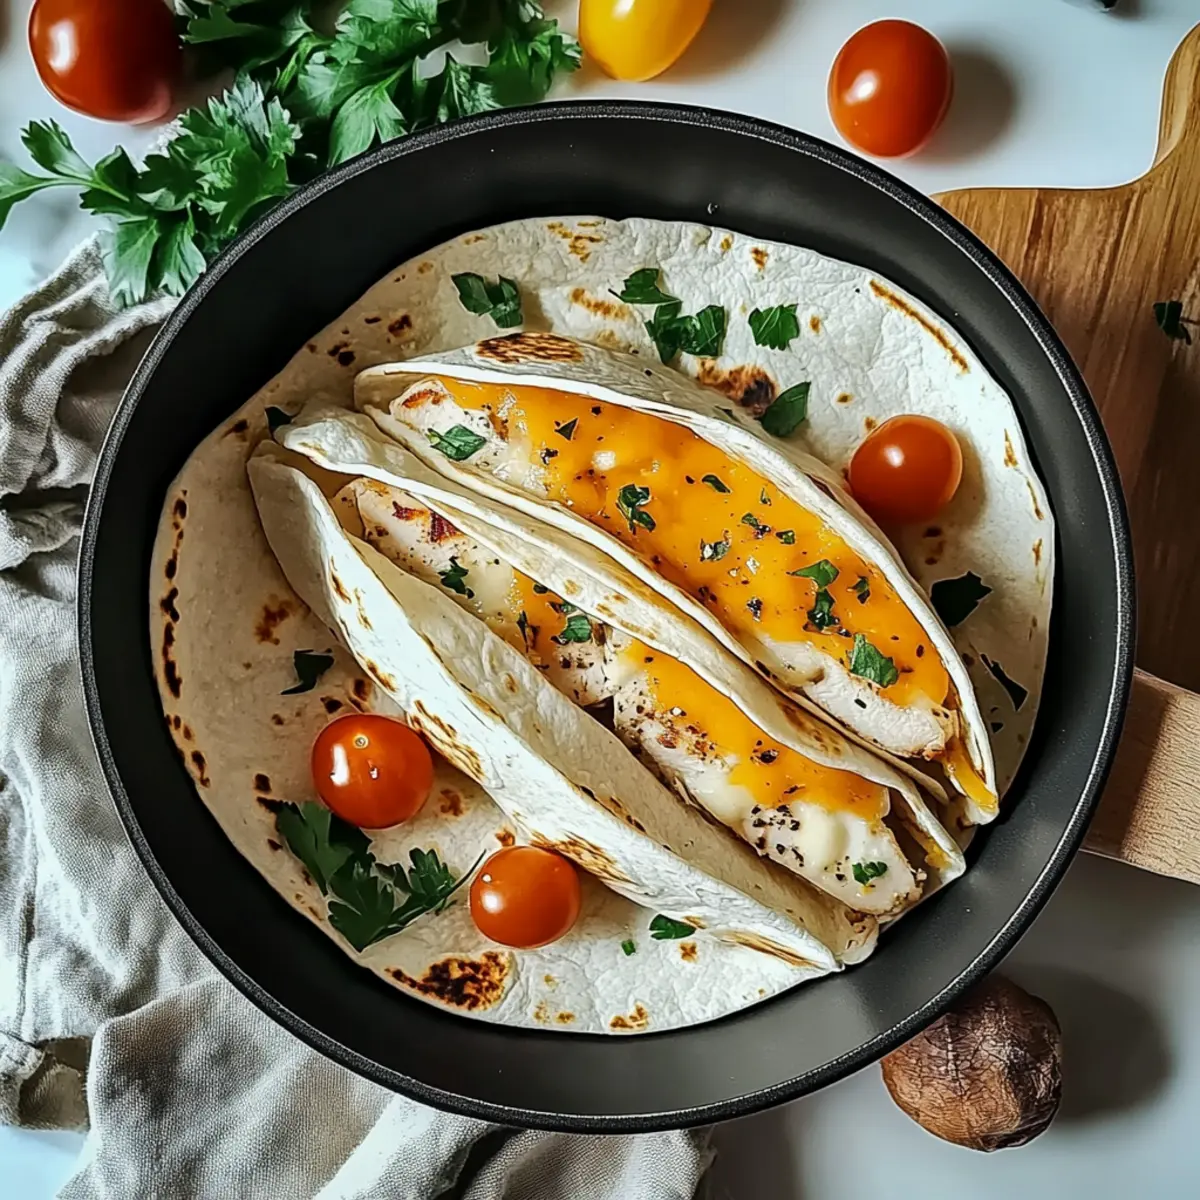
Lay your flour tortillas flat on a clean surface. Start by layering slices of cooked chicken, followed by a generous sprinkle of shredded mozzarella and grated Parmesan cheese. The cheese will melt beautifully, adding that gooey texture that makes these Garlic Chicken Wraps irresistible.
Step 7: Add Fresh Veggies
Top the layered ingredients with a handful of fresh baby spinach leaves and halved cherry tomatoes. These vegetables add a crisp freshness and a pop of color, balancing the richness of the cheeses and chicken in your wraps.
Step 8: Roll the Tortillas
Tightly roll the tortillas, beginning from one end and tucking the filling in as you go. If needed, secure the wraps with toothpicks to keep them together. The tight roll helps maintain the delicious filling inside while they bake, ensuring that every bite is satisfying.
Step 9: Bake the Wraps
Arrange the rolled wraps seam-side down on a baking tray. Bake in the preheated oven for about 10 minutes or until the cheese is melted and the tortillas are golden brown. You want to see a deliciously crispy exterior, which is the hallmark of a great Garlic Chicken Wrap.
Step 10: Garnish and Serve
Once the wraps are baked, remove them from the oven and sprinkle with chopped fresh parsley for a burst of color and flavor. Serve your Cheesy Garlic Chicken Wraps warm with a side of sour cream or Greek yogurt for added creaminess, creating a delightful meal everyone will love.
Expert Tips for Garlic Chicken Wraps
• Pound Chicken Evenly: Ensuring uniform thickness promotes even cooking, preventing dry or chewy chicken pieces.
• Maximize Flavor: Marinate the chicken for at least 20 minutes, or up to 2 hours, to deeply infuse the garlic and spices.
• Tortilla Prep: Warm the tortillas slightly before assembling to avoid tearing and make rolling easier.
• Bake Perfectly: Bake wraps seam-side down to keep them intact and promote a crispy outer layer that elevates your Garlic Chicken Wraps.
• Check Internal Temperature: Ensure chicken reaches 165°F for safe and tender meat, making every bite enjoyable.
• Customize: Don’t hesitate to swap veggies or cheese based on preferences—making the wrap truly your own adds to the delight!
What to Serve with Cheesy Garlic Chicken Wraps
Elevate your mealtime experience by pairing these wraps with delightful sides and drinks that complement their cheesy goodness and rich flavors.
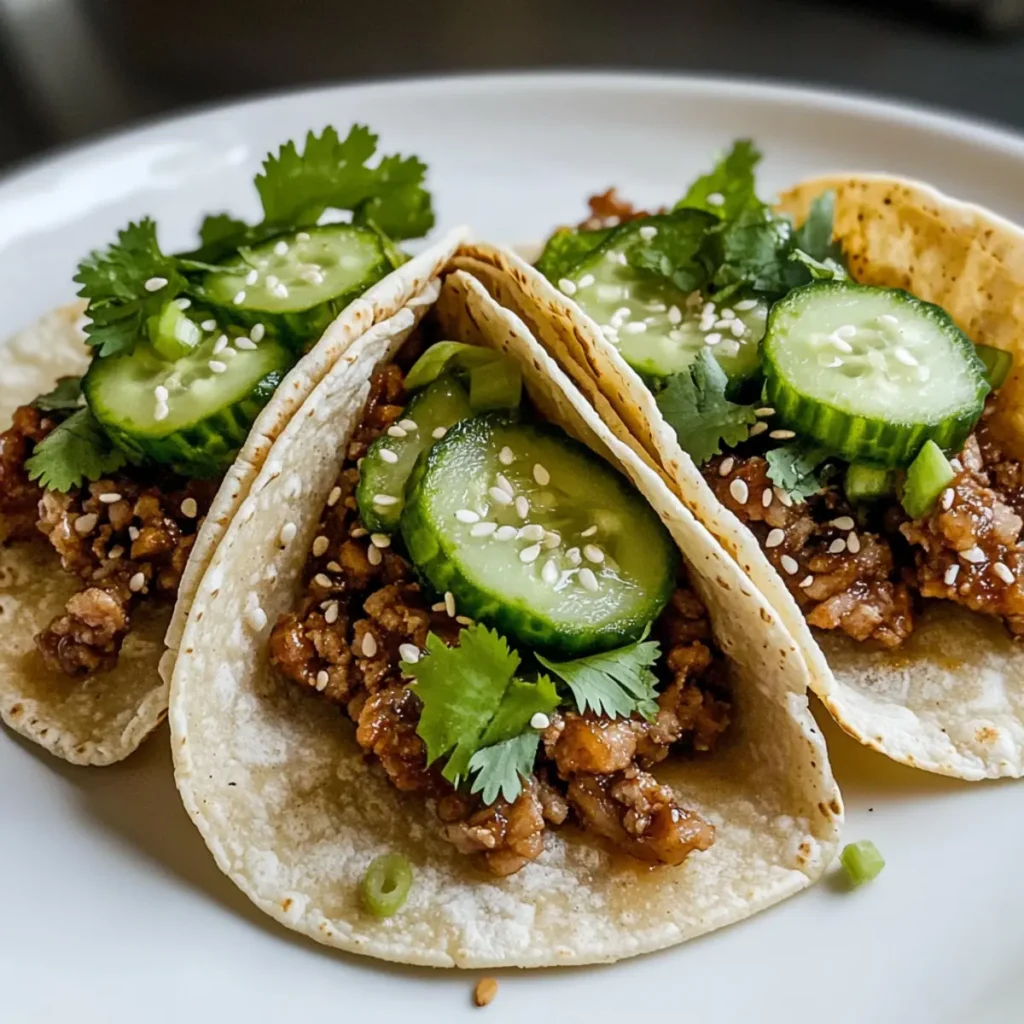
- Crispy Side Salad: A fresh, crunchy salad with mixed greens, cucumbers, and a light vinaigrette balances the richness of the wraps.
- Garlic Breadsticks: Enhance the garlic flavor with warm, buttery breadsticks that are perfect for dipping in sour cream or marinara sauce.
- Roasted Veggies: Tender roasted vegetables like zucchini and bell peppers add a colorful touch, bringing in both nutrition and texture.
- Creamy Coleslaw: The tangy crunch of coleslaw cuts through the richness, adding a refreshing lift while keeping the meal light and vibrant.
- Mexican Street Corn: Delightful and flavorful, this corn adds a sweet and spicy element that pairs beautifully with the chicken wraps.
- Spiked Lemonade: A refreshing drink with a citrus kick complements the wraps’ savory flavors—perfect for enjoying on a cozy evening.
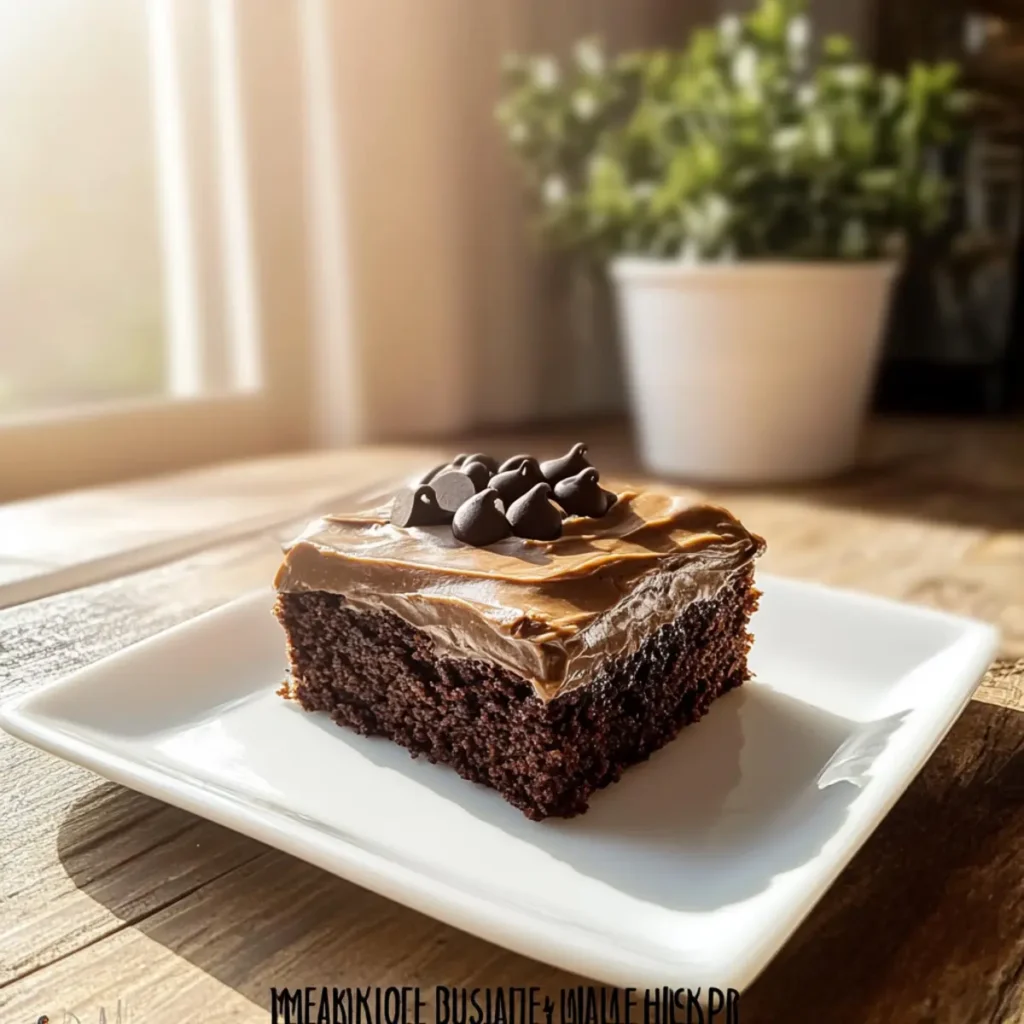
- Chocolate Chip Cookies: End the meal on a sweet note with chewy cookies, a classic comfort dessert that everyone loves!
📸
How to Store and Freeze Garlic Chicken Wraps
Fridge: Store any leftover Garlic Chicken Wraps in an airtight container for up to 2 days. This keeps them fresh while preventing sogginess.
Freezer: Wrap each Garlic Chicken Wrap tightly in plastic wrap and then aluminum foil before placing them in a freezer-safe bag. They can be frozen for up to 3 months.
Reheating: To reheat, thaw in the fridge overnight and then bake at 375°F (190°C) for 10-15 minutes until heated through, ensuring a crispy texture.
Assembling in Advance: If preparing in advance, store components separately (chicken, cheese, veggies, tortillas) to maintain freshness and crunch when ready to wrap.
Variations & Substitutions for Garlic Chicken Wraps
Feel free to explore these delightful variations to make the Garlic Chicken Wraps truly your own!
-
Vegetarian Swap: Substitute chicken with grilled vegetables like bell peppers, zucchini, and mushrooms for a vibrant plant-based option. Colorful veggies not only add a fantastic twist but also deliver nutrients and flavor that everyone will adore.
-
Spicy Kick: Adding jalapeños or a drizzle of hot sauce can elevate the flavor profile and give a bold spiciness. Just the right amount of heat transforms these wraps into a tantalizing treat for spicy food lovers!
-
Cheese Variation: Use pepper jack or gouda instead of mozzarella for a flavorful twist. Each cheese offers its unique taste, making the wraps an exciting culinary adventure with every bite!
-
Whole Wheat Option: Opt for whole wheat tortillas instead of flour ones for a heartier wrap. This simple swap increases the fiber content and makes the wraps even more nutritious—perfect for those looking for a healthier option!
-
Creamy Alternative: Instead of sour cream, use avocado cream or hummus as a spread for a rich, creamy texture that pairs excellently with the other flavors. A little creaminess can enhance the overall experience and freshness!
-
Herb Infusion: Try substituting parsley with fresh cilantro or basil to add a fragrant touch. Each herb brings its personality, creating a unique experience and a burst of freshness.
-
Add Crunch: Toss in some sliced cucumbers or shredded carrots for additional crunch. These veggies not only add different textures but also boost the overall flavor balance of your wraps.
-
Stuffed & Baked Variation: Turn your wraps into a casserole by layering all the ingredients in a baking dish. Top with more cheese and bake until bubbly for a cozy, family-style meal. You get a comforting dish that screams “home-cooked goodness!”
These Garlic Chicken Wrap variations are perfect for customizing to your taste preferences. If you’re interested in more comforting recipes, you might love Mastering Smoked Chicken or try making a hearty Chicken Parm Sandwich to mix things up!
Make Ahead Options
These Cheesy Garlic Chicken Wraps are perfect for meal prep enthusiasts! You can marinate the chicken (step 4) up to 24 hours in advance, allowing the flavors to develop beautifully in the refrigerator. Additionally, you can cook the chicken (step 5) and assemble the wraps (steps 6-8) ahead of time; just be sure to store everything in airtight containers to maintain freshness. When you’re ready to serve, simply bake the wraps in the oven (step 9) for about 10 minutes until the cheese melts and tortillas are golden. This way, you’ll have delightful, restaurant-quality Garlic Chicken Wraps with minimal evening effort—perfect for busy weeknights!
Garlic Chicken Wraps Recipe FAQs
How do I select the right chicken breasts for this recipe?
Absolutely! Look for boneless, skinless chicken breasts which are the best option for a lean and tender wrap. You can also check for freshness by ensuring they are pink and firm with no dark spots or strong odors. If possible, opt for organic or free-range chicken for added flavor and health benefits.
What’s the best way to store leftover Garlic Chicken Wraps?
You can store leftover wraps in an airtight container in the fridge for up to 2 days. To keep them fresh and tasty, I recommend placing a paper towel inside the container to absorb excess moisture, which prevents sogginess. When you’re ready to eat, reheat in the oven at 375°F (190°C) for the best texture.
Can I freeze Garlic Chicken Wraps? How do I do it?
Yes, you can freeze these wraps! To freeze, wrap each Garlic Chicken Wrap tightly in plastic wrap, then cover it with aluminum foil to protect against freezer burn. Place the wrapped wraps in a freezer-safe bag, and they can last up to 3 months. When you’re ready to enjoy them, thaw in the fridge overnight and bake at 375°F (190°C) for 10-15 minutes until heated through.
What if my chicken is dry after cooking? Any tips?
If your chicken turns out dry, it’s likely it was overcooked. To avoid this in the future, always use a meat thermometer to check for an internal temperature of 165°F (75°C). Tenderizing the chicken by pounding it to an even thickness before marinating also helps ensure a juicy outcome. Another tip is to marinate for at least 20 minutes—preferably longer—to enhance moisture and flavor.
Are there any dietary considerations I should be aware of for this recipe?
Very! This recipe can easily accommodate certain dietary preferences. For a gluten-free version, substitute with corn tortillas. If you’re serving someone with cheese allergies, consider using a dairy-free cheese alternative. For additional flavor, you might enjoy adding chopped herbs like cilantro instead of parsley, depending on your guests’ tastes.
Irresistible Garlic Chicken Wraps for Quick Comfort Food
Ingredients
Equipment
Method
- Preheat your oven to 375°F (190°C).
- In a medium bowl, whisk together olive oil, minced garlic, salt, black pepper, paprika, dried oregano, and onion powder.
- Using a meat mallet, pound the chicken breasts to uniform thickness of about ½ inch.
- Place the pounded chicken in the marinade, ensuring it's fully coated. Cover and marinate for at least 20 minutes.
- Heat a skillet over medium heat and add the marinated chicken. Sear for about 7-8 minutes per side until cooked through.
- Lay your flour tortillas flat, layer slices of cooked chicken, then sprinkle mozzarella and parmesan cheese on top.
- Top with fresh baby spinach leaves and halved cherry tomatoes.
- Tightly roll the tortillas and secure with toothpicks if needed.
- Arrange rolled wraps seam-side down on a baking tray and bake for about 10 minutes until cheese is melted and tortillas are golden.
- Remove from oven and sprinkle with chopped fresh parsley. Serve warm with sour cream or Greek yogurt.
")