")
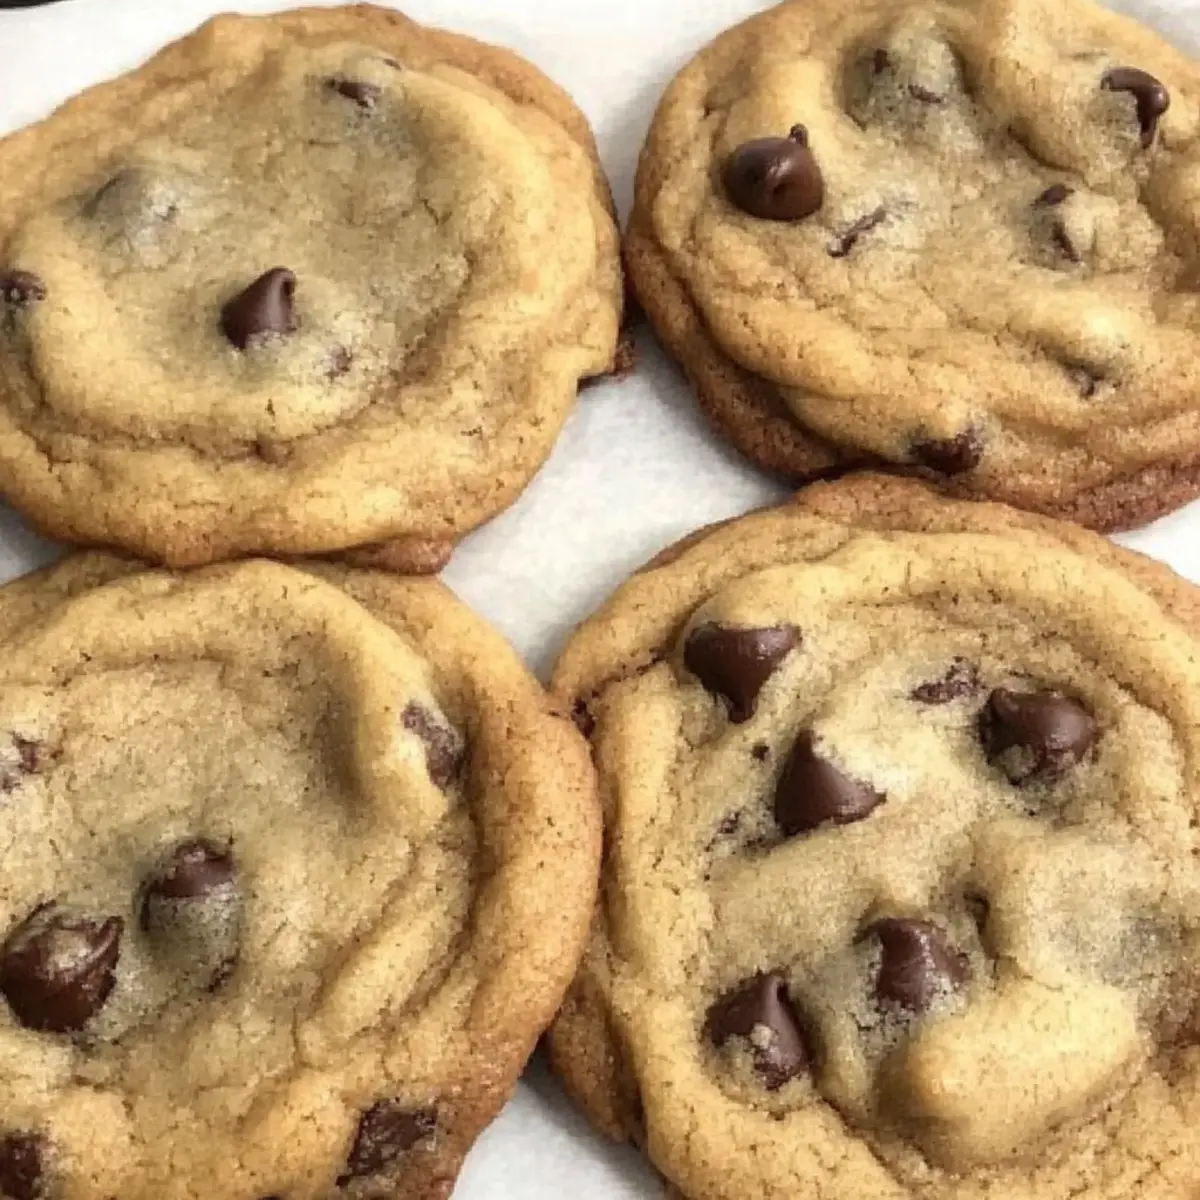
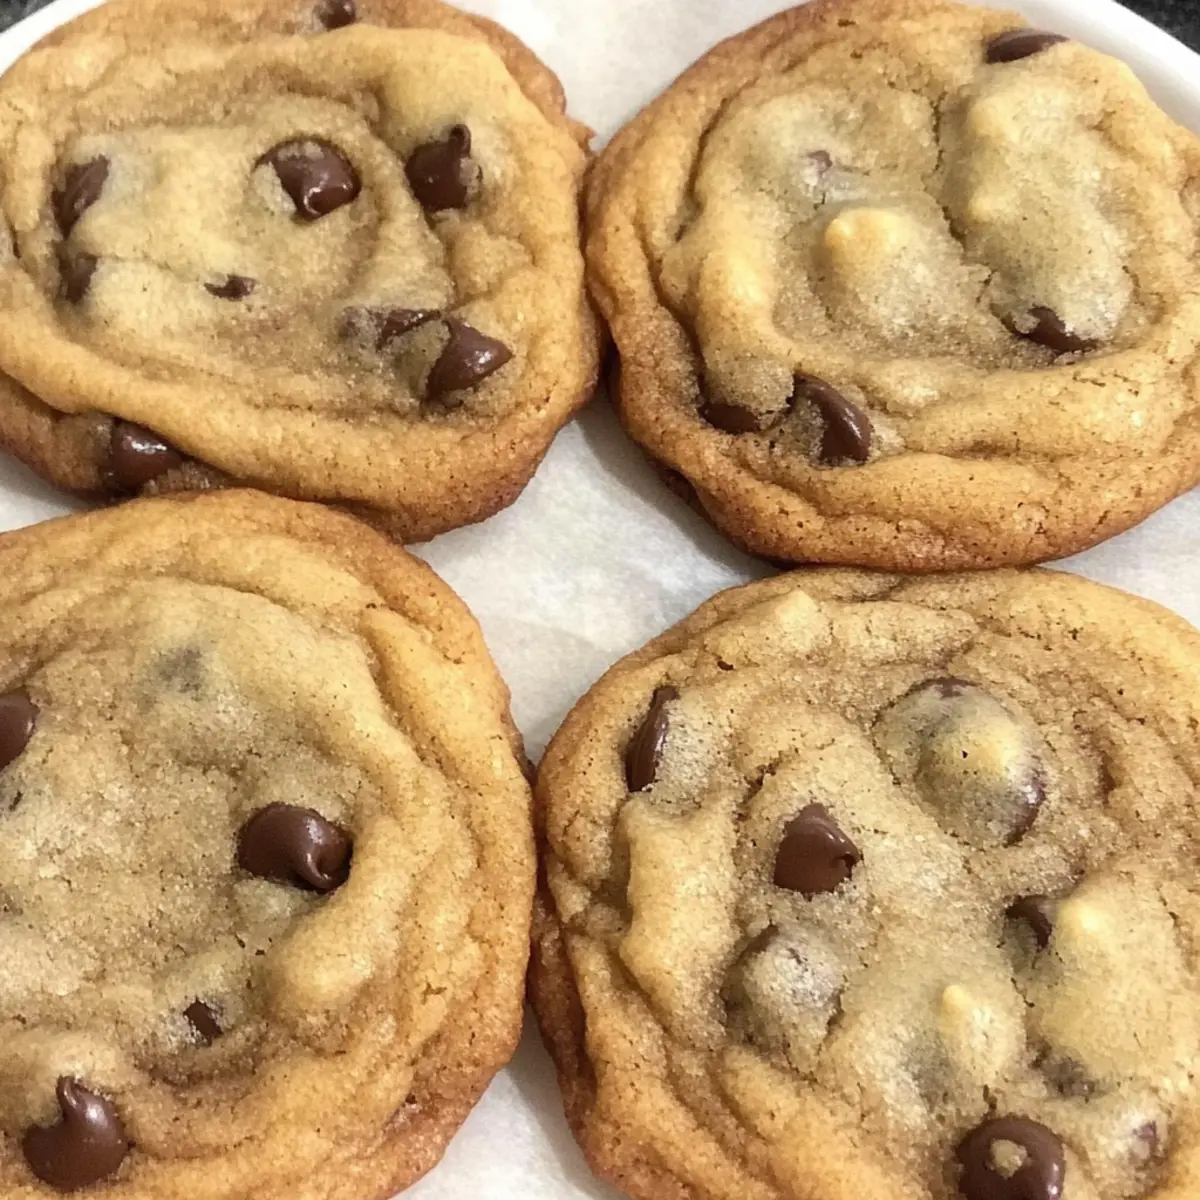
The scent of freshly baked cookies wafted through the air, bringing a wave of nostalgia for simpler times filled with joy and warmth. With my classic homemade chocolate chip cookies, you’re not just making a dessert; you’re creating memories. This recipe is incredibly easy to follow, ensuring you can whip up these gooey delights without fuss, perfect for both seasoned bakers and novices alike. Whether you prefer them chewy, doughy, or a touch cake-y, you have the freedom to customize each batch to your liking. Plus, who can resist the bliss of freshly baked cookies that are just warm enough for a glass of cold milk? Are you ready to dive into cookie-baking bliss?
Why are homemade chocolate chip cookies special?
Nostalgic Comfort: There’s something magical about the aroma of freshly baked cookies that transports you back to your childhood.
Versatile Delight: With options for chewy, doughy, or cake-like textures, you can adapt this recipe to fit your cravings perfectly.
Quick and Easy: This foolproof method ensures that even beginner bakers can whip up a batch in no time.
Crowd-Pleasing: These cookies are sure to be a hit at any gathering; serve them warm with a glass of cold milk for an irresistible treat!
Customizable Options: Feel free to explore different chocolate types or add nuts for added crunch. For more cookie ideas, be sure to check out Chocolate Chips Cookies for delightful suggestions!
Homemade Chocolate Chip Cookies Ingredients
For the Cookie Dough
• All-purpose flour – Provides structure and texture; substitute with gluten-free flour for a gluten-free option.
• Baking soda – Acts as a leavening agent, helping the cookies rise beautifully.
• Salt – Enhances flavors; pink Himalayan salt gives a nice touch, but regular salt works just fine.
• Butter (softened) – Adds richness and moisture; make sure it’s at room temperature for easy mixing.
• Granulated sugar – Sweetens the cookies and contributes to their delightful texture.
• Brown sugar – Adds moisture and a deeper flavor; can be swapped with coconut sugar if desired.
• Vanilla extract – Imparts a warm, aromatic flavor that elevates the overall taste.
• Eggs – Provide moisture and help bind the ingredients; feel free to use egg substitutes for vegan options.
• Semi-sweet chocolate chips – The star of the show for this homemade chocolate chip cookies recipe; try using dark or milk chocolate chips for a flavor twist.
Optional Mix-ins
• Nuts (walnuts or pecans) – Add a delightful crunch and flavor contrast to your cookies.
• Dried fruit (like cranberries or raisins) – Incorporate for a chewy and fruity surprise in every bite.
For the Dough Chilling
• Plastic wrap – Use to cover the dough while it chills, ensuring it stays fresh and ready to bake.
Step‑by‑Step Instructions for Homemade Chocolate Chip Cookies
Step 1: Preheat the Oven
Begin by preheating your oven to 375°F (190°C). While the oven heats up, take a moment to line a baking sheet with parchment paper or a silicone mat to prevent the cookies from sticking. This simple preparation ensures your cookie sheets are ready to receive those delicious homemade chocolate chip cookies.
Step 2: Mix Dry Ingredients
In a medium bowl, combine 2 1/4 cups of all-purpose flour, 1 teaspoon of baking soda, and 1/2 teaspoon of salt. Whisk these dry ingredients together until well blended. This step is essential to keep the baking soda evenly distributed, which helps your cookies rise beautifully during baking. Set this mixture aside as you move to the next step.
Step 3: Cream Butter and Sugars
In a large mixing bowl, cream together 1 cup of softened butter, 1/2 cup of granulated sugar, and 1 cup of brown sugar using a hand mixer or stand mixer on medium speed for about 4 minutes. You’re aiming for a light and fluffy texture that indicates the sugars and butter are well combined. This mixture is the foundation of your gooey homemade chocolate chip cookies.
Step 4: Add Eggs and Vanilla
Next, beat in 1 teaspoon of vanilla extract and 2 large eggs into the creamed butter and sugars until fully incorporated. This will ensure that your cookies have a rich flavor and moisture. Mix until you no longer see any egg streaks, creating a smooth batter that perfectly embodies the essence of your homemade chocolate chip cookies.
Step 5: Combine Wet and Dry Mixtures
Gradually add the bowl of flour mixture to the wet ingredients, mixing slowly on low speed until just combined. Be careful not to overmix; the dough should be slightly streaky but without any visible flour. This careful integration ensures your cookies achieve that perfect chewy texture without becoming tough.
Step 6: Fold in Chocolate Chips
Gently fold in 2 cups of semi-sweet chocolate chips using a spatula or wooden spoon. This method allows the chocolate chips to be evenly distributed throughout the dough while minimizing the mixing, keeping your cookies tender. You can customize this step by adding nuts if desired for an extra crunch.
Step 7: Chill the Dough
Scoop out the cookie dough into balls and place them on a plate. Cover the dough with plastic wrap and chill in the refrigerator for 30 minutes to 1 hour. Chilling the dough helps the cookies maintain their shape while baking, resulting in perfectly baked homemade chocolate chip cookies that are crispy on the edges and gooey in the center.
Step 8: Bake the Cookies
Once chilled, line your baking sheet with 6 dough balls, giving each enough space to spread. Bake in the preheated oven for 10 minutes or until the edges turn golden brown. Keep an eye on them, as every oven varies; the visual cue is the edges being set while the center remains slightly soft for that signature chewiness.
Step 9: Cool the Cookies
After baking, remove the tray from the oven and let the cookies rest on the baking sheet for 5 minutes. This resting period allows them to firm up slightly and makes transferring them to a cooling rack easier. Once slightly cooled, transfer the homemade chocolate chip cookies to a wire rack to finish cooling completely, if you can resist the temptation of trying them warm!
Make Ahead Options
These homemade chocolate chip cookies are perfect for meal prep enthusiasts! You can make the cookie dough up to 3 days in advance and keep it neatly wrapped in plastic wrap in the refrigerator. If you need to extend that timeframe, simply freeze the dough balls for up to 3 months—just make sure to place them in an airtight container to preserve quality. When you’re ready to bake, there’s no need to thaw; pop the frozen dough directly into the preheated oven, adjusting the baking time by a couple of minutes if needed. This way, you can enjoy warm, gooey homemade chocolate chip cookies on demand, making your busy weeknights a bit sweeter!
Expert Tips for Homemade Chocolate Chip Cookies
-
Butter Temperature: Make sure your butter is softened to room temperature. This helps achieve the perfect creamy consistency and prevents a greasy texture in your cookies.
-
Don’t Overmix: When combining wet and dry ingredients, mix just until everything is incorporated. Overmixing can lead to tough cookies instead of the desired chewy goodness.
-
Chill for Success: For best results, chill your dough for the maximum time suggested. This step firms up the dough and helps maintain the shape while baking, giving you those beautiful homemade chocolate chip cookies.
-
Oven Variability: Remember that oven temperatures can vary. Keep a close eye on your cookies, as they might need a minute or two less or more than the recommended baking time.
-
Customize Flavors: Feel free to experiment with different chocolate types or add nuts for an added crunch. This versatility allows you to personalize your homemade chocolate chip cookies to suit everyone’s taste!
Homemade Chocolate Chip Cookies Variations
Feel free to personalize your cookies and make each batch uniquely yours with these delightful twists!
-
Dark Chocolate: Swap semi-sweet chocolate chips for dark chocolate for a richer flavor and a slightly less sweet cookie.
-
Milk or White Chocolate: Use milk or white chocolate chips for a creamy treat that brings a fun, sweet contrast; perfect for those with a sweet tooth!
-
Nuts: Add 1/2 cup of chopped walnuts or pecans for a satisfying crunch that complements the soft cookie texture beautifully.
-
Doughy Texture: For a softer, doughier cookie, reduce the flour by 1/4 cup, letting you enjoy a gooey center that’s melt-in-your-mouth fantastic.
-
Holiday Spices: Introduce seasonal warmth by adding cinnamon or nutmeg to your dough for a festive spin—great for winter gatherings!
-
Oatmeal Twist: Incorporate 1 cup of rolled oats for a hearty texture that lends a chewy bite, pairing perfectly with the chocolatey goodness.
-
Spicy Kick: Add a pinch of cayenne pepper or a dash of chili powder for a surprising heat that contrasts deliciously with the sweetness of the chocolate.
-
Dried Fruit: Fold in 1/2 cup of dried cranberries or raisins for a fruity addition that enhances the overall flavor and adds a delightful chew.
With these variations, your homemade chocolate chip cookies can become a whole new adventure in flavor and texture! For more cookie ideas, check out Cool Whip Cookies for even more inspiration.
How to Store and Freeze Homemade Chocolate Chip Cookies
Room Temperature: Store cookies in an airtight container at room temperature for up to 1 week to maintain their soft texture and freshness.
Fridge: If you prefer them chilled, homemade chocolate chip cookies can be stored in the fridge for up to 2 weeks; just ensure they’re in a sealed container to prevent drying out.
Freezer: For longer storage, freeze cookie dough balls or baked cookies in a single layer, then transfer to an airtight container or freezer bag. They can be frozen for up to 3 months.
Reheating: To enjoy warm cookies, reheat them in the microwave for about 10-15 seconds or in a preheated oven at 350°F for 5-7 minutes until warmed through.
What to Serve with Classic Homemade Chocolate Chip Cookies
The irresistible aroma of freshly baked cookies sets a delightful stage for a cozy gathering or a sweet family dinner.
- Cold Milk: A classic pairing that enhances the cookies’ rich flavors while providing a refreshing contrast to their warmth.
- Vanilla Ice Cream: A scoop of ice cream adds a delicious creaminess, turning your homemade chocolate chip cookies into an indulgent treat.
- Coffee: A rich cup of coffee balances the sweetness of the cookies, perfect for an afternoon pick-me-up with a warm taste.
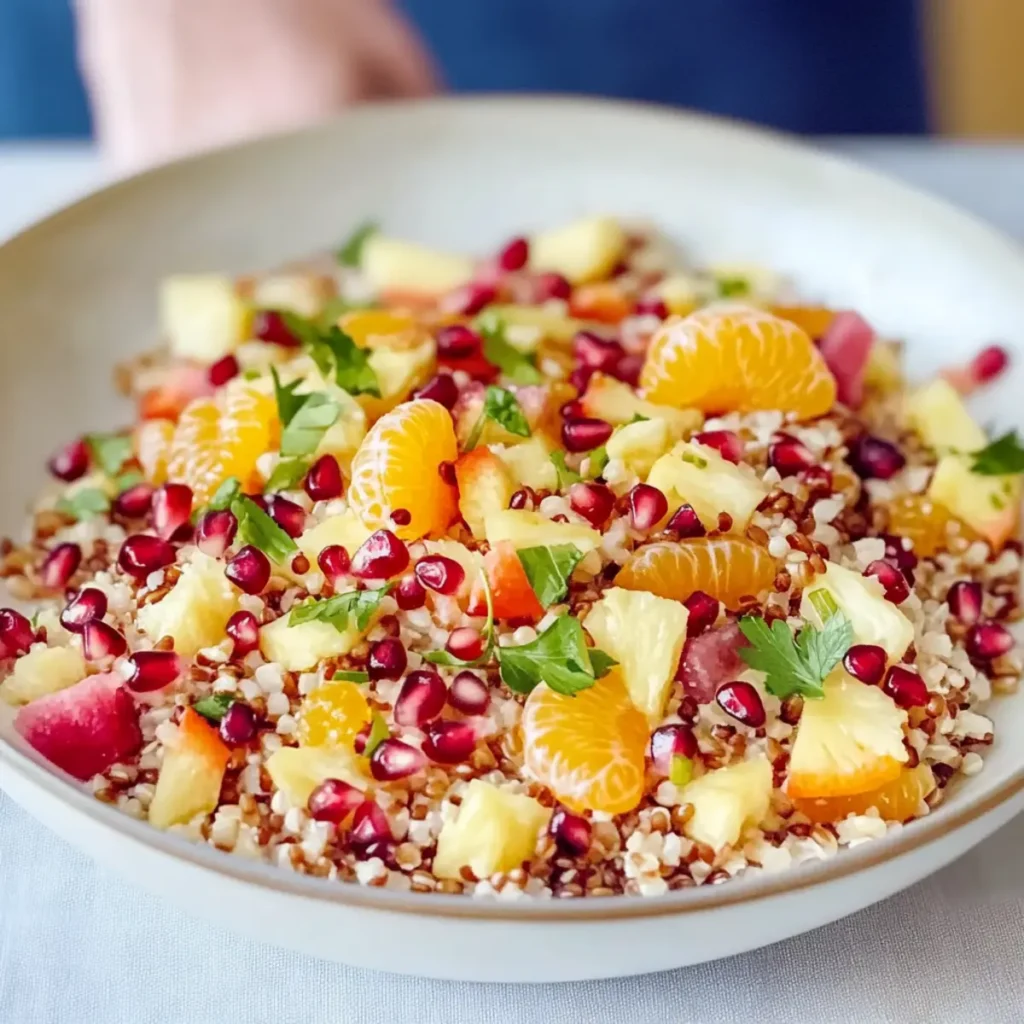
- Fruit Salad: A light and refreshing fruit salad brings a burst of color and natural sweetness, contrasting beautifully with the rich, gooey cookies.
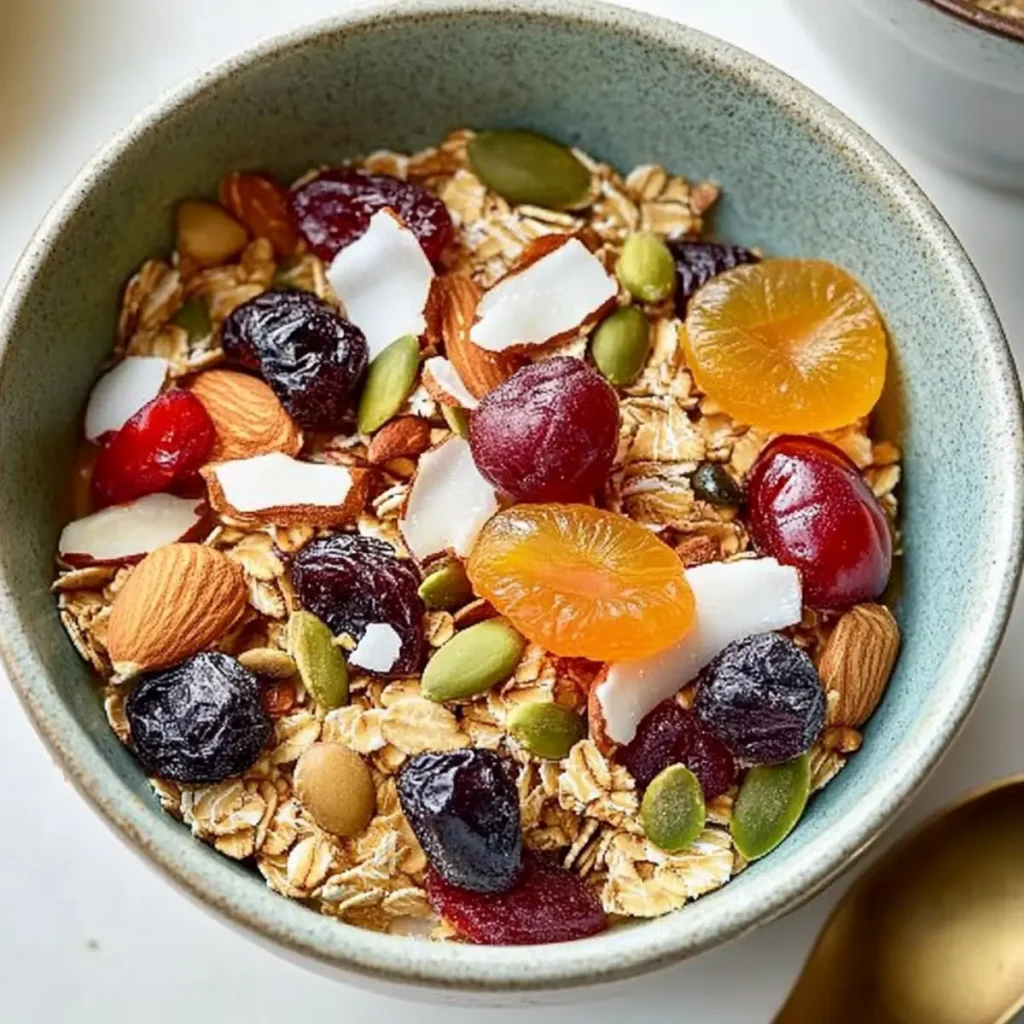
- Nutty Granola: Serve with a side of nutty granola for added crunch; it complements the gooey texture of the cookies while providing a wholesome touch.
- Chocolate Sauce: Drizzle warm chocolate sauce over the cookies for a decadent experience perfect for chocolate lovers.
- Peppermint Hot Chocolate: A seasonal twist, this creamy drink pairs wonderfully, especially during the holidays, making every bite feel festive.
- Cheese Platter: A selection of mild cheeses can create a sophisticated balance between sweetness and subtle saltiness, enhancing the overall flavor experience.
Homemade Chocolate Chip Cookies Recipe FAQs
What should I look for when selecting ripe ingredients?
Absolutely, when it comes to selecting your ingredients, especially eggs and butter, freshness is key! For butter, ensure it’s not too hard or melted—room temperature is ideal for easy creaming. As for eggs, check the date on the carton to ensure they’re fresh; use eggs within 3-5 weeks of their purchase date for best results.
How should I store homemade chocolate chip cookies?
To keep your cookies fresh and delicious, store them in an airtight container at room temperature for up to one week. If you prefer them chilled, you can refrigerate them in a sealed container for up to two weeks, but be mindful that this may slightly change their texture. For the best results, just enjoy them at room temperature!
Can I freeze the cookie dough or baked cookies?
You can definitely freeze both! To freeze the dough, scoop out individual dough balls and place them on a baking sheet lined with parchment paper. Freeze these for about 1-2 hours until firm, then transfer to a Ziploc bag or airtight container. They’ll be good for up to 3 months. When you’re ready to bake, just bake directly from frozen, adding a couple of extra minutes to the baking time. For baked cookies, follow the same freezing method and enjoy them later—just reheat them briefly for that fresh-baked delight!
Why didn’t my cookies rise as expected?
If your cookies haven’t risen, don’t fret! This could be due to a few factors. First, ensure your baking soda is fresh—old baking soda could lose its leavening power. Additionally, did you pack your flour too tightly? This can lead to a denser dough. Always spoon the flour into your measuring cup and level it off for accuracy. I often check my leavening agents’ potency if my cookies don’t lift!
Are there any dietary considerations I should keep in mind?
Very! If allergies are a concern, this homemade chocolate chip cookies recipe is easily adaptable. You can use gluten-free flour for a wheat-free version and swap eggs for flaxseed meal mixed with water (1 tablespoon flaxseed to 3 tablespoons water) as a vegan alternative. As for chocolate chips, make sure to choose dairy-free versions if you’re avoiding animal products. It’s all about making it your own!
Homemade Chocolate Chip Cookies - Gooey Perfection Awaits
Ingredients
Equipment
Method
- Preheat your oven to 375°F (190°C) and line a baking sheet with parchment paper.
- In a medium bowl, whisk together 2 1/4 cups of all-purpose flour, 1 teaspoon of baking soda, and 1/2 teaspoon of salt.
- In a large mixing bowl, cream together 1 cup of softened butter, 1/2 cup of granulated sugar, and 1 cup of brown sugar until light and fluffy.
- Beat in 1 teaspoon of vanilla extract and 2 large eggs until fully incorporated.
- Gradually add the flour mixture to the wet ingredients and mix slowly until just combined.
- Gently fold in 2 cups of semi-sweet chocolate chips.
- Scoop the cookie dough into balls, cover with plastic wrap, and chill in the refrigerator for 30 minutes to 1 hour.
- Line your baking sheet with 6 dough balls and bake for about 10 minutes, or until the edges turn golden brown.
- Let the cookies rest on the baking sheet for 5 minutes before transferring to a wire rack to cool completely.
")