")
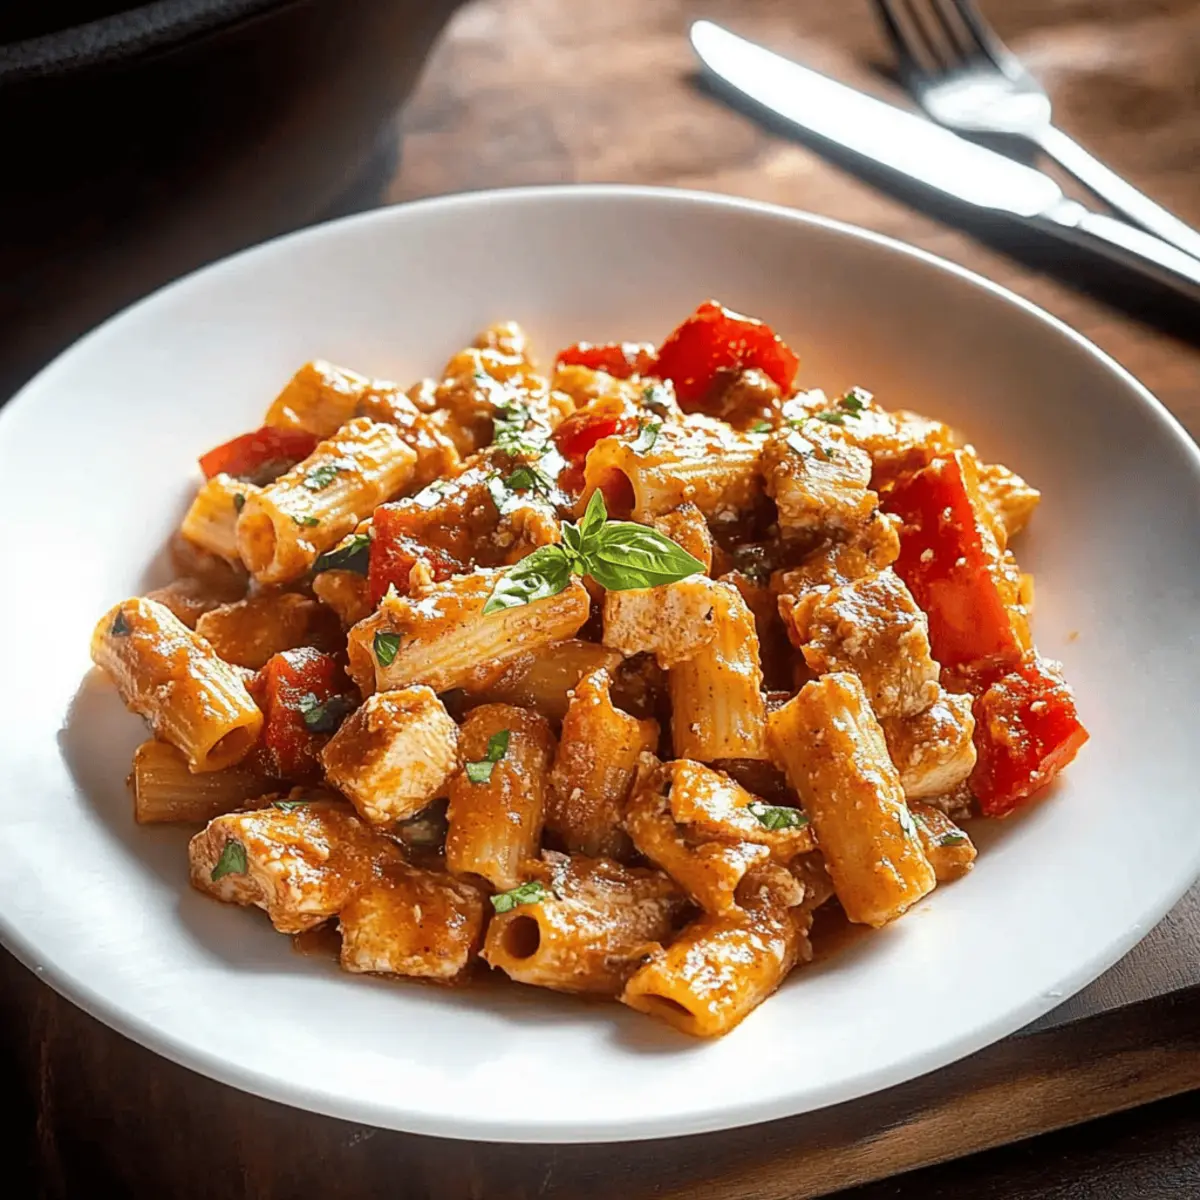
Steam rises as I flip the lid of my Instant Pot, revealing a mesmerizing burst of color and aroma. This isn’t just pasta; it’s my go-to recipe for Instant Pot Rasta Pasta, filled with tender jerk chicken and vibrant bell peppers that bring a taste of the Caribbean right to my kitchen. What makes this dish truly special is how quickly it comes together—just 15 minutes from start to finish—making it a lifesaver for busy weeknights. Plus, it’s incredibly budget-friendly and highly customizable; whether you’re using shrimp, tofu, or your favorite gluten-free pasta, it’s a fantastic meal for everyone at the table. Ready to dive into a bowl of comforting goodness? Let’s get started!
Why is Instant Pot Rasta Pasta a Must-Try?
Speedy Cooking: In just 15 minutes, you’ll have a delicious meal ready to serve, perfect for those hectic weeknights.
Vibrant Flavors: The fusion of jerk seasoning and fresh veggies brings Caribbean flair to your dinner table.
Versatile Options: Customize it with shrimp, tofu, or your choice of gluten-free pasta to cater to every palate.
Budget-Friendly: Affordable ingredients make this meal easy on your wallet without compromising on taste.
Crowd-Pleasing: Whether for family dinners or entertaining guests, this dish packs a flavor punch that everyone will love. Dive into this culinary experience and turn mealtime into a fiesta!
Instant Pot Rasta Pasta Ingredients
• A colorful collection of ingredients awaits!
For the Pasta
- Pasta – Your choice of penne or fusilli will work wonders here, giving that hearty, comforting bite.
For the Protein
- Chicken Breasts – The star of this dish, providing juiciness and flavor; swap for shrimp, tofu, or beans for variations!
For the Sauté
- Oil (Olive or Vegetable) – Essential for cooking; it enhances flavor and prevents sticking.
- Red Pepper – Adds vibrant color and sweetness, making each bite delightful.
- Garlic – A must for aromatic depth; it’s the secret to delectable richness!
For the Sauce
- Tomato Sauce – The base of your sauce, infusing moisture and adding rich flavor.
- Chicken Stock – Enhances flavors and prevents the pasta from drying out.
- Heavy Cream – Creates a luxuriously creamy texture; for a lighter touch, use coconut milk.
- Jerk Seasoning – Bring those Caribbean vibes to life; adjust to your spice preference.
For the Finishing Touch
- Parmesan Cheese – Adds creaminess and savory notes; swap for nutritional yeast for a dairy-free option!
- Salt and Pepper – Essential for balancing flavors; never skip this!
Embrace the flavors of this Instant Pot Rasta Pasta dish and make it your own!
Step‑by‑Step Instructions for Instant Pot Rasta Pasta
Step 1: Sauté the Chicken
Set your Instant Pot to the “Sauté” function and drizzle in 1 tablespoon of oil. When hot, add diced chicken breasts and cook for 2-3 minutes until they are golden brown on the outside, stirring occasionally. Season with salt and pepper to enhance the flavor. You want the chicken lightly browned, which helps lock in the juices for this delicious Instant Pot Rasta Pasta.
Step 2: Add the Vegetables
Next, toss in the sliced red bell pepper and chopped green onions into the pot. Continue to sauté for an additional 2-3 minutes until the vegetables soften and brighten. The vibrant colors will fill your kitchen with inviting aromas, signaling that it’s time to build those layers of flavor in your Instant Pot Rasta Pasta.
Step 3: Infuse with Aromatics
Now, stir in minced garlic and your jerk seasoning. Cook for about 1 minute, allowing the heat to liberate those bold Caribbean flavors. You’ll know it’s ready when the garlic becomes fragrant, enveloping the vegetables and chicken in a mouthwatering aroma, setting the stage for creamy goodness ahead.
Step 4: Deglaze the Pot
Add chicken stock and tomato sauce to the pot, scraping the bottom to deglaze for those tasty bits left behind. This step infuses every bite of your Instant Pot Rasta Pasta with rich depth. Stir thoroughly to combine, making sure you soak up all the flavors while preparing for the pasta.
Step 5: Incorporate the Pasta
Carefully submerge your choice of pasta into the pot, ensuring it gets well mixed with the sauce. Make sure the pasta is fully covered by the liquid. This step is crucial for achieving that perfect, tender texture, so stir gently to prevent sticking before moving on to the next step.
Step 6: Set to Pressure Cook
Close the Instant Pot lid and set the valve to sealing. Cook on high pressure for 4 minutes. Listen for the pot to come to pressure—it’ll take a few minutes. The excitement will build when you know your Instant Pot Rasta Pasta is moments away from creamy, spicy perfection!
Step 7: Release the Pressure
Once cooking time is complete, carefully quick release the pressure by turning the valve. Be cautious as steam escapes. After it’s safe to open, remove the lid and give the pasta a good stir. It should be tender and well-coated with the sauce, with flavors beautifully blended.
Step 8: Finish with Cream and Cheese
Stir in the heavy cream and Parmesan cheese until fully incorporated. Let the mixture simmer on “Sauté” mode for a couple of minutes to thicken, creating a luxurious, creamy consistency. This finishing touch elevates your Instant Pot Rasta Pasta, bringing richness that transforms it into a satisfying meal.
Step 9: Adjust Seasoning and Serve
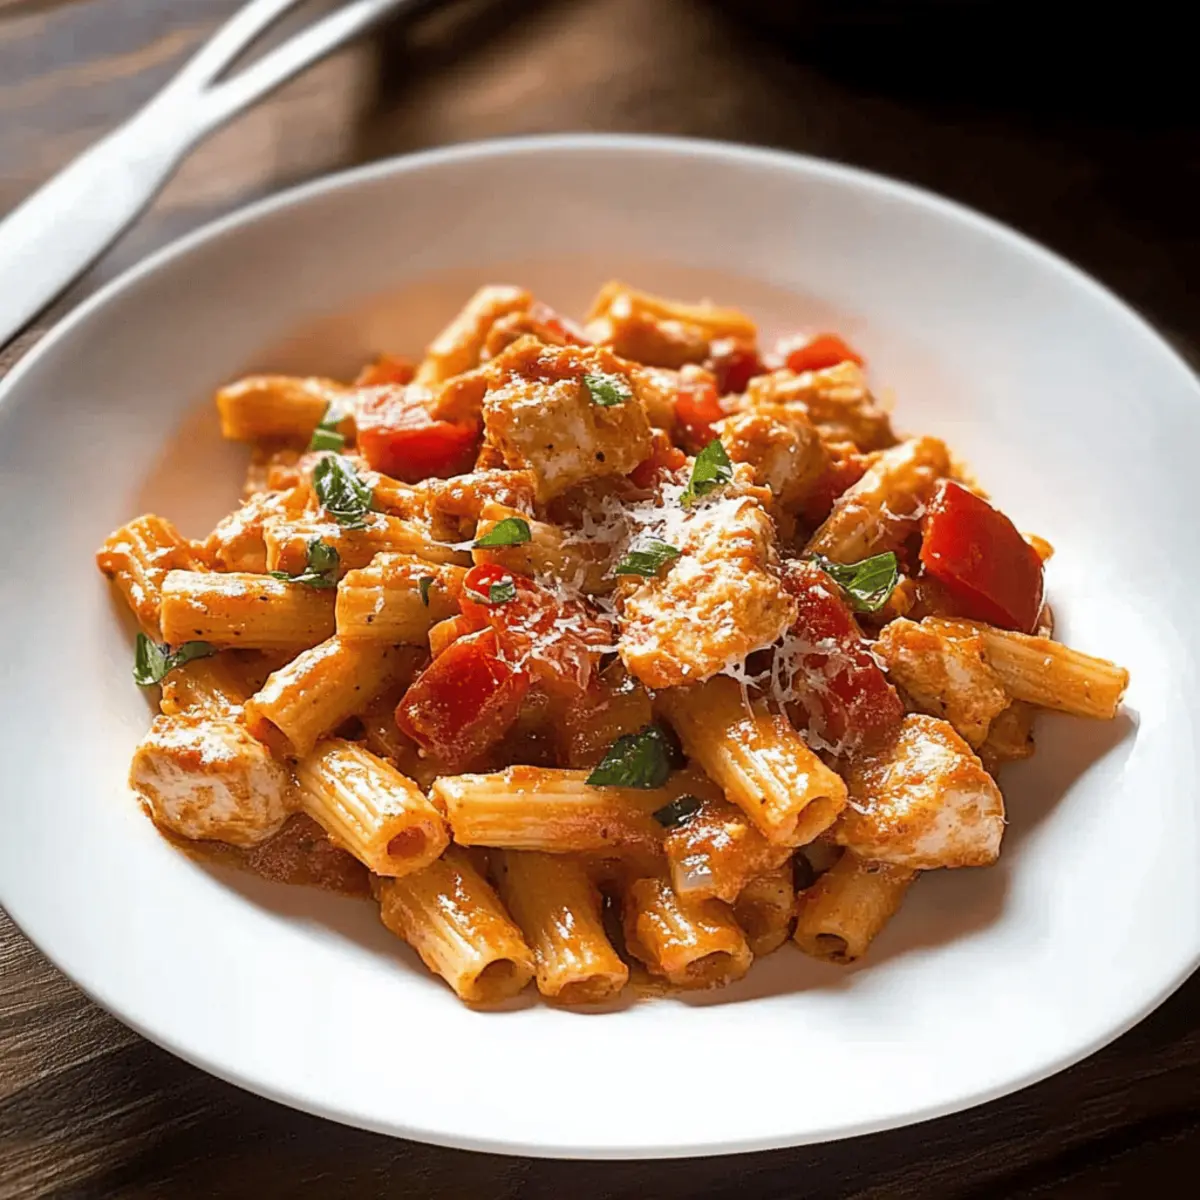
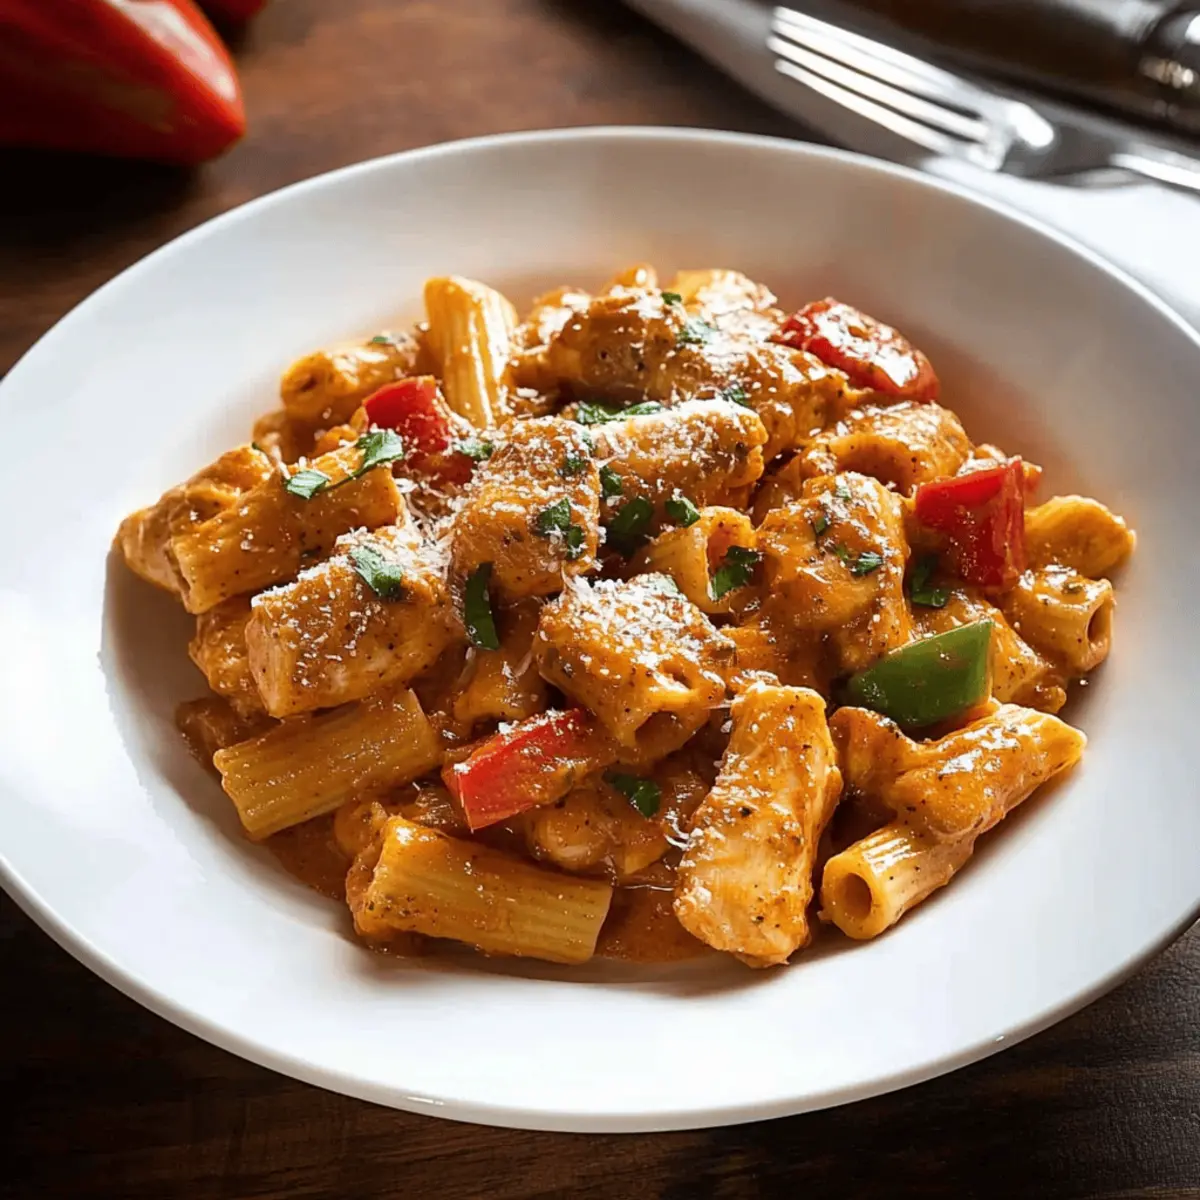
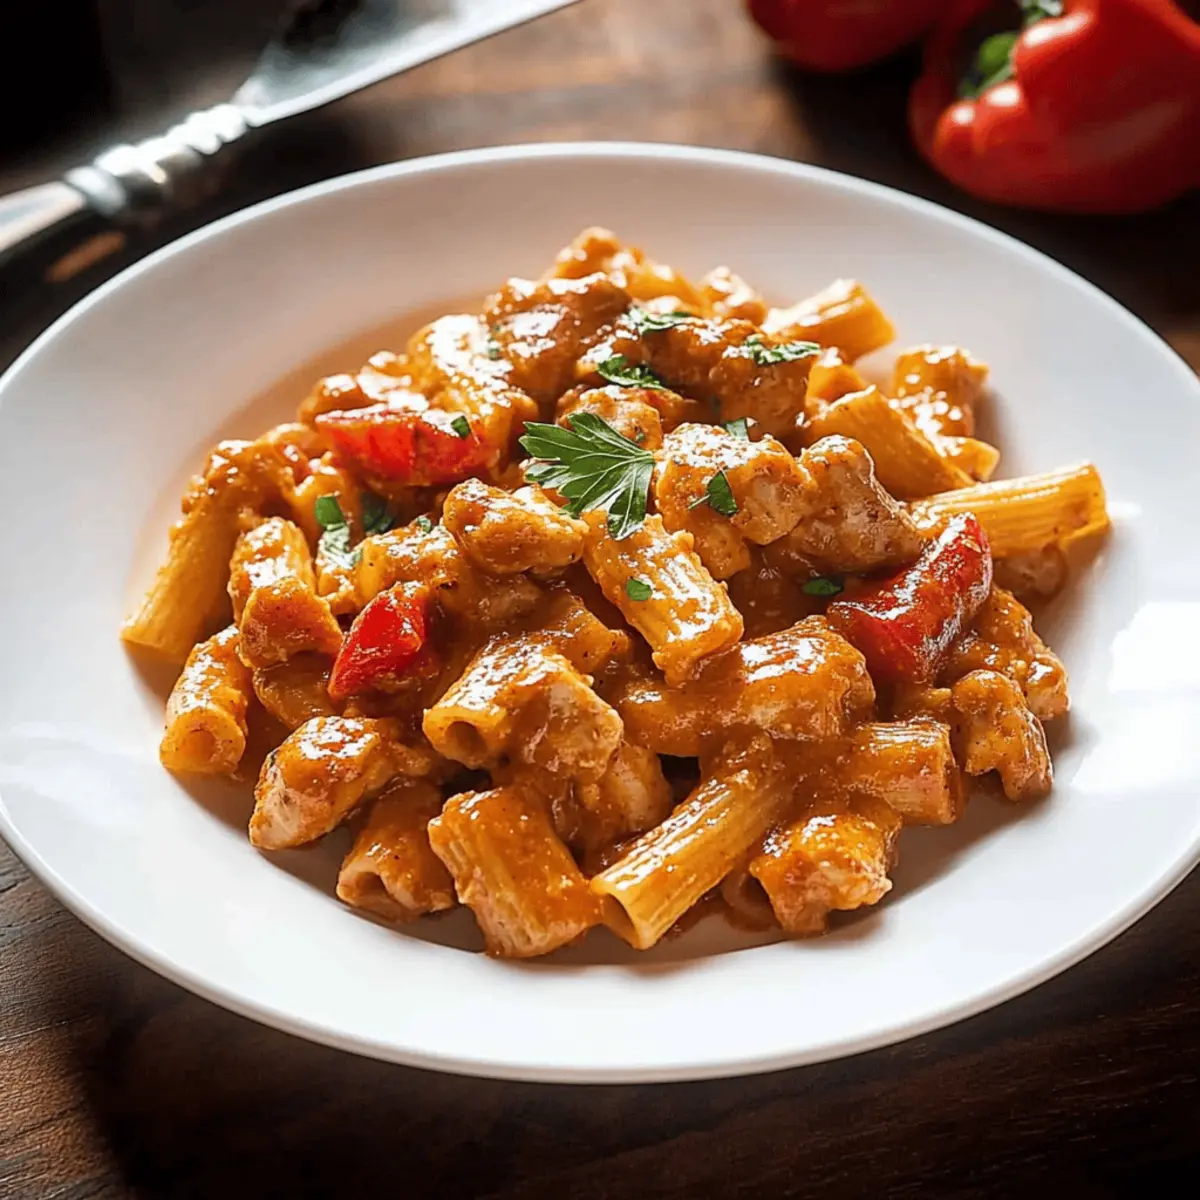
Taste the dish and adjust the seasoning with salt and pepper as needed. Serve hot, garnished with extra Parmesan cheese and chopped green onions for a pop of freshness. Your vibrant Instant Pot Rasta Pasta is ready to be enjoyed, perfect for bringing family and friends together around the dinner table.
What to Serve with Instant Pot Rasta Pasta
Transform your meal from good to unforgettable by pairing delightful sides and drinks with this vibrant dish.
-
Garlic Bread: This warm, crispy bread is perfect for soaking up the rich, creamy sauce, adding a comforting touch to your meal. It’s a classic that everyone loves!
-
Caesar Salad: Crunchy romaine lettuce with creamy dressing balances the richness of the pasta, offering freshness that is simply irresistible—a winning combination for any dinner table.
-
Grilled Pineapple: The caramelized sweetness of grilled pineapple offers a delightful contrast to the spicy notes of the dish, adding a fruity twist that transports you straight to the tropics.
-
Mango Mojito: This refreshing drink combines the tropical sweetness of mango with mint, providing an invigorating sip to complement the flavors of your Instant Pot Rasta Pasta.
-
Roasted Veggies: A medley of seasonal vegetables adds an earthy note and colorful presentation, enhancing the meal’s visual appeal while providing a nutritious crunch.
-
Coconut Rice: Serve this lightly sweetened rice alongside your pasta to amplify the Caribbean vibe, creating a harmonious pairing with every comforting bite of pasta.
Dive into these pairings with your Instant Pot Rasta Pasta, and watch your family and friends savor every mouthful!
Expert Tips for Instant Pot Rasta Pasta
• Sear the Chicken: Properly searing the chicken enhances its flavor and locks in moisture, ensuring a juicy result in your Instant Pot Rasta Pasta.
• Avoid Overcooking: Cooking the pasta for exactly 4 minutes prevents it from becoming mushy. Remember, it continues to cook slightly after pressure release!
• Customize Spice Levels: Feel free to adjust the amount of jerk seasoning to tailor the heat to your family’s preference for an enjoyable meal.
• Check Gluten-Free Labels: If making a gluten-free version, confirm that all ingredients, especially the pasta, are certified gluten-free to ensure safety.
• Utilize Fresh or Frozen Veggies: Using seasonal or frozen vegetables not only enhances flavor but also keeps costs down without compromising on nutrition in your Instant Pot Rasta Pasta.
Make Ahead Options
These Instant Pot Rasta Pasta are perfect for busy home cooks looking to save time during the week! You can prep the chicken, veggies, and sauce up to 24 hours in advance by marinating the chicken with jerk seasoning and storing it in the refrigerator. Additionally, chop the bell peppers and prepare the tomato sauce mixture, storing them separately in airtight containers. When it’s time to cook, simply add the prepped ingredients to your Instant Pot, stir in the pasta, and follow the usual steps. Just remember to add the heavy cream and Parmesan cheese at the end for optimum creaminess. This way, you’ll enjoy a delicious meal that’s just as satisfying, with minimal effort when it counts!
Instant Pot Rasta Pasta Variations
Customize this delightful dish to suit your taste buds and dietary needs!
- Shrimp Swap: Substitute chicken with shrimp for a quick-cooking, sea-inspired twist that adds a light sweetness.
- Tofu Option: For a plant-based version, use firm tofu. Simply cube and sauté with the vegetables for a nutritious boost.
- Gluten-Free Pasta: Opt for gluten-free pasta to make this dish inclusive for gluten-sensitive eaters without sacrificing flavor.
- Extra Veggies: Incorporate seasonal vegetables such as zucchini or spinach for added nutrition and a burst of color.
- Cajun Kick: Mixing in Cajun seasoning can elevate the heat and impart a whole new flavor profile to your Instant Pot Rasta Pasta.
- Cream Alternative: Swap heavy cream with coconut milk for a lighter, dairy-free sauce that adds a tropical flair.
- Cheesy Twist: Try adding gouda or pepper jack cheese for a melty, flavorful surprise that pairs beautifully with the jerk seasoning.
- Spicy Upgrade: Increase the jerk seasoning or toss in chopped jalapeños for those who crave an extra kick in every bite.
With such a variety of options, there’s no limit to how you can make this Instant Pot Rasta Pasta your own! Consider these Delicious Leftover Pot Roast Recipes or even mix in a unique twist with Gluten Free Pastina Recipes to explore more culinary delights!
How to Store and Freeze Instant Pot Rasta Pasta
Fridge: Store leftovers in an airtight container for up to 3 days. Allow the pasta to cool before sealing, ensuring it maintains its creamy texture.
Freezer: Freeze in airtight containers for up to 2 months. For best results, leave out any creamy elements; you can add them during reheating.
Reheating: When ready to enjoy, thaw overnight in the fridge, then gently reheat on the stove with a splash of chicken stock or water for a creamy consistency.
Make-Ahead: For enhanced flavors, prepare the Instant Pot Rasta Pasta a day in advance. The spices and seasonings meld beautifully overnight!
Instant Pot Rasta Pasta Recipe FAQs
How do I choose the right pasta for Instant Pot Rasta Pasta?
Absolutely! For the best results, opt for short pasta shapes like penne or fusilli, as they hold the sauce well. When selecting your pasta, look for packages that are free of any dark spots or damage, ensuring freshness. If you prefer a gluten-free option, just check the label for certified gluten-free pasta!
How long can I store leftovers of Instant Pot Rasta Pasta?
Very! Leftovers can be stored in an airtight container in the refrigerator for up to 3 days. Be sure to let the pasta cool completely before sealing, as this helps maintain that creamy texture for your next meal. Just reheat gently to enjoy again!
Can I freeze Instant Pot Rasta Pasta, and how do I do it?
Absolutely! To freeze, place the cooled pasta in airtight containers, leaving a little space for expansion. You can freeze it for up to 2 months. To reheat, thaw it overnight in the fridge and warm it gently on the stovetop, adding a splash of chicken stock or water to loosen the sauce back up.
What if my pasta turns out mushy or undercooked?
Oh no! For mushy pasta, ensure you’re cooking for exactly 4 minutes under pressure, and remember that the pasta will continue to cook slightly after releasing the pressure. If undercooked, don’t worry; just add a little liquid and sauté it on the stove for a few minutes until it reaches your desired texture.
Are there any dietary considerations with Instant Pot Rasta Pasta?
Very! If you’re cooking for someone with allergies, make sure to check all ingredient labels, especially the jerk seasoning and chicken stock, for any hidden allergens. For a dairy-free version, you can easily swap the heavy cream for coconut milk and substitute Parmesan cheese with nutritional yeast.
Can I make Instant Pot Rasta Pasta ahead of time for a gathering?
Absolutely! You can prepare your Instant Pot Rasta Pasta a day in advance. Just let it cool completely before storing it in the fridge. This not only saves you time on the day of your gathering but also allows the flavors to meld beautifully, ensuring a delicious meal filled with rich, spicy goodness.
Instant Pot Rasta Pasta: A Flavorful Journey in Minutes
Ingredients
Equipment
Method
- Set your Instant Pot to the 'Sauté' function and drizzle in 1 tablespoon of oil. When hot, add diced chicken breasts and cook for 2-3 minutes until golden brown, stirring occasionally. Season with salt and pepper.
- Toss in the sliced red bell pepper and chopped green onions. Sauté for an additional 2-3 minutes until the vegetables soften.
- Stir in minced garlic and jerk seasoning. Cook for about 1 minute until fragrant.
- Add chicken stock and tomato sauce to deglaze the pot. Scrape the bottom to incorporate all flavors.
- Carefully submerge pasta into the pot, mixing well with the sauce.
- Close the lid and set the valve to sealing. Cook on high pressure for 4 minutes.
- After cooking, carefully quick release the pressure. Remove the lid and stir the pasta.
- Stir in heavy cream and Parmesan cheese until combined. Let simmer for a few minutes.
- Taste and adjust seasoning with salt and pepper. Serve hot, garnished with extra cheese and green onions.
")