")
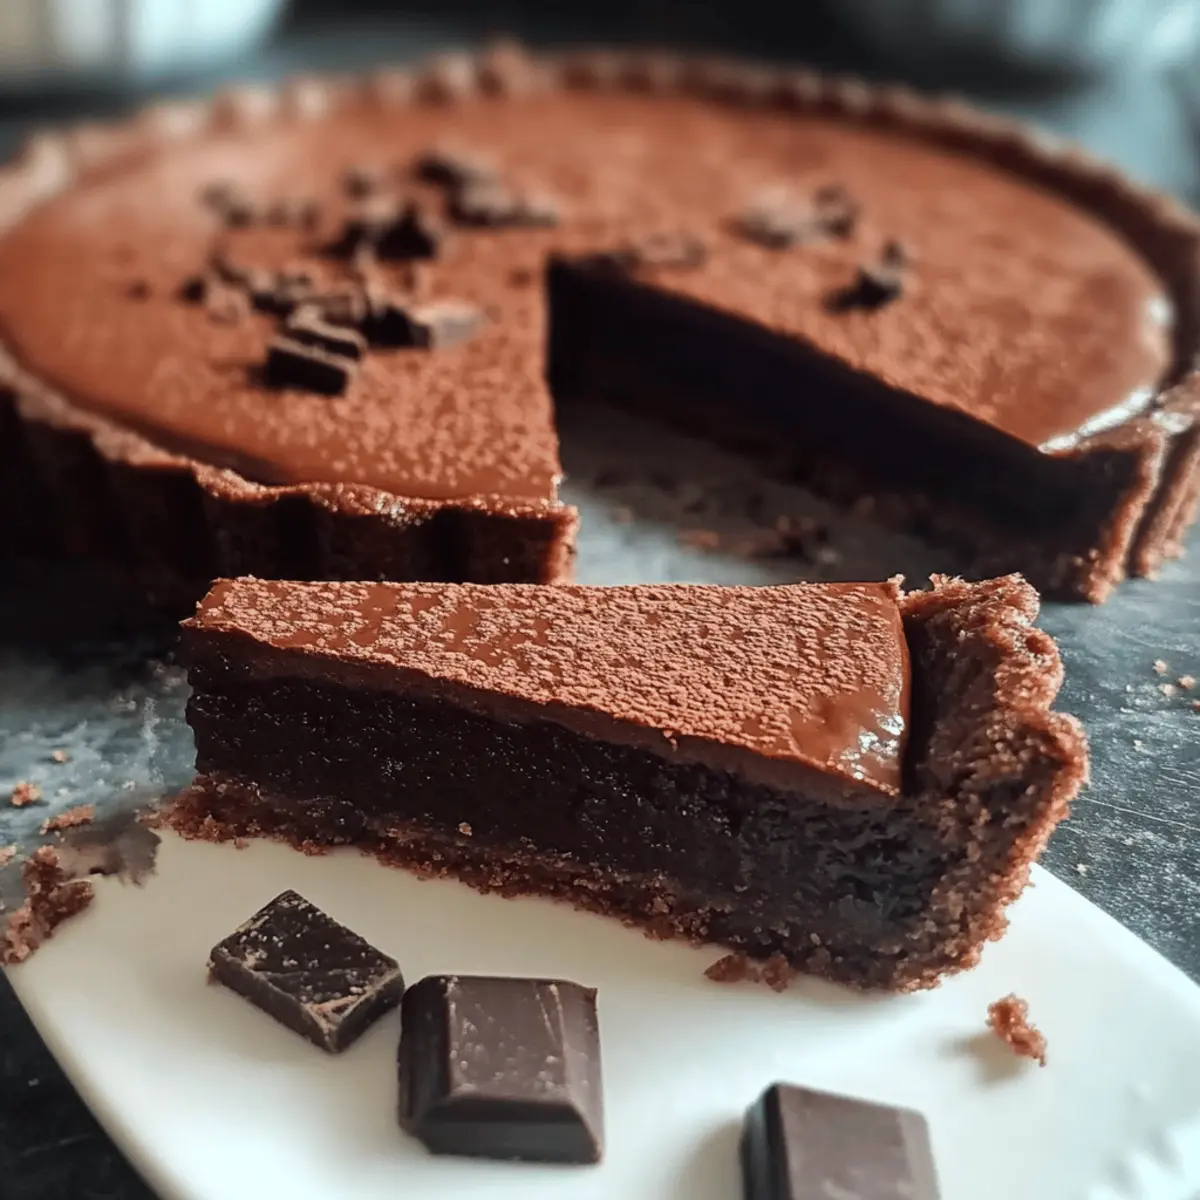
As I gently pull the warm tart from the oven, the rich aroma of chocolate enveloping my kitchen feels like a comforting embrace. Today, I’m thrilled to share my indulgent Italian Chocolate Tart, or Crostata al Cioccolato, a delightful dessert that transforms any occasion into a celebration. With its buttery, crumbly chocolate pastry crust and a luxurious, smooth filling, this recipe is not only a showstopper but also remarkably easy to whip up, making it a crowd-pleaser for both intimate gatherings and grand feasts. Plus, with a gluten-free option available, everyone can indulge in this classic treat. Are you ready to elevate your dessert game and impress your family and friends? Let’s dive into the delicious details!
Why is this Italian Chocolate Tart a Must-Try?
Decadent Flavor: The rich chocolate filling and buttery crust create an irresistible treat that melts in your mouth.
Easy to Make: With simple steps, you’ll have this gorgeous tart ready in no time, perfect for cooking novices and pros alike!
Customizable Options: Whether you prefer dark or milk chocolate, or want to top it off with fresh fruits or nuts, this tart allows for endless variations.
Gluten-Free Friendly: Substitute traditional flour for a gluten-free blend and everyone can join in on the delight. It’s a perfect dessert for gatherings!
Crowd-Pleasing Appeal: This showstopper will surely impress guests at any occasion, making it a dessert you’ll want to whip up time and again. For more delicious treats, don’t miss my posts on Chocolate Chips Cookies or explore the human touch in pastry with Swiss Chocolate Chalet.
Italian Chocolate Tart Ingredients
For the Crust
- Flour – Provides structure for the tart crust; substitute with a gluten-free flour blend for a gluten-free option.
- Granulated Sugar – Adds sweetness and assists in browning the crust; coconut sugar can be used for a lower glycemic alternative.
- Cocoa Powder – Imparts a rich chocolate flavor to the crust.
- Salt – Enhances the sweetness and overall flavor of the crust.
- Cold Butter – Vital for a flaky pastry texture; use margarine for a dairy-free alternative.
- Egg and Egg Yolk – Bind the crust together and add richness to the final product.
For the Filling
- Milk – Forms the base of the filling; almond milk can be a suitable dairy-free substitute.
- Dark Chocolate – The star ingredient of the filling, providing depth and richness; opt for milk chocolate for a sweeter variation.
For Garnishing
- Chocolate Shavings/Nuts – Optional toppings that add flavor and texture to the finished tart.
Now that you have everything ready, let’s embark on the joyful journey of creating a delightful Italian Chocolate Tart!
Step‑by‑Step Instructions for Italian Chocolate Tart
Step 1: Prepare the Pastry Crust
In a mixing bowl, whisk together 1 ½ cups of flour, ½ cup of granulated sugar, ½ cup of cocoa powder, and a pinch of salt. Cut in ½ cup of cold butter until the mixture resembles coarse crumbs. Next, add one whole egg and one egg yolk, mixing until the dough forms. Wrap the dough in plastic wrap and refrigerate it for at least 30 minutes to firm up.
Step 2: Form the Tart Shell
Preheat your oven to 180°C (350°F). Roll out the chilled dough on a lightly floured surface to about ¼-inch thickness. Gently transfer the rolled dough into a 9-inch tart pan, pressing it into the edges and trimming any excess. Use a fork to prick the bottom of the crust to prevent bubbling as it bakes.
Step 3: Pre-bake the Crust
Place the tart shell in the preheated oven and bake for 15–20 minutes or until set and slightly firm to the touch. Aim for a light brown color at the edges, and then remove it from the oven to cool completely. This step ensures a crisp base for your Italian Chocolate Tart, setting the stage for the luscious filling.
Step 4: Prepare the Filling
In a saucepan, heat 1 cup of milk over medium heat until just below boiling, taking care not to let it curdle. In a separate bowl, whisk together 4 egg yolks, ½ cup of sugar, and 2 tablespoons of flour until smooth. Gradually pour the hot milk into the egg mixture, whisking continuously to temper the eggs, then return the mixture to the saucepan.
Step 5: Thicken the Filling
Cook the combined mixture over low heat, stirring constantly until it thickens and coats the back of a spoon, about 5–7 minutes. Remove from heat and stir in 8 ounces of chopped dark chocolate until completely melted and smooth. This velvety filling is the centerpiece of your Italian Chocolate Tart, offering rich flavor and texture.
Step 6: Assemble the Tart
Once the tart crust has completely cooled, pour the chocolate filling into the shell. Spread it evenly with a spatula to ensure a smooth surface. Chill the assembled tart in the refrigerator for at least 30 minutes to allow the filling to set properly before serving. This chilling moment elevates the dessert’s decadence and enhances its presentation.
Step 7: Garnish and Serve
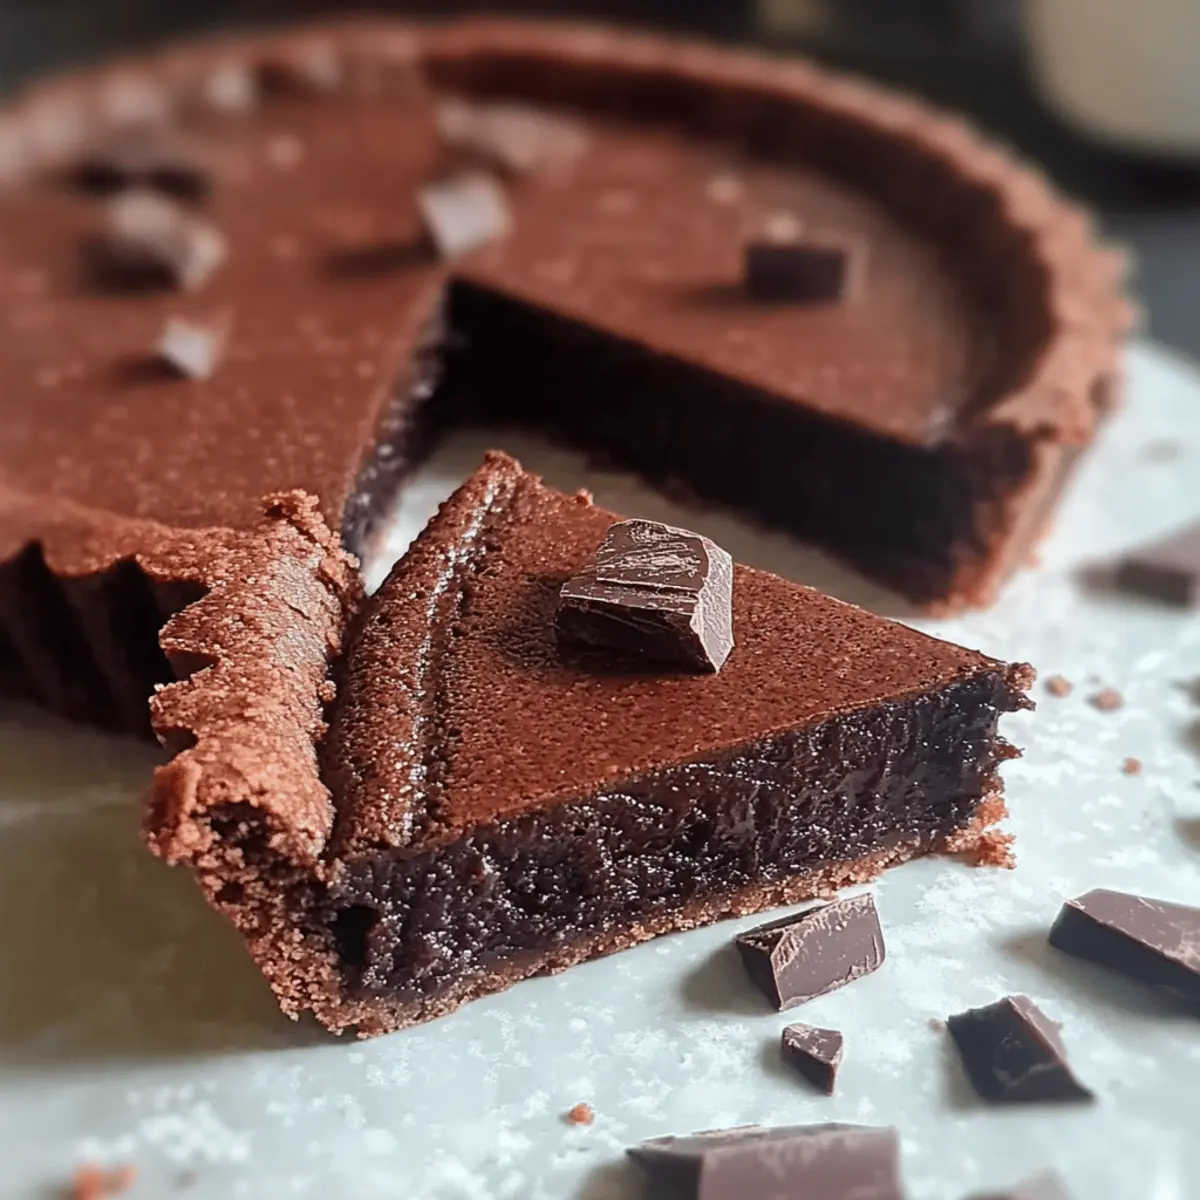
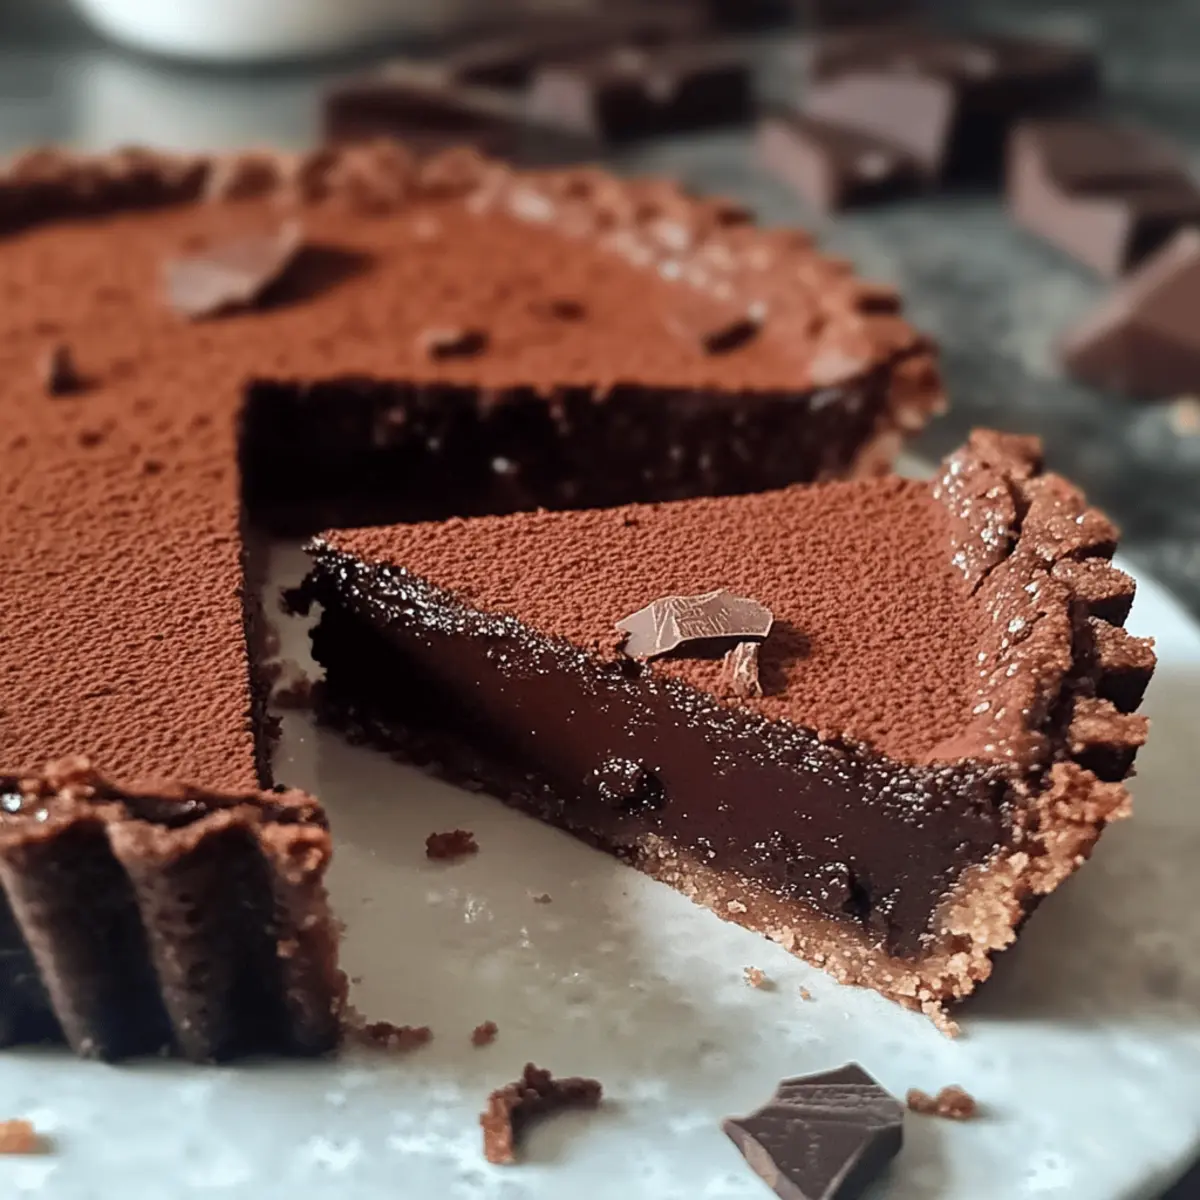
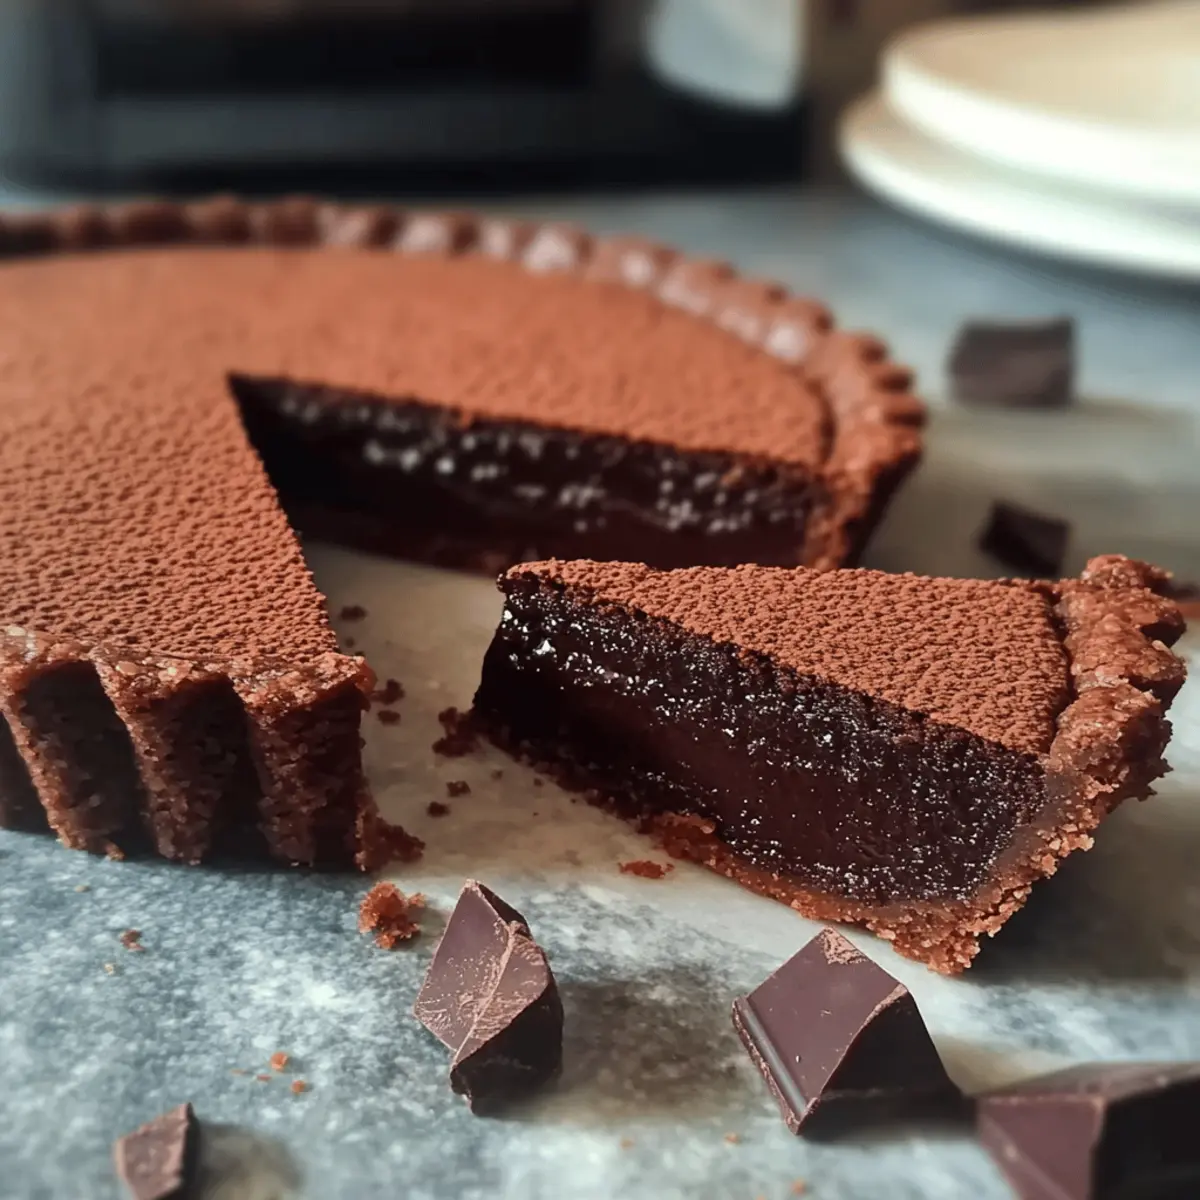
Before serving, consider garnishing your Italian Chocolate Tart with chocolate shavings or nuts for added texture and visual appeal. Slice into generous pieces, serve chilled, and watch as its rich aroma and flavor captivate your friends and family. Each bite promises a delightful experience that showcases the elegance of Italian dessert-making.
What to Serve with Italian Chocolate Tart
Indulge your senses with delightful pairings that beautifully complement this rich, velvety dessert.
-
Fresh Berries: A burst of tartness from strawberries or raspberries balances the chocolate richness, adding a refreshing contrast to each bite.
-
Whipped Cream: Light and airy, a dollop of freshly whipped cream enhances the dessert’s decadence, making it even more luxurious.
-
Vanilla Ice Cream: Warm tart meets cold creaminess! A scoop of classic vanilla ice cream creates a delightful temperature contrast, elevating the dessert experience.
-
Espresso: Rich, bold coffee is the perfect palate cleanser. Sipping espresso alongside your tart intensifies the chocolate flavor and completes the indulgence.
-
Chocolate Sauce: Drizzling a bit of homemade or store-bought chocolate sauce adds an extra layer of decadence and makes for a visually stunning presentation.
-
Nuts: Chopped almonds or hazelnuts add a delightful crunch and nutty flavor that harmonizes beautifully with the creamy filling. Plus, they introduce a pleasing texture contrast.
Pairing these elements with your Italian Chocolate Tart not only enriches the experience but transforms a simple dessert into a luxurious feast. Enjoy!
Italian Chocolate Tart Variations
Feel free to explore a world of flavors and textures to personalize your Italian Chocolate Tart!
-
Milk Chocolate: Substitute dark chocolate with milk chocolate for a sweeter, more indulgent filling. This brightens the flavor profile and caters to those with a sweet tooth.
-
Nutty Delight: Add crushed hazelnuts or walnuts to your crust for a delectable crunch. The nutty flavor complements the chocolate beautifully, bringing an extra layer of richness to every bite.
-
Spicy Kick: Tweak your filling by adding a pinch of cayenne pepper for a subtle heat. This unexpected twist contrasts delightfully with the sweetness of the chocolate and will have your guests coming back for more!
-
Dairy-Free Alternative: Use coconut milk instead of regular milk and replace butter with coconut oil for a tropical touch. This makes the tart suitable for those avoiding dairy while bringing a unique flavor to the table.
-
Fresh Berries: Top the tart with raspberries or strawberries for a burst of freshness. The tartness of the berries cuts through the richness of the chocolate, creating a harmonious balance.
-
Orange Zest: Mix in a teaspoon of orange zest into the filling to infuse it with a citrusy brightness. This elegant flavor twist will elevate your dessert, making it feel sophisticated and refreshing.
-
Layering Flavors: Create a layered dessert by incorporating a layer of raspberry or passion fruit puree under the filling. This adds a beautiful tart contrast and a pop of color to your dessert presentation.
-
Whipped Cream Topping: Serve your tart with a generous dollop of homemade whipped cream for added creaminess. It’s a classic pairing that enhances the overall dessert experience, making every slice even more velvety.
For more delightful ideas, you might enjoy exploring my recipe for Italian Penicillin Soup or try making cozy Chocolate Chips Cookies to sweeten your day!
Make Ahead Options
These indulgent Italian Chocolate Tart preparations are perfect for busy cooks looking to save time! You can make the tart shell up to 3 days in advance; just wrap it tightly in plastic wrap and store it in the refrigerator to keep it crisp. The chocolate filling can be prepared and stored in an airtight container in the fridge for up to 24 hours; this keeps it fresh and ready to use. When you’re ready to serve, simply pour the filling into your pre-baked tart shell, chill for at least 30 minutes, and garnish as desired. With these make-ahead tips, your Italian Chocolate Tart will be just as delicious and a breeze to finish!
Expert Tips for Italian Chocolate Tart
-
Use Cold Ingredients: Ensure your butter is cold to achieve a flaky crust. This step prevents the crust from becoming tough.
-
Don’t Overheat Milk: Heat the milk until just below boiling. Overheating can cause curdling, ruining the filling’s creamy texture.
-
Chill After Assembling: Allow the tart to chill for at least 30 minutes after pouring in the filling. This helps the luscious chocolate filling set perfectly.
-
Customize Wisely: Feel free to experiment with different chocolates, but remember that dark chocolate enhances the tart’s richness best.
-
Watch Your Bake Time: Keep an eye on your crust while pre-baking. It should be set but not overly brown to maintain that lovely texture for your Italian Chocolate Tart.
How to Store and Freeze Italian Chocolate Tart
Refrigerator: Store your Italian Chocolate Tart in an airtight container for up to 3 days. This keeps it fresh and maintains its decadent flavor, ensuring every slice is just as delightful as the first.
Freezer: If you want to keep it longer, wrap the tart tightly in plastic wrap and aluminum foil. It can be frozen for up to 2 months, preserving its rich chocolate filling for a future indulgence.
Thawing: When you’re ready to enjoy it again, transfer the frozen tart to the refrigerator to thaw overnight. This gentle process ensures it stays deliciously creamy.
Reheating: If desired, warm individual slices in the microwave for about 10 seconds to enjoy a melt-in-your-mouth experience reminiscent of freshly baked goodness.
Italian Chocolate Tart Recipe FAQs
How do I choose the right chocolate for my tart?
Absolutely! For the filling of your Italian Chocolate Tart, opt for high-quality dark chocolate with at least 70% cocoa. This ensures a rich, intense flavor that complements the sweetness of the crust. If you prefer a sweeter taste, milk chocolate can be used, but keep in mind it will create a softer filling.
How long does the tart last in the fridge?
The Italian Chocolate Tart can be stored in an airtight container in the refrigerator for up to 3 days. Make sure it’s well-covered to prevent any fridge odors from seeping in and impacting the delicate chocolate flavor. Enjoy every slice during this time!
Can I freeze my Italian Chocolate Tart?
Definitely! To freeze your Italian Chocolate Tart, wrap it tightly in plastic wrap followed by aluminum foil. This helps prevent freezer burn and keeps the filling deliciously intact. You can freeze it for up to 2 months. When you’re ready to enjoy it again, simply move it to the refrigerator for an overnight thaw.
What should I do if my filling isn’t thickening properly?
If you find your filling isn’t thickening as expected, don’t worry! Return the mixture to the saucepan and heat it gently over low heat while stirring constantly. You may add a bit more flour (1 teaspoon at a time) to help thicken it up. Just be sure to cook it long enough to activate the thickening properties of the flour, usually about 3-5 minutes more, until it coats the back of a spoon.
Is there a gluten-free option for this recipe?
Very! You can easily make this Italian Chocolate Tart gluten-free by substituting the all-purpose flour with a gluten-free flour blend. Just ensure that the blend contains xanthan gum for the best texture in the crust. Everyone can enjoy this decadent dessert without worry!
Can I make this tart in advance?
Absolutely! This tart can be prepared a day in advance. After assembling the filling into the tart shell, simply cover and refrigerate it. This not only saves time but also allows the flavors to meld beautifully, enhancing the tart’s overall taste when you’re ready to serve.
Decadent Italian Chocolate Tart That Everyone Will Love
Ingredients
Equipment
Method
- In a mixing bowl, whisk together flour, granulated sugar, cocoa powder, and a pinch of salt. Cut in cold butter until the mixture resembles coarse crumbs. Add one whole egg and one egg yolk, mixing until the dough forms. Wrap the dough in plastic wrap and refrigerate for at least 30 minutes.
- Preheat your oven to 180°C (350°F). Roll out the chilled dough on a lightly floured surface to about ¼-inch thickness. Transfer the rolled dough into a 9-inch tart pan, pressing it into the edges and trimming any excess. Use a fork to prick the bottom of the crust.
- Place the tart shell in the preheated oven and bake for 15–20 minutes or until set. Remove it from the oven to cool completely.
- In a saucepan, heat milk over medium heat until just below boiling. In a separate bowl, whisk together egg yolks, sugar, and flour until smooth. Gradually pour the hot milk into the egg mixture while whisking, then return to the saucepan.
- Cook the combined mixture over low heat, stirring constantly until it thickens, about 5–7 minutes. Remove from heat and stir in chopped dark chocolate until completely melted and smooth.
- Once the tart crust has cooled, pour the chocolate filling into the shell and chill in the refrigerator for at least 30 minutes before serving.
- Garnish with chocolate shavings or nuts if desired, slice and serve chilled.
")


