")
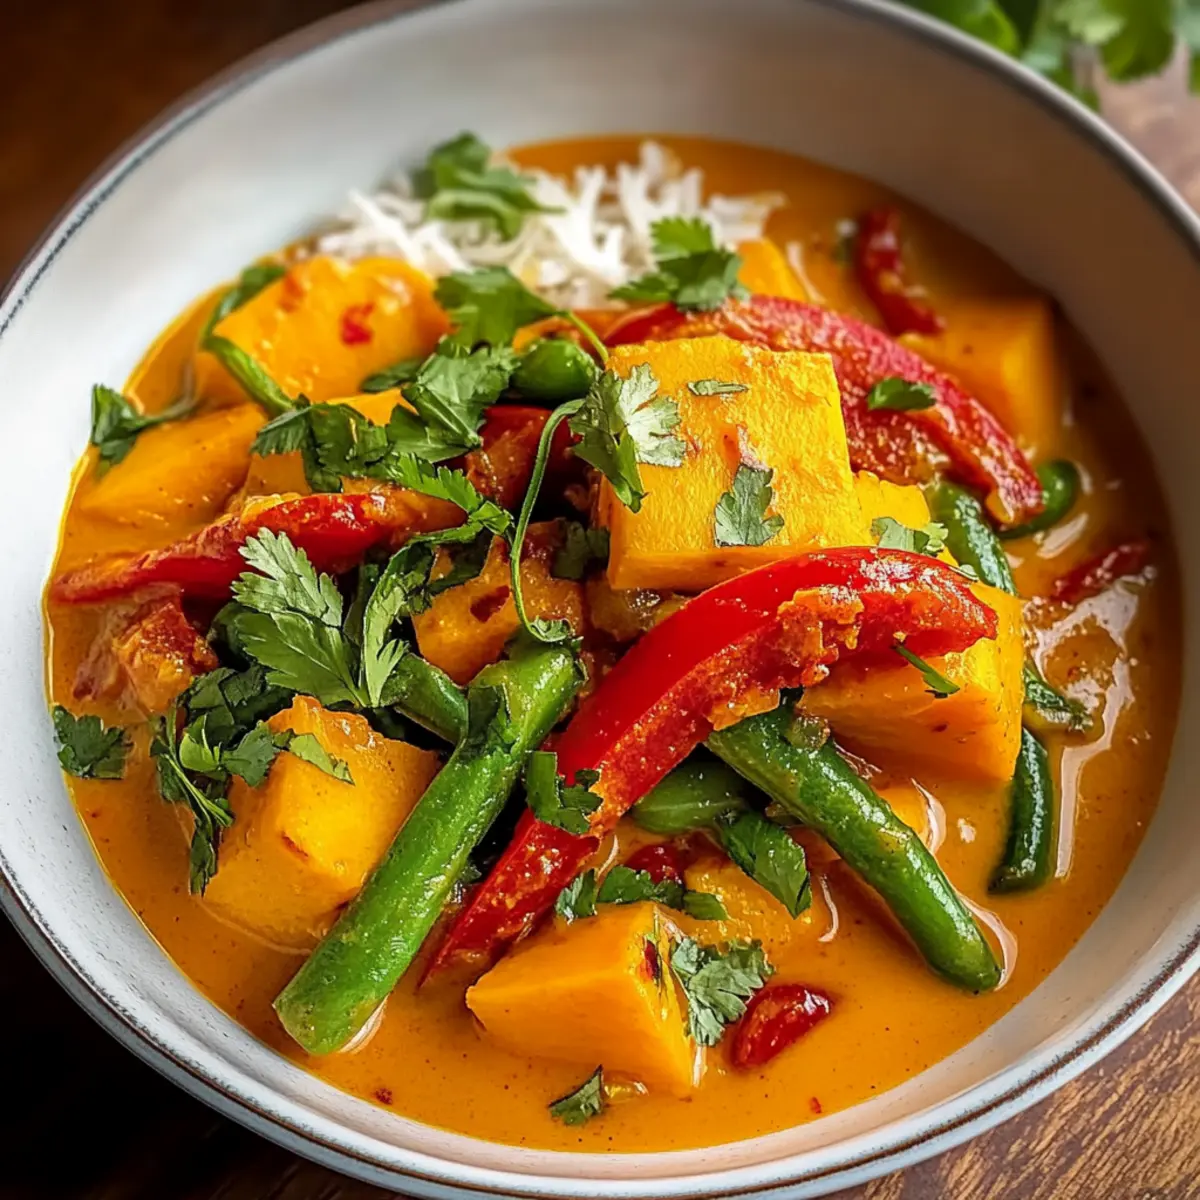
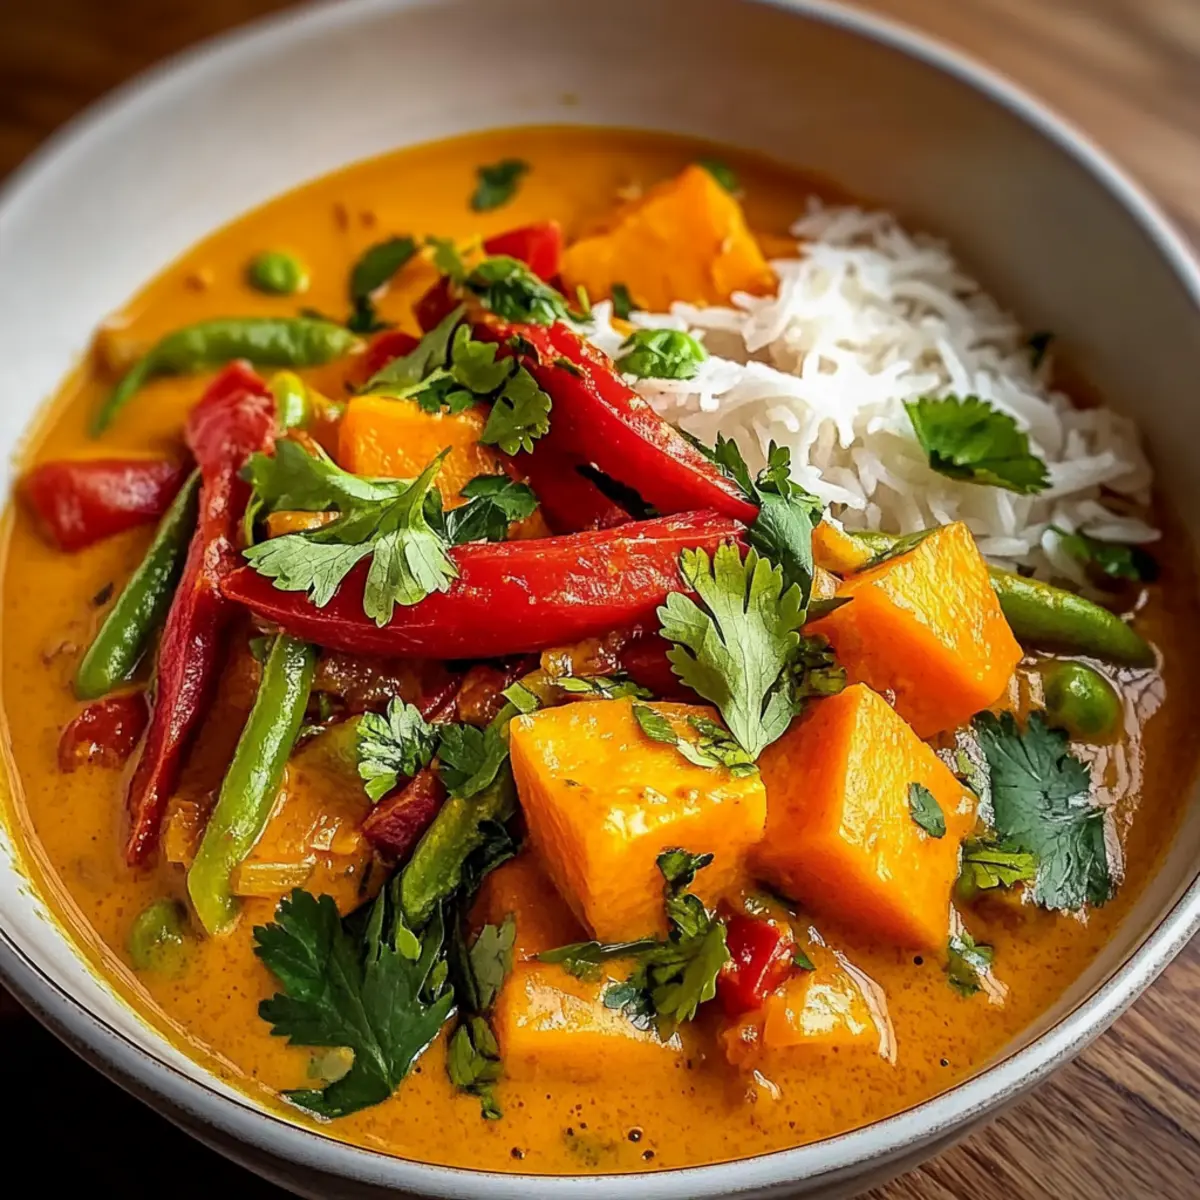
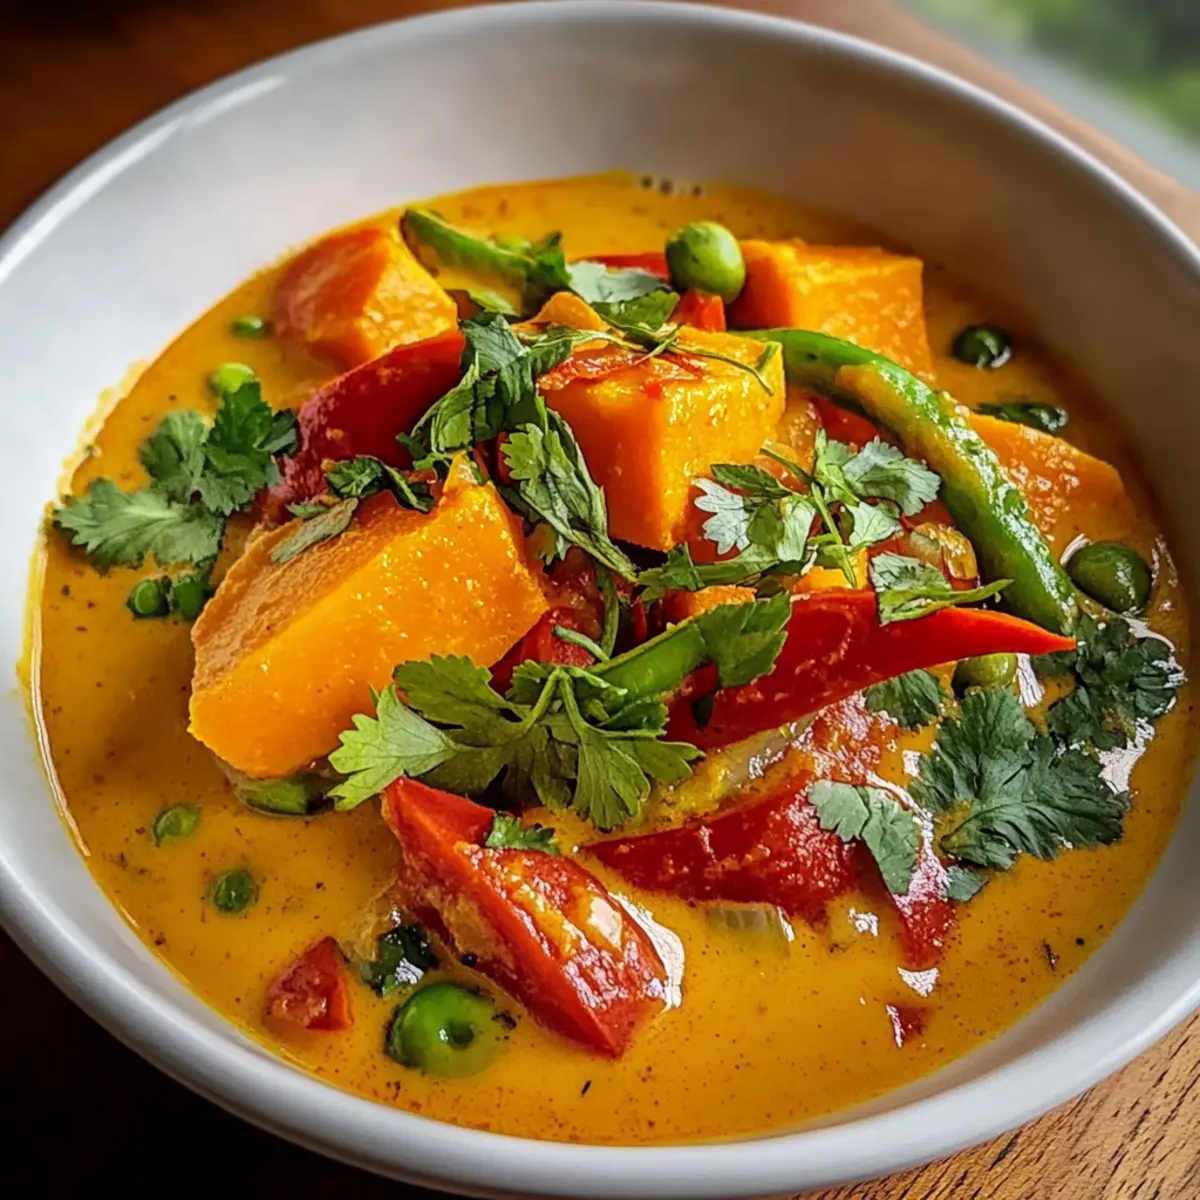
As the days turn cooler and evenings grow cozier, I find myself gravitating towards heartwarming dishes that wrap me in comfort like a warm blanket—like my Pumpkin Thai Curry. This vibrant dish is not just a visual feast but also a celebration of wholesome ingredients, melding the natural sweetness of roasted pumpkin with spicy red curry paste and creamy coconut milk. It’s a vegan-friendly recipe that brings a delightful balance of flavors, making it perfect for quick weeknight dinners or impressing guests without breaking a sweat. Best of all, it’s freezer-friendly, allowing you to savor this aromatic indulgence whenever you please. Curious about how to create this cozy, satisfying dish? Let’s dive in!
Why is Pumpkin Thai Curry so special?
Heartwarming Comfort: This Pumpkin Thai Curry wraps you in warmth, making it the ideal choice for crisp evenings.
Vegan-Friendly Delight: Packed with nourishing ingredients, it’s perfect for plant-based eaters craving flavor.
Effortless Cooking: With simple steps and straightforward techniques, even novice cooks can whip this up with ease.
Flavor Harmony: The balance between sweetness, spice, and creaminess creates a dish that tantalizes your taste buds.
Freezer-Friendly: Prepare a batch ahead of time, and you’ll always have a cozy meal on hand for busy nights.
With options to customize using seasonal veggies, this recipe is one that you’ll return to again and again!
Pumpkin Thai Curry Ingredients
For the Base
• Vegetable Oil – For sautéing aromatics; helps avoid sticking and distributes heat evenly.
• Onion (1, chopped) – Adds sweetness and a savory base; sauté until translucent to build flavor depth.
• Garlic (2 cloves, minced) – Offers pungent notes that meld beautifully with other ingredients.
• Fresh Ginger (1 tablespoon, grated) – Infuses warmth and a zesty kick; balances the sweetness.
For the Curry
• Red Curry Paste (2 tablespoons) – Provides heat and complexity; bloom in oil to enhance flavor.
• Coconut Milk (1 can, 14-ounce) – Adds creamy richness; softens spice and coats other elements.
• Vegetable Broth (1 cup) – Helps thin the coconut milk for a silky texture.
• Small Pumpkin (1, peeled, seeded, and diced, about 4 cups) – Natural sweetness that absorbs curry flavors; transforms into tender, melt-in-your-mouth bites.
• Red Bell Pepper (1, sliced) – Contributes color and mild sweetness; complements the curry.
• Sugar Snap Peas (1 cup) – Adds fresh contrast and texture; brings in vibrant green.
For Seasoning
• Soy Sauce (2 tablespoons) – Introduces umami and saltiness, deepening flavor profile.
• Brown Sugar (1 tablespoon) – Balances heat and acidity; enhances pumpkin’s natural sugars.
• Juice of 1 Lime – Bright acidity that lifts the dish, preventing heaviness.
For Garnish and Serving
• Fresh Cilantro (for garnish) – Offers herbal brightness to finish the dish.
• Jasmine Rice (for serving) – Acts as the ideal base, soaking up curry sauce perfectly.
With these ingredients, your cozy Pumpkin Thai Curry is just moments away!
Step‑by‑Step Instructions for Pumpkin Thai Curry
Step 1: Sauté the Aromatics
In a large pot, heat 2 tablespoons of vegetable oil over medium heat for about 1 minute. Once the oil shimmers, add 1 chopped onion and sauté for approximately 5 minutes until it becomes translucent and softens, releasing a sweet aroma. This will create a flavorful base for your Pumpkin Thai Curry.
Step 2: Add Garlic and Ginger
Next, stir in 2 minced garlic cloves and 1 tablespoon of grated fresh ginger. Cook for an additional 2 minutes, allowing the mixture to become fragrant. Keep an eye on it to prevent burning, and once the garlic has released its nice aroma, you’re ready to elevate the dish’s flavor profile.
Step 3: Bloom the Curry Paste
Add 2 tablespoons of red curry paste to the pot and stir well, cooking for another minute. This step is crucial as it allows the spices to bloom in the oil, releasing their full flavors and enhancing the aromas in your kitchen. You’ll know it’s ready when the paste darkens slightly and becomes more fragrant.
Step 4: Combine Coconut Milk and Broth
Pour in 1 can (14 ounces) of coconut milk along with 1 cup of vegetable broth. Gently mix everything together, scraping the bottom of the pot to incorporate any browned bits for extra flavor. Bring this mixture to a gentle simmer—this will form the creamy base of your Pumpkin Thai Curry.
Step 5: Cook the Pumpkin
Carefully add about 4 cups of diced pumpkin to the pot, ensuring it’s evenly coated in the curry sauce. Increase the heat to high and bring the mixture to a boil. Once boiling, reduce the heat and simmer for about 10 minutes, or until the pumpkin is tender and can be easily pierced with a fork.
Step 6: Add Vegetables
Incorporate 1 sliced red bell pepper and 1 cup of sugar snap peas into the pot. Stir well to mix in the vegetables, then cook for an additional 5-7 minutes until they are tender yet still vibrant and crisp. This adds texture and fresh flavors to your hearty Pumpkin Thai Curry.
Step 7: Season the Curry
To finish off your dish, stir in 2 tablespoons of soy sauce, 1 tablespoon of brown sugar, and the juice of 1 lime. Taste and adjust the seasoning as necessary, allowing the flavors to meld together beautifully. You want a perfect balance of sweetness and acidity to enhance the creamy curry.
Step 8: Garnish and Serve
Remove the pot from heat and garnish your Pumpkin Thai Curry with freshly chopped cilantro. Serve it hot over a bed of fluffy jasmine rice, allowing the rice to soak up the luscious curry sauce. This dish not only looks inviting with its vibrant colors but also promises to be a comforting meal for any occasion.

What to Serve with Pumpkin Thai Curry
Create a vibrant, satisfying meal that warms the heart and delights the senses.
- Crispy Roasted Brussels Sprouts: A crunchy, caramelized side that adds earthy contrast and richness to the creamy curry.
- Toasted Peanuts: These bring a satisfying crunch and nutty flavor that pairs beautifully with the dish’s smooth texture.
- Cucumber-Mint Salad: Refreshing and light, this salad with a zesty lime dressing cuts through the richness of the curry, offering a palate cleanse.
- Quinoa Pilaf: Serve up fluffy quinoa mixed with herbs and spices for a protein-packed twist that complements the curry’s flavors.
- Naan Bread: Soft and warm, this bread is perfect for scooping up curry, adding an indulgent touch to your meal.
- Mango Sticky Rice: For dessert, this sweet and creamy treat provides a delightful ending, balancing the spicy and savory notes of the curry.
- Thai Iced Tea: Sweet and creamy, this drink perfectly complements the spice, creating a well-rounded dining experience.
- Roasted Sweet Potato Wedges: Their natural sweetness enhances the meal while offering a comforting, hearty texture alongside the curry.
- Steamed Broccoli: Vibrantly green and slightly crunchy, steamed broccoli not only adds color but also a nutritious element to the dish.
- Spicy Coconut Soup: Starting with a bowl of this aromatic soup warms the palate and sets the tone for your comforting Pumpkin Thai Curry.
How to Store and Freeze Pumpkin Thai Curry
Fridge: Store cooled Pumpkin Thai Curry in an airtight container for up to 4 days. Reheat gently on the stove or in the microwave, adding a splash of broth if necessary to restore creaminess.
Freezer: For longer storage, freeze the curry in portions for up to 3 months. Make sure to use freezer-safe containers or bags, and label them for easy identification.
Thawing: When ready to enjoy, transfer frozen curry to the fridge overnight to thaw. Reheat on low heat, stirring occasionally until hot throughout.
Rice Storage: Store jasmine rice separately in an airtight container for best texture. Combine with the curry when serving to maintain its fluffy consistency.
Make Ahead Options
These Pumpkin Thai Curry preparations are perfect for busy weeknights when you need a nourishing meal without hassle! You can chop the vegetables and store them in an airtight container for up to 24 hours in the refrigerator, keeping them fresh and ready to go. The curry itself can be cooked in advance and stored for up to 4 days in the fridge; just be sure to let it cool completely before sealing it up. For maintaining flavor and texture, refrigerate rice separately to prevent sogginess. When you’re ready to enjoy your curry, simply reheat it gently on the stove, adding a splash of vegetable broth if needed to restore its creamy consistency—voilà, a comforting dish with minimal effort!
Expert Tips for Pumpkin Thai Curry
Fresh Ingredients: Use fresh garlic, ginger, and seasonal veggies to elevate your Pumpkin Thai Curry. Fresh ingredients make a noticeable difference in flavor.
Don’t Rush the Blooming: When you bloom the red curry paste, don’t hurry this step. It enhances the flavors, creating a richer base for your dish.
Texture Check: Be careful not to overcook the pumpkin or snap peas. They should be tender yet retain some bite for an appealing texture in your curry.
Season Gradually: Add soy sauce and brown sugar little by little, tasting as you go. This helps you achieve the perfect balance of flavors without overpowering the dish.
Customize Freely: Feel free to swap in your favorite vegetables or add a bit of spice with red chili flakes if you like heat! Your Pumpkin Thai Curry can be tailored to suit your palate.
Pumpkin Thai Curry Variations & Substitutions
Feel free to get creative with your Pumpkin Thai Curry! There are countless ways to tweak this beloved dish to suit your tastebuds.
-
Butternut Squash: Swap pumpkin for butternut squash for a sweeter texture and flavor.
-
Coconut Cream: Use coconut cream instead of coconut milk for an even richer and creamier sauce. The extra thickness will create a luscious mouthfeel that enhances the curry experience.
-
Vegetable Mix: Experiment with seasonal veggies like carrots or eggplant to add variety and color.
-
Chili Heat: Add diced fresh chili or sprinkle red pepper flakes during cooking to amp up the spice level. This will provide a pleasant kick that warms the soul.
-
Quinoa Base: Replace jasmine rice with fluffy quinoa for a protein boost. It soaks up the curry sauce beautifully while delivering a nutty flavor to the dish.
-
Tofu Protein: For added protein, stir in cubed tofu. Allow it to soak in the flavors of the curry as it gently simmers, becoming an integral part of this hearty dish.
-
Herb Variations: Garnish with fresh basil instead of cilantro for a unique twist that adds an aromatic flair.
-
Lime Zest: Grate in some lime zest before serving for an extra citrus boost that brightens up the overall flavor profile.
Whether you’re trying this cozy dish for the first time or revisiting an old favorite, the possibilities are endless! Consider exploring our ideas for meal prep and how to store leftover curry for an effortless culinary experience that fits your lifestyle.
Pumpkin Thai Curry Recipe FAQs
What type of pumpkin should I use for the curry?
Absolutely! For your yummy Pumpkin Thai Curry, I recommend using a small sugar pumpkin or a pie pumpkin. These varieties are sweeter and have a creamier texture compared to larger Halloween pumpkins. When selecting, look for a pumpkin without dark spots all over and with a firm, smooth skin.
How should I store leftover Pumpkin Thai Curry?
To keep your Pumpkin Thai Curry fresh, store it in airtight containers in the fridge for up to 4 days. Make sure the curry is completely cooled before sealing the container. Reheat gently on the stovetop, adding a splash of vegetable broth if it seems too thick.
Can I freeze Pumpkin Thai Curry?
Yes, you can definitely freeze Pumpkin Thai Curry! After cooking and cooling, transfer it to freezer-safe containers or bags. It will keep well for up to 3 months. When you’re ready to enjoy, thaw it overnight in the fridge, then reheat on low until warm.
How can I prevent the pumpkin from becoming mushy?
Great question! To avoid mushy pumpkin in your Pumpkin Thai Curry, keep an eye on cooking times. Once you add the diced pumpkin, simmer for about 10 minutes, or until just tender. If you’re in doubt, it’s better to slightly undercook it, as it will continue to cook when you add the other vegetables.
Are there any dietary considerations I should keep in mind?
Very! This Pumpkin Thai Curry is vegan-friendly, but if you’re cooking for pets or individuals with allergies, you’ll want to ensure no one has sensitivities to soy (from the soy sauce) or coconut (from the coconut milk). Substituting tamari for soy sauce can serve gluten-free diets, and using vegetable broth ensures it’s suitable for all plant-based eaters.
Cozy Pumpkin Thai Curry That's Perfect for Weeknight Dinners
Ingredients
Equipment
Method
- In a large pot, heat 2 tablespoons of vegetable oil over medium heat for about 1 minute. Once the oil shimmers, add 1 chopped onion and sauté for approximately 5 minutes until it becomes translucent.
- Stir in 2 minced garlic cloves and 1 tablespoon of grated fresh ginger. Cook for an additional 2 minutes, allowing the mixture to become fragrant.
- Add 2 tablespoons of red curry paste to the pot and stir well, cooking for another minute until the paste darkens slightly.
- Pour in 1 can (14 ounces) of coconut milk along with 1 cup of vegetable broth. Gently mix everything together and bring to a gentle simmer.
- Carefully add about 4 cups of diced pumpkin to the pot. Increase heat to high and bring to a boil. Once boiling, reduce heat and simmer for about 10 minutes until tender.
- Incorporate 1 sliced red bell pepper and 1 cup of sugar snap peas into the pot. Stir well and cook for an additional 5-7 minutes.
- Stir in 2 tablespoons of soy sauce, 1 tablespoon of brown sugar, and the juice of 1 lime. Taste and adjust seasoning as necessary.
- Remove the pot from heat and garnish your Pumpkin Thai Curry with freshly chopped cilantro. Serve hot over jasmine rice.
")