")
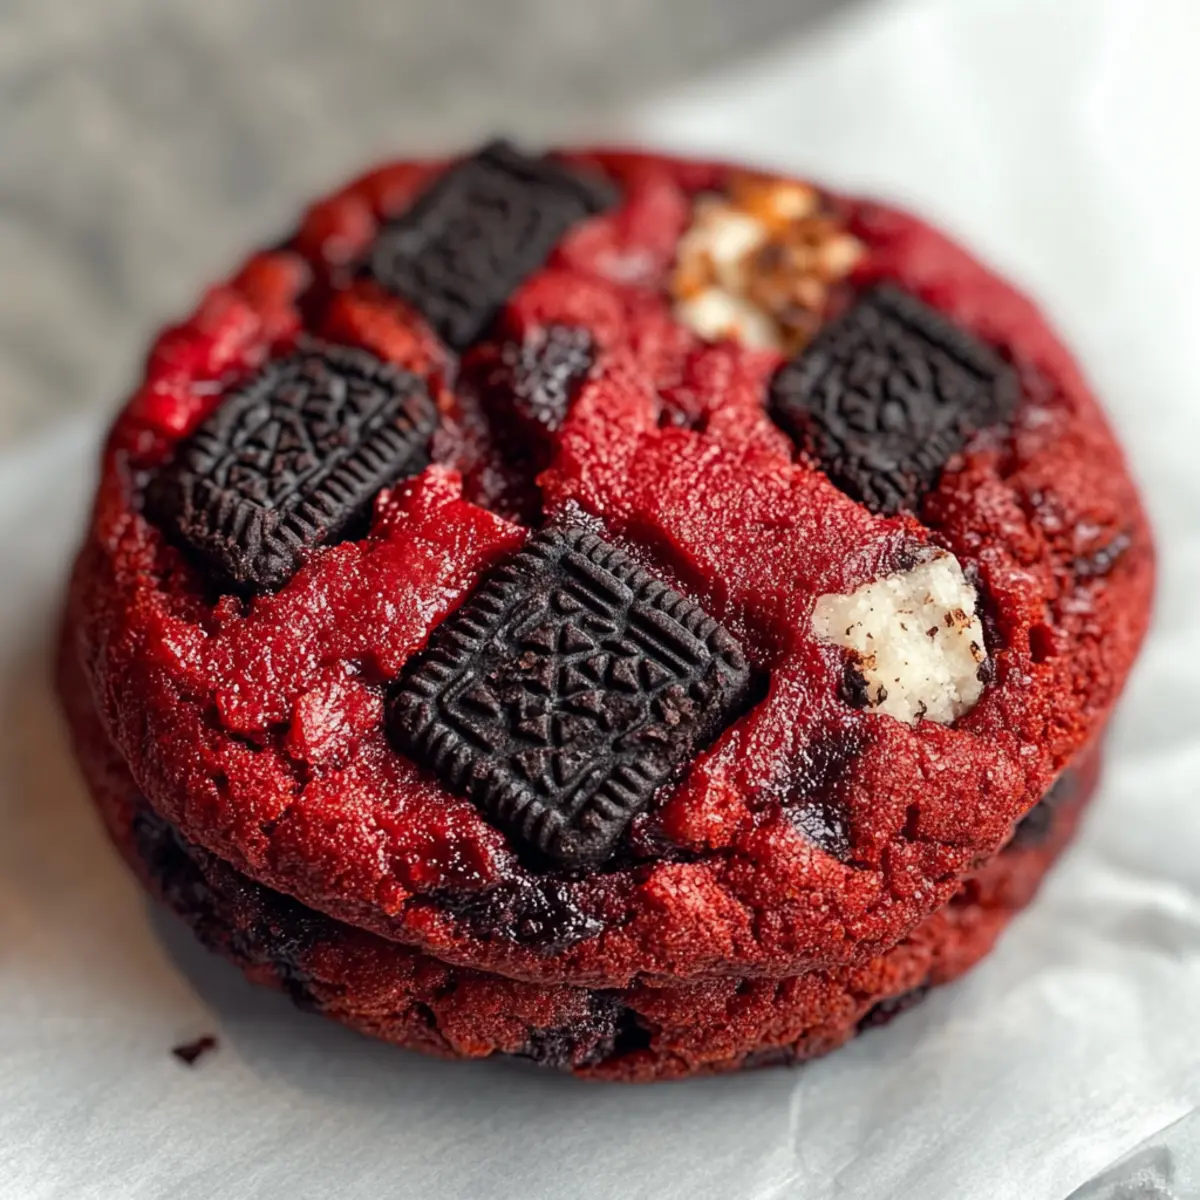
As I savored the last bite of a rich red velvet cupcake at a local bakery, an idea struck me like a spark—why not marry that classic flavor with everyone’s favorite cookie? Enter the Homemade Red Velvet Oreo Cookies, where moist, chewy goodness meets the satisfying crunch of crushed Oreos. This delightful treat isn’t just a feast for the eyes with its vibrant hue; it’s a celebration of textures and tastes that will surely win over any crowd. The best part? These cookies come together quickly, making them a perfect choice for last-minute gatherings or a sweet surprise for loved ones. Whether you’re an Oreo devotee or simply looking to elevate your dessert game, these cookies are bound to become a new favorite. Ready to bake some magic in your kitchen? Let’s dive into this scrumptious recipe!
Why Will You Love These Cookies?
Irresistible Flavor Fusion: Combining red velvet’s deep cocoa notes with crunchy Oreos creates a taste sensation!
Easy to Make: This recipe simplifies baking, perfect for anyone, from novice cooks to experienced chefs.
Ideal for Any Occasion: Whether it’s a party or a cozy night in, these cookies impress every time.
Visually Stunning: The striking red color adds a festive touch, making them a showstopper on any dessert table.
Flexible Variations: Swap in nuts or white chocolate chips for a personal twist—no one will mind!
Timeless Appeal: A delightful treat that caters to all ages; it’s a guaranteed crowd-pleaser! Don’t forget to check out our Chocolate Chips Cookies for more delicious ideas.
Red Velvet Oreo Cookies Ingredients
For the Cookie Dough
• All-Purpose Flour – Essential for structure; can be substituted with a gluten-free blend if needed.
• Dutch-Processed Cocoa Powder – Adds rich flavor depth; natural cocoa can be used as a substitute but may alter the cookie’s color.
• Cornstarch – Ensures a soft and chewy texture; no direct substitute is recommended.
• Baking Soda – Crucial for cookie rise; avoid using baking powder instead.
• Kosher Salt – Enhances flavor and balances sweetness; feel free to use regular salt in controlled amounts.
• Unsalted Butter – Provides richness and moisture; use unsalted for better salt control, or substitute with margarine or vegan butter.
• Light Brown Sugar – Adds moisture; can substitute with granulated sugar, though it may affect chewiness.
• Granulated Sugar – Sweetens and structures the cookies; both regular and organic sugars work well.
• Large Eggs – Important for binding the ingredients; can substitute with aquafaba for a vegan version.
• Vanilla Extract – Brings aromatic flavor; use pure extract for the best taste.
• Red Gel Food Coloring – Provides vibrant color; avoid liquid food coloring as it can change the cookie’s consistency.
For the Mix-Ins
• Semisweet Chocolate Chips – Adds a delightful richness; can be swapped with white chocolate chips for a different twist.
• Oreos (whole and crushed) – Essential for texture and a burst of flavor; use gluten-free Oreos if necessary.
Now that you have all the Red Velvet Oreo Cookies ingredients at your fingertips, it’s time to unleash your inner baker!
Step‑by‑Step Instructions for Red Velvet Oreo Cookies
Step 1: Melt the Butter
Begin by melting your unsalted butter in a microwave-safe bowl for about 30 seconds until completely liquid. Allow the melted butter to cool slightly, which should take about 5 minutes. This step is crucial to ensure that when mixed with the eggs later, they don’t scramble. You’re aiming for a warm but not hot temperature.
Step 2: Crush the Oreos
While the butter cools, take about 10 Oreos and crush them into fine bits and larger pieces using a food processor or a sealable bag and rolling pin. Separate them into two bowls, ensuring you have both finely crushed and chunkier pieces to create a delightful texture. These crushed Oreos are the star mix-in for your Red Velvet Oreo Cookies.
Step 3: Sift the Dry Ingredients
In a large mixing bowl, sift together 2 cups of all-purpose flour, 1/4 cup of Dutch-processed cocoa powder, 2 tablespoons of cornstarch, 1 teaspoon of baking soda, and 1/2 teaspoon of kosher salt. Sifting these dry ingredients ensures a light and fluffy cookie dough. Set aside the bowl once everything is well combined, allowing you to easily incorporate them later.
Step 4: Cream the Sugars and Butter
In a separate mixing bowl, combine the cooled melted butter with 1 cup of light brown sugar and 1/2 cup of granulated sugar. Using an electric mixer, beat them together on medium speed for about 2 minutes until the mixture is light, fluffy, and well-aerated. This step enhances the cookies’ sweetness and helps achieve a delightful texture.
Step 5: Add the Eggs and Flavorings
Now, add 2 large eggs to the sugar-butter mixture, mixing one at a time until fully incorporated. Follow by adding 1 tablespoon of pure vanilla extract and the desired amount of red gel food coloring, approximately one tablespoon, mixing thoroughly until you achieve a vibrant red hue. This vibrant color will give the Red Velvet Oreo Cookies their signature look.
Step 6: Combine Wet and Dry Ingredients
Gradually blend the sifted dry ingredients into the wet mixture using a spatula or wooden spoon. Mix until just combined; the dough should be slightly sticky and soft, but be careful not to overmix as it can affect the cookie’s tenderness. This is where the cookie dough develops its rich red velvet flavor.
Step 7: Fold in Chocolate Chips and Oreos
Gently fold in the previously crushed Oreo pieces and 1 cup of semisweet chocolate chips by hand, ensuring an even distribution throughout the dough. The mix of crunchy Oreos and chocolate will create an irresistible flavor contrast in the Red Velvet Oreo Cookies. This is a fun step to bring all your ingredients together!
Step 8: Chill the Dough
Once combined, cover the dough with plastic wrap or place it in an airtight container and refrigerate for at least 3 hours. This chilling step is vital, as it helps the cookie dough firm up, ensuring your cookies maintain their shape during baking. The wait will be worth it for these decadent cookies!
Step 9: Prepare for Baking
Preheat your oven to 350°F (175°C) while the dough chills. Line baking sheets with parchment paper to prevent sticking and make cleanup easier. This way, you’ll be ready to scoop the cookies as soon as the dough has chilled sufficiently. The oven’s warmth will soon transform these vibrant dough balls into delicious cookies!
Step 10: Shape and Chill Again
After chilling, take the dough out and scoop approximately 1.5 tablespoons of dough for each cookie. Roll them into balls and place them onto the prepared baking sheets with enough space in between. Chill the formed balls in the refrigerator for an additional 10-15 minutes before baking; this helps them retain their shape.
Step 11: Bake the Cookies
Bake the cookies in your preheated oven for 12-14 minutes, or until the edges appear set and slightly crispy but the centers feel soft. For softer cookies, aim for the lower end of the time range. You’ll know they’re ready when they look vibrant and have a rich chocolate aroma wafting through your kitchen.
Step 12: Cool and Serve
After baking, allow them to cool on the baking sheet for about 5 minutes, then transfer them to a wire rack to cool completely. This cooling step will let the cookies firm up and perfect their chewy texture. Once cooled, your Red Velvet Oreo Cookies are ready to be enjoyed, whether warm or at room temperature!
How to Store and Freeze Red Velvet Oreo Cookies
Room Temperature: Keep the cookies in an airtight container at room temperature for up to 3 days to maintain their freshness and chewy texture.
Fridge: If you prefer a longer shelf life, store the cookies in the refrigerator for up to 5 days; simply let them come to room temperature before enjoying.
Freezer: For longer storage, freeze the cookies for up to 2 months. Place them in a freezer-safe bag or container to prevent freezer burn.
Dough Storage: Freeze the dough balls for up to 2 months, making it easy to bake fresh Red Velvet Oreo Cookies whenever the craving strikes! Just thaw them before baking.
Make Ahead Options
These Homemade Red Velvet Oreo Cookies are perfect for busy home cooks looking to save time while still enjoying a delightful treat! You can prepare the cookie dough up to 24 hours in advance by following the initial steps and chilling it in the refrigerator. When ready to bake, simply scoop and roll the chilled dough into balls and chill them for an additional 10-15 minutes to ensure they maintain their shape. Additionally, if you want even more convenience, you can freeze the dough balls for up to 2 months, allowing for fresh-baked cookies anytime. Make sure to store the dough in an airtight container to preserve their quality, so they remain just as delicious when baked!
Expert Tips for Red Velvet Oreo Cookies
-
Cool the Butter: Allow melted butter to cool slightly before mixing with eggs; this prevents scrambling and ensures a smooth batter.
-
Don’t Overmix: When combining dry and wet ingredients, mix until just combined to maintain the soft and chewy texture of your Red Velvet Oreo Cookies.
-
Chill the Dough: Refrigerating the dough for at least 3 hours is crucial for cookies that hold their shape and have the desired texture; don’t skip this step!
-
Variate Mix-Ins: Feel free to add extra chocolate chips or crushed Oreos on top before baking for an extra burst of flavor and beautiful presentation.
-
Monitor Baking Time: Adjust baking time for your desired softness; less time yields softer cookies, while a few extra minutes creates a crisper edge.
What to Serve with Homemade Red Velvet Oreo Cookies
Delight in a beautifully balanced meal that will elevate your cookie experience and tantalize your tastebuds.
- Chilled Milk: The classic pairing with cookies, especially for those rich in chocolate. Milk perfectly offsets sweetness!
- Vanilla Ice Cream: A scoop nestled alongside the still-warm cookies creates a blissful contrast of creamy and chewy textures.
- Fresh Raspberries: Their tartness cuts through the sweetness, adding a fresh, vibrant flavor that beautifully complements the cookies.
- Chocolate Milkshake: Indulge your sweet tooth further with a creamy shake that echoes the rich flavors of the cookies.
- Caramel Sauce: Drizzle this sweet, buttery sauce over warm cookies to add an extra touch of decadence.
- Coffee: A rich, bold cup of coffee enhances the cocoa notes, creating a sophisticated balance that coffee lovers will adore.
- Whipped Cream: A fluffy dollop perched on top of the cookies adds a light, airy element that enhances their indulgence.
- Cheesecake: Slice up a creamy cheesecake for a sumptuous dessert experience that pairs beautifully with each buttery bite.
- Fruit Salad: A refreshing medley of seasonal fruits offers a palate-cleansing contrast, providing a light and healthy finish.
Red Velvet Oreo Cookies Variations
Feel free to get creative and personalize your Red Velvet Oreo Cookies with these exciting twists!
-
Natural Color:
Swap red food coloring for natural beet powder to keep things colorful without synthetic ingredients. -
Nutty Delight:
Incorporate chopped walnuts or pecans for a lovely crunch, adding a new depth of flavor to each bite. -
White Chocolate Twist:
Replace semisweet chocolate chips with white chocolate chips to create a sweeter, creamier cookie experience. -
Dairy-Free Option:
Use a vegan butter alternative and aquafaba instead of eggs for a delicious dairy-free treat that everyone can enjoy. -
Minty Fresh:
Add a few drops of peppermint extract for a refreshing twist—a perfect pairing with the rich cocoa and Oreos. -
Spicy Kick:
Include a pinch of cayenne pepper or cinnamon for an unexpected warmth that harmonizes beautifully with the cookie’s sweetness. -
Chewy Texture:
Incorporate shredded coconut for a chewy texture that enhances the cookie experience. It brings a delightful tropical element! -
Chocolate Drizzle:
After cooling, drizzle melted chocolate over the cookies for an elegant presentation and an extra burst of chocolate flavor.
When you’re ready to serve, don’t forget to pair your cookies with a glass of milk or try making fun treats like our Millies Cookies that complement any occasion!

Red Velvet Oreo Cookies Recipe FAQs
What ingredients should I use for the best flavor and texture?
For the best results, use Dutch-processed cocoa powder for rich flavor and vibrant red color. Unsalted butter is preferred to control salt levels, and ensure your eggs are at room temperature for better mixing. Don’t forget, quality Oreos are essential—using gluten-free Oreos is a great option if you’re catering to specific dietary needs!
How do I store leftover cookies, and how long will they last?
Store your cookies in an airtight container at room temperature for up to 3 days. If you prefer to keep them fresher longer, you can refrigerate them for up to 5 days. Just let them come back to room temperature before indulging again to enjoy that soft, chewy goodness!
Can I freeze the cookie dough?
Absolutely! To freeze the dough, scoop out individual cookie balls and place them on a baking sheet lined with parchment paper. Freeze them for about 1 hour until solid, then transfer to a freezer-safe bag or container. This way, you can bake fresh Red Velvet Oreo Cookies anytime within 2 months—just bake them directly from frozen, adding a couple of extra minutes to the baking time.
What should I do if my cookies spread too much while baking?
If your cookies spread too much, it could be due to the dough being too warm when placed in the oven. To fix this, ensure you chill the dough for at least 3 hours or even longer for optimal results. Additionally, check that your baking sheets are cool before placing the dough on them to prevent premature spreading.
Are these cookies safe for people with allergies?
These Red Velvet Oreo Cookies contain several common allergens, including eggs, wheat, and dairy. However, you can easily modify the recipe for specific dietary concerns: use aquafaba instead of eggs for a vegan option and gluten-free flour and Oreos to cater to gluten sensitivities. Always check labels for any hidden allergens if you’re serving guests with dietary restrictions.
Can these cookies be made in advance for a gathering?
Certainly! You can prepare the dough a day before your event and store it in the fridge. This not only allows the flavors to meld beautifully, but you can also bake them fresh right before serving. They’ll surely be a hit at your dessert table!
Red Velvet Oreo Cookies That Will Wow Your Dessert Table
Ingredients
Equipment
Method
- Melt the butter in a microwave-safe bowl for about 30 seconds until completely liquid, then let cool for about 5 minutes.
- Crush about 10 Oreos into fine bits and larger pieces, separating them into two bowls.
- Sift together the flour, cocoa powder, cornstarch, baking soda, and kosher salt in a large mixing bowl.
- In a separate bowl, cream the melted butter with light brown sugar and granulated sugar for about 2 minutes.
- Add eggs one at a time, then add vanilla extract and red gel food coloring; mix thoroughly.
- Gradually combine the dry ingredients with the wet ingredients until just mixed.
- Fold in the crushed Oreo pieces and chocolate chips.
- Chill the dough in the refrigerator for at least 3 hours.
- Preheat your oven to 350°F (175°C) and prepare baking sheets with parchment paper.
- Scoop about 1.5 tablespoons of dough per cookie and chill again for 10-15 minutes.
- Bake the cookies for 12-14 minutes until the edges appear set.
- Let the cookies cool on the baking sheet for 5 minutes and transfer to a wire rack to cool completely.
")