")
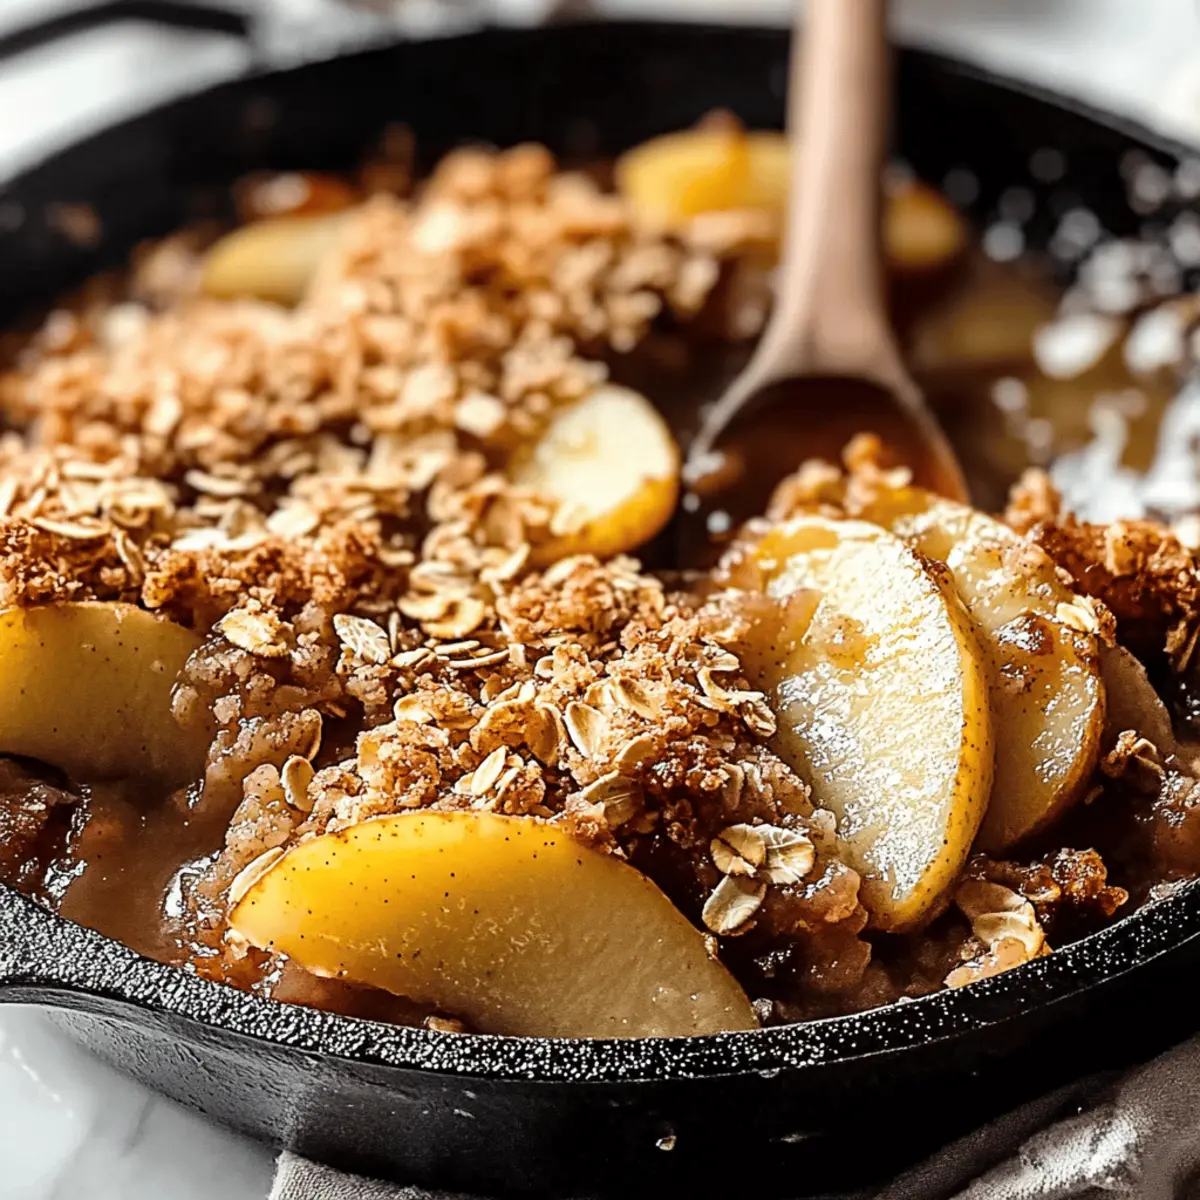
There’s something truly magical about the wafting scent of warm, caramelized fruit filling the kitchen, and with the Easy Skillet Pear Crisp, that moment is just a few steps away. This delightful dessert not only showcases tender pears beneath a crunchy oat topping but offers a quick and simple preparation that will have you skipping the takeout menu in no time. Whether you’re seeking a cozy weeknight treat or a show-stopping finale for your next gathering, this recipe is your answer. Plus, it’s incredibly adaptable—create your own version with gluten-free tweaks or swap in whatever fruit you have on hand. Are you ready to elevate your dessert game and embrace the warmth of this comforting crisp?
Why is Skillet Pear Crisp a must-try?
Warm, Comforting Aroma: The moment you start cooking, the delightful scent of caramelized pears fills your kitchen, inviting family and friends to gather around.
Quick to Prepare: In just 30 minutes, you can have this irresistible dessert ready, making it perfect for busy weeknights or spontaneous gatherings.
Customizable Goodness: Use whatever fruit is in season or adapt the recipe to be gluten-free with minimal effort, ensuring everyone can enjoy it. You might also like to check out my Broccoli Parmesan Cheesy for another family-friendly option!
Texture Perfection: Each bite offers a satisfying contrast between the soft, sweet pears and the crunchy oat topping, making it a crowd-pleaser that will leave them wanting more.
Serve It Your Way: Enjoy it warm with a scoop of vanilla ice cream or try it with whipped cream for a delightful twist!
Skillet Pear Crisp Ingredients
For the Filling
- Pears – The star of this dessert, choose Bartlett or Bosc for their sweetness and perfect texture when baked.
- Brown Sugar – Enhances the caramelization process; swap for coconut sugar if you’re looking for a lower glycemic choice.
- Cinnamon – Adds warmth and flavor; feel free to sprinkle extra if you love a spiced sweetness!
- Nutmeg – A pinch can elevate the taste; it’s optional but highly recommended for a cozy twist.
- Salt – Just a dash balances the sweetness and heightens flavors.
For the Topping
- Oats – Offers that perfect crunch; opt for gluten-free oats to make this a gluten-free Skillet Pear Crisp.
- All-Purpose Flour – Provides structure; almond or coconut flour works great as a gluten-free substitute.
- Butter – Adds richness and helps the topping crisp up beautifully; replace with coconut oil for a dairy-free option.
- Additional Flavorings (optional) – Consider mixing in nuts or coconut flakes for extra texture and depth in the topping.
Step‑by‑Step Instructions for Skillet Pear Crisp
Step 1: Prep the Pears
Begin by washing and slicing the pears into thin wedges, ensuring uniformity for even cooking. In a large bowl, toss the sliced pears with half of the brown sugar, a sprinkle of cinnamon, and a dash of nutmeg. Allow this mixture to sit for about 10 minutes while you prepare the skillet, letting the natural juices begin to form.
Step 2: Cook the Pears
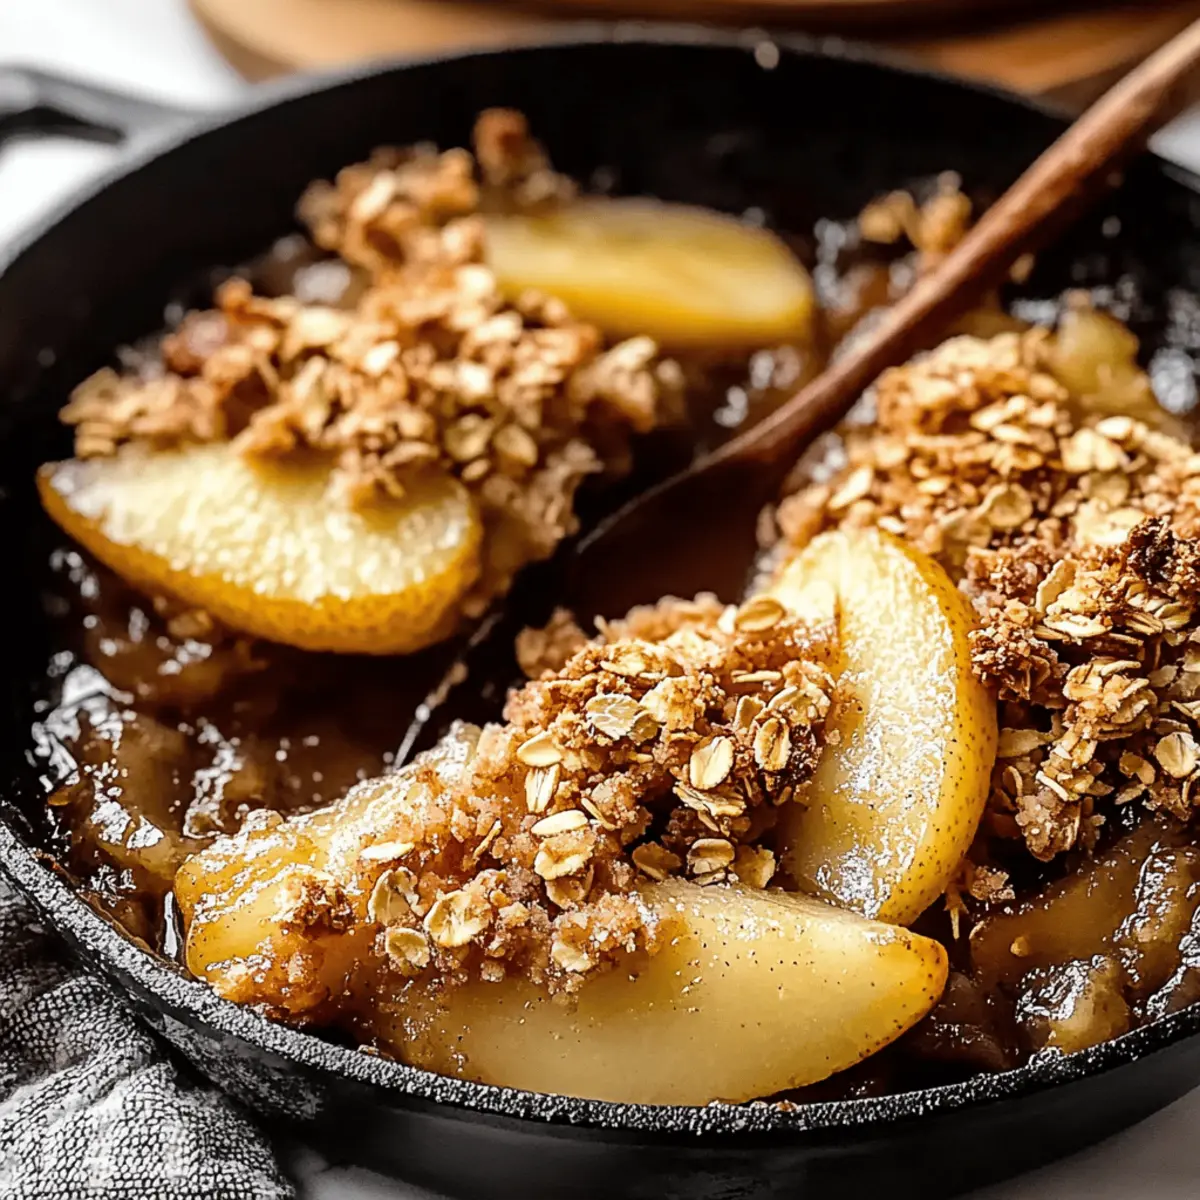
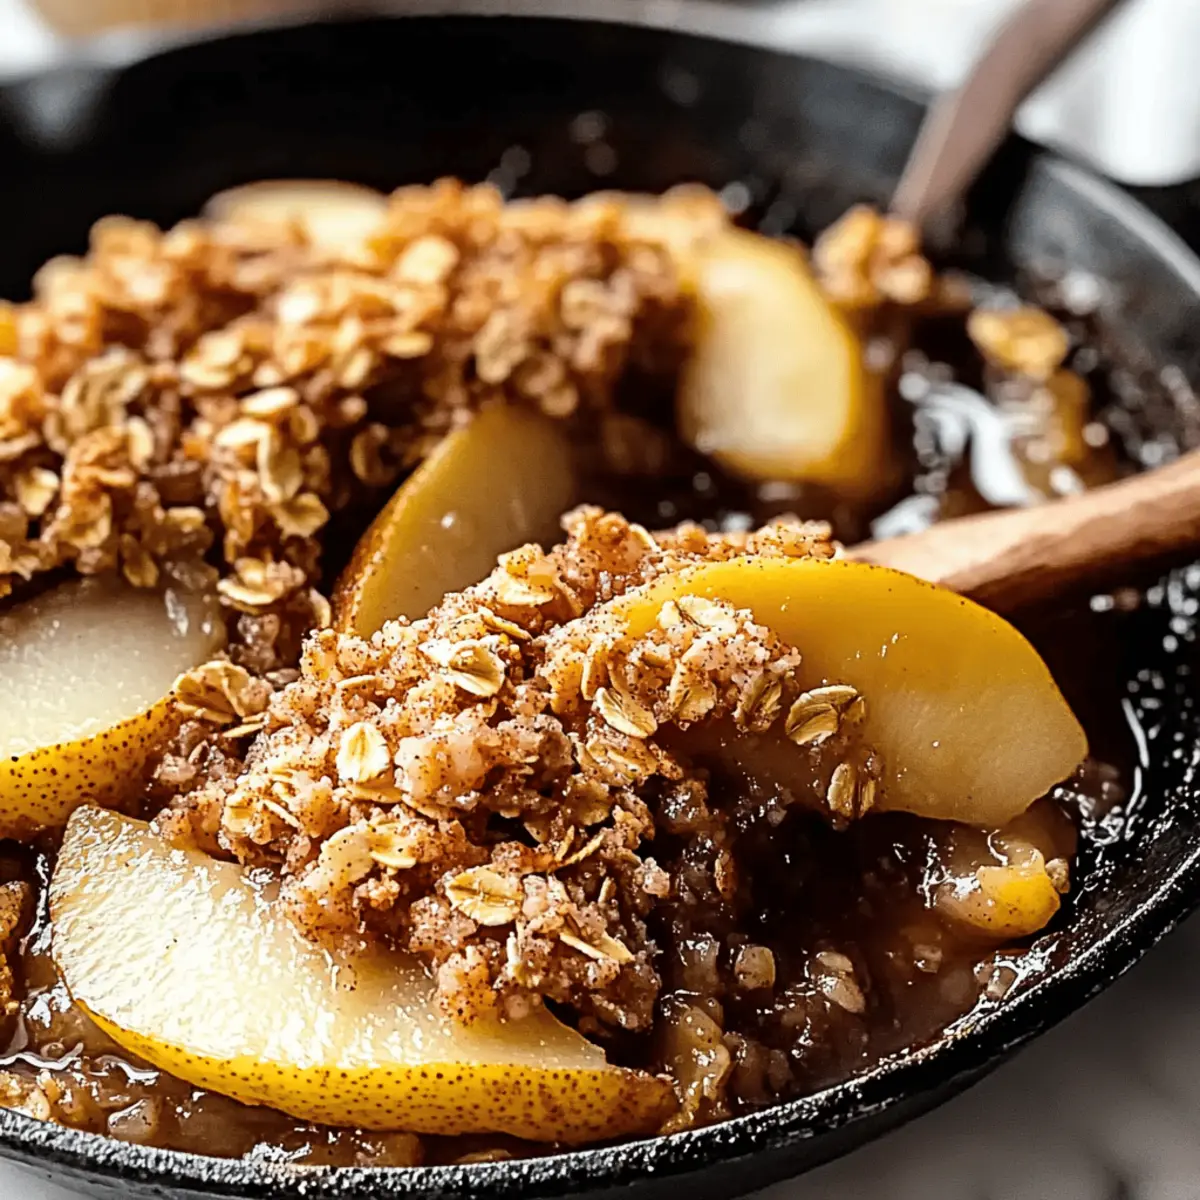
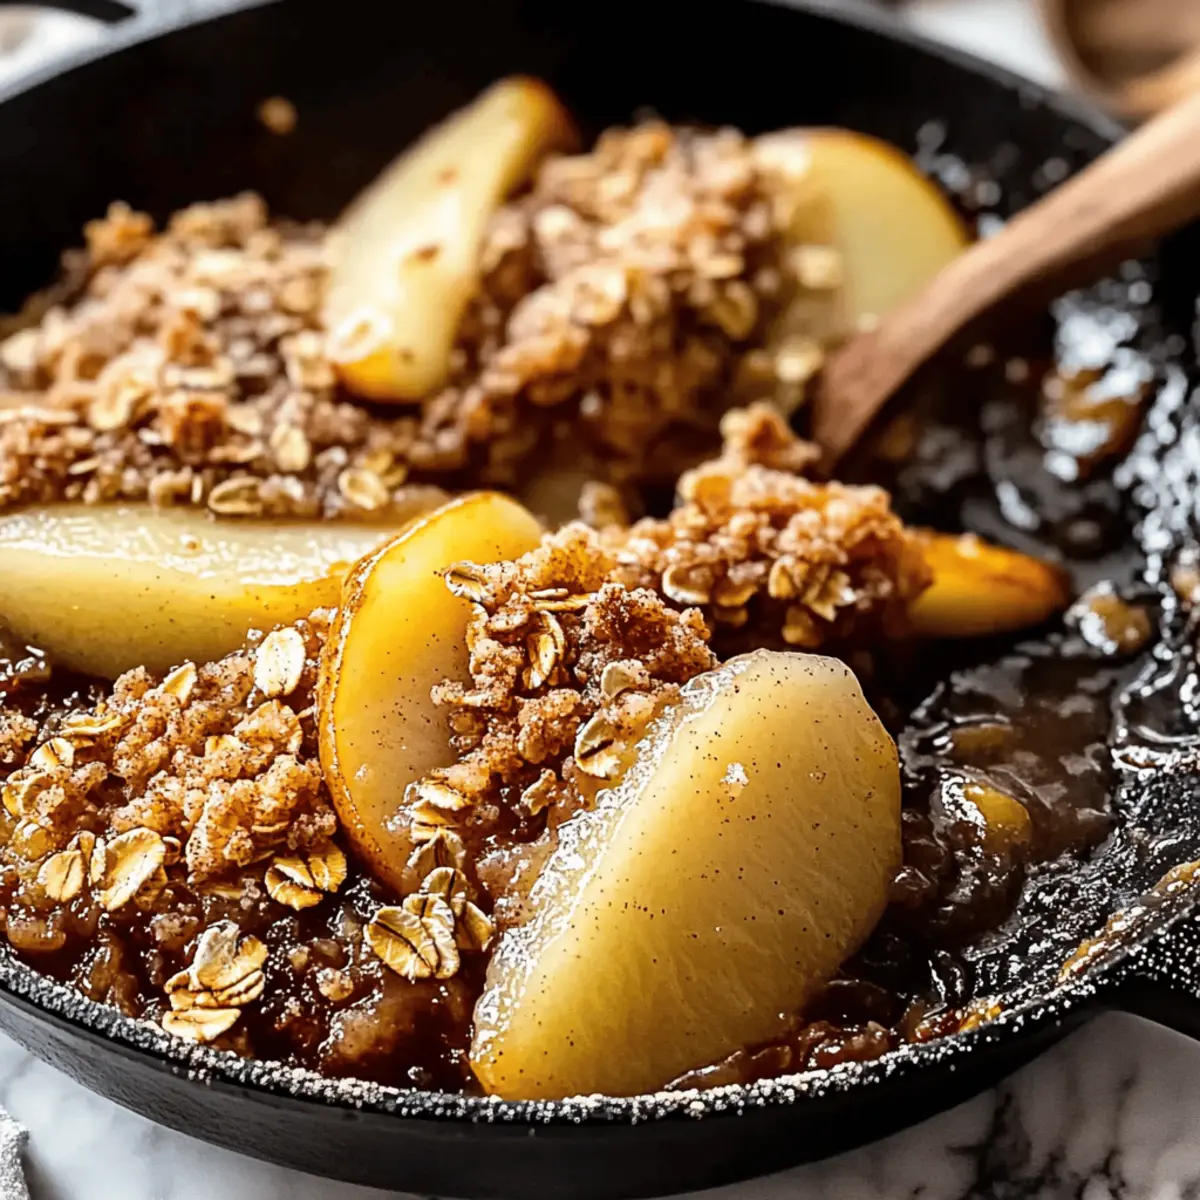
In a large, oven-safe skillet, melt 2 tablespoons of butter over medium heat. Once the butter is bubbling, add the prepared pear mixture. Cook for about 5-7 minutes, stirring occasionally, until the pears are tender and begin to caramelize, showcasing a golden color and a fragrant aroma that fills your kitchen.
Step 3: Combine the Topping
While the pears are cooking, prepare the crunchy topping. In a separate bowl, combine the oats, the remaining brown sugar, all-purpose flour, and a pinch of salt. Mix thoroughly to ensure that the oats and flour are evenly distributed, creating a well-balanced texture for your Skillet Pear Crisp.
Step 4: Add the Topping
Once the pears are perfectly tender, evenly sprinkle the oat mixture over the caramelized pears in the skillet. Gently press down the topping with a spatula to ensure it adheres to the fruit below. The goal is a delightful contrast between the soft pears and the crunchy topping.
Step 5: Bake the Crisp
Preheat your oven to 350°F (175°C). Carefully transfer the skillet to the preheated oven and bake for 25-30 minutes. Keep an eye on the topping; it should turn a lovely golden brown and crisp up beautifully. You’ll know it’s ready when the aromas of baked oats fill your home.
Step 6: Cool & Serve
Once baked to perfection, remove the skillet from the oven, and let the Skillet Pear Crisp cool for about 5-10 minutes. This resting period allows the juices to settle. Serve warm on its own or elevate it with a scoop of vanilla ice cream or a dollop of whipped cream for a delightful finish.
Skillet Pear Crisp Variations & Substitutions
Customize your Skillet Pear Crisp to suit your taste buds and dietary needs!
- Fruit Swaps: Substitute pears with apples, peaches, or mixed berries for a delightful twist. Each fruit offers its unique sweetness and flavor profile. Explore and see what becomes your new favorite!
- Gluten-Free: Use gluten-free oats and almond or coconut flour to create a delicious gluten-free Skillet Pear Crisp. Everyone deserves to enjoy this dessert without worry!
- Nutty Twist: Add chopped walnuts or pecans into the topping for extra crunch and flavor. It transforms the texture into something nutty and delightful, enhancing each bite.
- Tropical Vibes: Mix in diced pineapple or mango along with the pears for a tropical touch. The sweetness of these fruits brings a refreshing twist to this classic dish.
- Boozy Delight: Incorporate a splash of bourbon or whiskey into the pear mixture for an adult version that adds depth and richness to the flavor. It’s a fun way to elevate your dessert experience!
- Coconut Flakes: Stir in unsweetened coconut flakes into the topping for a tropical crunch. The coconut enhances the flavor while adding a chewy texture. You might love how it complements the caramelized pears.
- Spice it Up: Add a pinch of ginger or allspice to the filling for an extra flavor boost. These spices create a warm hug in every bite, enriching the overall taste profile.
- Sugar Substitutes: If you’re looking to cut down on sugar, feel free to use honey or maple syrup instead of brown sugar. Just adjust according to your sweetness preference and enjoy a lighter version!
For more delightful ideas, check out my Broccoli Parmesan Cheesy. With endless possibilities, let your creativity shine in the kitchen!
Make Ahead Options
These Easy Skillet Pear Crisp are perfect for meal prep enthusiasts looking to save time during busy weeknights! You can slice and prepare the pears (tossed with sugar and spices) up to 24 hours in advance, simply store them covered in the refrigerator to prevent browning. The topping can also be mixed ahead of time and stored separately; just keep it airtight for the best texture. When you’re ready to indulge, combine the prepped components in your skillet and bake them as instructed. This way, you’ll enjoy a warm, delightful dessert with minimal effort, just as delicious as if you made it all in one go!
Storage Tips for Skillet Pear Crisp
Fridge: Store any leftovers in an airtight container for up to 3-4 days. Reheat in the oven at 350°F (175°C) to restore the topping’s crispness.
Freezer: The Skillet Pear Crisp can be frozen in an airtight container for up to three months. Thaw overnight in the fridge before reheating.
Wrapping: For best results, cover the dish tightly with plastic wrap before freezing to prevent freezer burn.
Make-Ahead: Prepare the pear filling in advance and store in the fridge. Simply add the topping and bake for a fresh dessert experience when ready to serve.
What to Serve with Easy Skillet Pear Crisp?
The warm scent of caramelized pears might just be the beginning of your delightful culinary adventure, as this dessert offers the perfect chance to elevate your meal.
-
Vanilla Ice Cream: A scoop of creamy vanilla ice cream brings a harmonious contrast to the warm crisp, making each bite irresistible.
-
Whipped Cream: Light and airy whipped cream adds a luxurious touch; it’s the perfect companion for the crunchy oat topping.
-
Greek Yogurt: A dollop of tangy Greek yogurt offers a refreshing twist that balances the sweetness, enriching the experience.
-
Chai Tea Latte: The warm spices in a chai tea latte enhance the cozy vibes, making it a comforting drink to sip alongside.
-
Candied Nuts: Sprinkling candied walnuts or pecans over the top adds a delightful crunch and enriches the flavor profile—a mini flavor explosion!
-
Cheddar Cheese Slices: For the adventurous palate, pairing a mild cheddar cheese with your dessert creates an intriguing sweet-savory contrast.
-
Caramel Drizzle: Adding a drizzle of caramel sauce elevates the dessert, introducing an extra layer of sweetness that intertwines beautifully with the pears.
-
Coffee or Espresso: A warm cup of coffee or espresso balances the sweetness, providing a rich and robust drink that complements the crisp beautifully.
-
Fruit Salad: A chilled fruit salad, perhaps featuring citrus and berries, adds brightness and a refreshing note to round out the meal.
With these pairings, you can craft a memorable dining experience that embraces the comforting essence of your Easy Skillet Pear Crisp!
Expert Tips for Skillet Pear Crisp
-
Choose Ripe Pears: Using perfectly ripe pears is crucial for natural sweetness and texture. Avoid overripe or hard pears to ensure a delightful dessert.
-
Make-Ahead Option: Prepare the pear filling and store it in the fridge a day in advance. Simply add the topping and bake when you’re ready to serve your Skillet Pear Crisp.
-
Watch the Topping: Keep an eye on the crisp as it bakes. If the topping is browning too quickly, loosely cover it with aluminum foil to prevent burning while the pears finish cooking.
-
Use Gluten-Free Substitutes: For a delicious gluten-free Skillet Pear Crisp, swap the all-purpose flour for almond or coconut flour and choose certified gluten-free oats.
-
Add Variety: Feel free to mix in other fruits like apples or berries with your pears for a unique twist. This customization elevates the flavors and showcases your creativity!
-
Serve Warm: Enjoy your Skillet Pear Crisp warm from the oven for the best experience, paired with ice cream or whipped cream for a touch of indulgence.
Skillet Pear Crisp Recipe FAQs
How do I select the right pears for this recipe?
Absolutely! Ripe pears are key for a delicious Skillet Pear Crisp. Look for Bartlett or Bosc varieties—they should be slightly soft to the touch but still firm enough to hold their shape while baking. Avoid any that have dark spots all over or feel overly mushy, as these can affect the overall texture of your dish.
What is the best way to store leftover Skillet Pear Crisp?
For best results, store any leftovers in an airtight container in the refrigerator for up to 3-4 days. When reheating, place it in the oven at 350°F (175°C) for about 10 minutes to restore the topping’s delightful crispiness. It’s a great way to enjoy this dessert a second time!
Can I freeze Skillet Pear Crisp?
Certainly! You can freeze the Skillet Pear Crisp in an airtight container for up to three months. To freeze it properly, make sure to cover the dish tightly with plastic wrap before placing it in the freezer to prevent freezer burn. For the best experience, thaw it overnight in the refrigerator before reheating in the oven.
What should I do if the topping is browning too quickly?
If you notice the topping is browning too fast while baking, simply cover it loosely with aluminum foil. This will slow down the browning while allowing the pears to continue cooking. Keep an eye on it, and remove the foil in the last few minutes to get that perfect golden finish.
Are there any dietary considerations for this recipe?
Absolutely! This Skillet Pear Crisp can easily be made gluten-free by swapping regular flour for almond or coconut flour and using certified gluten-free oats. Always double-check labels if you’re cooking for someone with allergies. Additionally, substitutions like coconut oil can be made to cater to dairy-free diets—making it versatile for everyone to enjoy!
Irresistible Skillet Pear Crisp: Your New Favorite Dessert
Ingredients
Equipment
Method
- Wash and slice the pears into thin wedges. Toss with half the brown sugar, cinnamon, and nutmeg. Let sit for 10 minutes.
- Melt butter in a large oven-safe skillet over medium heat, add pears, and cook for 5-7 minutes until tender and caramelized.
- In a separate bowl, combine oats, remaining brown sugar, flour, and salt to create the topping mixture.
- Sprinkle the topping evenly over the caramelized pears and gently press down with a spatula.
- Preheat oven to 350°F (175°C) and bake for 25-30 minutes until golden brown.
- Remove from oven and cool for 5-10 minutes before serving warm, optionally with ice cream or whipped cream.
")


