")
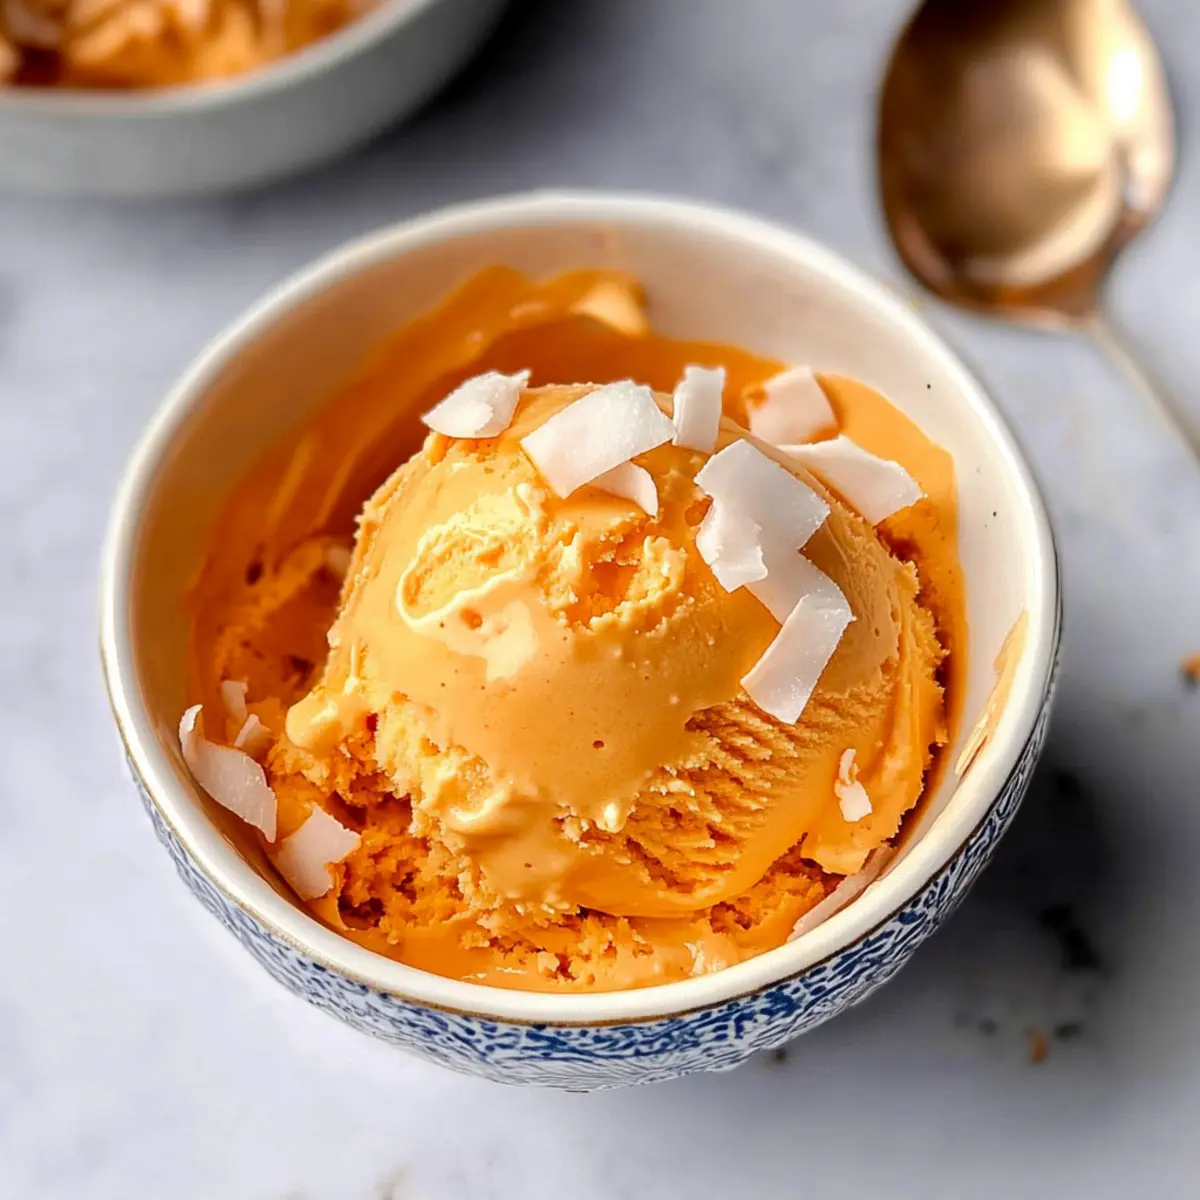
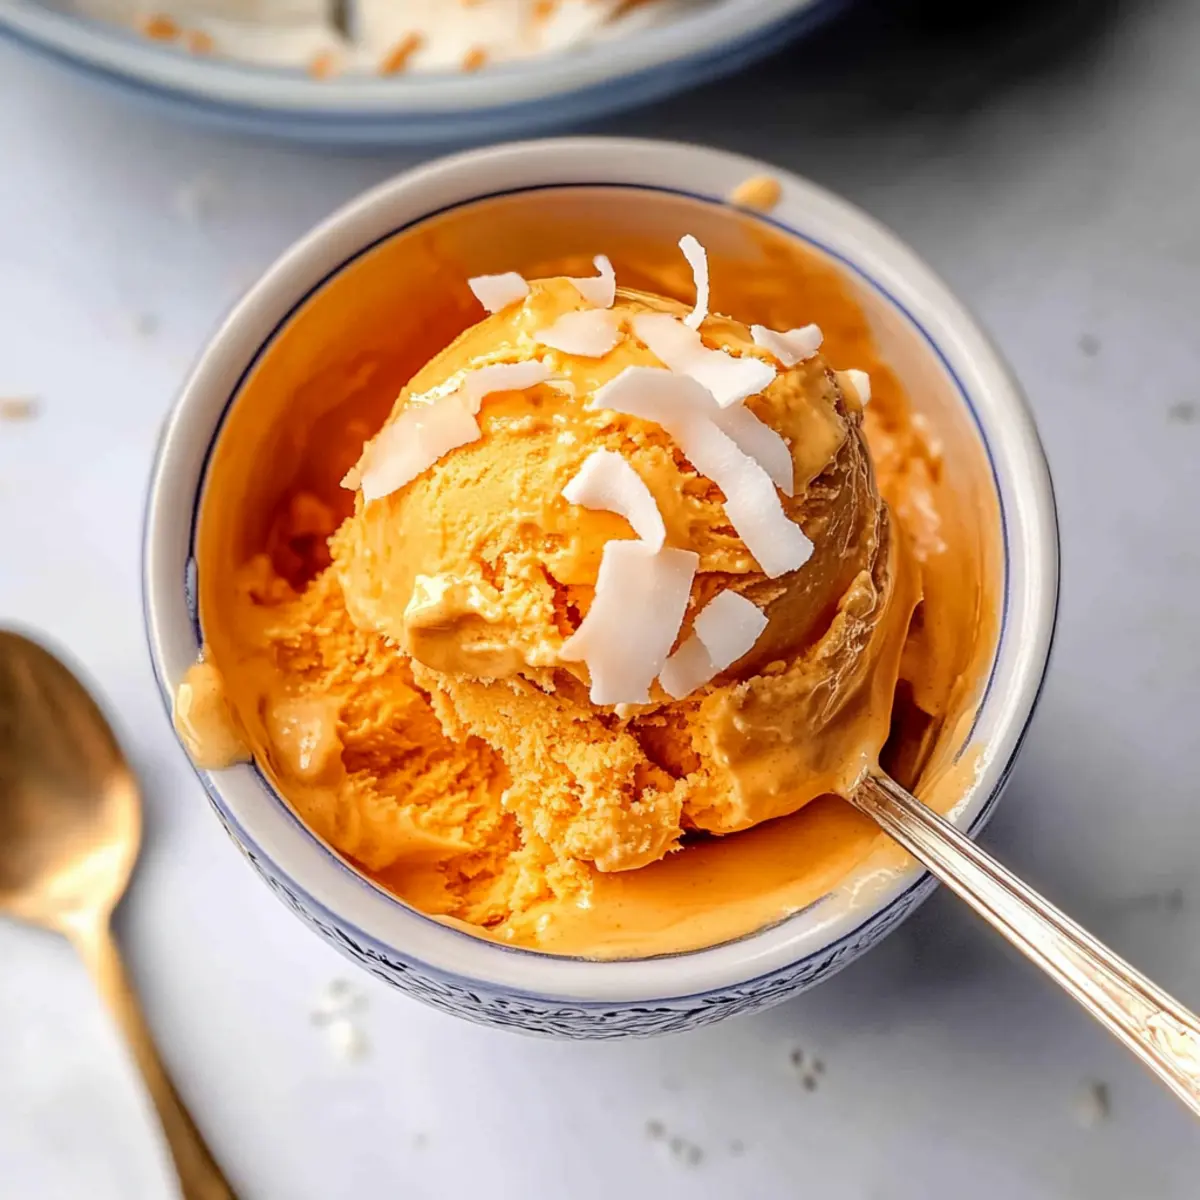
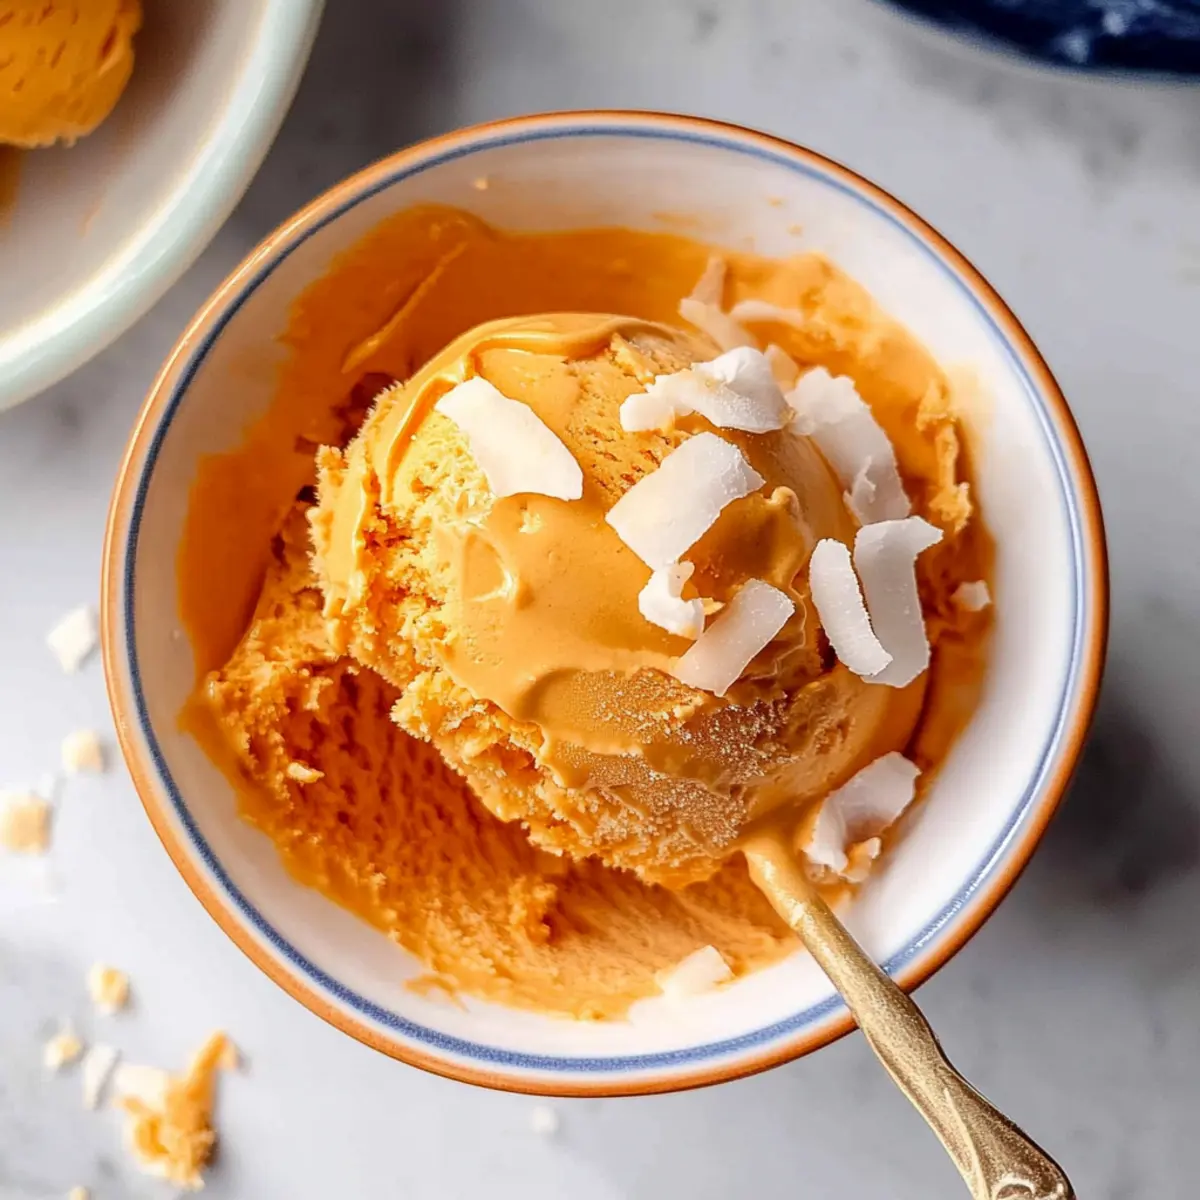
On a sweltering summer afternoon, I found myself missing the vibrant streets of Thailand, where the aroma of Thai tea wafts through the air. That’s when I decided to recreate that cherished flavor in a delightful way—with my No-Churn Thai Tea Ice Cream! This creamy dessert captures the essence of traditional Thai iced tea, transforming it into a luscious frozen treat that’s both easy to make and a total crowd-pleaser. Perfect for those hot days, you won’t even need an ice cream maker to whip this up! With the rich sweetness of condensed milk and its stunning orange hue, this no-bake wonder comes together in no time, making it your go-to dessert. Are you ready to impress your friends and family with this uniquely delicious creation?
Why is Thai Tea Ice Cream a Must-Try?
Irresistible Flavor Fusion: This dessert brilliantly combines the aromatic notes of Thai tea, creating a uniquely sweet and creamy experience.
Zero Churn, Zero Fuss: No ice cream maker required! You’ll have homemade ice cream ready in just a few steps.
Perfect for Summer Gatherings: Impress your friends and family with a stunning dessert that doubles as a conversation starter.
Versatile Treat: Customize to your heart’s content! Add tropical fruits or a chocolate swirl for a delicious twist.
Crowd-Pleasing Delight: With its vibrant color and rich, creamy texture, this No-Churn Thai Tea Ice Cream is sure to win over even the most discerning dessert lovers! Whether paired with fresh mango slices or simply enjoyed on its own, it will become your favorite summer indulgence.
Thai Tea Ice Cream Ingredients
• For the Ice Cream Base
- Thai Tea Mix – This ingredient gives the ice cream its distinctive flavor; look for Pantai brand at Asian markets or online.
- Whole Milk – Provides a creamy base; you can substitute with your preferred dairy or non-dairy milk.
- Heavy Whipping Cream – Essential for richness; remember to use it cold for the best whipping results.
- Sweetened Condensed Milk – A must-have for sweetness and creaminess; do not replace this ingredient.
- Vanilla Extract/Paste – Enhances the flavor; consider using vanilla bean for a deeper taste.
• For Garnish
- Coconut Flakes – Adds a delightful crunch; opt for unsweetened and toasted coconut for maximum flavor.
With these ingredients for your Thai Tea Ice Cream, you’re one step closer to serving up a dazzling summer treat that your friends and family will adore!
Step‑by‑Step Instructions for No-Churn Thai Tea Ice Cream
Step 1: Heat the Base
In a medium saucepan, combine ½ cup of Thai tea mix, ½ cup of whole milk, and ½ cup of heavy whipping cream. Heat the mixture over medium-low heat, stirring gently until it becomes steaming and takes on a vibrant orange hue, about 5-7 minutes. Ensure the blend doesn’t boil, as you want to extract the rich flavors of the tea without scalding the milk.
Step 2: Strain the Tea
Once the mixture is steaming, carefully pour it through a fine mesh sieve or cheesecloth into a large mixing bowl. This step is crucial for removing all tea leaves to achieve a smooth consistency. Take a moment to admire the bright orange liquid as it collects in the bowl, signaling the infusion of flavors for your No-Churn Thai Tea Ice Cream is complete.
Step 3: Mix in Sweetness
To the strained tea-infused liquid, add 14 ounces of sweetened condensed milk along with 1 tablespoon of vanilla extract. Whisk these ingredients until the mixture is perfectly smooth and well combined, creating a luscious base for your ice cream. This sweetened cream will be the heart of your Thai Tea Ice Cream, balancing the strong flavors of the tea.
Step 4: Whip the Cream
Chill a mixing bowl and whisk attachment in the freezer for about 10-15 minutes to ensure a firm whip. Pour in 1½ cups of heavy cream and beat on medium-high speed until stiff peaks form, which should take about 3-5 minutes. The whipped cream is key to achieving the airy texture in your No-Churn Thai Tea Ice Cream, so keep an eye on it to avoid overwhipping.
Step 5: Fold in Whipped Cream
Gently fold the whipped cream into the tea and condensed milk mixture in two to three batches. Use a spatula to scoop from the bottom and fold over, mixing just until no white streaks remain. This light folding technique helps retain the fluffiness of the whipped cream, ensuring your Thai Tea Ice Cream has that delightful creamy texture.
Step 6: Freeze the Mixture
Transfer the combined mixture into a freezer-safe container and cover it tightly with a lid or plastic wrap to prevent ice crystals from forming. Place it in the freezer for at least 6 hours or overnight. The longer it freezes, the firmer and creamier your No-Churn Thai Tea Ice Cream will become, so patience is key!
Step 7: Serve and Garnish
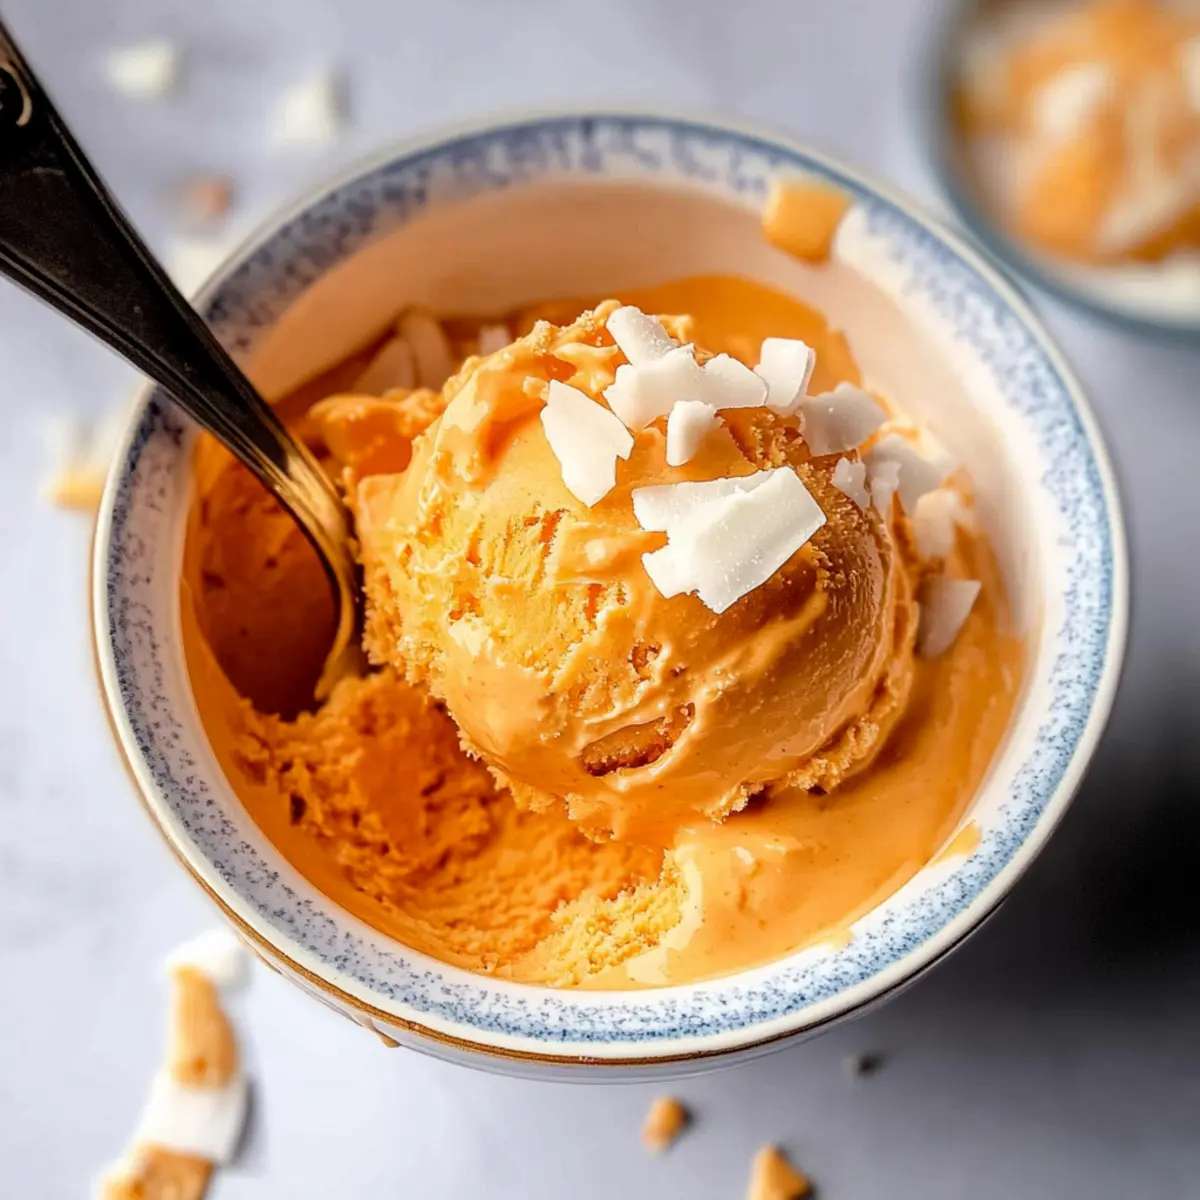
When you’re ready to enjoy your Thai Tea Ice Cream, let it sit at room temperature for 10-15 minutes to soften slightly for easier scooping. Serve generous scoops topped with toasted coconut flakes for added crunch and flavor. This vibrant dessert, reminiscent of classic Thai iced tea, is now ready to delight your family and friends!
What to Serve with No-Churn Thai Tea Ice Cream?
Savoring this creamy indulgence opens up a world of delightful pairings perfect for a warm day!
-
Fresh Mango Slices: The sweet and juicy mango complements the rich flavors of the ice cream, balancing its creaminess with refreshing fruitiness.
-
Toasted Coconut Flakes: These crunchy morsels mimic the flavors in the ice cream while adding extra texture; sprinkle generously on top for a delightful finish.
-
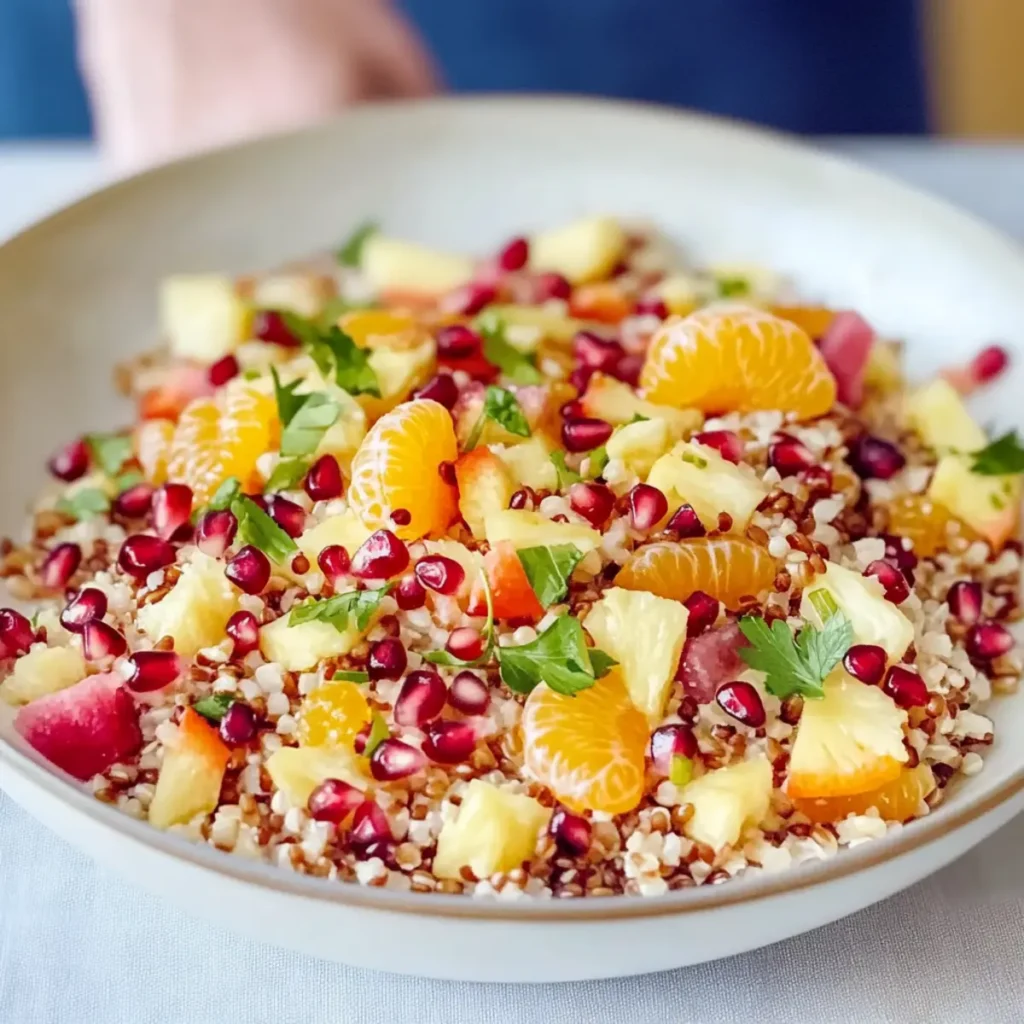
Tropical Fruit Salad: A medley of pineapple, kiwi, and berries adds vibrant color and a burst of flavor, creating a fun contrast to the creamy ice cream.
-
Sweet Thai Spring Rolls: Strawberries wrapped in rice paper and served with a sweet dipping sauce can create an exotic twist, beautifully enhancing the Thai theme.
-
Thai Iced Coffee: Brew a cup of rich Thai iced coffee for a caffeine kick; the bold flavors meld deliciously with the notes of Thai tea in your dessert.
-
Coconut Milkshake: Blend coconut milk with ice for a light, frosty beverage; the freshness perfectly complements the rich profile of the ice cream.
-
Chocolate Dipping Sauce: A drizzle of warm chocolate sauce adds a rich layer of flavor and decadence, making each scoop purely irresistible.
-
Lemon Sorbet: For those preferring a bit of tang, a lemon sorbet serves as a refreshing palate cleanser that contrasts beautifully with the sweetness of the Thai Tea Ice Cream.
Thai Tea Ice Cream Variations
Feel free to get creative with this delicious dessert, exploring flavors and textures that will excite your taste buds!
- Add Fruits: Incorporate fresh mango, lychee, or passion fruit puree to infuse a tropical twist.
- Chocolate Swirl: Drizzle in melted dark chocolate or Nutella before freezing for a rich contrast.
- Dairy-Free Option: Substitute with full-fat coconut milk and whipped coconut cream for a delicious plant-based version.
- Spicy Kick: Add a pinch of ground cinnamon or a dash of cayenne pepper for unexpected warmth.
- Savory Touch: Swirl in a touch of crushed salted peanuts or almonds for an interesting flavor balance.
- Caffeine-Free Delight: Use caffeine-free herbal tea blends to create a similar creamy texture without caffeine.
- Decadent Ice Cream Sandwiches: Serve scoops between two homemade coconut cookies for an enchanting treat.
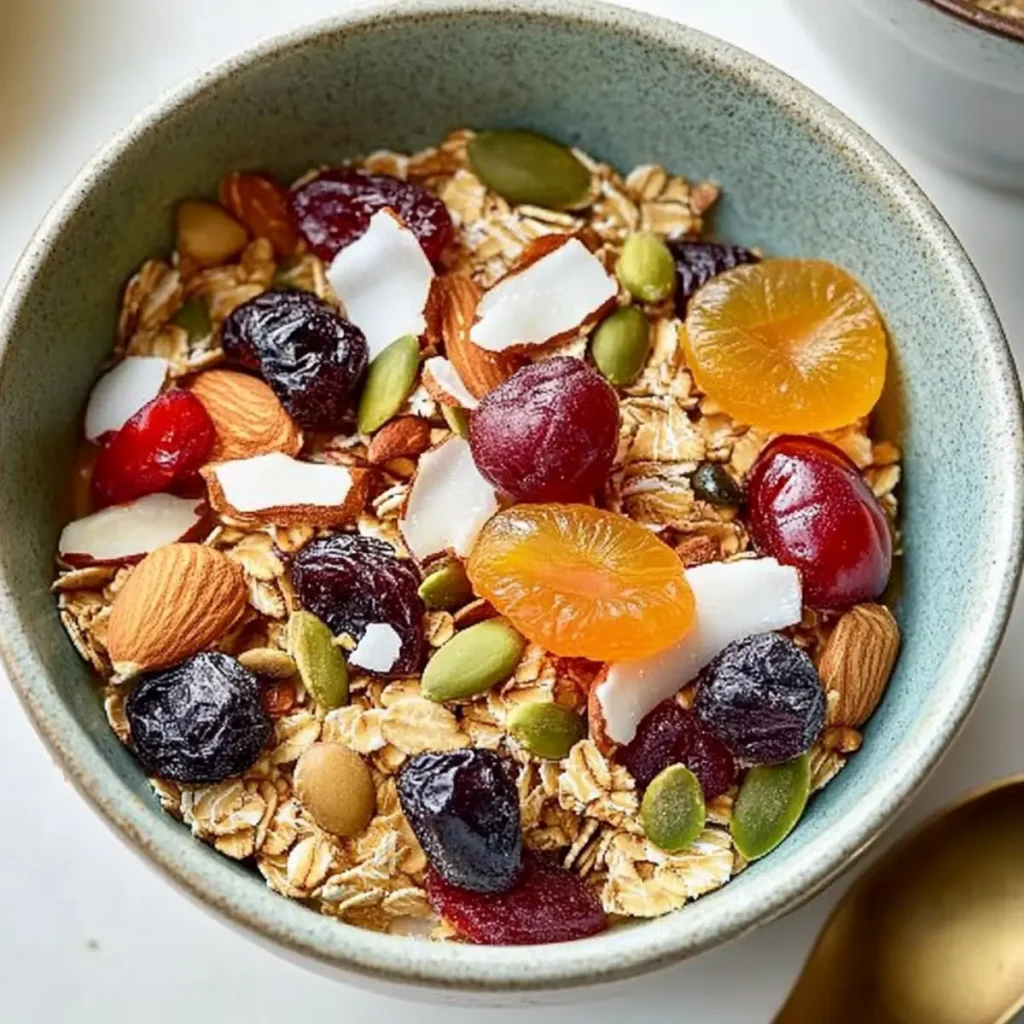
- Layering Madness: Create parfaits by layering the ice cream with your favorite fruits and granola for added texture.
While building your own version, consider pairing it with a cup of Tiger Milk Tea for a truly delightful experience or a glass of refreshing Lemon Verbena Tea to cleanse the palate!
How to Store and Freeze Thai Tea Ice Cream
Fridge: Keep your Thai Tea Ice Cream in the fridge for up to 1 day if you’re planning to enjoy it soon. However, for best texture, it’s best stored in the freezer.
Freezer: Store in a tightly sealed container for up to 2 weeks. To prevent ice crystals, press a piece of plastic wrap directly on the surface of the ice cream before sealing.
Reheating: If the ice cream is too hard to scoop, let it sit at room temperature for 10-15 minutes before serving. This will ensure a smooth serving experience.
Serving Storage: For the best taste and texture, finish any leftovers quickly, as the quality may diminish over time while frozen.
Expert Tips for No-Churn Thai Tea Ice Cream
-
Avoid Overwhipping: Whip the cream until stiff peaks form. Overwhipped cream can become grainy, ruining the texture of your Thai Tea Ice Cream.
-
Chill Equipment: Always chill your mixing bowl and whisk attachment before whipping cream. This helps achieve maximum volume and a light, airy texture.
-
Smooth Consistency: Strain the tea mixture carefully to ensure no leaves remain. This step is crucial for a velvety smooth Thai Tea Ice Cream that everyone will love.
-
Freeze Tight: Cover your ice cream tightly with plastic wrap or a lid in the freezer. This prevents ice crystals from forming, ensuring creamy consistency.
-
Softening Tip: If the ice cream is too hard to scoop, allow it to sit at room temperature for 10-15 minutes before serving. This will make it easier to enjoy your delightful creation!
Make Ahead Options
These No-Churn Thai Tea Ice Cream treats are perfect for busy home cooks looking to save time during summer gatherings! You can prepare the base mixture up to 24 hours in advance by completing steps 1 through 5 and storing the mixture in a tightly sealed container in the refrigerator. This ensures the flavors meld beautifully while maintaining that creamy consistency. When it’s time to serve, simply whip up the heavy cream, fold it into the mixture, and proceed with freezing it for at least 6 hours or overnight. Just remember to let it soften for 10-15 minutes before scooping for the best texture. By prepping ahead, you’ll enjoy delicious Thai Tea Ice Cream with minimal effort, making it a delightful dessert for any occasion!
No-Churn Thai Tea Ice Cream Recipe FAQs
What type of Thai tea mix should I use?
Absolutely! Look for high-quality Thai tea mixes, like the Pantai brand, available at Asian grocery stores or online. This specific kind provides the distinct flavor and vibrant orange color that makes your ice cream irresistible.
How do I store leftover Thai Tea Ice Cream?
For optimal texture, store your Thai Tea Ice Cream in a tightly sealed container in the freezer for up to two weeks. Press a piece of plastic wrap directly onto the surface of the ice cream before sealing to prevent ice crystals from forming.
Can I freeze Thai Tea Ice Cream for longer?
Yes, you can freeze it for up to three months! However, the longer it’s stored, the more its texture may deteriorate. To enjoy the best quality, consume it within the two-week window.
What should I do if my whipped cream doesn’t form stiff peaks?
No worries, that happens! Try chilling your bowl and whisk attachment for 10-15 minutes before whipping again to create a colder environment. If it’s still too soft, ensure that the heavy whipping cream is very cold and that you’re beating it on medium-high speed for a sufficient amount of time, about 3-5 minutes, until stiff peaks form.
Is this recipe suitable for people with dairy allergies?
Definitely! You can create a dairy-free version by substituting the whole milk and heavy whipping cream with coconut milk and whipped coconut cream. Just ensure that the sweetened condensed milk you choose is also dairy-free if you want to keep it allergy-friendly.
Can I add other flavors or mix-ins to my Thai Tea Ice Cream?
Very much so! You can personalize your Thai Tea Ice Cream by swirling in chocolate sauce, adding fruit purees, or even tossing in fresh fruit like mango for a tropical twist. The more the merrier, so feel free to experiment with flavors you love!
Creamy Thai Tea Ice Cream: No Churn Delight for Summer Fun
Ingredients
Equipment
Method
- In a medium saucepan, combine ½ cup of Thai tea mix, ½ cup of whole milk, and ½ cup of heavy whipping cream. Heat over medium-low heat for 5-7 minutes.
- Strain the mixture through a fine mesh sieve or cheesecloth into a large mixing bowl.
- Add 14 ounces of sweetened condensed milk and 1 tablespoon of vanilla extract to the strained liquid. Whisk until smooth.
- Chill a mixing bowl and whisk attachment in the freezer for 10-15 minutes, then whip 1½ cups of heavy cream until stiff peaks form.
- Gently fold the whipped cream into the tea and condensed milk mixture in two to three batches.
- Transfer the mixture into a freezer-safe container, cover tightly, and freeze for at least 6 hours.
- Before serving, let it sit at room temperature for 10-15 minutes to soften slightly. Serve topped with toasted coconut flakes.
")