")
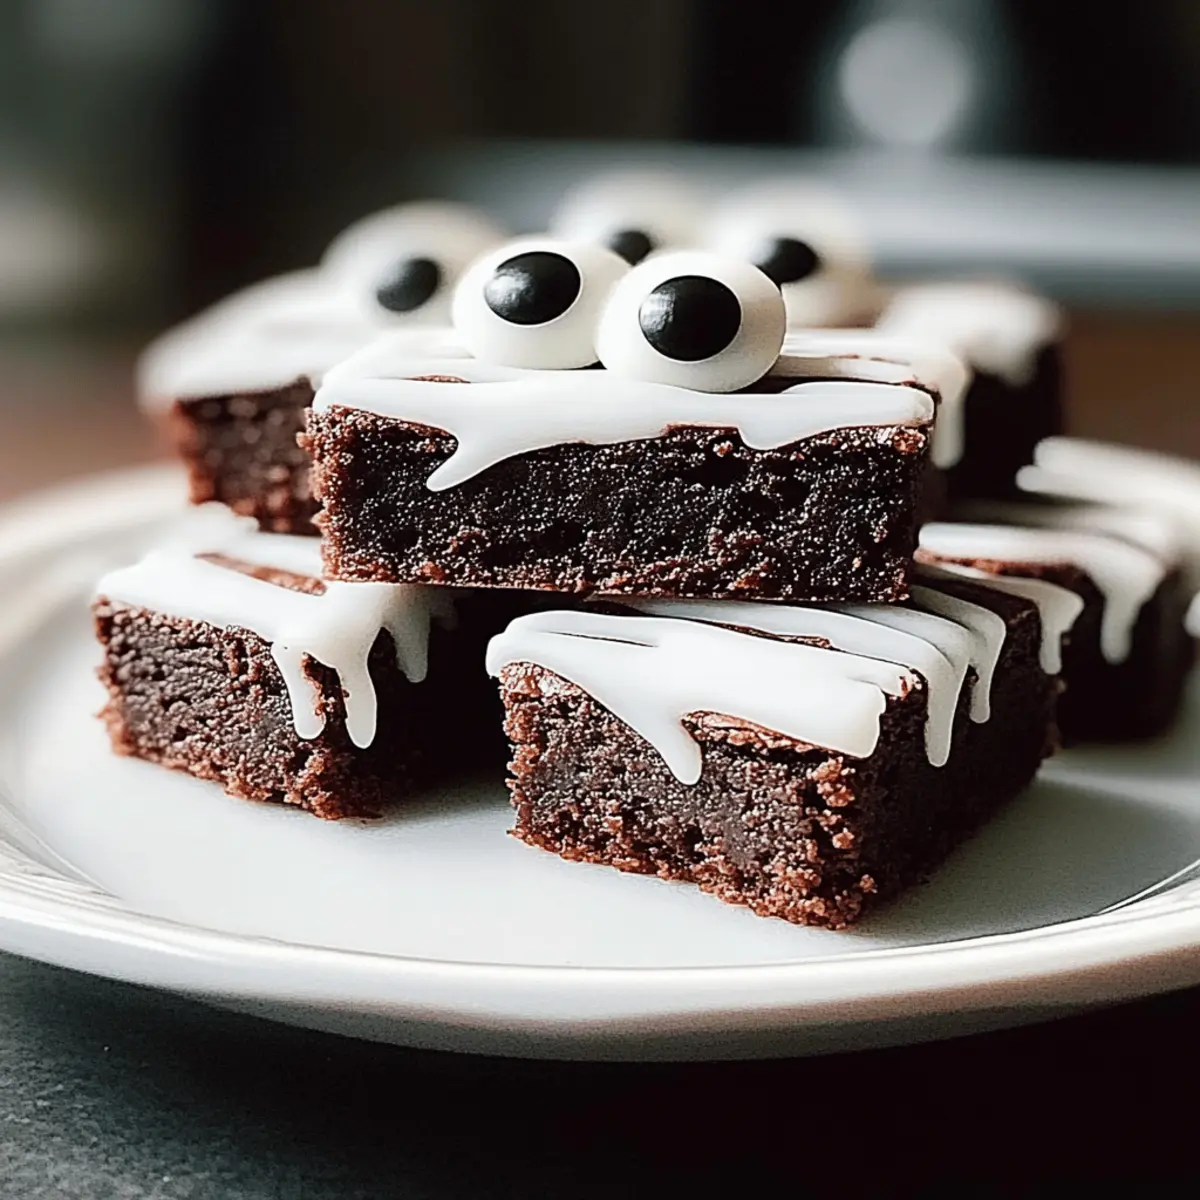
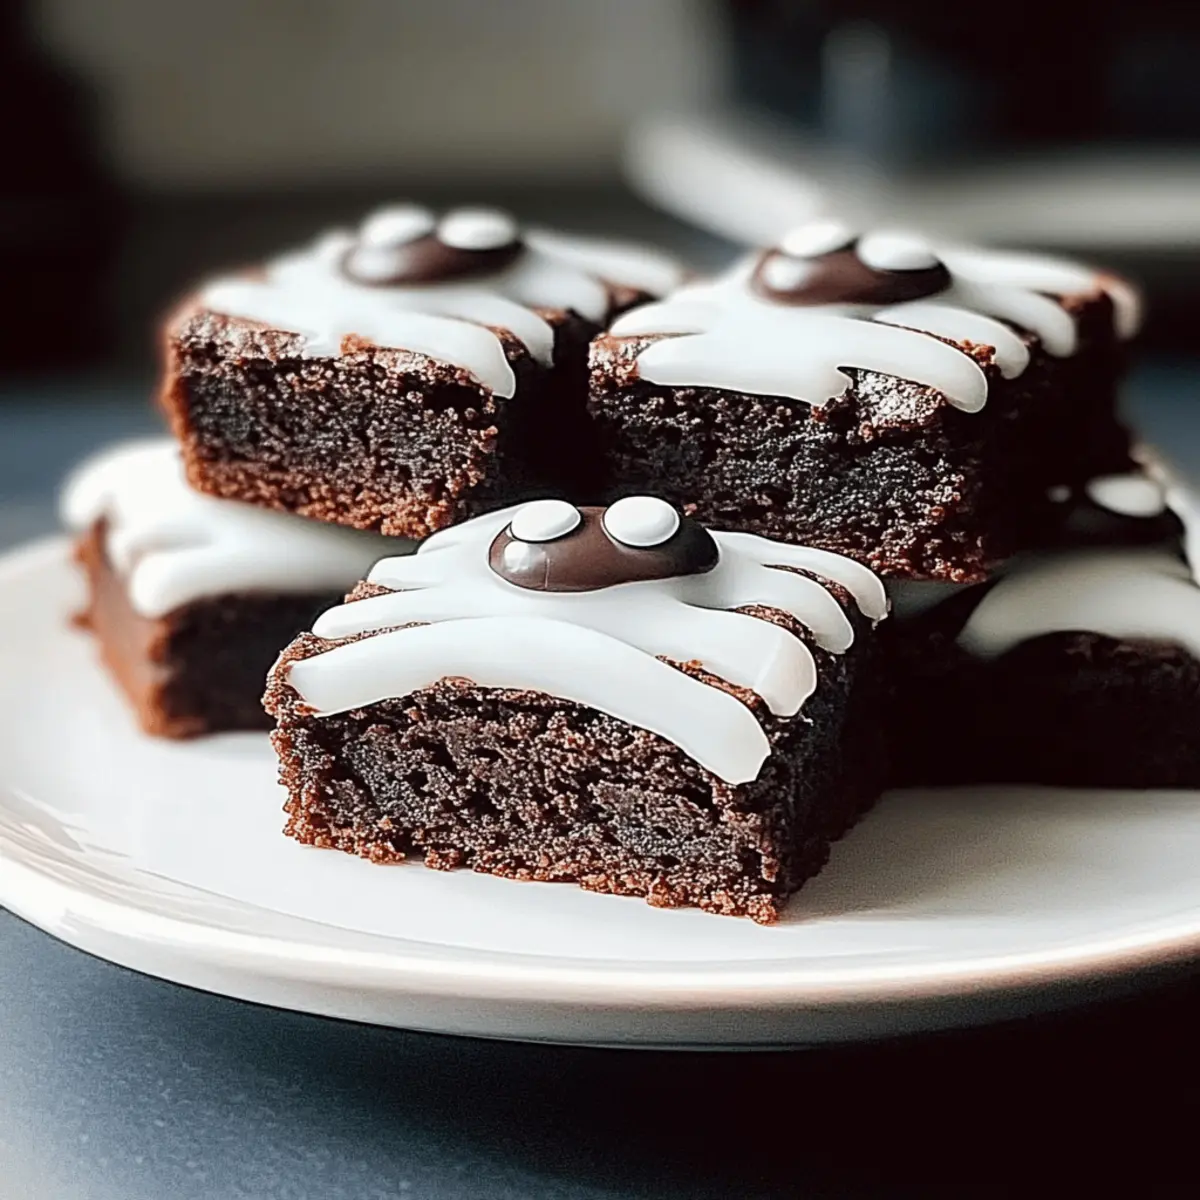
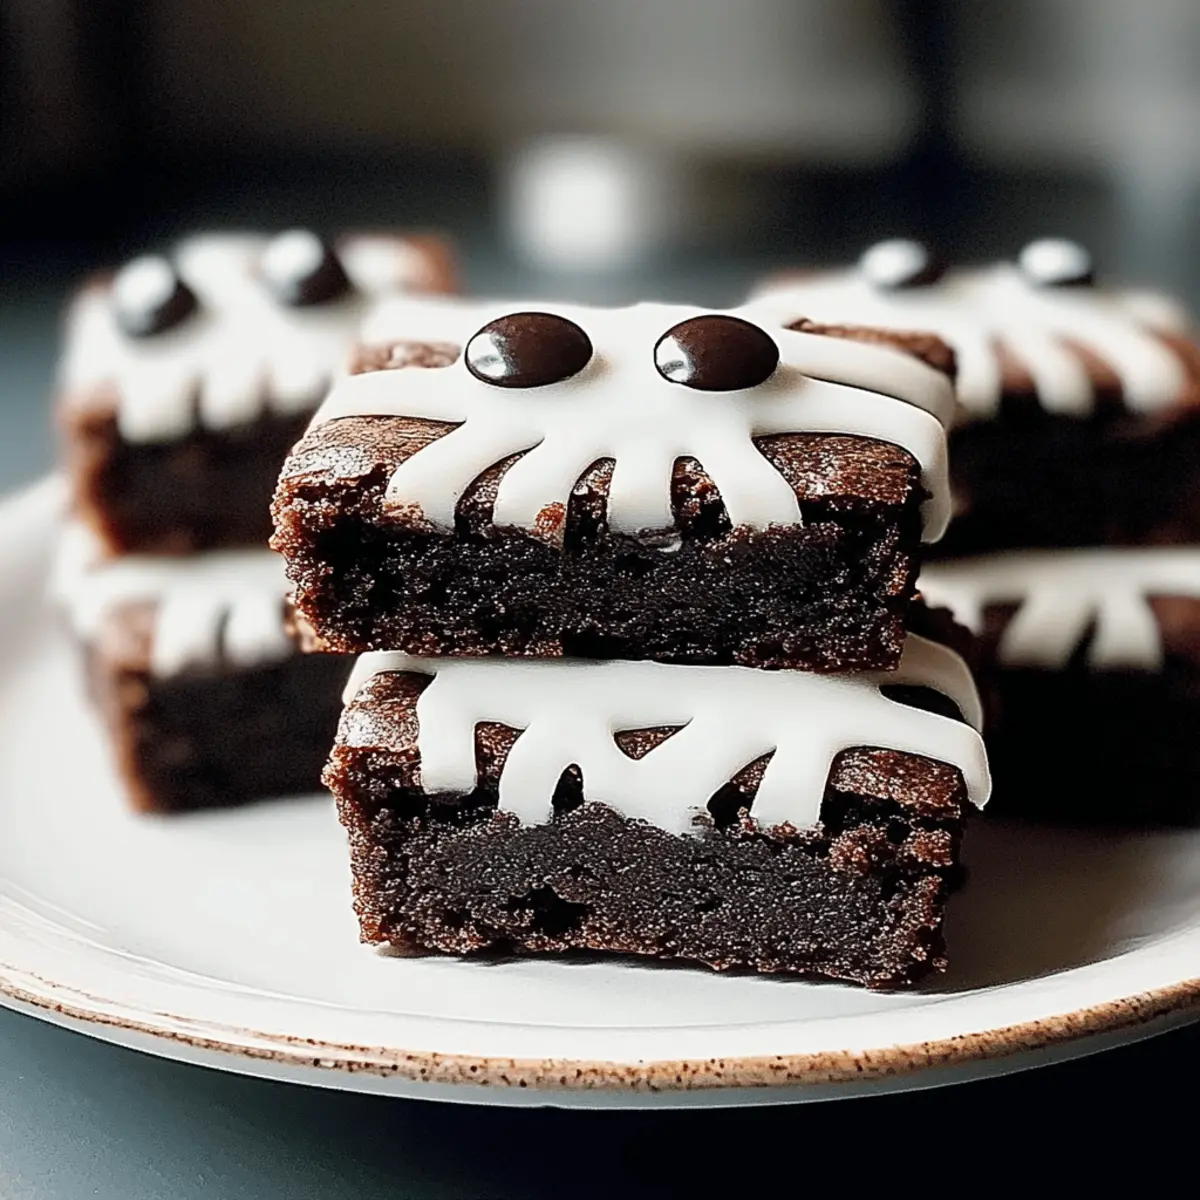
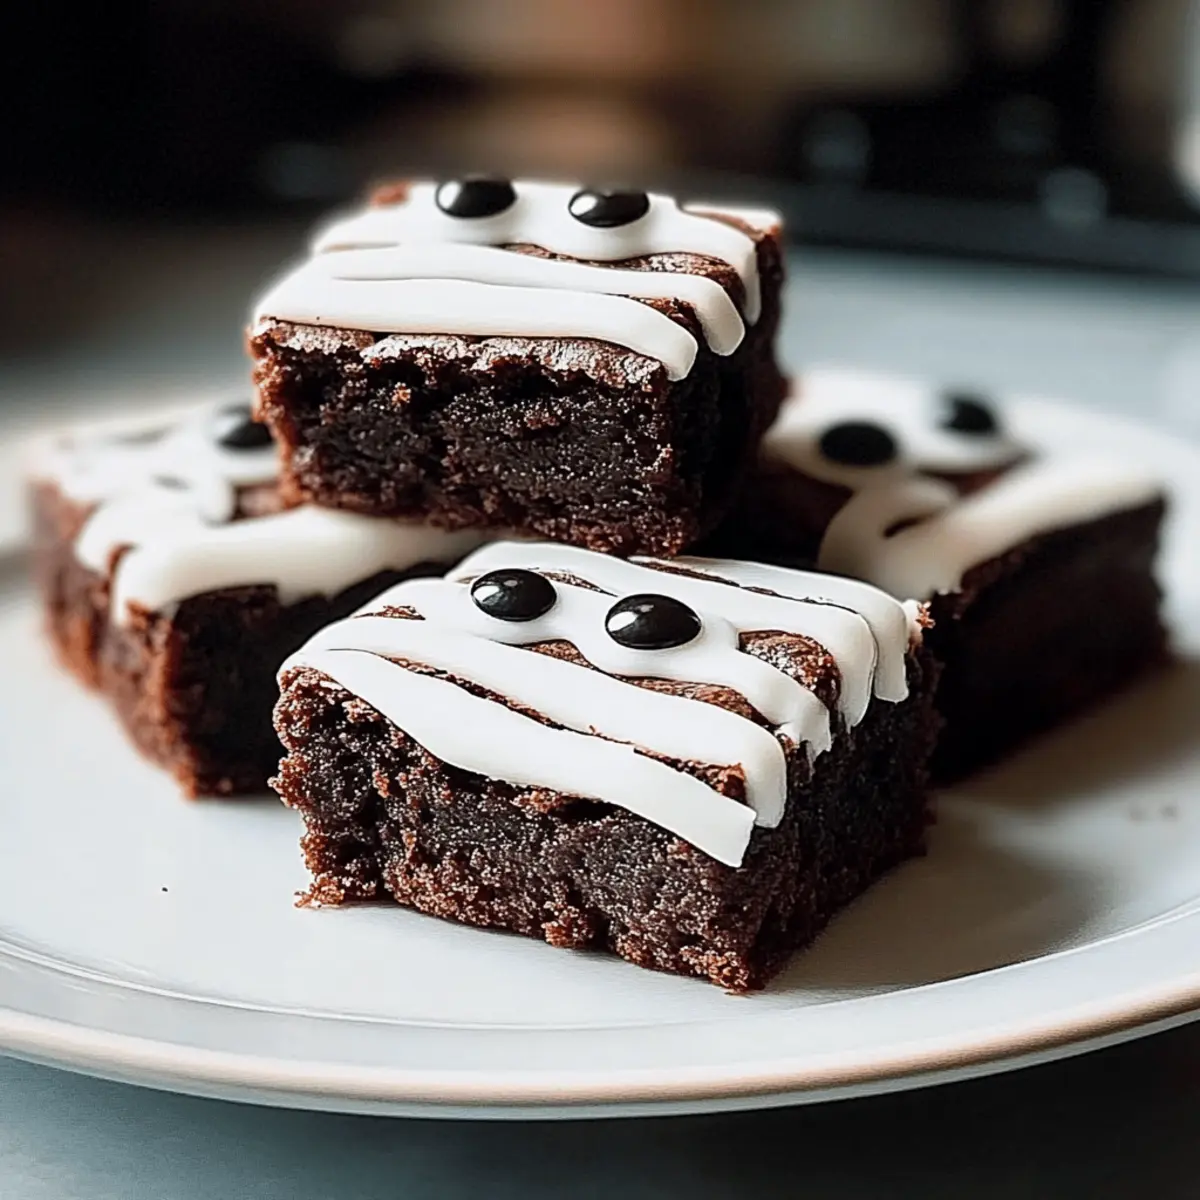
As the crisp autumn air settles in, the excitement of Halloween creeps closer, and I can’t help but feel the thrill of turning my kitchen into a spooky baking lair. One recipe that never fails to capture the spirit of the season is my Spooktacular Mummy Brownies – easy Halloween treats that bring both fun and flavor to your festive gatherings. These rich, fudgy brownies are not just a delight for the taste buds; they’re also a canvas for creative mummy decorations that will enchant guests of all ages. What’s even better? They’re quick to whip up and can easily be customized for gluten-free diets, making them an irresistible option for every home-chef. Ready to uncover the secrets of this hauntingly delicious treat? Let’s dive in!
Why Are Mummy Brownies So Irresistible?
Uniquely Fun: Mummy Brownies transform ordinary baking into a spooky adventure, making them the perfect Halloween treat for gatherings.
Fudgy Perfection: Each bite offers a rich, dense chocolate experience that’s utterly satisfying, leaving everyone craving more.
Customizable Decor: Unleash your creativity with decorations—use colorful icing or even whip cookies for a delightful twist!
Quick to Make: You can have these delicious treats ready in no time, ideal for last-minute festivities.
Gluten-Free Option: Everyone can indulge with simple substitutions; just swap regular flour for a gluten-free blend!
Party Pleaser: These brownies are sure to impress guests of all ages, making you the star of any Halloween celebration.
Spooktacular Mummy Brownies Ingredients
For the Brownie Base
- 1 cup unsweetened cocoa powder – Provides the rich chocolate flavor; substitute with Dutch-processed cocoa for an even deeper taste.
- 1 cup granulated sugar – Adds sweetness and structure; can be replaced with coconut sugar for a less intense sweetness.
- 1 cup all-purpose flour – Gives the brownies their structure; substitute with a gluten-free flour blend to make gluten-free Mummy Brownies.
- 2 large eggs – Contributes to the fudgy texture and moisture; consider using flax eggs for a vegan option.
- 1/2 cup unsalted butter (melted) – Provides richness and moisture; swap with coconut oil for a dairy-free alternative.
For the Mummy Decorations
- 1/2 cup white icing – Used for mummy decorations; try colored candy melts for a festive variation or food coloring for themed designs.
- Candy eyes – These fun additions complete the spooky look; use chocolate chips if you can’t find candy eyes.
Enjoy crafting your Spooktacular Mummy Brownies for a hauntingly delicious Halloween treat!
Step‑by‑Step Instructions for Spooktacular Mummy Brownies – Easy Halloween Treats
Step 1: Preheat and Prepare
Begin by preheating your oven to 350°F (175°C). While it heats up, grease a 9×9-inch baking pan or line it with parchment paper for easy removal later. This preparation ensures that your Spooktacular Mummy Brownies will rise beautifully and bake evenly, avoiding any sticky mess in the pan.
Step 2: Mix Dry Ingredients
In a large mixing bowl, whisk together 1 cup of unsweetened cocoa powder, 1 cup of granulated sugar, 1 cup of all-purpose flour, and a pinch of salt. Whisk vigorously for about a minute to fully incorporate the ingredients and eliminate any lumps. This step is crucial for achieving that luscious fudgy texture that defines your brownies.
Step 3: Combine Wet Ingredients
In a separate bowl, melt 1/2 cup of unsalted butter; let it cool slightly. Then, whisk in 2 large eggs until the mixture is smooth and well combined. This process infuses richness into your Spooktacular Mummy Brownies, making them moist and decadent. Aim for a uniform liquid consistency before merging it with the dry ingredients.
Step 4: Bring It All Together
Pour the wet ingredients into the bowl of dry ingredients. Gently fold the mixture with a spatula until just combined—be careful not to overmix. The batter should be thick and fudgy with a few visible dry spots. This final step ensures that your brownies maintain their dense consistency while baking to perfection.
Step 5: Bake
Spread the batter evenly into your prepared baking pan, smoothing the top with a spatula. Bake in the preheated oven for 25 to 30 minutes. Check for doneness by inserting a toothpick; it should come out with a few moist crumbs attached. This indicates that your Spooktacular Mummy Brownies are perfectly fudgy and ready to cool.
Step 6: Decorate
Once the brownies have cooled completely, remove them from the pan and cut them into squares. Using white icing, create zigzag patterns to mimic mummy wrappings across each brownie. Simply pipe the icing from a squeeze bottle or piping bag for a clean look; don’t forget to add candy eyes for an extra spooky touch!
Expert Tips for Mummy Brownies
-
Avoid Overmixing: Keep the fudgy texture intact by mixing the batter only until ingredients are combined. This ensures your Mummy Brownies stay moist and dense.
-
Butter Temperature Matters: Melt the butter but let it cool slightly before adding eggs. This prevents cooking the eggs and helps achieve a smoother batter.
-
Perfect for Piping: Use a piping bag for your icing to create clean and precise mummy decorations. It makes those zigzag patterns look spectacular!
-
Baking Time Check: Start checking your brownies at the 25-minute mark to avoid overbaking. A toothpick should pull out with a few moist crumbs to ensure fudginess.
-
Creative Variations: Feel free to customize your Mummy Brownies with toppings like nuts or flavored icing. This versatility makes each batch unique and fun!
How to Store and Freeze Mummy Brownies
Airtight Container: Store leftover Mummy Brownies in an airtight container at room temperature for up to 3 days to maintain their fudgy texture and prevent drying out.
Freezer Storage: For longer storage, freeze the brownies wrapped tightly in plastic wrap and then placed in a freezer-safe bag for up to 2 months.
Thawing Tips: To enjoy frozen brownies, simply thaw them at room temperature for about 1 hour or microwave for a few seconds until softened.
Reheating: For a warm treat, you can reheat individual brownies in the microwave for 5-10 seconds—perfect for bringing back that fresh-baked taste!
Make Ahead Options
These Spooktacular Mummy Brownies are perfect for meal prep enthusiasts! You can make the brownie base up to 3 days in advance. Simply bake and cool the brownies, then store them in an airtight container at room temperature to maintain their fudgy texture—this way, they’ll be just as delicious later. You can also prepare the mummy decorations in advance by mixing the icing and storing it in the refrigerator (up to 24 hours) until you’re ready to pipe it on. When you’re ready to serve, just cut the brownies and apply the decorations for a fun and easy finishing touch that’ll impress your guests with minimal effort!
Spooktacular Mummy Brownies Variations
Feel free to get creative and personalize your Mummy Brownies to suit your taste and dietary needs!
- Gluten-Free: Substitute all-purpose flour with your favorite gluten-free flour blend to cater to gluten-sensitive guests.
- Nutty Delight: Add 1/2 cup of chopped nuts, like walnuts or pecans, for a delightful crunch that contrasts beautifully with the fudgy texture.
- Dairy-Free: Replace unsalted butter with coconut oil to create deliciously fudgy brownies that everyone can enjoy, regardless of dietary restrictions.
- Extra Chocolaty: Mix in a cup of chocolate chips or chunks to elevate the chocolate flavor to divine levels—richness galore!
- Festive Colors: Use colored candy melts instead of white icing to create a rainbow of mummies that will delight your little ghouls and goblins.
- Peanut Butter Swirls: Add dollops of peanut butter to the brownie batter before baking; swirl with a knife for a creamy, savory twist that’s simply to die for.
- Spicy Kick: Incorporate a pinch of cayenne pepper or cinnamon to the batter for a surprising warmth that contrasts beautifully with the sweetness.
- Themed Toppings: Try crushed Halloween candies, like candy corn or gummy worms, sprinkled over the icing for a fun and festive touch that adds texture!
Imagine serving these delightful variations at your Halloween party or cozy family gathering alongside some delicious Red Velvet Brownies for a sensational dessert spread. Your guests will be thrilled with every spooky bite!
What to Serve with Spooktacular Mummy Brownies?
Transform your Halloween dessert into a memorable feast with these delightful pairings that complement every fudgy bite.
-
Creamy Vanilla Ice Cream: The rich creaminess contrasts beautifully with the fudgy texture of the brownies, creating a match made in dessert heaven. Serve a scoop on the side for extra indulgence!
-
Pumpkin Spice Whipped Cream: Infusing your brownies with a dollop of this seasonal delight adds a festive touch and spices up the flavor, making each bite even more enchanting.
-
Fresh Fruit Salad: A refreshing medley of berries and citrus can cut through the sweetness of the brownies, balancing the richness with a burst of color and flavor.
-
Hot Cocoa: Nestle in with a warm cup of cocoa, spiked with a hint of cinnamon for cozy vibes, elevating your dessert experience while embracing the chill of autumn.
-
Spiced Apple Cider: The warmth of spiced cider adds a lovely aromatic element, perfect for sipping as you enjoy your brownies with family and friends.
-
Chocolate Dipped Strawberries: Bring a touch of elegance to your Halloween gathering by serving these alongside the Mummy Brownies. The combination of fruits and chocolate is a true showstopper!
-
Nutty Caramel Sauces: Drizzle this luscious sauce over the brownies for an irresistible fusion of flavors, combining the rich chocolate with a hint of saltiness and sweetness.
-
S’mores Dip: This gooey treat combines chocolate, marshmallows, and graham crackers, perfectly suiting the Halloween theme and creating a fun, interactive dessert experience!
-
Chai Tea: A cup of warm chai tea enhances the festive atmosphere with its spices and aromas, making for a relaxing pair to your sweet Halloween indulgence.
Spooktacular Mummy Brownies Recipe FAQs
How do I choose the right cocoa powder?
Absolutely! For rich chocolate flavor, I recommend using unsweetened cocoa powder. If you want a darker chocolate taste, consider substituting with Dutch-processed cocoa. Just keep in mind that the latter can produce a slightly different texture and flavor profile.
How should I store leftover Mummy Brownies?
To keep your Mummy Brownies fresh, store them in an airtight container at room temperature for up to 3 days. If you want to enjoy them for a longer period, you can freeze them wrapped in plastic wrap and then placed in a freezer-safe bag for up to 2 months. Just remember to let them thaw at room temperature or warm them in the microwave for a few seconds before serving!
Can I make gluten-free Mummy Brownies?
Very much so! You can easily make these delightful brownies gluten-free by substituting the all-purpose flour with a gluten-free flour blend. Just make sure to choose a blend that includes a binding agent like xanthan gum, which helps maintain the brownies’ structure and fudgy consistency.
What’s the best way to decorate the brownies for Halloween?
For a spooky look, you can pipe white icing in zigzag patterns to create mummy wrappings across the brownies. Simply use a piping bag for precision. Don’t forget the candy eyes to bring your mummies to life! If you prefer a fun twist, swap the white icing for colored candy melts or add sprinkles for a festive flair.
How can I troubleshoot if my brownies are dry?
If your Mummy Brownies turn out dry, it’s likely due to overbaking or overmixing. To keep them fudgy, bake them just until a toothpick inserted comes out with a few moist crumbs (around 25 to 30 minutes). Furthermore, make sure to mix the batter only until combined—no need to whisk vigorously. This way, you can achieve that luscious, decadent texture that makes these brownies irresistible!
Can pets enjoy Mummy Brownies too?
It’s essential to keep these Mummy Brownies away from pets, particularly dogs. While the basic ingredients may not be harmful, chocolate is toxic to dogs and can lead to serious health issues. Instead, consider making a pet-friendly treat using safe ingredients specifically designed for your furry friends!
Spooktacular Mummy Brownies – Easy Halloween Treats for Fun
Ingredients
Equipment
Method
- Preheat your oven to 350°F (175°C). Grease a 9x9-inch baking pan or line it with parchment paper.
- In a large mixing bowl, whisk together cocoa powder, granulated sugar, all-purpose flour, and a pinch of salt until fully incorporated.
- In a separate bowl, melt the butter and let it cool slightly. Whisk in eggs until smooth.
- Pour the wet ingredients into the dry ingredients and gently fold until just combined.
- Spread the batter into the prepared baking pan and bake for 25 to 30 minutes. Check for doneness with a toothpick.
- Once cooled, cut the brownies into squares and decorate with white icing to mimic mummy wrappings and add candy eyes.
")