")
Stumbling upon a bag of oats and a craving for something sweet, I found myself faced with a delicious mini crisis. With just four simple ingredients, I turned those oats into no-bake chocolate oat cookies that not only saved the day but also transformed my snacking game. These delightful treats combine rich, melty chocolate with hearty oats, making them a fantastic option for a quick and healthy indulgence that’s gluten-free to boot. Perfect for satisfying my sweet tooth without the guilt, these cookies are an easy solution for anyone looking to whip up a tasty snack at home—no oven required! Curious to discover how these simple treats come together? Let’s dive into the wonderful world of no-bake cookies!

Why Are These Cookies So Irresistible?
Simplicity at its finest: With just four ingredients, you can whip up these delicious no-bake chocolate oat cookies in no time.
Healthier indulgence: Enjoy a sweet treat that is gluten-free and filled with wholesome oats, making it a snack you can feel good about!
Flexible flavors: Feel free to jazz them up with mix-ins like dried fruits, nuts, or chocolate chips, making each batch a unique delight.
No baking required: Perfect for those busy days when your oven is out of commission but your cravings are not.
Crowd-pleaser for all ages: Kids and adults alike will love these chewy delights, perfect for after-school snacks or party treats.
Looking for another delectable treat? Check out my delicious Chocolate Chip Cookies or indulge in a slice of heavenly Swiss Chocolate Chalet.
Chocolate Oat Cookies Ingredients
• Dive into the delightful world of no-bake chocolate oat cookies with these simple ingredients!
For the Cookies
- Oats – Provide solid structure and bulk; use either rolled or quick oats depending on your preference.
- Nut Butter – Adds richness and binds the ingredients together; choose peanut, almond, or cashew butter. For a nut-free option, sunflower seed butter works wonderfully!
- Cocoa Powder – Imparts a rich chocolate flavor; unsweetened is ideal, or go for raw cacao for a healthier touch.
- Sweetener (e.g., honey, maple syrup) – Brings sweetness while helping to bind the mix; agave syrup can be used for a vegan-friendly version.
Elevate your chocolate oat cookies with mix-ins or keep them simple—either way, they’re sure to hit the sweet spot!
Step‑by‑Step Instructions for 4-Ingredient No-Bake Chocolate Oat Cookies
Step 1: Mix Dry Ingredients
In a large mixing bowl, combine 1 cup of oats with 1/4 cup of unsweetened cocoa powder. Stir the ingredients together until they are evenly blended, ensuring there are no clumps of cocoa. This will give your cookies a rich chocolate flavor. Set the bowl aside as you prepare the wet ingredients.
Step 2: Combine Wet Ingredients
In a separate bowl, whisk together 1/2 cup of nut butter and 1/4 cup of your preferred sweetener, like honey or maple syrup. Stir them until the mixture is smooth and well combined. Ensure the nut butter is at room temperature for easier mixing. This luscious blend will bring all the components of your no-bake chocolate oat cookies together beautifully.
Step 3: Combine Mixtures
Pour the wet mixture into the bowl with the dry ingredients. Using a spatula or your hands, mix everything together until a thick dough forms. Make sure there are no dry oats visible and that everything is combined evenly. This step is crucial for achieving that delicious cookie texture in your no-bake creation.
Step 4: Shape Cookies
With clean hands, take small amounts of the dough and roll them into balls, about one inch in diameter. Once formed, flatten each ball slightly and place them on a parchment-lined baking tray. This will help them hold their shape as they chill. Aim for a uniform size to ensure they set evenly and are easy to grab for snacking.
Step 5: Chill
Refrigerate the tray of cookies for at least 30 minutes or until they firm up. This is an essential step to allow the flavors to meld and the cookies to hold their shape. After chilling, the no-bake chocolate oat cookies will be chewy and decadent, ready to be enjoyed as a delicious and healthy treat.

Make Ahead Options
These 4-Ingredient No-Bake Chocolate Oat Cookies are perfect for meal prep enthusiasts looking to save time on busy days! You can prepare the dough up to 24 hours in advance—simply mix the dry and wet ingredients as outlined in the recipe, then refrigerate the combined mixture in an airtight container. When you’re ready to enjoy them, just roll the dough into balls and flatten them before placing them on a parchment-lined tray to chill for about 30 minutes—this ensures they hold their shape. By prepping ahead, you’ll have delicious, chewy cookies that are just as delightful and fresh when you serve them!
What to Serve with 4-Ingredient No-Bake Chocolate Oat Cookies
Enjoy these delightful chocolate treats with a variety of complementary pairings that elevate your snacking experience!
- Creamy Almond Milk: This nutty beverage softens the rich chocolate flavor, creating a wonderfully smooth pairing that’s perfect for sipping.
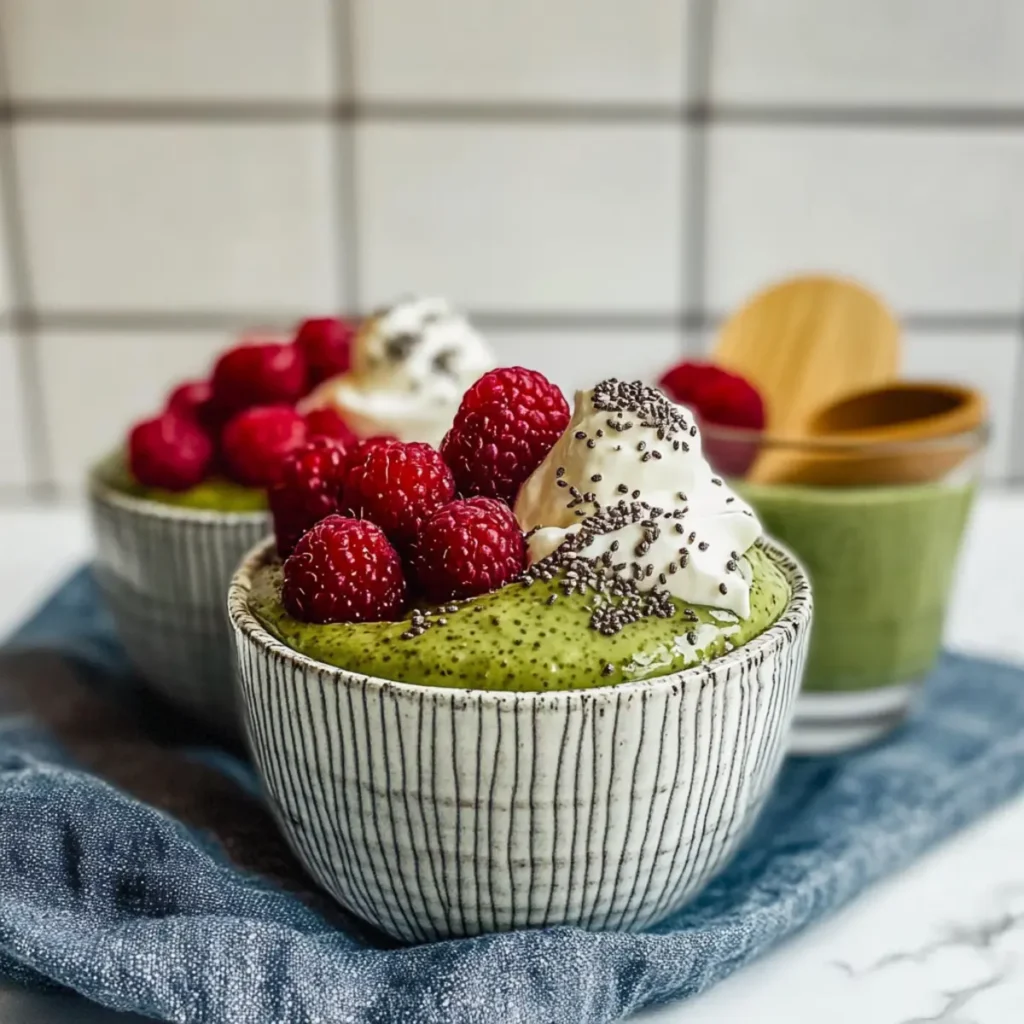
- Fresh Berries: Raspberries or strawberries provide a juicy, tart contrast that brightens the sweetness of the cookies, making each bite refreshing.
- Nutty Trail Mix: A crunchy mix of nuts and seeds adds satisfying texture, balancing the chewy cookies with delightful variation in mouthfeel.
- Sliced Bananas with Honey: The natural sweetness of bananas combined with a drizzle of honey creates a luscious duo that enhances the oat cookies’ flavors.
- Fruity Herbal Tea: Opt for a light herbal tea infused with fruity notes; it cleanses the palate and complements the chocolate beautifully.
- Coconut Yogurt: Creamy and slightly tangy, it pairs well with the cookies, adding richness while keeping the snack lighter and refreshing.
- Chocolate-Coconut Bliss Balls: For a chocolate lover’s paradise, these no-bake treats echo the flavors of the cookies and make a delightful, indulgent snack together.
- Mini Ice Cream Cones: The cold crunch of ice cream in a cone offers a fun, nostalgic pairing, perfect for treating yourself and the kids alike!
Storage Tips for Chocolate Oat Cookies
Fridge: Store your no-bake chocolate oat cookies in an airtight container in the fridge for up to 1 week to maintain their freshness and chewy texture.
Freezer: For longer storage, freeze the cookies in a single layer on a baking sheet, then transfer them to a freezer-safe container or zip-top bag for up to 3 months.
Reheating: No need to reheat since these cookies are enjoyed cold; simply take them out of the fridge or freezer when you’re ready to indulge.
Wrap Properly: If freezing, wrap individual cookies in plastic wrap before placing them in the container for extra freshness and easy grab-and-go snacks.
Expert Tips for No-Bake Chocolate Oat Cookies
-
Nut Butter Choice: Use a creamy nut butter for easy mixing; chunky varieties may make blending challenging and could affect cookie texture.
-
Mix Thoroughly: Stir the dry and wet ingredients well to avoid any dry oat pockets; this helps maintain the perfect no-bake chocolate oat cookie consistency without crumbling.
-
Shape Uniformly: Form balls of similar size for even chilling; this ensures all cookies set properly, giving you a delightful bite every time.
-
Customize Wisely: Experiment with mix-ins like dried fruits or chocolate chips, but be cautious not to overload, which can affect the binding of the cookies.
-
Storage Secrets: Keep cookies in an airtight container in the fridge for freshness; they should last up to a week, but honestly, they won’t last that long!
Chocolate Oat Cookies Variations
Feel free to get creative with these no-bake chocolate oat cookies, enhancing their flavor and texture with delightful twists!
-
Vegan: Swap honey or maple syrup with agave syrup and choose a nut butter without added sugars.
-
Gluten-Free: Use certified gluten-free oats and ensure all ingredients, like cocoa powder, are gluten-free for a worry-free treat.
-
Nut-Free: Substitute nut butter with sunflower seed butter or tahini for a delicious blend that’s safe for nut allergies.
-
Fruit-Infused: Stir in freeze-dried raspberries or cranberries for a tangy burst that beautifully complements the chocolate flavor.
-
Coconut Delight: Add shredded coconut to the mix for a tropical flair; it adds a lovely chewiness and pairs wonderfully with chocolate.
-
Spicy Kick: Mix in a pinch of cayenne pepper or cinnamon for a surprising heat that will awaken your taste buds.
-
Chocolate Chip Enhanced: Fold in dark chocolate chips before shaping the cookies for an extra chocolatey experience that every chocoholic will adore.
-
Nutty Crunch: Toss in chopped walnuts or pecans for added crunch, giving your cookies a rustic, hearty feel.
No matter how you choose to customize your creation, these cookies are bound to impress! And if you’re in the mood for more chocolatey goodness, try my delicious Chocolate Chip Cookies or the decadent Swiss Chocolate Chalet!
Chocolate Oat Cookies Recipe FAQs
What kind of oats should I use for these cookies?
You can use either rolled oats or quick oats for these chocolate oat cookies. Rolled oats give a chewier texture, while quick oats create a smoother consistency. Both options work beautifully, so choose based on your preference!
How should I store my chocolate oat cookies?
Store your no-bake chocolate oat cookies in an airtight container in the fridge for up to 1 week. This helps maintain their freshness and chewy texture. Just be sure to separate layers with parchment paper to prevent sticking.
Can I freeze chocolate oat cookies?
Absolutely! To freeze, place the cookies in a single layer on a baking sheet and freeze until firm. Transfer them to a freezer-safe container or zip-top bag with layers separated by parchment paper. They can be frozen for up to 3 months.
What if my cookies are too crumbly?
If your cookies are crumbly, it’s likely due to not enough moisture in the mixture. You can fix this by adding a bit more nut butter or sweetener, then mixing everything again until the dough comes together. Ensure that you mix thoroughly to avoid any dry pockets!
Are these cookies suitable for those with nut allergies?
Yes! Simply substitute the nut butter with sunflower seed butter or another seed-based option to make these cookies nut-free. They’ll still be delicious, and everyone can enjoy a sweet treat without worries!
Can I add mix-ins to the chocolate oat cookies?
Definitely! Feel free to fold in ingredients like chocolate chips, dried fruits, or nuts before shaping your cookies. Just remember not to overload with too many mix-ins, as this might impact the binding and overall texture of the cookies. Enjoy your creative twists!

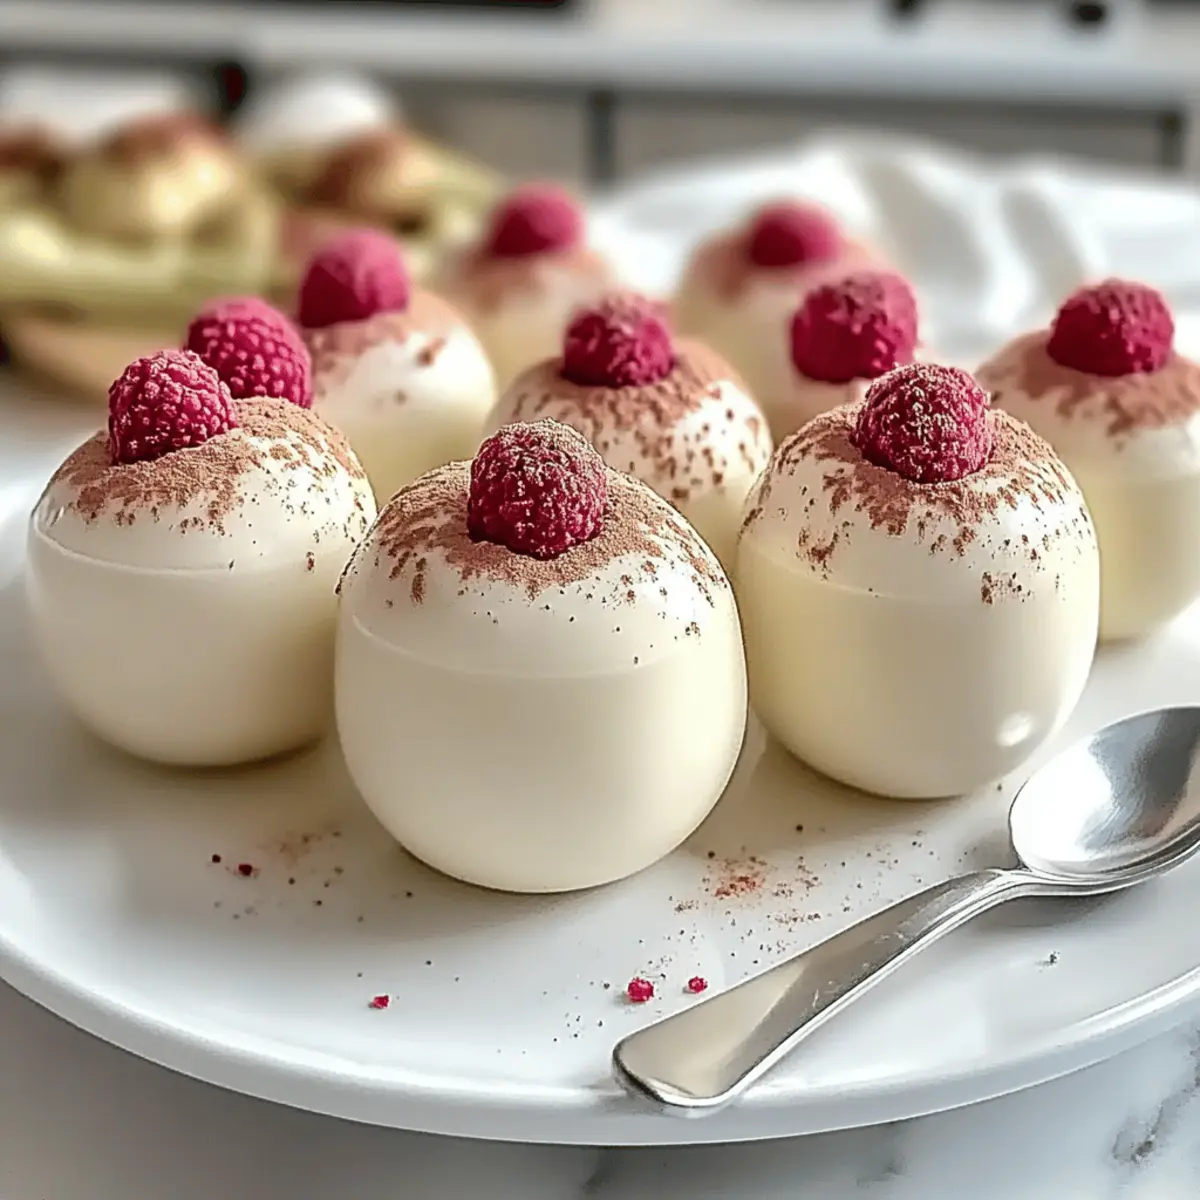
Decadent White Chocolate Raspberry Truffles to Indulge With
Ingredients
Equipment
Method
- Mix Dry Ingredients: In a large mixing bowl, combine 1 cup of oats with 1/4 cup of unsweetened cocoa powder. Stir until evenly blended.
- Combine Wet Ingredients: In a separate bowl, whisk together 1/2 cup of nut butter and 1/4 cup of your preferred sweetener until smooth.
- Combine Mixtures: Pour the wet mixture into the dry ingredients bowl and mix until a thick dough forms.
- Shape Cookies: Roll small amounts of dough into balls about one inch in diameter and flatten slightly. Place on a parchment-lined baking tray.
- Chill: Refrigerate the tray of cookies for at least 30 minutes or until firm.
")