")
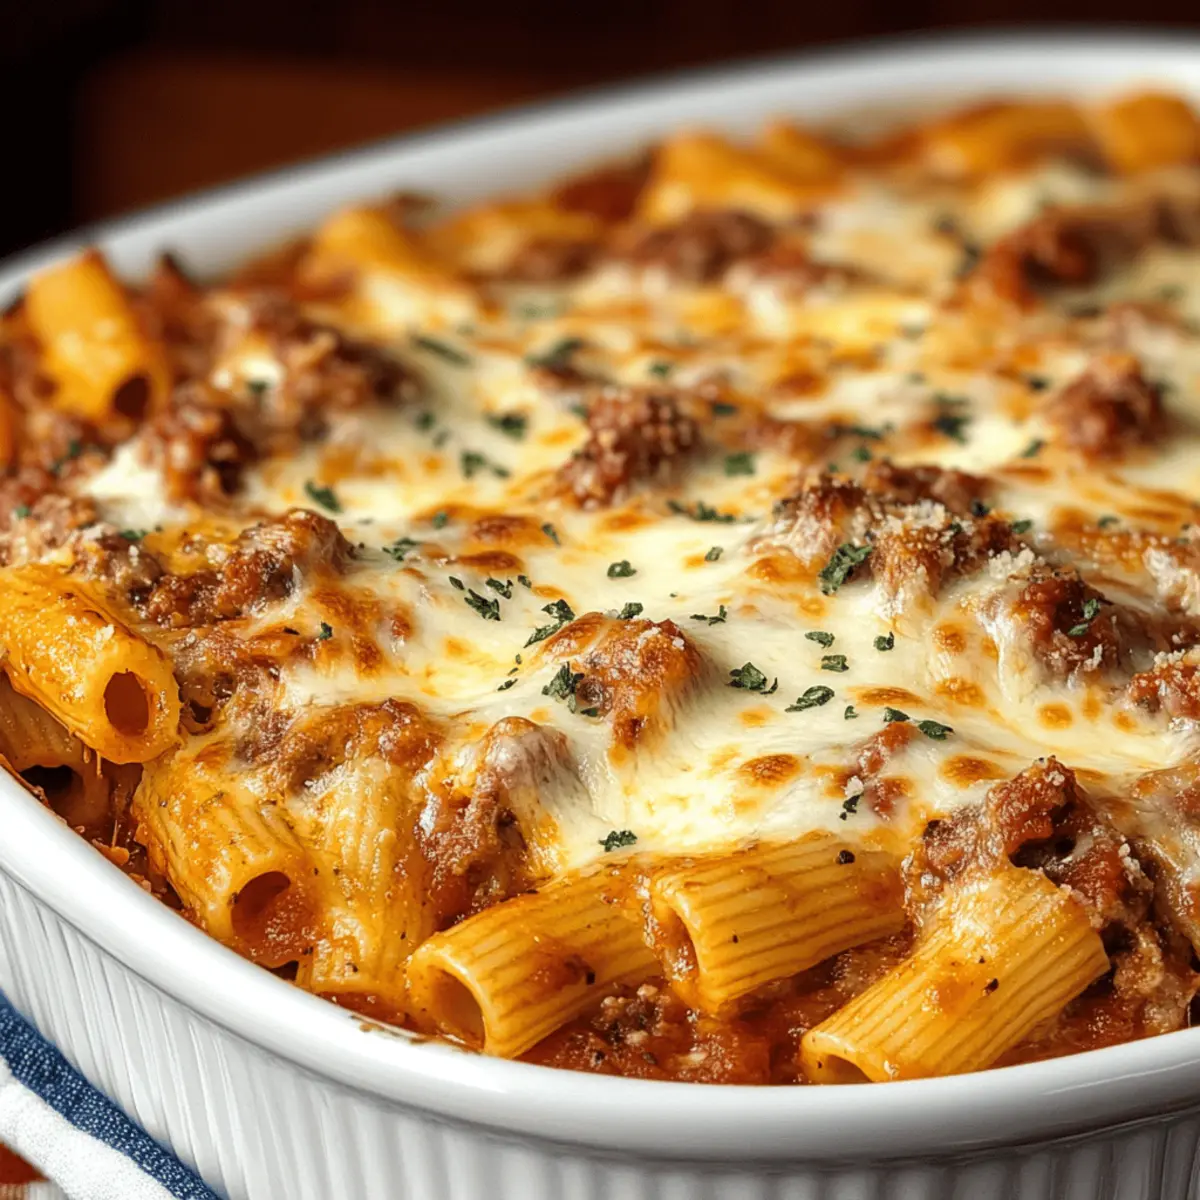
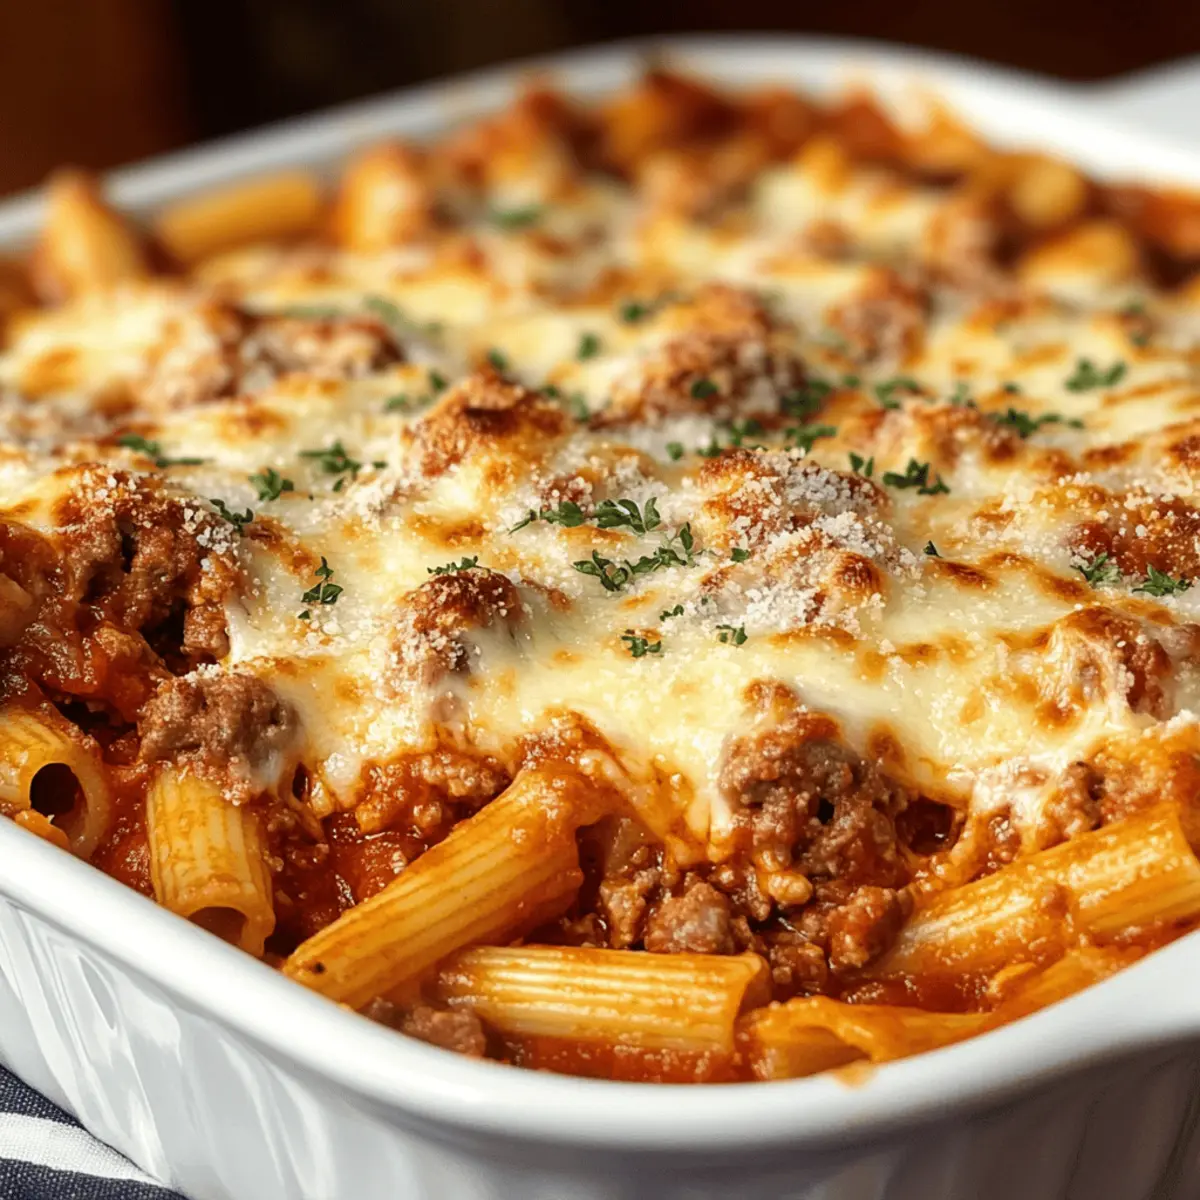
The aroma of bubbling cheese and savory sausage fills my kitchen, instantly transporting me to memories of family dinners around the table. My Cheesy Baked Rigatoni Pasta is the epitome of comfort food, bringing together hearty rigatoni, warm marinara sauce, and melted cheese in a satisfying casserole. Not only is it incredibly easy to whip up, but it’s also completely customizable to suit cravings or what you have on hand—perfect for busy weeknights or cozy gatherings. Whether you’re looking for a dish to impress or a fail-safe dinner for the family, this recipe promises to be a crowd-pleaser that transforms everyday ingredients into something extraordinary. Are you ready to dive into the gooey goodness that awaits?
Why You’ll Crave Our Cheesy Baked Rigatoni?
Comforting, Familiar Flavors: This Cheesy Baked Rigatoni brings together the rich tastes we all love in Italian cuisine, creating a warm atmosphere at the dinner table.
Customizable Delight: Easily adapt the recipe to suit your personal taste, from swapping meats to sneaking in extra veggies like spinach or bell peppers—just like in our Squid Ink Pasta or Easy Smashed Broccoli Parmesan Recipe.
Quick & Simple: Perfect for busy weeknights, this dish comes together in no time, making it a lifesaver when you need a delicious meal fast.
Family-Friendly: Even the pickiest eaters will adore this gooey, cheesy dish, ensuring it becomes a favorite for family dinners or gatherings.
Leftover Love: If there are any leftovers—though I doubt it—they store perfectly for lunch the next day, giving you a tasty treat to look forward to!
Cheesy Baked Rigatoni Ingredients
For the Pasta
• Rigatoni – The sturdy shape holds up well to the sauce and cheese, but feel free to swap in your favorite pasta shape.
For the Meat Filling
• Italian Sausage – Adds a savory depth; turkey sausage is a great lean alternative if desired.
• Ground Beef – Gives richness to the dish; can be replaced with ground turkey or chicken for a lighter option.
For the Sauce
• Marinara Sauce – Provides moisture and flavor; opt for low-sodium versions or homemade for healthier options.
For the Cheese
• Mozzarella Cheese – Essential for that gooey, melty texture; provolone works well too, or choose a dairy-free alternative if needed.
• Parmesan Cheese – Infuses the dish with a savory finish; nutritional yeast can replace it for a dairy-free twist.
This delicious Cheesy Baked Rigatoni Pasta is sure to indulge your comfort food cravings and impress your family!
Step‑by‑Step Instructions for Cheesy Baked Rigatoni Pasta
Step 1: Preheat the Oven
Begin your adventure by preheating your oven to 375°F (190°C). This step is crucial as it ensures that your Cheesy Baked Rigatoni Pasta cooks evenly and the cheese melts perfectly. While the oven warms up, gather your ingredients, and you’ll be ready to dive into the cooking process.
Step 2: Cook the Pasta
Bring a large pot of salted water to a boil and add the rigatoni pasta. Cook until al dente, about 8 to 10 minutes. Remember to stir occasionally for even cooking. Once done, drain the pasta in a colander and set it aside, allowing some steam to escape while you prepare the meat mixture.
Step 3: Brown the Meat
In a large skillet over medium heat, add the Italian sausage and ground beef. Cook until browned, about 7 to 9 minutes, breaking them apart with a spatula. As the meats cook, season to your liking with salt and pepper to enhance their flavors. Once fully cooked, drain any excess fat and remove from heat.
Step 4: Combine Ingredients
In a large mixing bowl, combine the cooked rigatoni, the browned meats, and your favorite marinara sauce. Fold in the mozzarella cheese and half of the Parmesan cheese, ensuring everything is coated evenly. The warm pasta will help melt the cheese slightly, creating a luscious blend of flavors in your Cheesy Baked Rigatoni Pasta.
Step 5: Layer in the Baking Dish
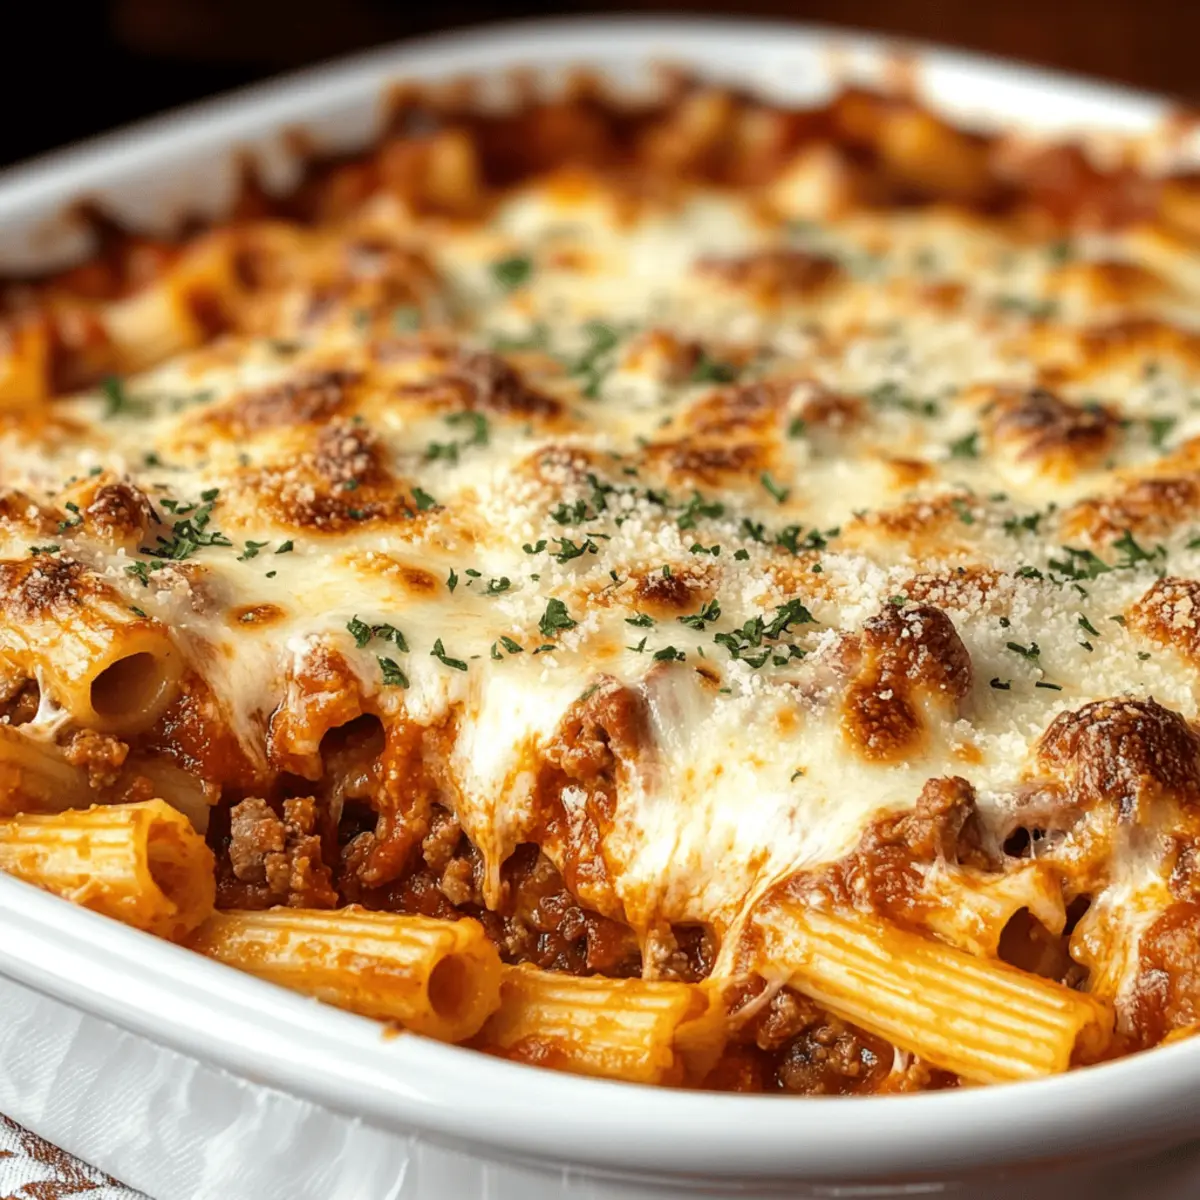
Lightly grease a 9×13-inch baking dish to prevent sticking. Transfer the pasta mixture into the dish, spreading it out evenly. Top with the remaining Parmesan cheese and a generous sprinkle of mozzarella for that gooey, cheesy top. This layer will melt and become golden and bubbly in the oven.
Step 6: Bake to Perfection
Cover the baking dish with foil and place it in the preheated oven. Bake for 30 minutes to allow all the flavors to meld beautifully. Afterward, remove the foil and bake for an additional 15 to 20 minutes. Look for bubbling cheese and a lightly golden top, indicating that your Cheesy Baked Rigatoni Pasta is ready to delight.
Step 7: Cool & Serve
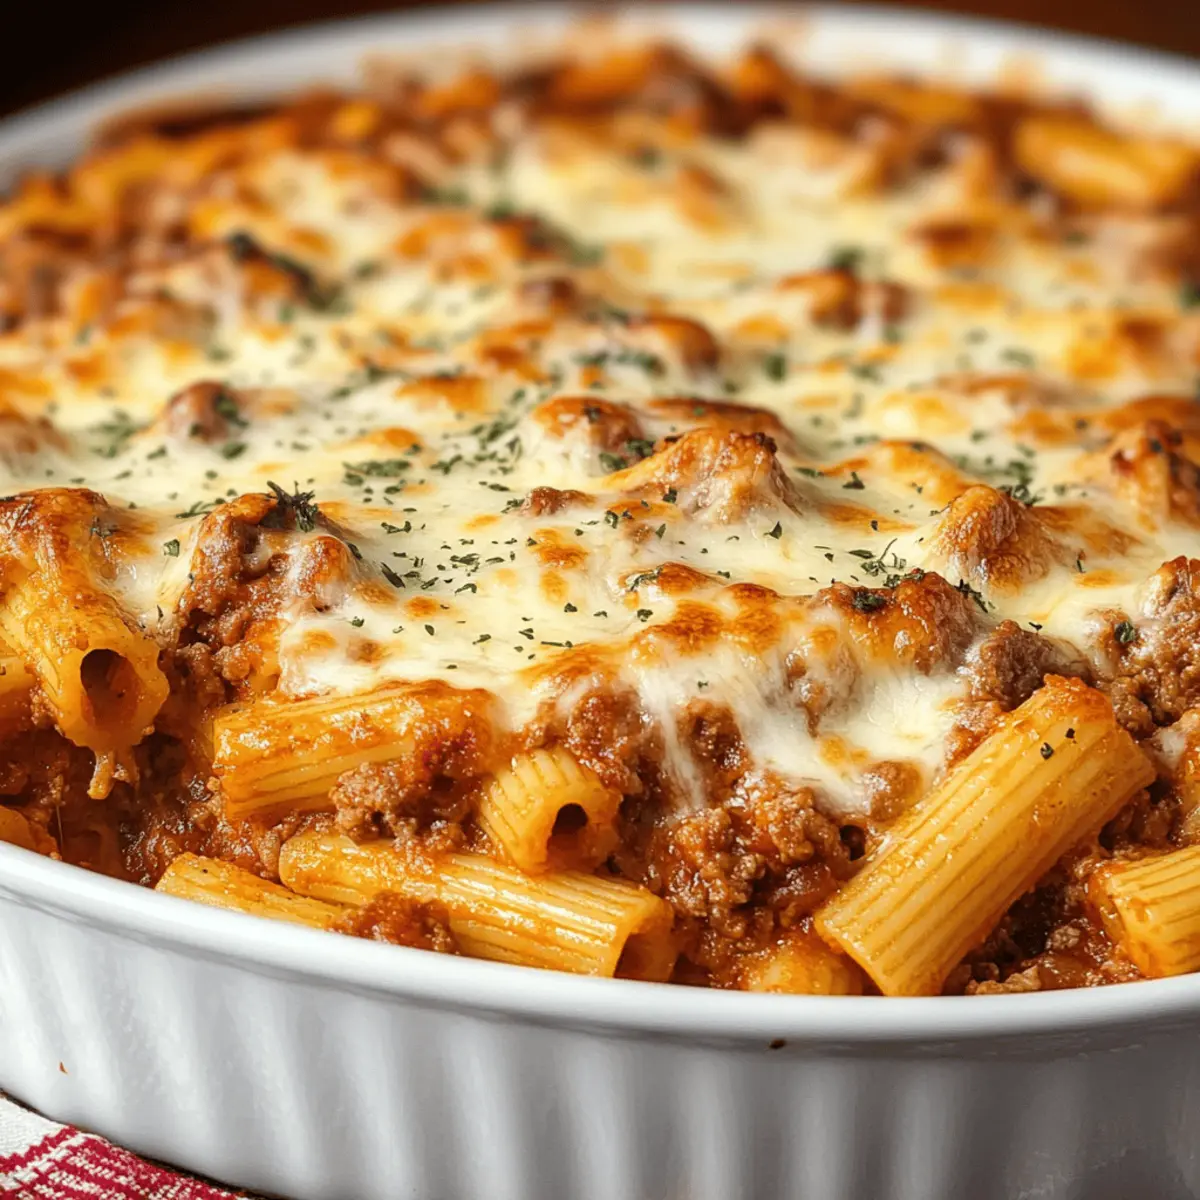
Once removed from the oven, let your Cheesy Baked Rigatoni Pasta cool for about 5 minutes. This resting period allows the dish to set and makes serving easier. Slice into portions, and enjoy the warm, gooey goodness with your family or friends around the table!
Expert Tips for Cheesy Baked Rigatoni
Perfect Pasta: Ensure you cook the rigatoni just until al dente. Overcooking will result in mushiness since it will continue cooking in the oven.
Flavor Boost: For a richer taste, allow the cooked meats to simmer with the marinara sauce for a few minutes before mixing in the pasta.
Cheese Choices: Don’t shy away from experimenting! While mozzarella reigns supreme, a blend of cheeses can elevate your Cheesy Baked Rigatoni. Consider adding fontina or cheddar for a unique twist.
Vegetable Additions: Sneak in extra nutrition by adding sautéed spinach, zucchini, or bell peppers to the meat mix. It not only enhances the flavors but also makes the dish more colorful!
Make Ahead: You can assemble the dish a day in advance. Just cover it tightly and store it in the fridge until you’re ready to bake—perfect for stress-free meals!
How to Store and Freeze Cheesy Baked Rigatoni
Fridge: Keep any leftover cheesy baked rigatoni in an airtight container for up to 3 days. Reheat in the microwave or oven until warmed through.
Freezer: For longer storage, freeze portions in airtight containers or freezer bags for up to 3 months. Thaw in the fridge overnight before reheating.
Reheating: To reheat from refrigerated or thawed state, place in a preheated oven at 350°F (175°C) for about 20-30 minutes, or until heated and cheese is bubbly.
Assemble Ahead: You can prepare the cheesy baked rigatoni in advance, store in the fridge for up to 24 hours before baking, making meal prep a breeze!
Cheesy Baked Rigatoni Variations
Don’t hesitate to sprinkle your own magic on this classic, letting your imagination and taste buds guide you!
-
Dairy-Free: Substitute mozzarella and Parmesan with plant-based cheese alternatives for a delicious dairy-free experience.
-
Protein Swap: Replace ground beef with shredded chicken or rotisserie chicken for a lighter, yet flavorful option that’s still hearty.
-
Veggie Boost: Toss in sautéed spinach, zucchini, or bell peppers for an extra nutrition punch and vibrant colors that appeal to the eyes.
-
Gluten-Free: Swap rigatoni for gluten-free pasta to cater to dietary needs without compromising on taste; no one will know the difference!
-
Spicy Kick: Kick up the heat by adding crushed red pepper flakes or diced jalapeños into the meat mixture for those who crave a little extra warmth.
-
Herbed Goodness: Infuse more flavor into your sauce by stirring in fresh basil or Italian seasoning for a garden-fresh aroma and taste.
-
Cheesy Variety: Experiment with different cheese combinations! A blend of mozzarella and fontina can create a delightful melty texture.
-
Pesto Twist: Mix in a few tablespoons of pesto with the marinara sauce for a burst of herby flavor that elevates the dish to new heights.
Each variation is a journey into creativity and can beautifully complement the comforting essence of your Cheesy Baked Rigatoni Pasta. Don’t forget to explore additional pasta recipes like Campanelle Pasta Culinary Delight for more inspiration!
Make Ahead Options
These Cheesy Baked Rigatoni Pasta dishes are perfect for meal prep enthusiasts! You can prepare the entire casserole up to 24 hours in advance before baking. Simply assemble the rigatoni with its savory ingredients, layer it in your baking dish, and cover it tightly with foil before refrigerating. If you’d like to prep even further ahead, you can freeze the unbaked rigatoni for up to 3 months—just wrap it well in plastic wrap before adding the foil. To maintain its quality, thaw it overnight in the fridge before baking. When ready to serve, uncover and bake as directed, ensuring it’s heated thoroughly for restaurant-quality results with minimal effort!
What to Serve with Cheesy Baked Rigatoni?
Turning a cozy dish into a memorable meal is easy with these delightful pairings that elevate your dining experience.
-
Crisp Green Salad: A fresh salad with mixed greens, cherry tomatoes, and a tangy vinaigrette adds brightness to the meal, balancing the richness of the rigatoni. Toss in some nuts for a delightful crunch!
-
Garlic Bread: Buttery, toasted garlic bread offers a crunchy contrast to the gooey pasta, perfect for mopping up that delicious marinara sauce. It’s a classic companion for any Italian dish!
-
Roasted Vegetables: Serve a medley of roasted veggies, like zucchini, bell peppers, and asparagus, to introduce a sweet and savory element that complements the heartiness of cheesy baked rigatoni.
-
Cheesy Garlic Knots: These soft, garlic-kissed rolls with a gooey cheese center make for a fun and indulgent side that pairs perfectly with every bite of the baked rigatoni—ideal for satisfying carb cravings!
-
Chilled White Wine: A crisp, chilled Pinot Grigio or Sauvignon Blanc provides a refreshing contrast, enhancing the flavors of the dish while offering a touch of elegance to your dinner table.
-
Italian Caprese Skewers: Fresh mozzarella, ripe tomatoes, and basil drizzled with balsamic glaze create a colorful and satisfying appetizer that gets your guests excited before the main course.
-
Tiramisu: End your meal on a sweet note with this classic Italian dessert. Its coffee-infused layers complement the savory rigatoni, leaving everyone with a satisfied smile!
Cheesy Baked Rigatoni Recipe FAQs
What type of rigatoni should I use?
Absolutely! Any high-quality, sturdy rigatoni will work wonders in this dish. If you want to mix things up, feel free to swap it for penne or ziti; just ensure they can hold the sauce well.
How should I store leftover Cheesy Baked Rigatoni?
The best method is to transfer any leftovers into an airtight container and store them in the fridge for up to 3 days. When you’re ready to enjoy, simply reheat it in the microwave or oven, and it will taste just as delightful as when it was freshly made!
Can I freeze Cheesy Baked Rigatoni?
Certainly! For freezing, allow it to cool completely first. Then, transfer portions into airtight containers or freezer bags, labeling them for easy reference. You can keep it in the freezer for up to 3 months. Thaw in the fridge overnight before reheating—it’s such a convenient meal option for busy days!
What if my rigatoni comes out mushy?
Not to worry! If you accidentally overcook your rigatoni, it might become mushy when baked. Next time, be mindful to cook it just until al dente—this usually means boiling for around 8-10 minutes, and remember that it will continue cooking in the oven.
Are there any dietary considerations for this recipe?
Definitely! If you’re cooking for someone with dairy intolerance, I’ve had great success using dairy-free cheese alternatives like almond-based mozzarella. You can also opt for gluten-free pasta if needed, making this Cheesy Baked Rigatoni Pasta enjoyable for everyone at the table.
Can I prepare this dish ahead of time?
Of course! You can assemble all the ingredients in the baking dish and store it in the fridge for up to 24 hours before baking. This makes it perfect for busy weeknights, allowing those delightful flavors to meld together beautifully before cooking.
Cheesy Baked Rigatoni Pasta: Comfort Food Made Easy
Ingredients
Equipment
Method
- Preheat the oven to 375°F (190°C).
- Cook rigatoni pasta in salted boiling water until al dente, about 8 to 10 minutes. Drain and set aside.
- Brown Italian sausage and ground beef in a skillet over medium heat for 7 to 9 minutes, seasoning to taste. Drain excess fat.
- In a mixing bowl, combine cooked rigatoni, browned meats, marinara sauce, mozzarella cheese, and half of the Parmesan cheese.
- Transfer the mixture to a greased 9x13-inch baking dish. Top with remaining Parmesan and mozzarella.
- Cover with foil and bake for 30 minutes. Remove foil and bake an additional 15 to 20 minutes until bubbly and golden.
- Let cool for 5 minutes before slicing and serving.
")