")
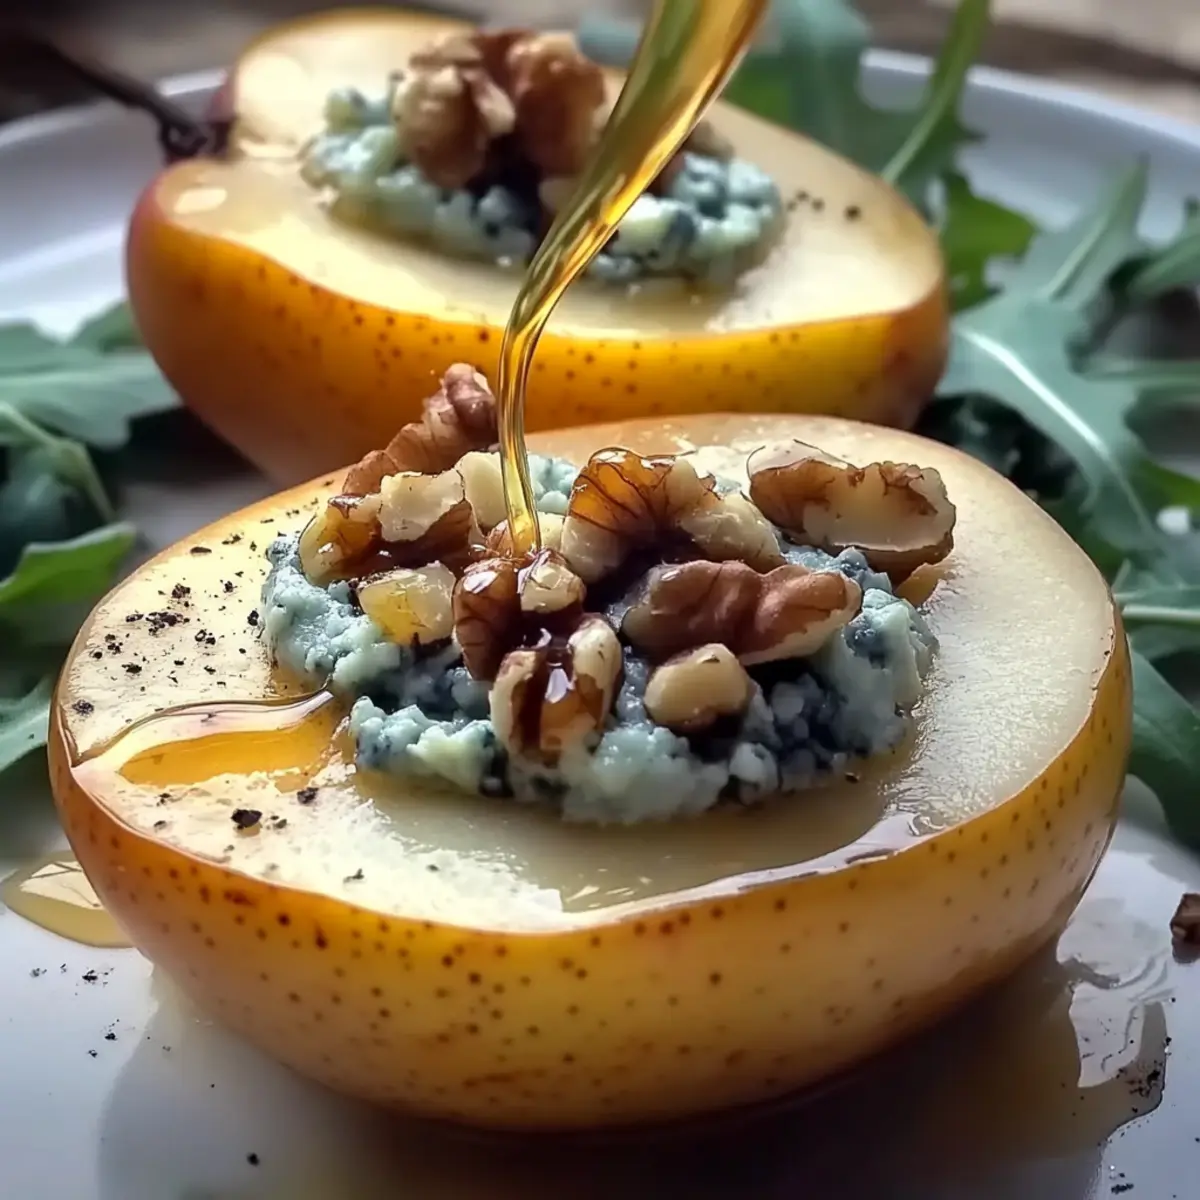
With each holiday season that rolls around, I find myself caught in a delightful food-related conundrum: how to impress my guests without spending the entire day in the kitchen. Enter the elegant Blue Cheese Stuffed Pears, a sophisticated appetizer that has quickly become my go-to solution! These gorgeous little bites combine tender, ripe pears with creamy blue cheese and the crunch of walnuts, all drizzled with honey for an irresistible sweet and savory finish. Not only do they whip up in just 30 minutes, but they also bring a touch of gourmet flair to any gathering, whether it’s a cozy family dinner or a festive celebration. Ready to elevate your appetizer game? Let’s dive into this delightful recipe that your taste buds will thank you for!
Why Are Blue Cheese Stuffed Pears a Must-Try?
Gourmet Simplicity: Prepare a show-stopping appetizer in just 30 minutes.
Flavor Harmony: The sweet pears balance the richness of blue cheese beautifully.
Versatile Variations: Tailor to your taste—try feta, walnuts, or even goat cheese.
Impressive Presentation: Beautifully plated, they add a touch of elegance to any table.
Crowd-Pleasing Delight: Perfect for gatherings, they’re sure to impress family and friends. You’ll love serving these with a refreshing salad, maybe a classic Sara Lee Cheesecake for dessert!
Blue Cheese Stuffed Pears Ingredients
For the Pears
- Pears – Choose ripe but firm varieties like Bartlett or Anjou for the best texture.
For the Filling
- Blue Cheese – This provides a rich and creamy filling; feel free to substitute with feta for a lighter option.
- Walnuts – Adds a delightful crunch; pecans are a great swap or simply omit for a nut-free version.
- Fresh Lemon Juice – Brightens the flavor profile, perfectly balancing the richness of the blue cheese.
- Salt and Pepper – Essential seasonings to elevate all the flavors in the filling.
For the Drizzle
- Honey – Adds a wonderful sweetness; you can replace it with maple syrup or agave for a different twist.
Optional Topping
- Arugula or Mixed Greens – Creates a fresh bed for serving, enhancing both presentation and flavor.
These Blue Cheese Stuffed Pears are the perfect blend of sweet and savory, sure to tantalize your taste buds and impress your guests!
Step‑by‑Step Instructions for Blue Cheese Stuffed Pears
Step 1: Preheat the Oven
Begin by preheating your oven to 375°F (190°C). This temperature will ensure your Blue Cheese Stuffed Pears bake evenly, achieving a tender texture while the filling turns golden brown. While the oven heats, gather your ingredients and prepare your baking sheet by lining it with parchment paper for easy cleanup.
Step 2: Prepare the Pears
Wash the pears and slice them in half lengthwise. Using a spoon, scoop out the core and seeds to create a small cavity for the filling. As you place the pear halves cut side up on the parchment-lined baking sheet, you’ll begin to see how these elegant Blue Cheese Stuffed Pears will come together, ready for their delicious filling.
Step 3: Make the Filling
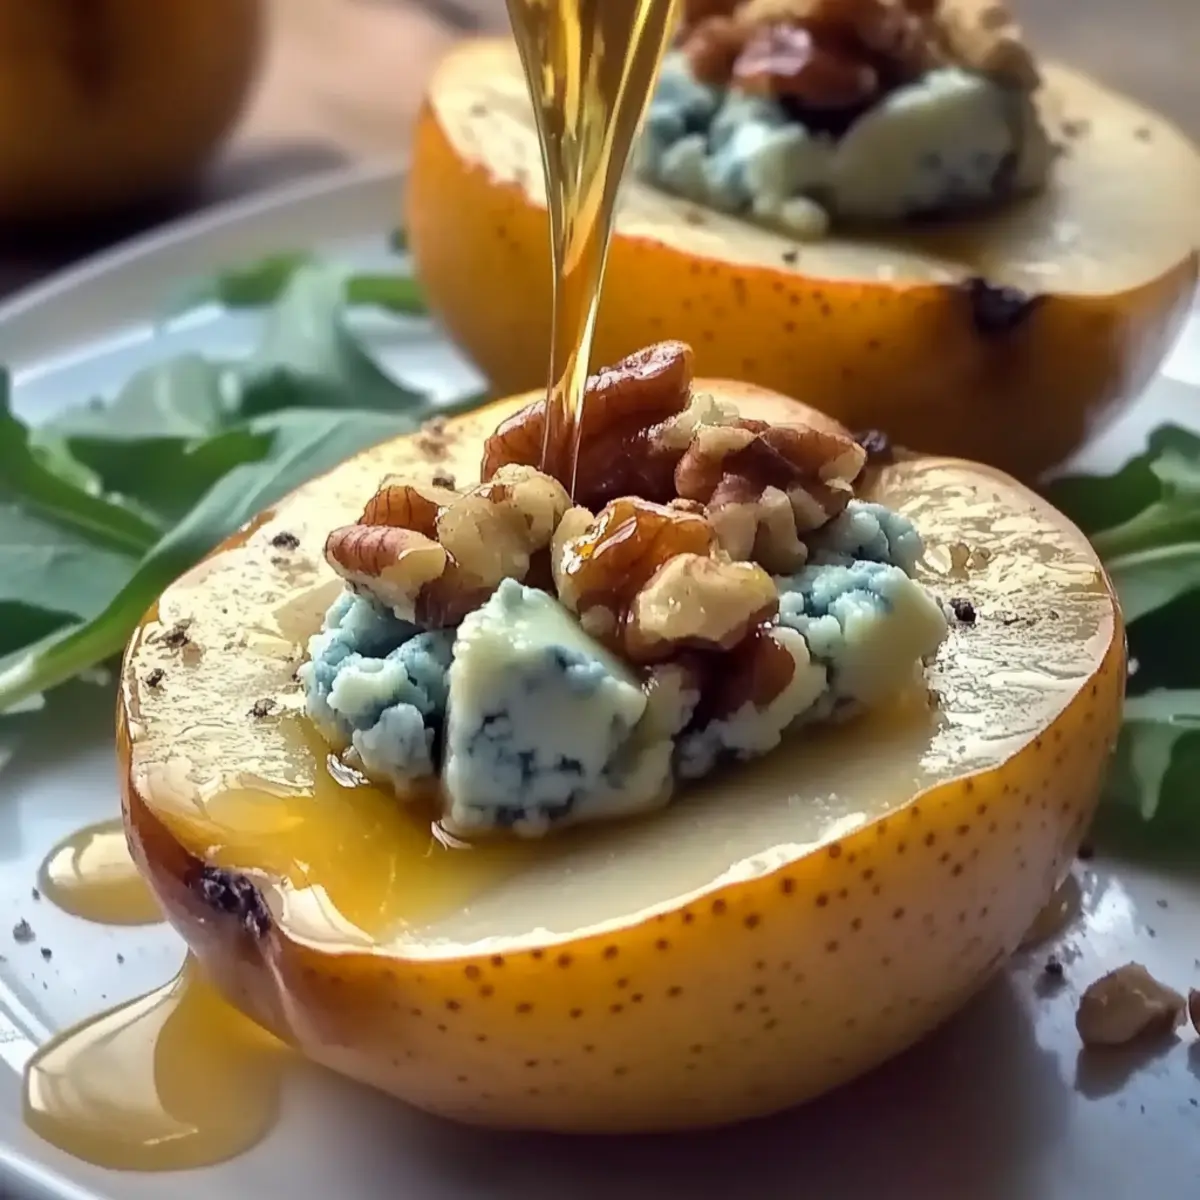
In a mixing bowl, combine crumbled blue cheese, chopped walnuts, fresh lemon juice, salt, and pepper. Mix thoroughly with a fork until the ingredients are well incorporated. This creamy filling blends savory and nutty elements, enhancing the flavor of the pears. The filling should be generous, as it adds richness to each bite.
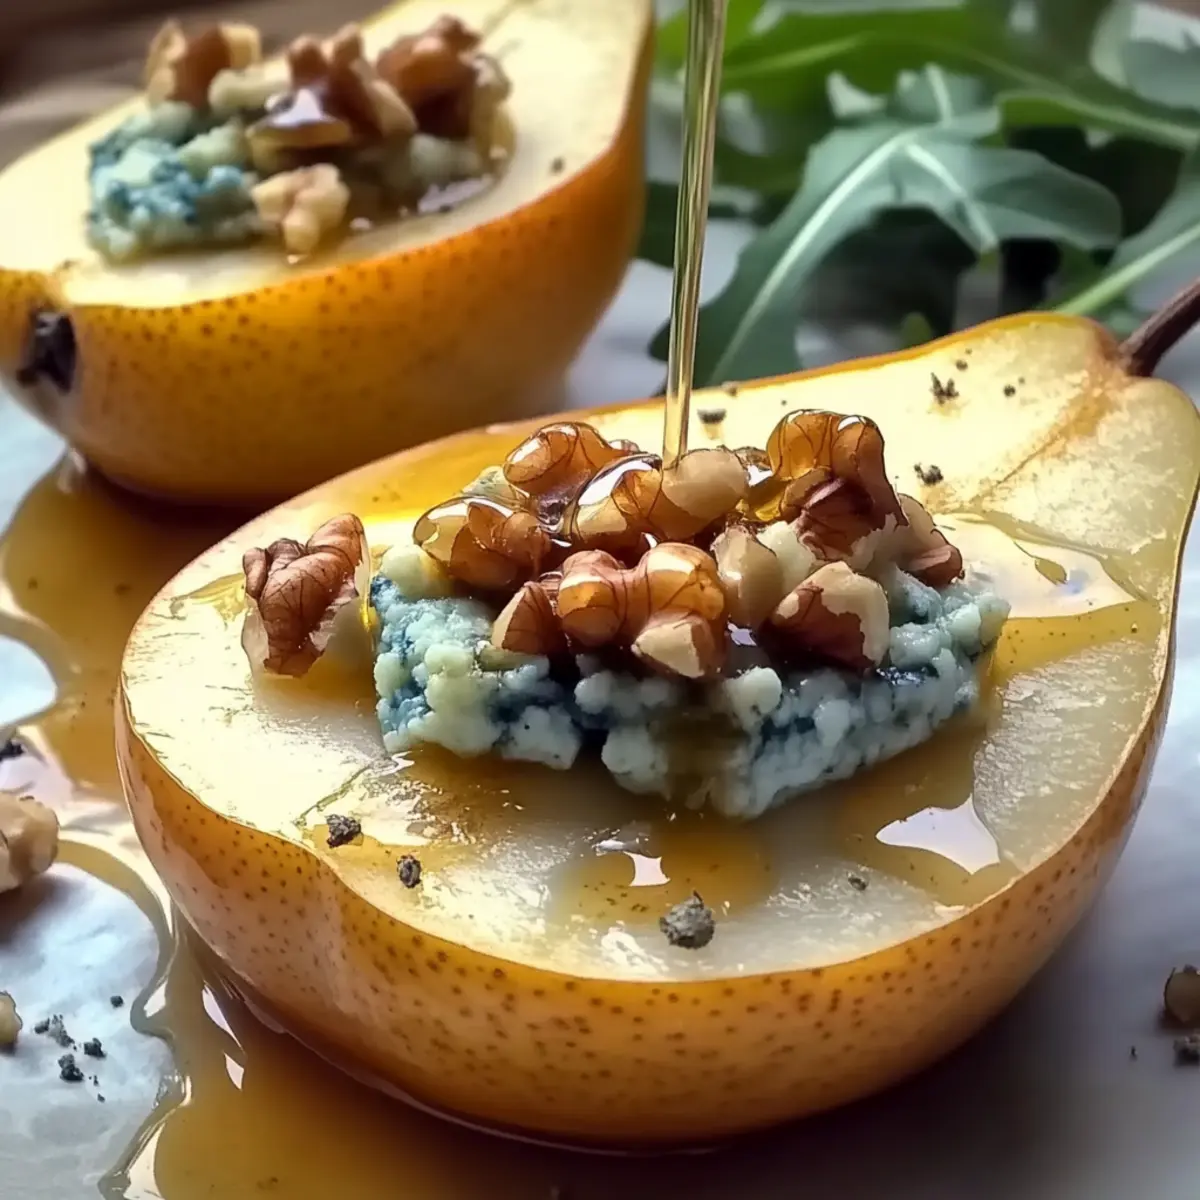
Step 4: Fill the Pear Halves
Spoon the blue cheese mixture generously into the hollowed cavities of each pear half. Aim to fill them to the brim, ensuring that every bite of your Blue Cheese Stuffed Pears is full of flavor. The contrast between sweet pears and the savory filling will create a delightful balance that impresses at any gathering.
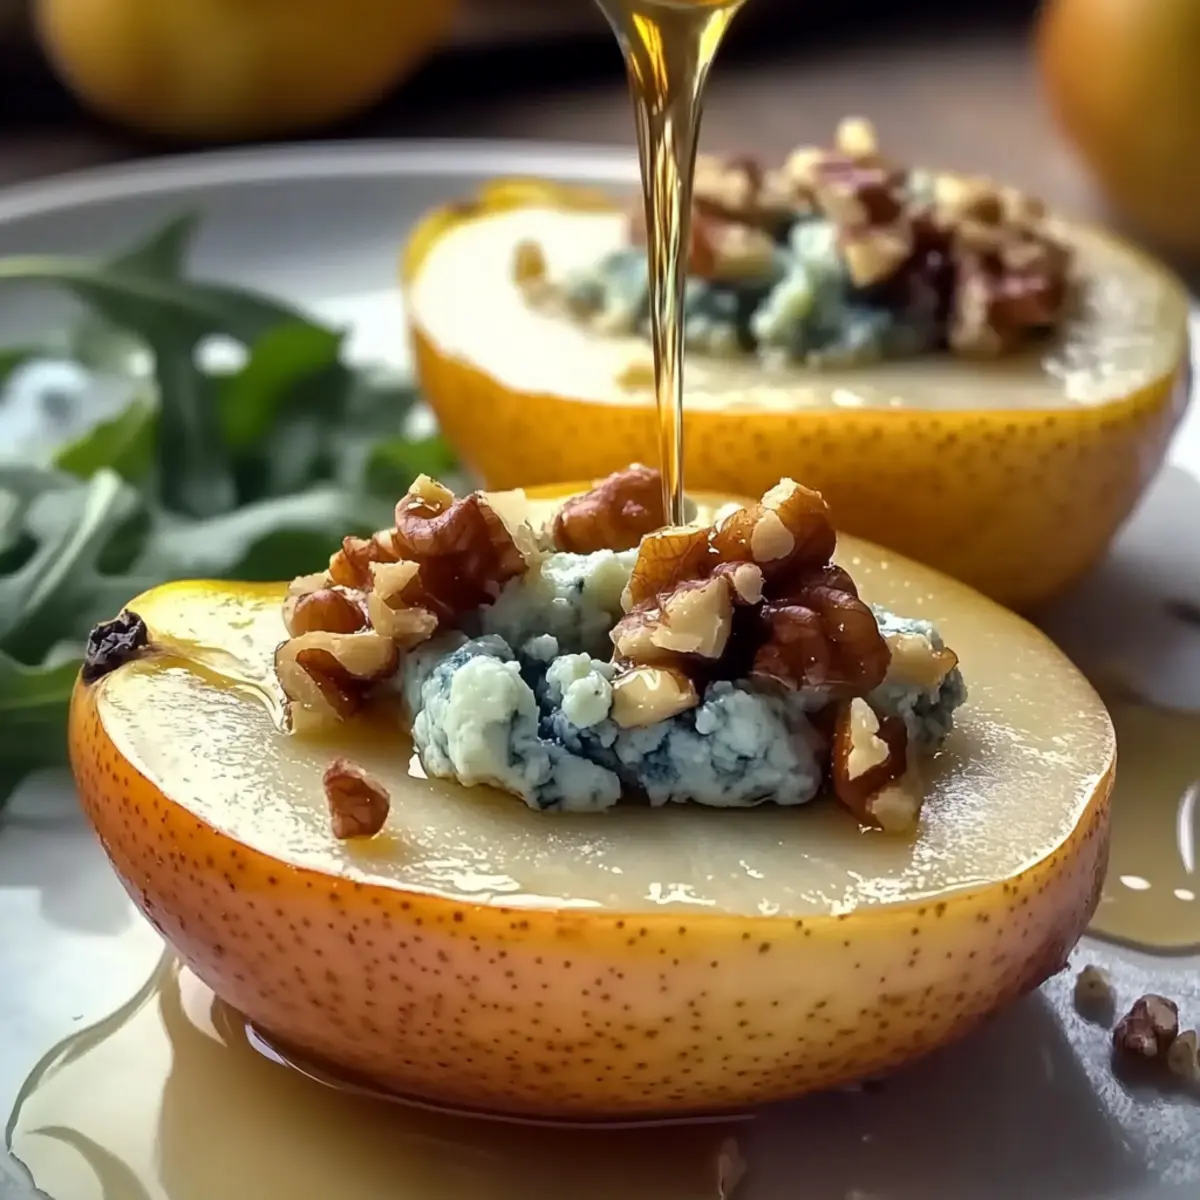
Step 5: Drizzle with Honey
Once the pears are filled, drizzle a bit of honey over each one for that perfect touch of sweetness. This step enhances the overall taste profile, complementing the rich blue cheese. Feel free to use maple syrup or agave if you prefer an alternative. The golden drizzle will also add a beautiful warm sheen.
Step 6: Bake the Stuffed Pears
Place the baking sheet in your preheated oven and bake for about 15 to 20 minutes. Keep an eye on the pears; they should become tender, while the filling bubbles slightly and turns a lovely golden brown. This is when the sweet and savory aroma fills your kitchen, making it hard to resist.
Step 7: Serve Warm
Once baked, remove the Blue Cheese Stuffed Pears from the oven and allow them to cool slightly. For a stunning presentation, serve them on a bed of fresh arugula or mixed greens. You can add more honey drizzle on top if desired to enhance the look and flavor of your appetizer, ready to wow your guests!
Storage Tips for Blue Cheese Stuffed Pears
Fridge: Store any leftover Blue Cheese Stuffed Pears in an airtight container in the fridge for up to 3 days. This helps maintain their texture and flavor.
Freezer: To freeze, individually wrap the stuffed pears in plastic wrap, then place them in a freezer-safe bag. They can be frozen for up to 2 months; just remember to thaw them in the fridge before reheating.
Reheating: For the best results, reheat in a preheated oven at 350°F (175°C) for about 10-15 minutes or until heated through, maintaining that delightful balance of sweet and savory.
Serving Fresh: Blue Cheese Stuffed Pears are best enjoyed fresh, so consider prepping the filling ahead of time, storing it separately, and stuffing just before serving.
What to Serve with Elegant Blue Cheese Stuffed Pears?
The perfect accompaniment can elevate your Blue Cheese Stuffed Pears into a mesmerizing meal experience, creating a lovely balance of flavors and textures.
-
Arugula Salad: A fresh, peppery arugula salad with a lemon vinaigrette complements the sweetness of the pears beautifully. The greens add a refreshing contrast to each delightful bite.
-
Chardonnay: Pair with a chilled glass of Chardonnay for a luxurious touch. Its fruity, oaked notes enhance the flavors of the cheese while balancing the sweetness of the pears.
-
Honey Glazed Carrots: These tender, sweet carrots can enhance the overall sweetness found in the pears, bringing a vibrant color and earthy taste to the table.
-
Walnut Bread: Serve alongside a slice of warm walnut bread to mirror the nutty goodness inside the stuffed pears. This adds heartiness to your appetizer experience.
-
Balsamic Reduction Drizzle: A simple drizzle of balsamic reduction adds a tangy sophistication which works wonders with the flavor profile, enhancing both the pears and any leafy greens served.
-
Fresh Fig Compote: This rich and sweet topping brings another layer of indulgence, creating a delightful contrast with the creamy blue cheese and crunchy walnuts in the pears.
-
Classic Cheesecake: Finish your meal with a slice of light, creamy cheesecake. Its smooth texture and flavor provide a sweet finale to round out the rich, savory notes of your appetizer.
Make Ahead Options
These elegant Blue Cheese Stuffed Pears are perfect for busy home cooks looking to save time! You can prepare the filling (blue cheese, walnuts, lemon juice, salt, and pepper) up to 24 hours in advance; simply store it in an airtight container in the refrigerator. Additionally, you can halve and core the pears up to 3 days ahead; to prevent browning, drizzle them lightly with lemon juice and cover tightly. When you’re ready to serve, just fill the predetermined pear halves with the chilled mixture, drizzle with honey, and bake as instructed. This way, you’ll have a gourmet appetizer on the table in no time, allowing you to focus on enjoying your gathering!
Expert Tips for Blue Cheese Stuffed Pears
- Choosing Pears: Select ripe, firm pears like Bartlett or Anjou; overripe pears can turn mushy during baking, losing their appealing texture.
- Generous Filling: Pack the blue cheese mixture into the pears thoroughly; under-filling leads to bland bites that miss the flavor punch.
- Flavor Enhancements: Experiment by adding dried cranberries for a tangy twist or consider using different nuts like almonds, which add new textures to your Blue Cheese Stuffed Pears.
- Drizzle Wisely: Apply honey just before serving or lightly after baking; drizzling too early can lead to overly sticky pears that lose their freshness.
- Presentation Tips: Serve them warm on a colorful bed of arugula or mixed greens for a stylish plate that boosts visual appeal and elevates the dining experience.
Blue Cheese Stuffed Pears Variations
Feel free to play around with this recipe to suit your tastes and dietary needs!
- Gluten-Free: Use gluten-free crackers or bread as a base for serving alongside for a complete appetizer spread.
- Nut-Free: Simply omit the walnuts or replace them with seeds like sunflower seeds for crunch without the nuts.
- Sweet & Spicy: Add a pinch of cayenne or red chili flakes to the filling for a small kick that elevates the flavor.
- Fruit Forward: Include dried cranberries or figs in the cheese filling for a burst of sweetness and extra textures.
- Cheese Swap: For a milder flavor, substitute blue cheese with goat cheese or feta to suit different palates.
- Herbed Up: Mix in fresh herbs like thyme or rosemary into the filling for an aromatic twist that complements the pears beautifully.
- Balsamic Reduction: Drizzle a balsamic glaze over the finished dish for a tangy finish that marries well with the sweetness of the pears.
With options aplenty, you can always keep your appetizer game exciting! Pair these stuffed pears with a stunning Goat Cheese Appetizer or finish off your gathering with a classic Sara Lee Cheesecake for dessert. Your culinary creativity is your only limit!
Blue Cheese Stuffed Pears Recipe FAQs
What type of pears should I use for Blue Cheese Stuffed Pears?
Absolutely! It’s best to choose ripe but firm varieties like Bartlett or Anjou. This ensures that the pears hold their shape during baking and deliver a delightful texture—soft yet not mushy.
How should I store Blue Cheese Stuffed Pears after making them?
After preparing, store any leftover Blue Cheese Stuffed Pears in an airtight container in the fridge. They can remain fresh for up to 3 days. Keeping them covered will help maintain their flavor and texture, allowing you to enjoy the leftovers in style!
Can I freeze Blue Cheese Stuffed Pears for later?
Very! To freeze, first, wrap each stuffed pear individually in plastic wrap and place them inside a freezer-safe bag. They can be stored for up to 2 months. When you’re ready to enjoy them, thaw in the fridge overnight and reheat gently in a preheated oven at 350°F (175°C) for about 10-15 minutes until warmed through.
What if my filling isn’t creamy enough for my Blue Cheese Stuffed Pears?
No worries at all! If your filling seems too dry or crumbly, consider adding a splash of cream or a bit of olive oil to help bind the ingredients better. Mix it in until you achieve that desired creamy consistency. Remember, this filling is meant to be rich and scrumptious, enhancing the sweet pears!
Are Blue Cheese Stuffed Pears suitable for people with nut allergies?
Absolutely! If you or your guests have nut allergies, simply omit the walnuts from the recipe. The result will still be deliciously balanced with the creamy blue cheese and sweet pears. You might want to incorporate something like cooked quinoa or seeds for added texture if desired.
How can I enhance the flavor of my Blue Cheese Stuffed Pears?
For a punch of additional flavor, consider mixing in dried cranberries with your filling for a nice tartness or using different kinds of cheese like goat cheese. You might also try adding some chopped herbs such as thyme or rosemary to the cheese mixture, providing an aromatic twist that can delight the senses!
Delicious Blue Cheese Stuffed Pears for Elegant Appetizers
Ingredients
Equipment
Method
- Preheat your oven to 375°F (190°C). Prepare your baking sheet by lining it with parchment paper.
- Wash the pears and slice them in half lengthwise, scooping out the core and seeds.
- In a mixing bowl, combine crumbled blue cheese, chopped walnuts, fresh lemon juice, salt, and pepper. Mix until well incorporated.
- Spoon the blue cheese mixture generously into the hollowed cavities of each pear half.
- Drizzle honey over each filled pear for the perfect sweetness.
- Place the baking sheet in your preheated oven and bake for about 15 to 20 minutes until tender and golden brown.
- Serve warm on a bed of arugula or mixed greens, with additional honey drizzle if desired.
")