")
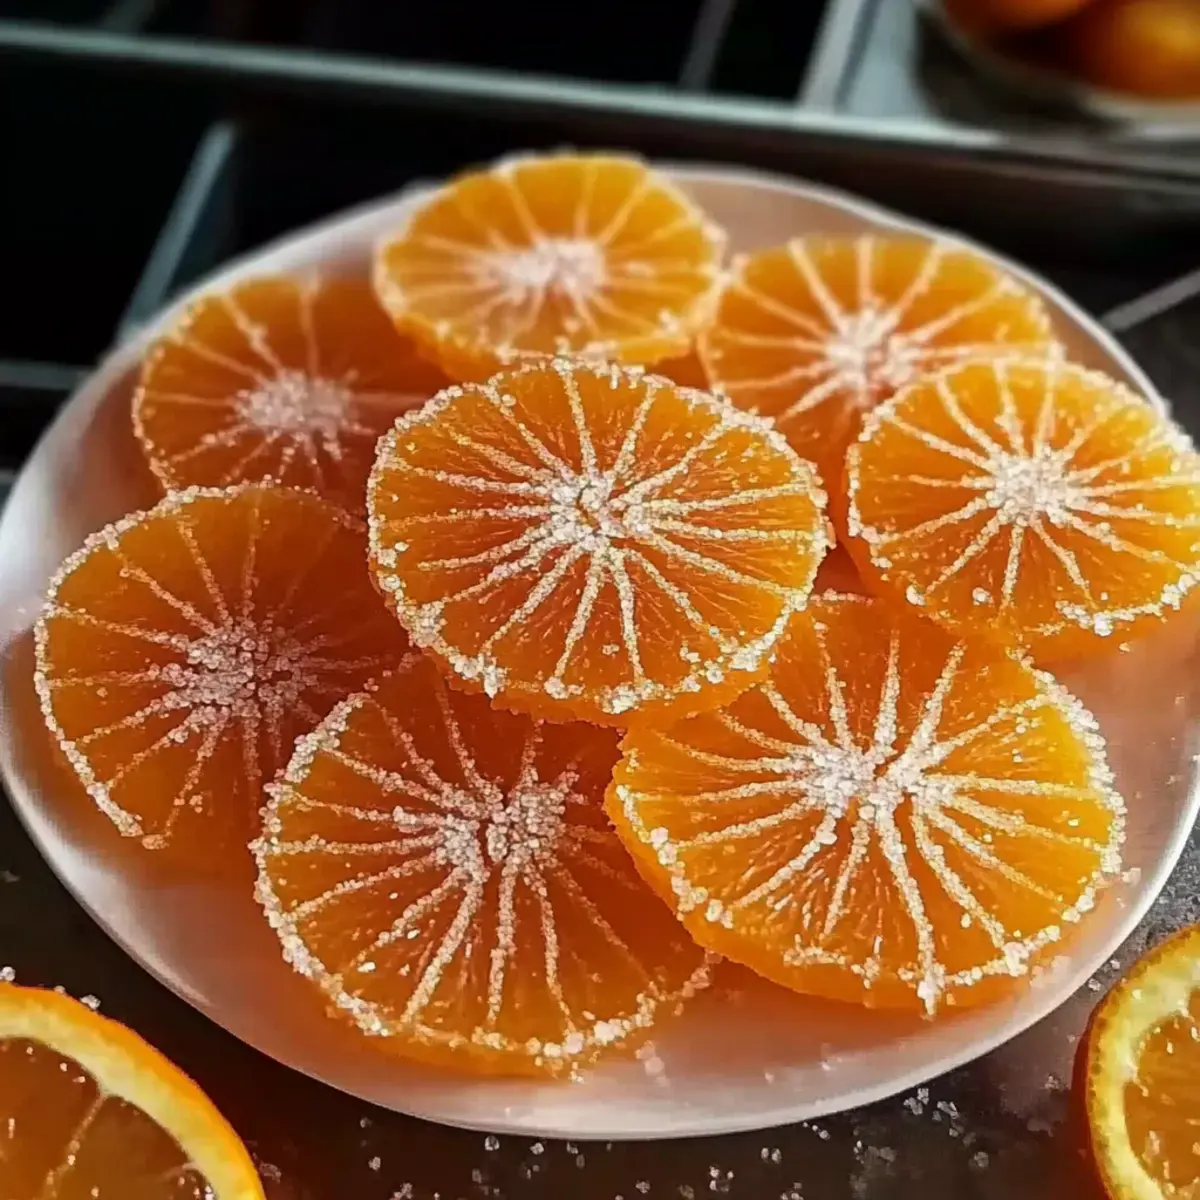
There’s something magical about the first bite of Classic Homemade Orange Candy, where the bright citrus flavor dances on your tongue. The best part? You can whip up this treat with just two simple ingredients—perfect for those of us who crave homemade charm without the fuss. These naturally vegan and gluten-free candied orange slices not only make an irresistible snack but also elevate your desserts and cocktails with a touch of elegance. Plus, they’re make-ahead friendly, lasting for weeks when stored properly. Curious how to create these delightful bites that brighten up any dish? Let’s dive in!
Why Make Homemade Orange Candy?
Simplicity at its core: You only need two ingredients—oranges and sugar—to create these delightful treats, making it a breeze for anyone!
Versatile use: These candied slices double as snacks or stunning garnishes for desserts and cocktails, adding a dash of elegance to any occasion.
Vegan and gluten-free: Enjoy this guilt-free indulgence without worrying about dietary restrictions, allowing everyone to savor the sweetness!
Make-ahead magic: Prepare ahead of time and store in an airtight container, so you can have these tasty bites ready whenever the craving strikes. Plus, check out our Pepper Lunch Homemade recipe for another exciting kitchen adventure!
Indulge in the nostalgic charm of homemade candy that brings a burst of sunshine into your life!
Homemade Orange Candy Ingredients
-
For the Candy
-
Oranges – Fresh citrus provides the primary flavor and structure for the candy; feel free to experiment with lemons or limes for a tangy twist.
-
Granulated Sugar – Acts as the sweetener and preservative; reducing the sugar content will result in boiled fruit instead of candy.
-
Optional Finishes
-
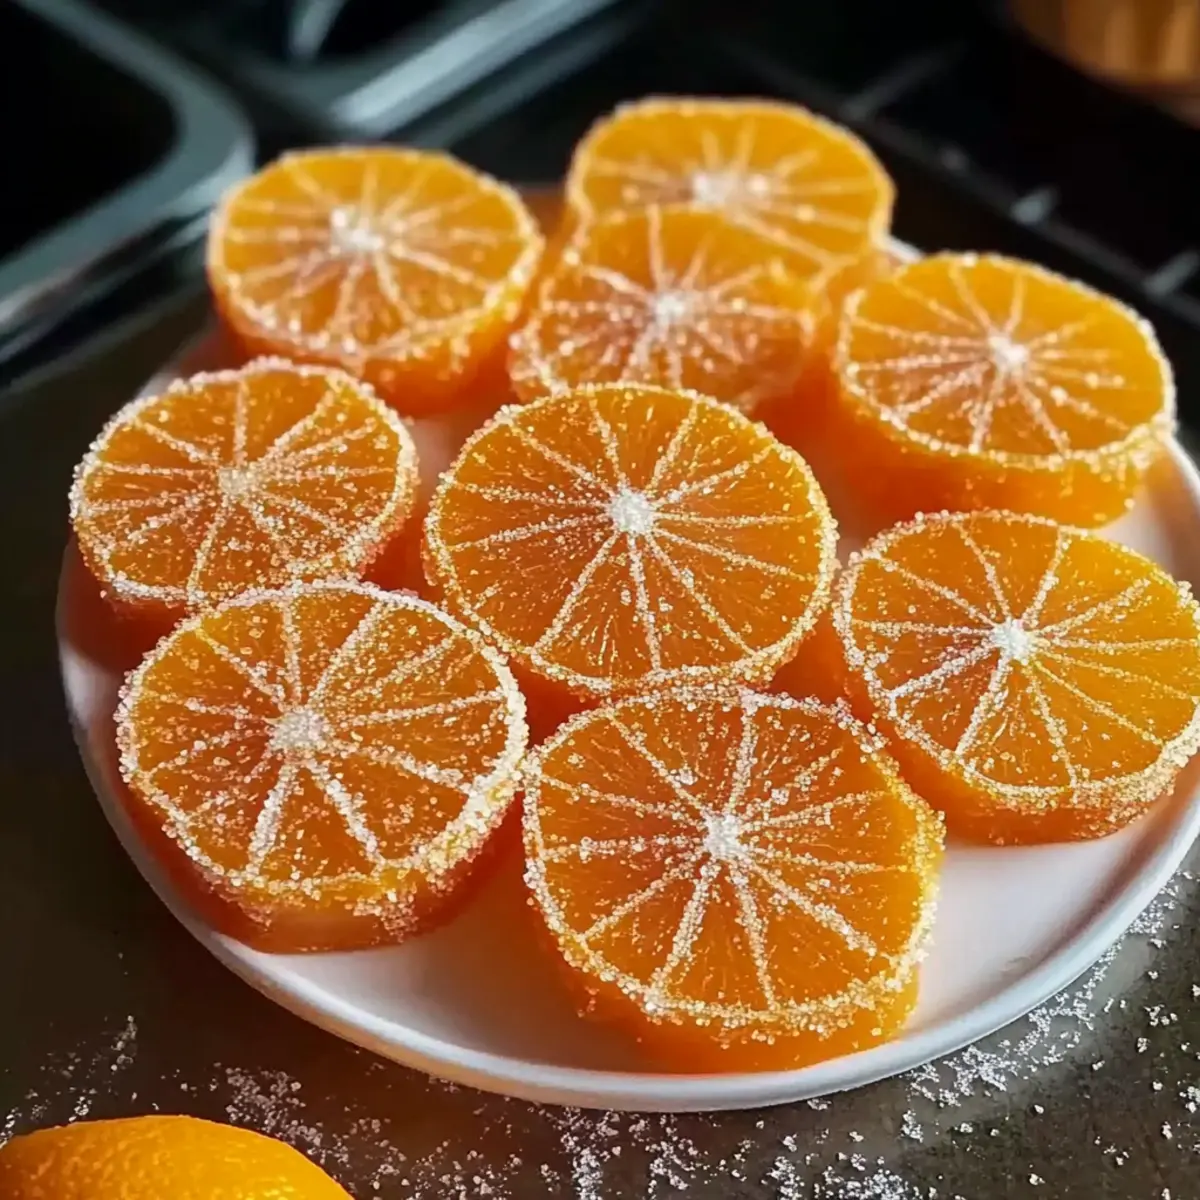
Granulated Sugar (for Rolling) – Rolling the dried slices gives a frosted look, enhancing both presentation and flavor.
-
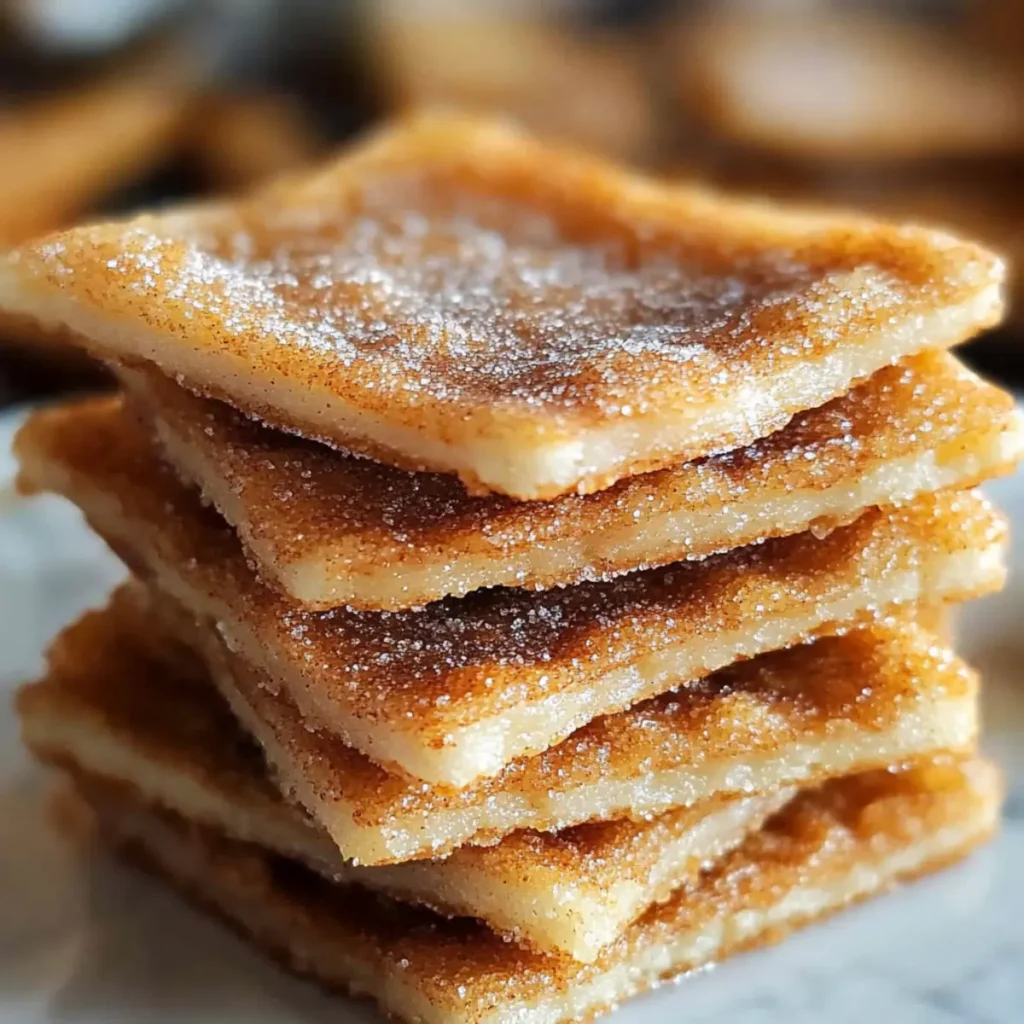
Melted Chocolate – A luscious dip that adds a rich contrast to the sweet tang of the homemade orange candy, creating an exquisite treat.
Step‑by‑Step Instructions for Homemade Orange Candy
Step 1: Prepare Oranges
Begin by washing and drying three small oranges or tangelos. Using a sharp knife or a mandoline, slice the oranges into uniform ¼-inch rounds. Ensure the cuts are even for consistent cooking, making it easier to achieve the perfect texture. Set aside your freshly-cut orange slices as you prepare to make the syrup.
Step 2: Make Syrup
In a large skillet or pot, combine three cups of granulated sugar with three cups of water. Heat the mixture over medium-high heat, stirring continuously until the sugar completely dissolves. Bring the syrup to a gentle boil, creating a steady bubble. This sweet base will ensure your homemade orange candy has the right consistency and flavor.
Step 3: Simmer Oranges
Reduce the heat to maintain a gentle simmer and carefully add the orange slices in a single layer. Allow them to simmer for 45 to 60 minutes, gently turning the slices occasionally. Watch for the orange peel to become translucent, indicating that they are properly cooked. This crucial step transforms the oranges into sweet, candied slices.
Step 4: Dry Slices
Once the orange slices reach that beautiful translucent stage, use tongs to carefully remove them from the syrup. Place the slices on a wire rack to cool, ensuring they are not overlapping. Allow them to dry at room temperature for 24 to 48 hours until they become tacky but firm, resembling the texture of gummy candy.
Step 5: Optional Finishes
For an extra touch, consider rolling the dried orange slices in granulated sugar to create a frosted effect, enhancing their sweetness and aesthetic appeal. Alternatively, dip the slices in melted chocolate for a luxurious treat. These variations add a delightful twist to your homemade orange candy, making them even more irresistible!
Step 6: Storage
Once completely dried and optionally finished, store your delightful homemade orange candy in an airtight container at room temperature. To preserve their chewy texture, avoid refrigeration. With proper storage, these treats can last for at least a month, ready to enjoy at a moment’s notice or share with loved ones.
Expert Tips for Homemade Orange Candy
-
Perfectly Cut Slices: Ensure your orange slices are uniformly cut to ¼-inch thickness for even cooking. This prevents some pieces from being too chewy while others remain undercooked.
-
Simmer time is key: Pay attention to the simmering duration; cooking for 45-60 minutes until the peels are translucent is crucial to avoid a soggy texture, ensuring a delightful homemade orange candy.
-
Keep it airtight: Store your finished slices in an airtight container at room temperature, avoiding refrigeration. This will help maintain their chewy texture for up to a month.
-
Optional sugar rolling: For a beautifully frosted effect, roll your dried slices in granulated sugar after drying. This simple step elevates both appearance and flavor, making your homemade orange candy irresistibly appealing.
-
Experiment with flavors: Don’t hesitate to try different citrus fruits, like blood oranges or lemons, for unique variations of this homemade orange candy that can surprise your taste buds!
What to Serve with Classic Homemade Orange Candy
Imagine a delightful table setting where sweet, tangy treats mingle with savory bites, creating an unforgettable meal experience.
-
Creamy Cheesecake: This rich dessert provides a luscious contrast to the chewy, citrusy sweetness of your homemade orange candy, balancing flavors beautifully.
-
Velvety Chocolate Mousse: A decadent pairing where the orange’s bright flavor cuts through the smooth chocolate, creating a harmony that sings on your palate. The combination is simply irresistible!
-
Sparkling Water with Mint: Refreshing and light, the effervescence of sparkling water enhances the vibrant orange flavor while mint adds a cool note, making it a perfect sip alongside the candy.
-
Salty Almonds: The crunchy, salty profile of almonds pairs well with the sweet candy, contrasting textures and teasing the taste buds for an equally delightful experience.
-
Herbed Goat Cheese Crostini: The tangy, creamy goat cheese offers a savory respite from the sweetness of the candy, while the crunchy crostini adds satisfying texture.
-
Citrus Salad: Bright, fresh greens with a citrus dressing echo the flavors of the orange candy, creating a refreshing and vibrant addition to your meal.
Indulging in these pairings will elevate your homemade orange candy to star status, ensuring every bite is sensational!
How to Store and Freeze Homemade Orange Candy
Airtight Container: Store your homemade orange candy slices in an airtight container at room temperature to preserve their chewy texture. They can last for up to one month.
Avoid Refrigeration: Refrigerating the candy can alter its texture, making it less enjoyable. Keep it away from moisture and heat for best results.
Freezing Not Recommended: While it might be tempting to freeze your orange candy for extended storage, it’s not recommended as it can negatively affect the candy’s consistency and taste.
Reheating Tips: If you’ve rolled your candies in sugar or dipped them in chocolate, there’s no need to reheat them. Simply enjoy them as they are for a delightful treat!
Homemade Orange Candy Variations & Substitutions
Feel free to personalize your homemade orange candy with these fun variations that add a new twist to this delightful treat!
-
Lemon Twist: Use fresh lemons instead of oranges for a zesty candy that brightens your palate.
-
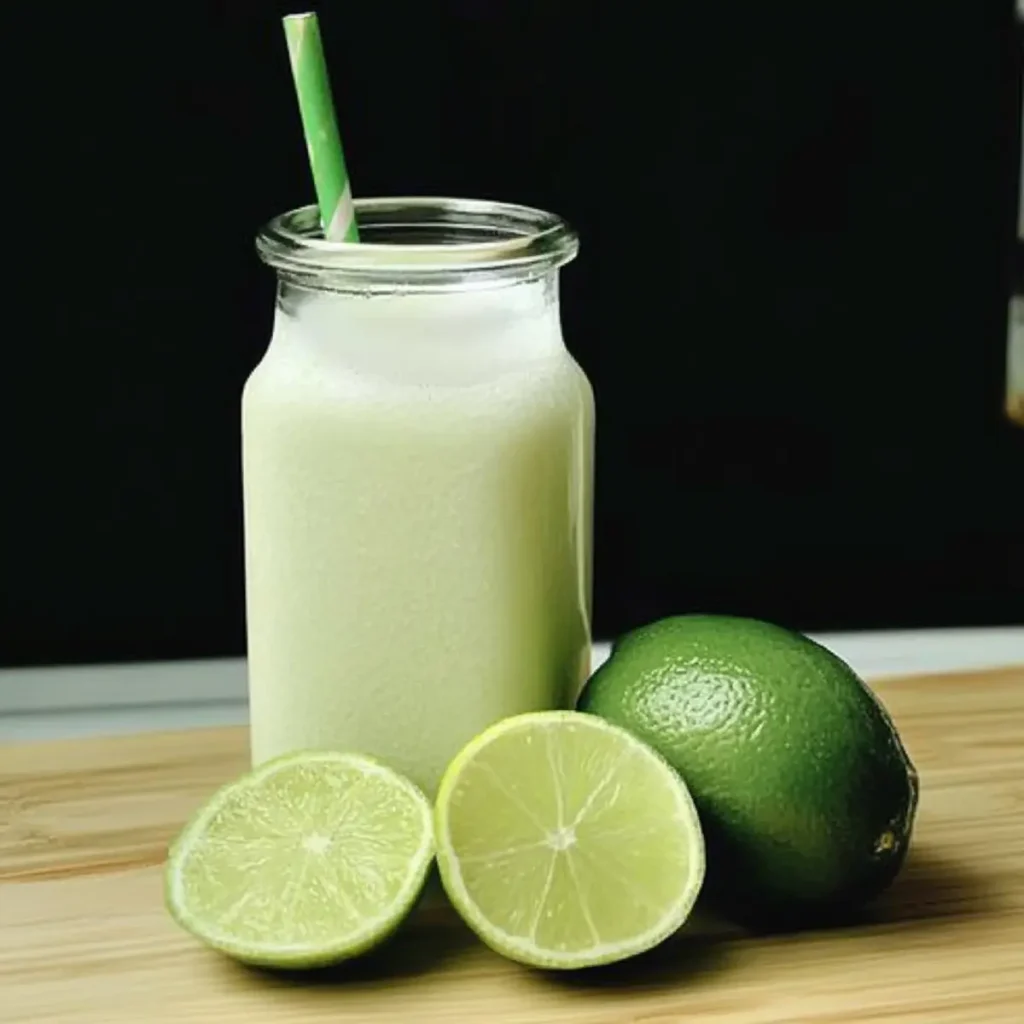
Lime Zing: Substitute limes for a tangy kick. These lime candies can elevate cocktails, adding a refreshing touch!
-
Blood Orange Delight: For a visually stunning treat, choose blood oranges, which offer a beautiful color and unique flavor profile.
-
Clementine Bites: Use small clementines for bite-sized pieces that are perfect for garnishing desserts or enjoying as snacks.
-
Chocolate-Covered: After drying, dip the slices in melted chocolate for a decadent treat that complements the tangy citrus.
-
Spice It Up: Add a pinch of cinnamon or cayenne pepper to the syrup for a warm flavor twist that brings heat to the sweetness.
-
Herbal Infusion: Infuse your syrup with fresh mint or thyme for a herbal note that adds elegance and complexity to the candy.
For even more kitchen inspiration, try incorporating these delightful variations while enjoying the process of making your own treats! And if you’re looking for a flavorful drink to accompany your candy, check out our guide on Vanilla Creamer Homemade!
Make Ahead Options
These Classic Homemade Orange Candy slices are perfect for those busy home cooks looking to save time while still indulging in a delightful treat! You can prepare the orange slices up to three days ahead of time, simply following the simmering and drying steps while refrigerating them (when fully cooled) in an airtight container. To ensure they maintain their chewy texture and glossy appearance, keep them at room temperature once dried and avoid moisture. When you’re ready to enjoy, just roll the slices in granulated sugar or dip them in melted chocolate for an exquisite finish. This way, you’ll have scrumptious candy ready at a moment’s notice, bringing joy and sweetness without the last-minute effort!

Homemade Orange Candy Recipe FAQs
How do I know if my oranges are ripe enough to use for candy?
Absolutely! Choose oranges that are firm and fragrant with a bright, smooth skin, avoiding any with dark spots or wrinkles. Look for those that feel heavy for their size, indicating juiciness. Ripeness enhances the flavor of your homemade orange candy, providing a delightful sweetness.
What’s the best way to store my homemade orange candy?
Store your candied orange slices in an airtight container at room temperature. If kept in these conditions, they can last for up to one month, maintaining their chewy texture and flavor. Make sure to keep them away from moisture and direct sunlight for optimal preservation.
Can I freeze my homemade orange candy?
While you might be tempted to freeze them for long-term storage, it’s not recommended. Freezing can alter the texture of the candy, making it chewy instead of soft and tender. Instead, just keep them in an airtight container at room temperature, ready to satisfy your sweet cravings!
What should I do if my orange slices are too chewy after simmering?
If your slices turn out too chewy, it’s likely that they weren’t simmered long enough or were cut unevenly. Next time, aim for uniform ¼-inch slices and ensure simmering for 45-60 minutes until the peels are fully translucent. If you encounter the chewyness after they’ve dried, you can soften them slightly by putting them in a covered dish with a damp paper towel for a few hours.
Are homemade orange candies safe for pets?
While homemade orange candy is a delightful treat for humans, it’s best to keep it away from pets. The sugar content and the citrus may not be suitable for dogs and cats. Always take care to store your candies in a pet-proof location!
Is there a way to make this recipe allergy-friendly?
Absolutely! This homemade orange candy is naturally vegan and gluten-free, making it great for those with specific dietary needs. However, always double-check that the granulated sugar you use is free from any additives or allergens if you have particular sensitivities. Enjoy making this simple, two-ingredient treat!

Homemade Orange Candy: Sweet, Simple, and Guilt-Free Treats
Ingredients
Equipment
Method
- Begin by washing and drying three small oranges or tangelos. Slice the oranges into uniform ¼-inch rounds.
- In a large skillet, combine three cups of granulated sugar with three cups of water and heat until dissolved. Bring to a gentle boil.
- Reduce heat to a simmer and add the orange slices, allowing them to simmer for 45 to 60 minutes.
- Once cooked, carefully remove slices and place them on a wire rack to dry for 24 to 48 hours.
- Roll dried slices in granulated sugar or dip in melted chocolate for optional finishes.
- Store your candy in an airtight container at room temperature.
")