")
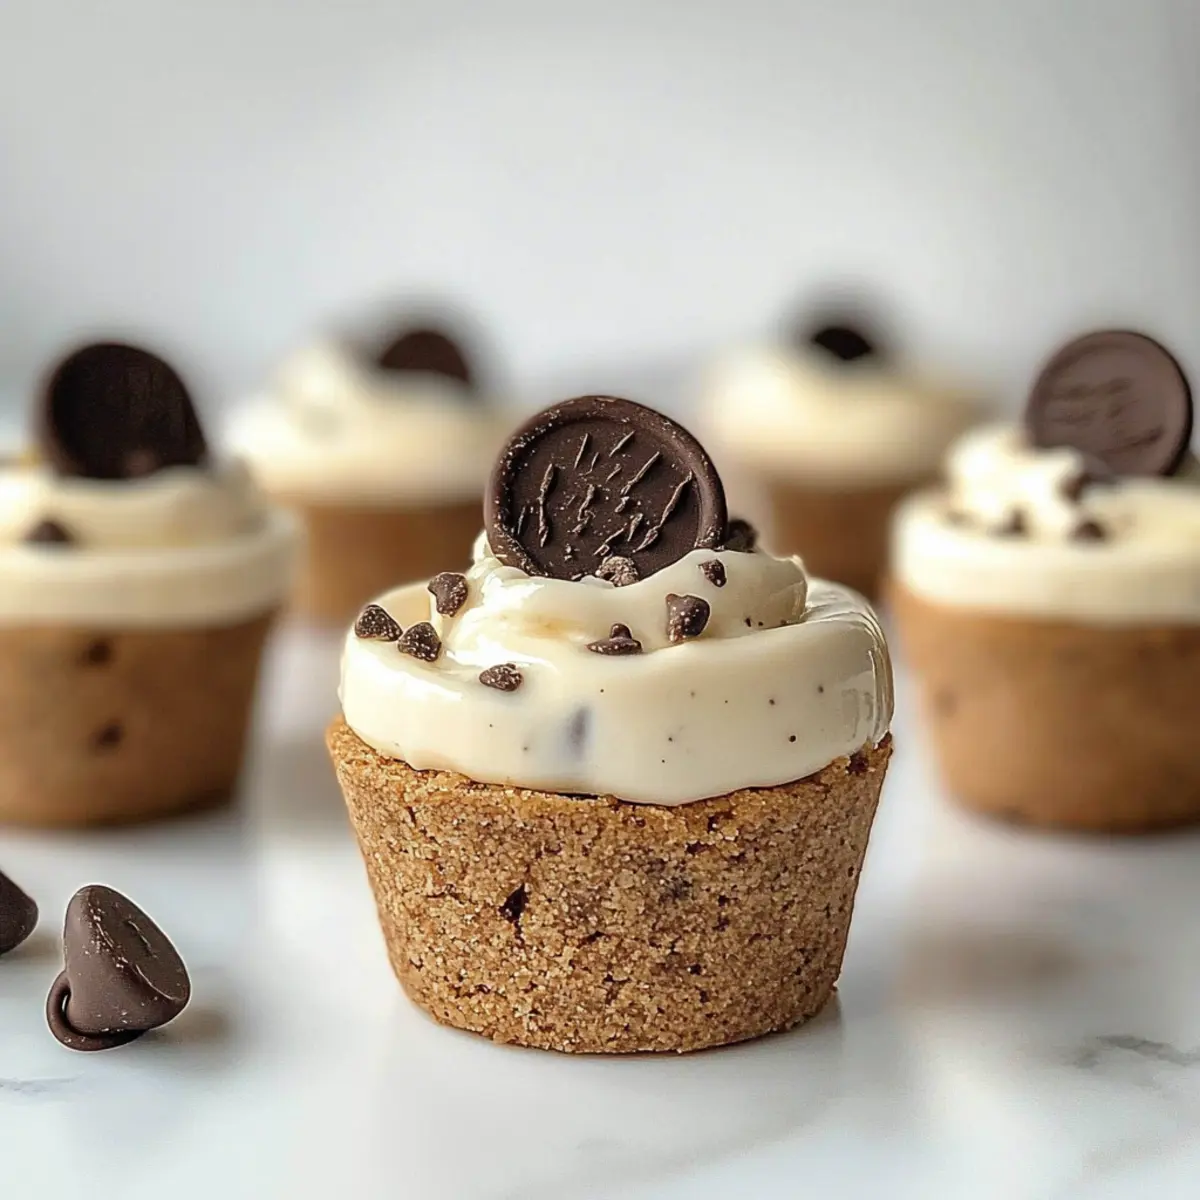
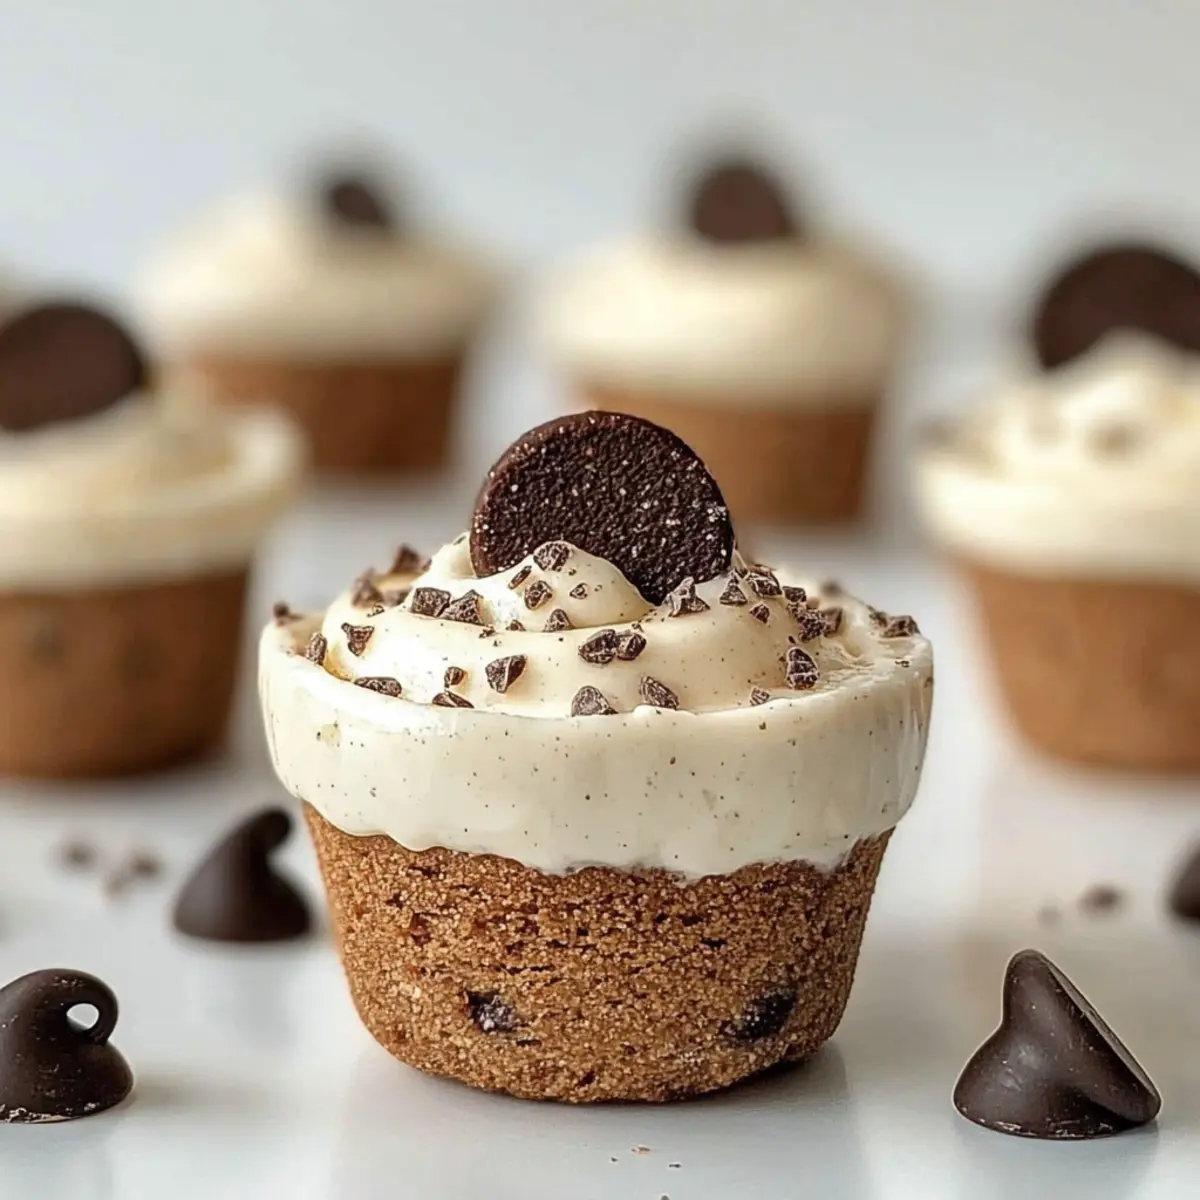
As I took my first bite of these Healthy High Protein Yogurt Cookie Dough Cups, the creamy texture and delightful hints of chocolate transported me to a world of guilt-free indulgence. With no baking required, this quick recipe is a game-changer for anyone craving a sweet treat without the typical sugar crash that comes afterwards. Perfect for busy days or after a workout, these cups take just 15 minutes to whip up, making them an ideal snack or dessert option. Not only are they packed with protein, but they also deliver that satisfying, doughy flavor we all love. Curious about how to make your own healthy twist on cookie dough? Let’s dive in!
Why Are These Yogurt Cookie Dough Cups Special?
Quick and Easy: In just 15 minutes, you can whip up these amazing Yogurt Cookie Dough Cups, making them a perfect last-minute snack or dessert.
Guilt-Free Indulgence: Rich with protein from Greek yogurt and protein powder, these cups allow you to satisfy your sweet tooth without the usual guilt.
Versatile Ingredients: Feel free to customize with different nut butters or add-ins like dried fruits. You’re in control!
No Baking Required: Enjoy the ease of a no-bake treat that requires minimal effort yet delivers maximum flavor – ideal for those busy days.
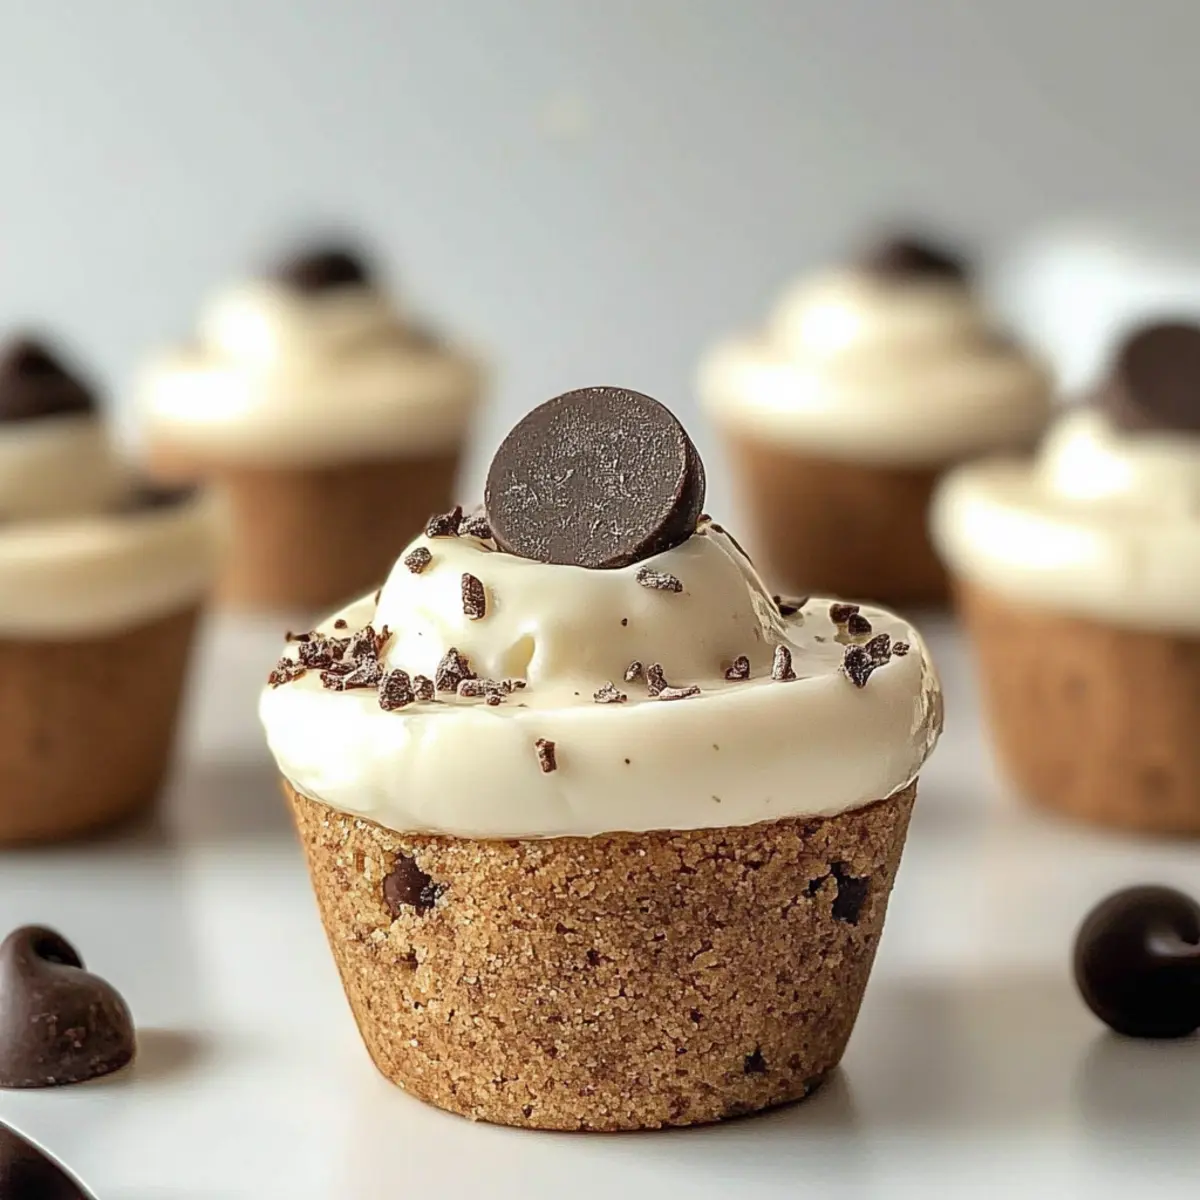
Crowd-Pleasing Snack: With their creamy texture and chocolatey bits, these cups are bound to impress everyone, from health enthusiasts to cookie dough lovers.
For more ways to make delicious bites, check out my Mocha Cookie Crumble or try the Cake Mix Cookies for another effortless treat!
Yogurt Cookie Dough Cups Ingredients
• Get ready to create these delightful Yogurt Cookie Dough Cups with wholesome ingredients!
For the Base
• Plain Greek Yogurt – Provides creaminess and high protein content; full-fat or 2% is best for texture.
• Rolled Oats – Acts as the structural base; finely ground into oat flour for that cookie dough-like consistency. Substitute with almond flour for a gluten-free option.
• Protein Powder – Boosts the protein content; vanilla or unflavored is recommended for versatility.
For Flavor
• Natural Peanut Butter or Almond Butter – Adds healthy fats and a rich, nutty flavor; feel free to swap in sunflower seed butter for a nut-free choice.
• Maple Syrup or Honey – A natural sweetener to enhance flavor; adjust to your taste preferences.
• Vanilla Extract – Infuses a sweet aroma that elevates the overall flavor profile.
• Salt – Balances sweetness and elevates the flavors, making every bite heavenly.
For Sweetness
• Mini Chocolate Chips – Provide sweetness and texture; sugar-free or dark chocolate works beautifully. These are optional for those watching their sugar intake!
Step‑by‑Step Instructions for Yogurt Cookie Dough Cups
Step 1: Combine the Base Ingredients
In a medium mixing bowl, scoop out 1 cup of plain Greek yogurt and add 1/2 cup of your choice of nut butter, like natural peanut butter or almond butter. Stir together with a spatula until the mixture is smooth and creamy, ensuring no lumps remain. This base sets the stage for your delectable Yogurt Cookie Dough Cups.
Step 2: Mix in Dry Ingredients
Next, add 1 cup of finely ground rolled oats, 1/2 cup of protein powder, 1/4 cup of maple syrup or honey, 1 teaspoon of vanilla extract, and a pinch of salt into your bowl. Mix thoroughly until a thick, dough-like consistency forms. This blend will create a wonderfully textured filling for your guilt-free indulgence.
Step 3: Fold in Chocolate Chips
Gently fold in 1/2 cup of mini chocolate chips to your dough mixture, ensuring even distribution without overmixing. This adds delightful bursts of sweetness to your Yogurt Cookie Dough Cups. Be careful not to overmix, as you want to preserve the lovely chewy texture throughout the dough.
Step 4: Prepare the Muffin Tin
Line a mini muffin tin with paper liners or lightly grease each cup with cooking spray. This step is essential to ensure that your Yogurt Cookie Dough Cups easily release after setting. Prepare your workspace so you can scoop and fill your muffin tin with ease in the next steps.
Step 5: Fill the Muffin Liners
Using a spoon or a small cookie scoop, fill each liner with about 2 tablespoons of the cookie dough mixture. Press down gently to compact the dough within each cup. This ensures that the cups hold their shape when set and gives you the perfect bite-sized treat to enjoy later.
Step 6: Optional Toppings
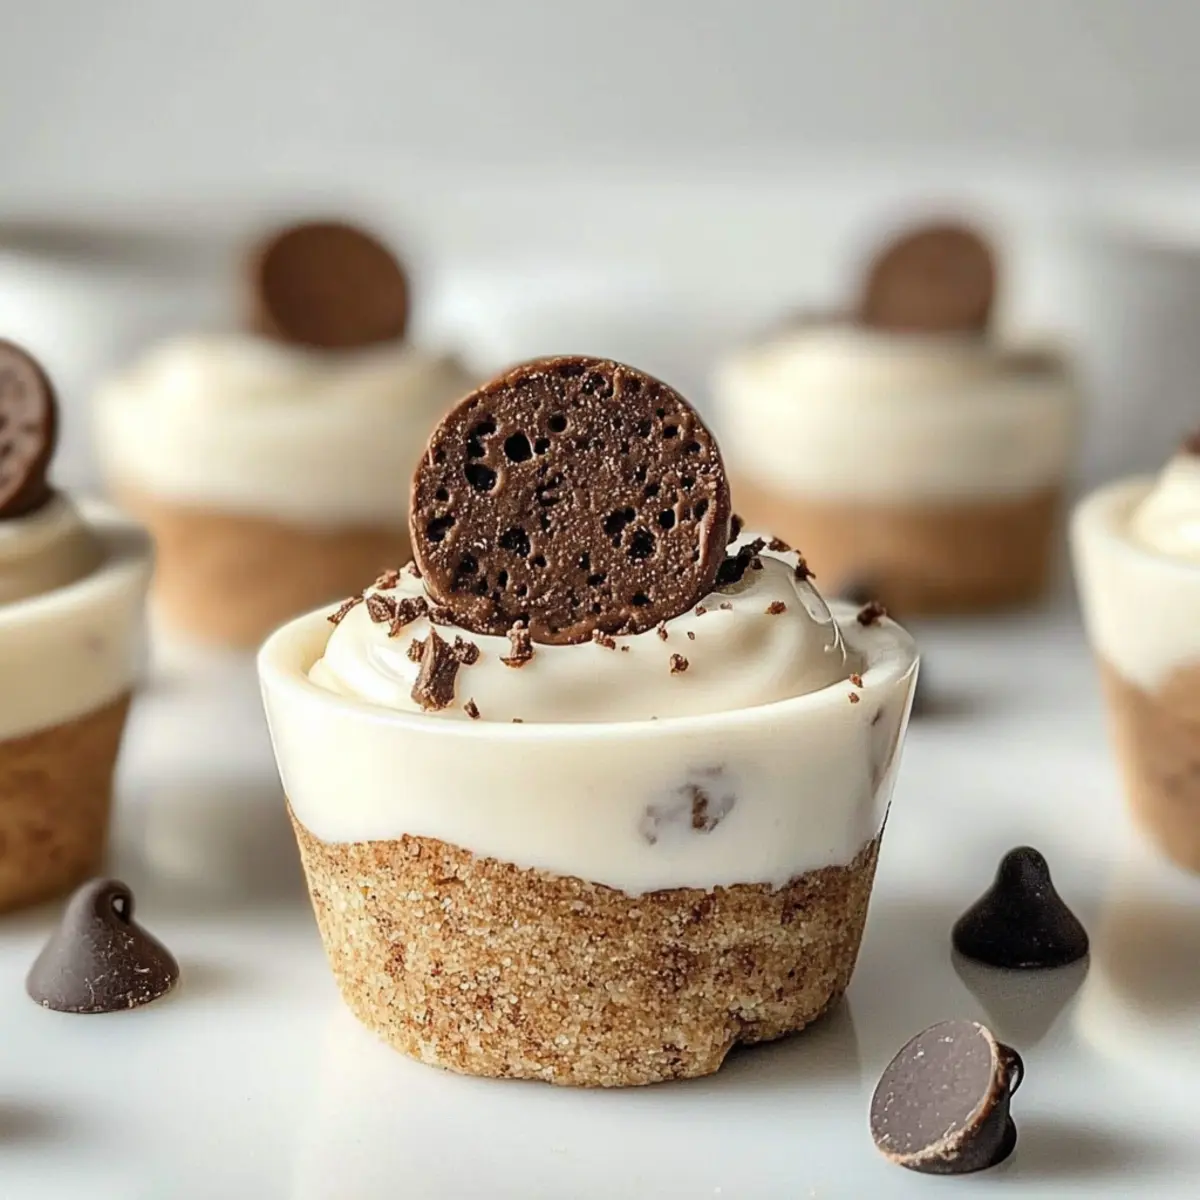
For added visual appeal and flavor, you can press a few extra chocolate chips or chopped nuts on top of each filled cup. This optional step enhances the look of your Yogurt Cookie Dough Cups and adds an extra layer of deliciousness when you take a bite.
Step 7: Chill to Set
Finally, place the muffin tin in the refrigerator and allow the Yogurt Cookie Dough Cups to chill for at least 30 minutes. This cooling time lets the cups firm up, making them easier to enjoy. When ready, they’ll be perfect for snacking or as a quick dessert option!
How to Store and Freeze Yogurt Cookie Dough Cups
Fridge: Keep your Yogurt Cookie Dough Cups in an airtight container for up to 4-5 days to maintain their freshness and texture.
Freezer: For longer storage, freeze the cups in a single layer on a baking sheet before transferring them to a freezer-safe bag or container. They can last up to 2 months.
Thawing: When you’re ready to enjoy them, simply thaw at room temperature for about 15-20 minutes before indulging.
Reheating: These cups are best enjoyed chilled, so no reheating is typically necessary. However, if you prefer a warm treat, place them in a microwave for a few seconds, just to take the chill off.
What to Serve with Healthy High Protein Yogurt Cookie Dough Cups
Create delightful pairings to enhance your healthy snacking experience!
-
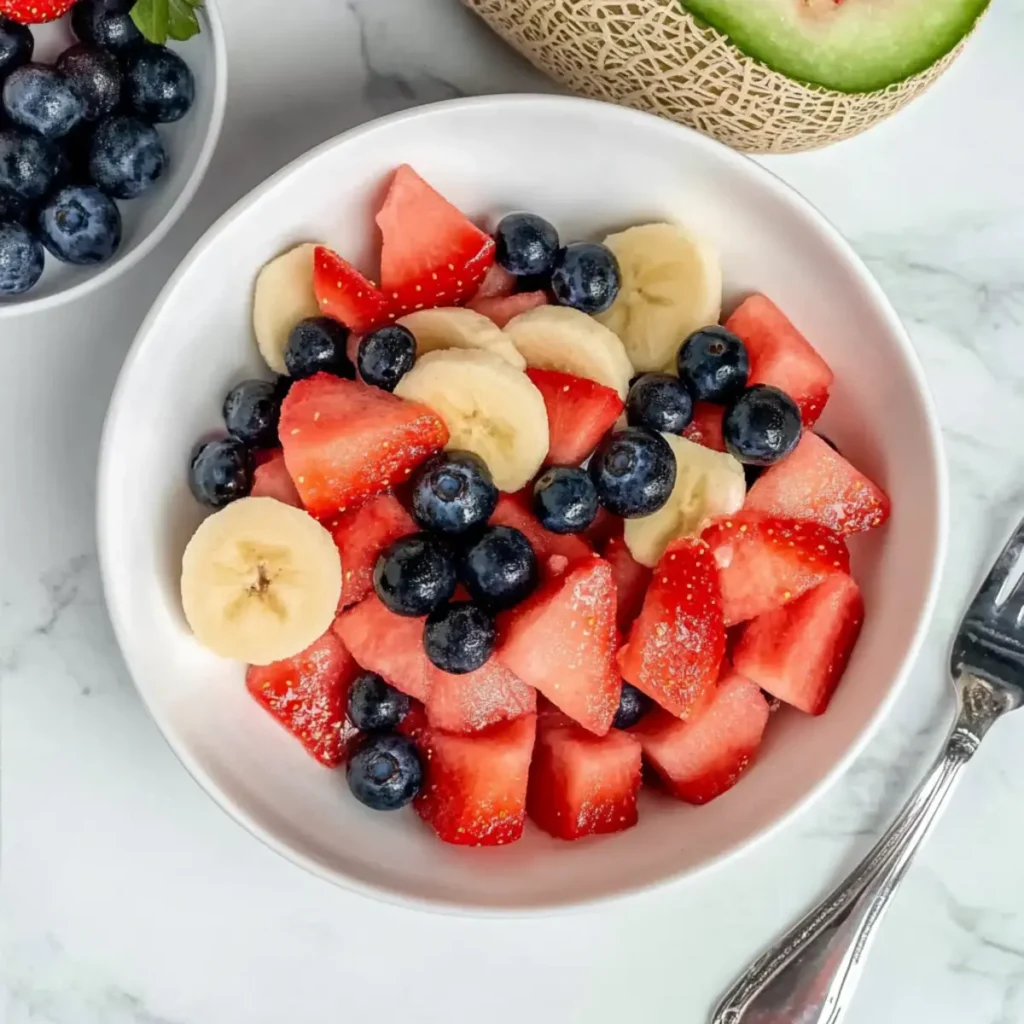
Fresh Fruit Salad: A vibrant medley of seasonal fruits adds brightness and balance, offering juicy contrasts to the creamy cups.
-
Nutty Granola: Serving crunchy granola on the side adds texture and boosts the fiber content, making it a delightful, energy-packed snack.
-
Greek Yogurt Parfait: Layering some yogurt with berries and a sprinkle of granola not only complements the cups but also creates a nutritious and pretty presentation.
-
Dark Chocolate Dipped Strawberries: These sweet, tangy fruits dipped in rich dark chocolate provide an elegant touch and are perfect for satisfying a sweet tooth.
-
Herbal Iced Tea: A refreshing glass of iced herbal tea, like mint or chamomile, brings a soothing complement that cleanses the palate between bites.
-
Chilled Coconut Water: This hydrating drink offers a slightly sweet, tropical flavor that pairs beautifully with the nuttiness of the cookie dough cups.
-
Cottage Cheese Bowl: A small serving of cottage cheese topped with berries and a drizzle of honey creates a protein-packed duo that’s filling and delicious.
Serve these delightful combinations alongside your Yogurt Cookie Dough Cups for a well-rounded, guilt-free treat ideal for any time of day!
Yogurt Cookie Dough Cups Variations
Feel free to get creative with your Yogurt Cookie Dough Cups and make them your own with these simple twists!
- Dairy-Free: Swap Greek yogurt for plant-based yogurt for a creamy, vegan-friendly version that still packs a protein punch.
- Flavor Boost: Experiment with flavored protein powders like chocolate or salted caramel to add a unique twist to your cookie dough base.
- Nut-Free: Replace nut butters with sunflower seed butter for a delicious nut-free variation that everyone can enjoy.
- Fruit Forward: Fold in diced dried fruits such as cranberries or raisins instead of chocolate chips for a fruity delight that adds natural sweetness.
- Crunch Factor: For added texture, mix in chopped nuts or seeds, bringing a delightful crunch to every bite of the cups.
- Sugar-Free Twist: Use sugar-free chocolate chips or sweeteners to make the recipe even healthier, catering to those watching their sugar intake.
- Cookie Dough Crumble: Crumble some of your finished cups over yogurt or oatmeal for a dual-delight breakfast or snack! You can use pieces from your cups to add a playful presentation to other desserts.
- Spice It Up: Add a pinch of cinnamon or nutmeg to your base mixture to elevate the flavor profile and surprise your taste buds.
For those who love a simple yet delicious treat, these Yogurt Cookie Dough Cups are a fantastic option. Looking for more easy recipes? Check out my Mastering Nestle Cookie for classic goodness or try the delightful Starbucks Sugar Cookie for a store-bought favorite made at home.
Expert Tips for Yogurt Cookie Dough Cups
-
Achieve the Right Consistency: Make sure your mixture is thick enough to hold its shape by adjusting the amount of oat flour or yogurt—this will ensure perfect Yogurt Cookie Dough Cups every time.
-
Be Gentle with Mixing: Avoid overmixing after adding the chocolate chips. This helps maintain the chewy texture and creates a delightful bite in every cup.
-
Use Quality Ingredients: Opt for high-quality Greek yogurt and nut butters. This elevates the flavor and makes your yogurt cookie dough cups extra delicious and nutritious.
-
Storage Matters: Keep your cups fresh by using an airtight container. They can last 4-5 days in the fridge or up to 2 months in the freezer—perfect for meal prep!
-
Experiment with Flavors: Don’t hesitate to get creative—try different nut butters or flavored protein powders to customize the taste of your yogurt cookie dough cups!
Make Ahead Options
These Yogurt Cookie Dough Cups are perfect for meal prep enthusiasts! You can prepare the dough mixture up to 24 hours in advance, simply cover the bowl tightly with plastic wrap and refrigerate it. When you’re ready to assemble, just scoop the prepared dough into the muffin tin and chill for at least 30 minutes until set. Alternatively, once assembled, these cups can be stored in an airtight container in the fridge for up to 4-5 days or frozen for up to 2 months. Thaw at room temperature for about 15-20 minutes before serving to enjoy their creamy, cookie dough-like goodness! By prepping ahead, you save precious time during busy weekdays, ensuring a delicious, nutritious snack is always on hand.
Yogurt Cookie Dough Cups Recipe FAQs
What yogurt should I use for the best texture?
I recommend using plain Greek yogurt, as it provides creaminess and high protein content. Opt for full-fat or 2% yogurt for the ideal texture that holds up well in these Yogurt Cookie Dough Cups.
How long can I store these Yogurt Cookie Dough Cups in the fridge?
Store your cups in an airtight container in the refrigerator for up to 4-5 days. This keeps them fresh and perfect for a quick, guilt-free snack or dessert anytime you crave something sweet!
Can I freeze the Yogurt Cookie Dough Cups?
Absolutely! For long-term storage, freeze the cups in a single layer on a baking sheet for about 1-2 hours until firm. Then transfer them to a freezer-safe bag or container, and they can last up to 2 months. Just thaw them at room temperature for 15-20 minutes before enjoying!
What if the mixture is too runny?
If the mixture is too runny, you can add a bit more finely ground rolled oats or protein powder to thicken it up. Start with a tablespoon at a time until you reach a thick, dough-like consistency that will hold its shape in the cups.
Are there any dietary considerations for these cups?
These Yogurt Cookie Dough Cups can be made nut-free by substituting the nut butter with sunflower seed butter. Additionally, to accommodate for gluten-free diets, you can replace rolled oats with almond flour. Always double-check ingredient labels for potential allergens.
Delicious Yogurt Cookie Dough Cups for Guilt-Free Indulgence
Ingredients
Equipment
Method
- Combine the Base Ingredients: In a medium mixing bowl, add 1 cup of Greek yogurt and 1/2 cup of nut butter. Mix until smooth.
- Mix in Dry Ingredients: Add 1 cup of oats, 1/2 cup of protein powder, 1/4 cup of maple syrup, 1 teaspoon of vanilla extract, and a pinch of salt. Mix until dough-like consistency forms.
- Fold in Chocolate Chips: Gently fold in 1/2 cup of mini chocolate chips, ensuring even distribution.
- Prepare the Muffin Tin: Line a mini muffin tin with paper liners or grease each cup.
- Fill the Muffin Liners: Fill each liner with about 2 tablespoons of cookie dough mixture and press down gently.
- Optional Toppings: Press extra chocolate chips or chopped nuts on top for added appeal.
- Chill to Set: Place the muffin tin in the refrigerator and chill for at least 30 minutes.
")