")
“Easter is just around the corner, and this year, I’m pulling out all the stops with a vibrant, no-bake dessert that promises to steal the show: my Festive No-Bake Easter Dirt Cake with Bunny Peeps. With its creamy vanilla pudding filling resting on a satisfying Oreo crust, this whimsical treat captures the spirit of the holiday in a playful garden design. Not only is it a fun and easy dessert to whip up, but it’s also a delightful way to bring the family together while steering clear of store-bought options. Whether you’re hosting a gathering or simply looking for a sweet touch to your table, this dirt cake will spark smiles all around. Ready to dive into a dessert that’s as enjoyable to make as it is to eat? Let’s get started!”
Why is this cake a showstopper?
Delightful visuals make it the perfect centerpiece, transforming any table into a whimsical Easter garden. No-bake simplicity means less time in the kitchen and more time enjoying the festivities. Crowd-pleaser appeal with its rich chocolate and creamy texture guarantees smiles from kids and adults alike! Versatile options let you switch up flavors or decorations, so you can make it your own. Serve it chilled for a refreshing treat that’s both fun and indulgent. Trust me, this Easter Dirt Cake will become a family favorite year after year!
Easter Dirt Cake Ingredients
For the Crust
• Oreos – The main base; crush them for a crunchy crust and decorative topping. Use regular stuffed, not double-stuffed!
• Salted Butter – Softened to create a rich, smooth mixture that binds the crust together.
For the Filling
• Cream Cheese – Adds a creamy richness; make sure it’s softened for easy blending.
• Powdered Sugar – Sweetens the filling and dissolves easily; also known as icing sugar.
• Vanilla Extract – Enhances the flavor depth of your Easter Dirt Cake.
• Cool Whip – Lightens the texture of the filling; make sure it’s fully thawed.
• Instant Vanilla Pudding – The core component for the creamy filling; can be swapped for chocolate or butterscotch for a fun twist!
• Milk – Cold milk is essential for hydrating the pudding and helping it set properly.
For Decoration
• Shredded Coconut – Mimics grass for a playful Easter look; you can tint it green to enhance the garden effect.
• Green Food Coloring – Optional; use this to color the coconut for that authentic grass vibe.
• Bunny Peeps – These charming decorations bring a seasonal touch; swap for other themed marshmallows if desired.
• Mini Candy Eggs – Add a splash of color and fun; try brands like Cadbury or M&M for best results.
Get ready to create a vibrant centerpiece with these Easter Dirt Cake ingredients that blend fun and flavor beautifully!
Step‑by‑Step Instructions for Festive No-Bake Easter Dirt Cake with Bunny Peeps
Step 1: Crush the Oreos
Begin by placing 24 Oreos into a food processor and pulse until you achieve fine crumbs, resembling sand. If you don’t have a food processor, place them in a zip-top bag and crush using a rolling pin. Reserve about one-third of the crumbs for decoration later, setting them aside in a small bowl.
Step 2: Prepare the Crust
In a 13×9 inch baking dish, combine the remaining Oreo crumbs with 1/2 cup of softened salted butter. Use a spatula to mix them until crumbly and cohesive. Press this mixture firmly into the bottom of the dish to form an even crust, ensuring it’s tightly packed. This will create a solid base for your festive no-bake Easter dirt cake.
Step 3: Blend Cream Cheese and Sugar
In a large mixing bowl, beat together 8 oz of softened cream cheese and 1 cup of powdered sugar using an electric mixer on medium speed until the mixture is smooth and creamy. This should take about 2-3 minutes. Add in 1 teaspoon of vanilla extract for extra flavor, mixing well until fully incorporated.
Step 4: Incorporate the Cool Whip
Gently fold in 8 oz of thawed Cool Whip into the cream cheese mixture with a rubber spatula. Be careful to keep the mixture light and airy—this adds the delightful fluffiness that contrasts with the crunchy crust. Ensure everything is blended, creating a smooth filling that will be spread over the crust later.
Step 5: Whisk the Pudding
In another bowl, combine 2 cups of cold milk with 1 package of instant vanilla pudding mix. Whisk this together until it thickens slightly, which usually takes about 1-2 minutes. Once thickened, let it sit in the refrigerator for about 10 minutes to ensure a firmer consistency that will enhance the filling of the Easter dirt cake.
Step 6: Combine the Mixtures
Carefully fold the cream cheese mixture into the thickened pudding, making sure everything is well combined without deflating the mixture. This step is crucial as it creates the creamy, dreamy filling for your dirt cake. Once combined, pour this luscious filling over the prepared Oreo crust, spreading it evenly with a spatula.
Step 7: Chill the Cake
Sprinkle the reserved Oreo crumbs over the filling as a top layer. Cover the baking dish with plastic wrap and refrigerate for at least 4 hours or overnight. This chilling time allows the dirt cake to set properly, ensuring that each slice holds its shape beautifully when served.
Step 8: Prepare the Decorations
Just before serving, tint 1 cup of shredded coconut with green food coloring to mimic grass. Mix it in a bowl until evenly distributed, adding the color gradually. This will create that delightful garden effect on your Easter dirt cake.
Step 9: Add Final Touches
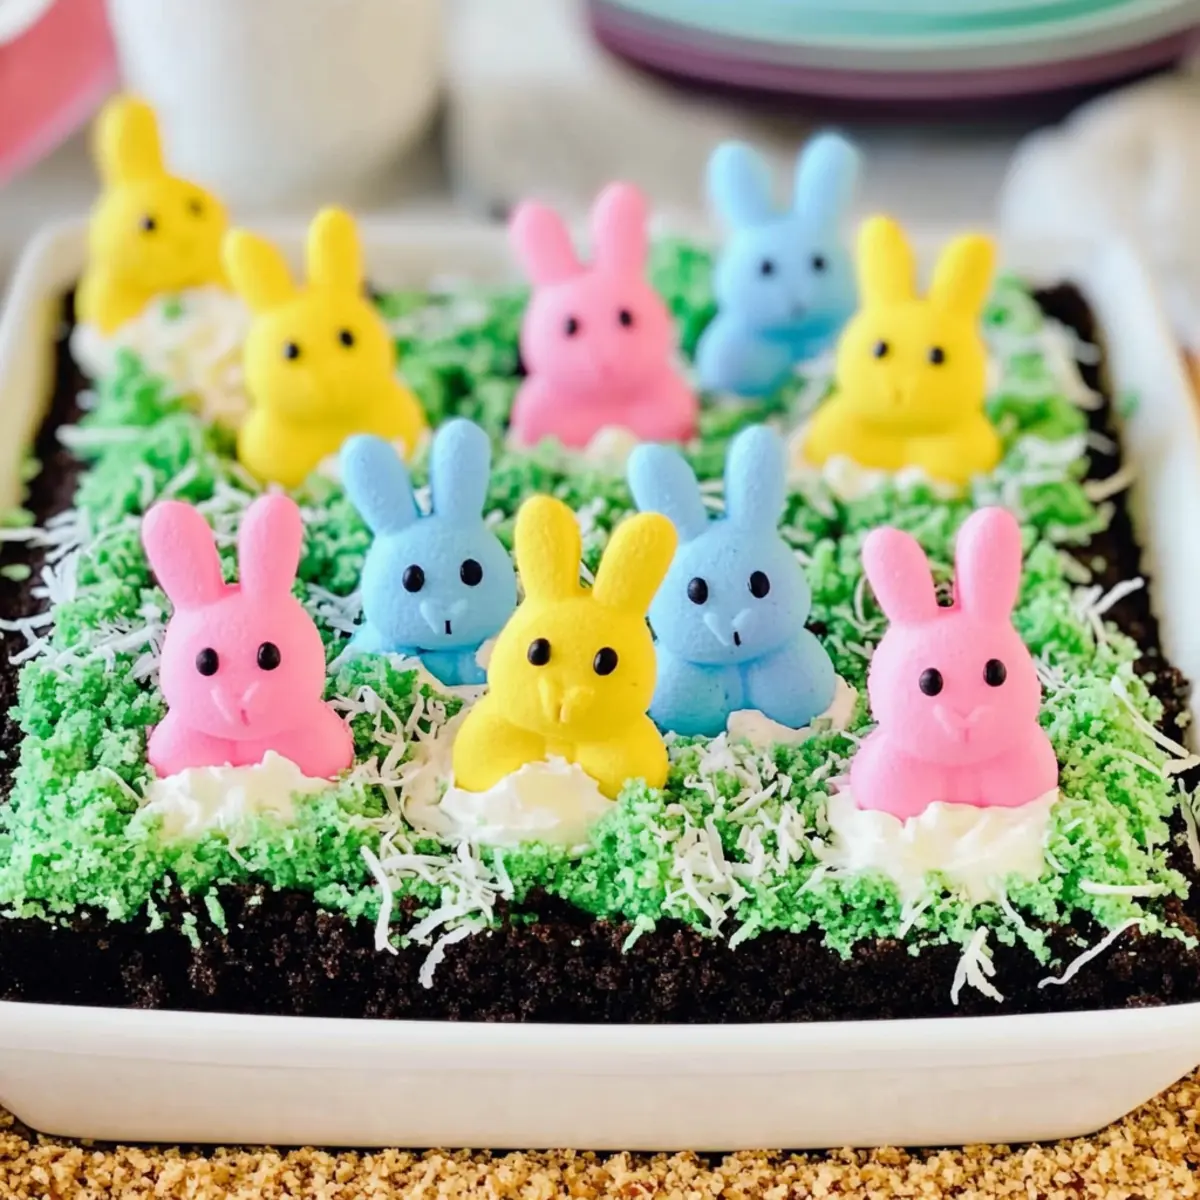
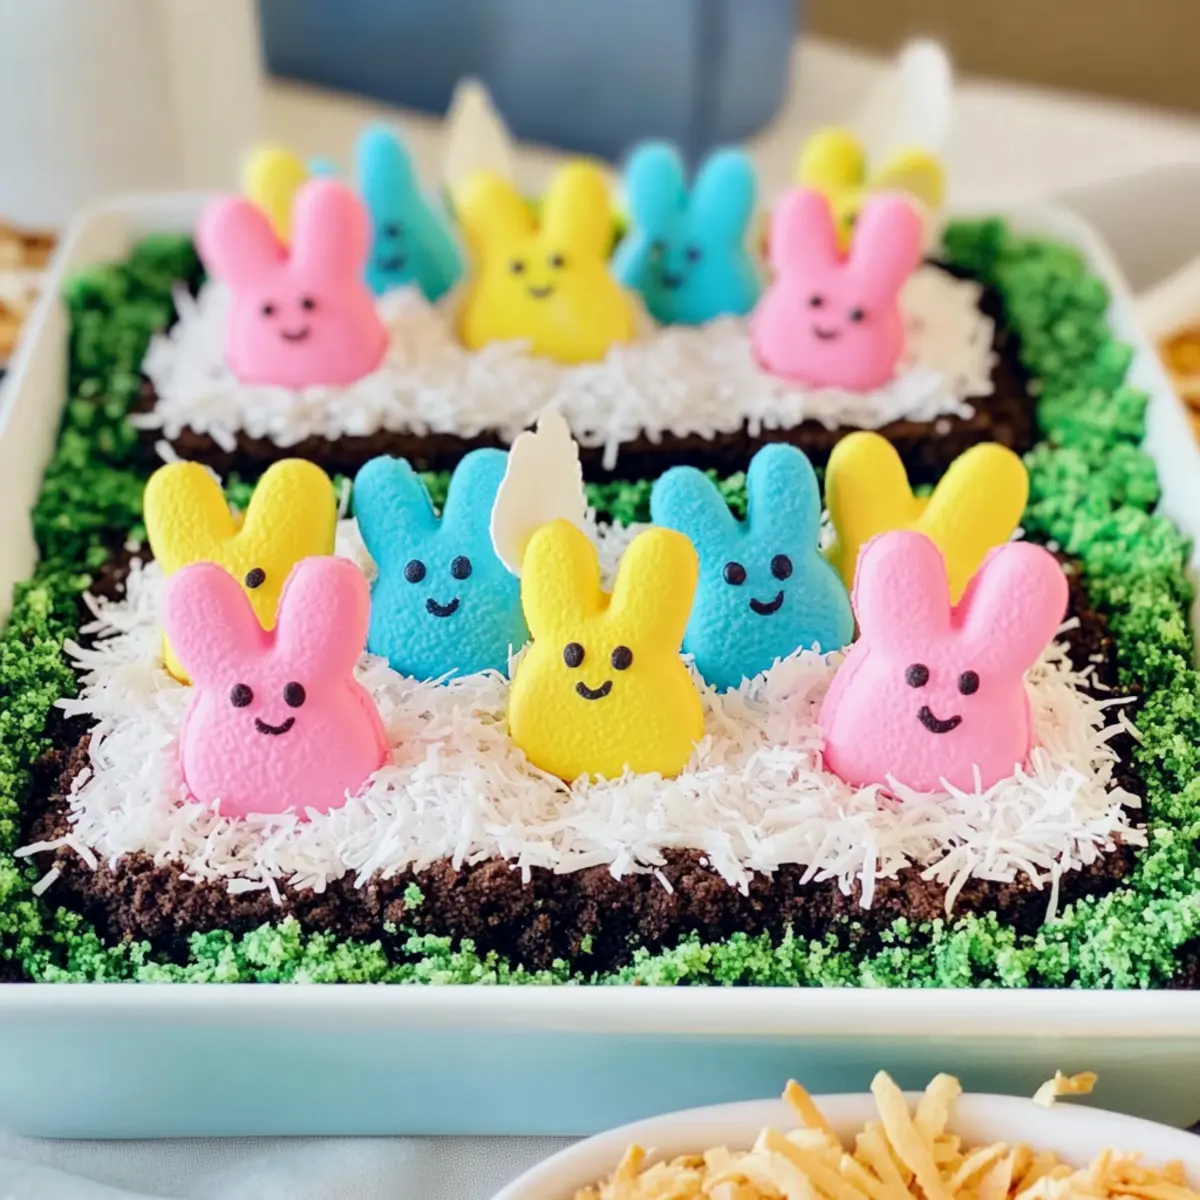
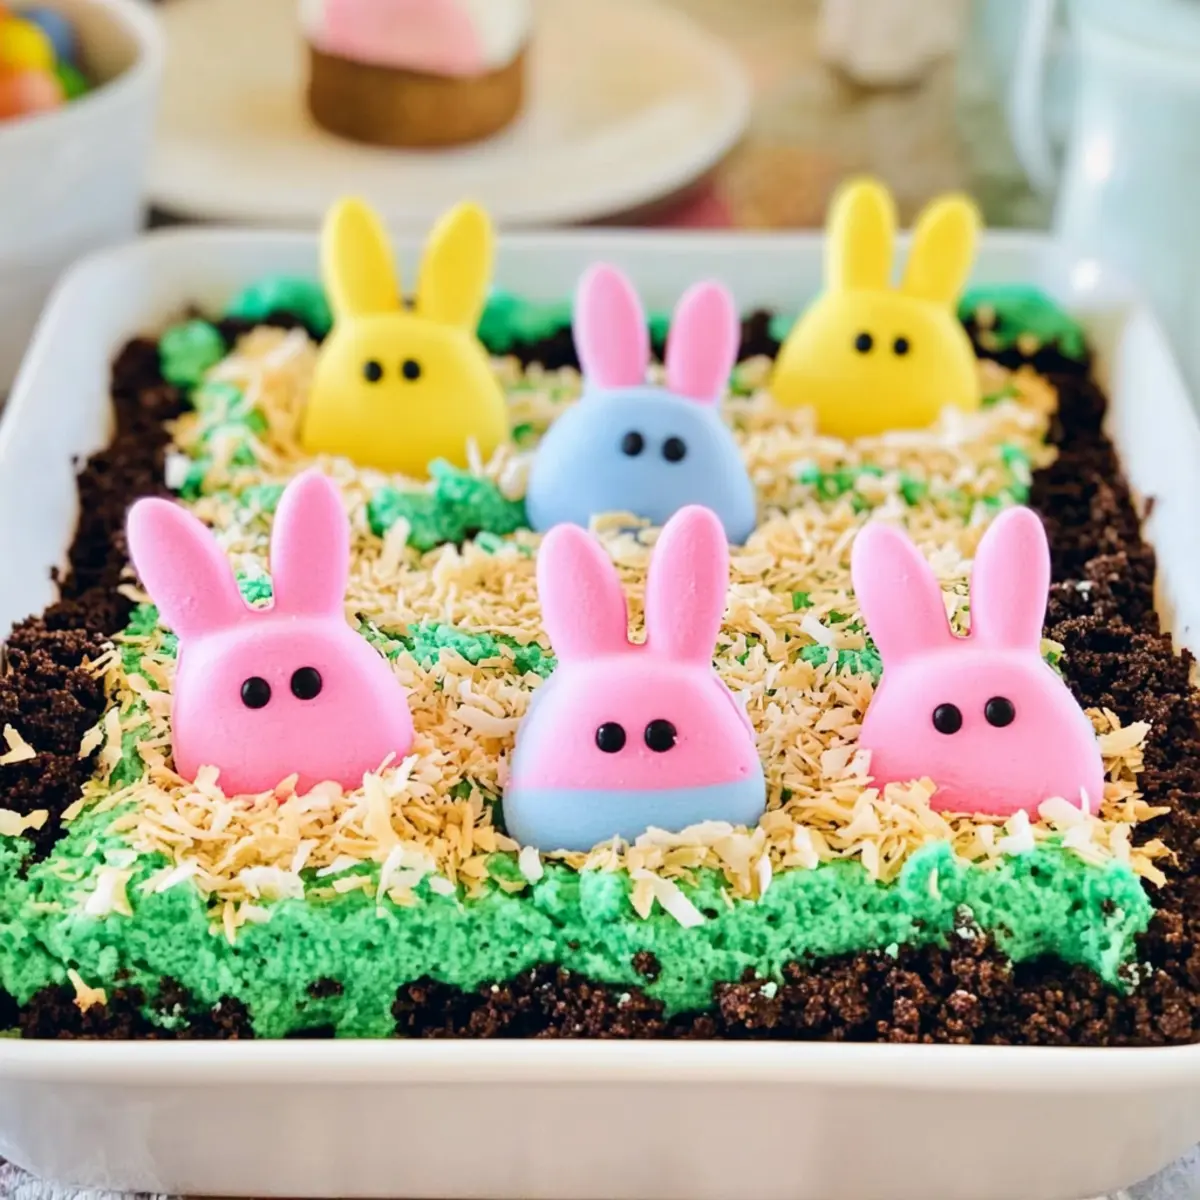
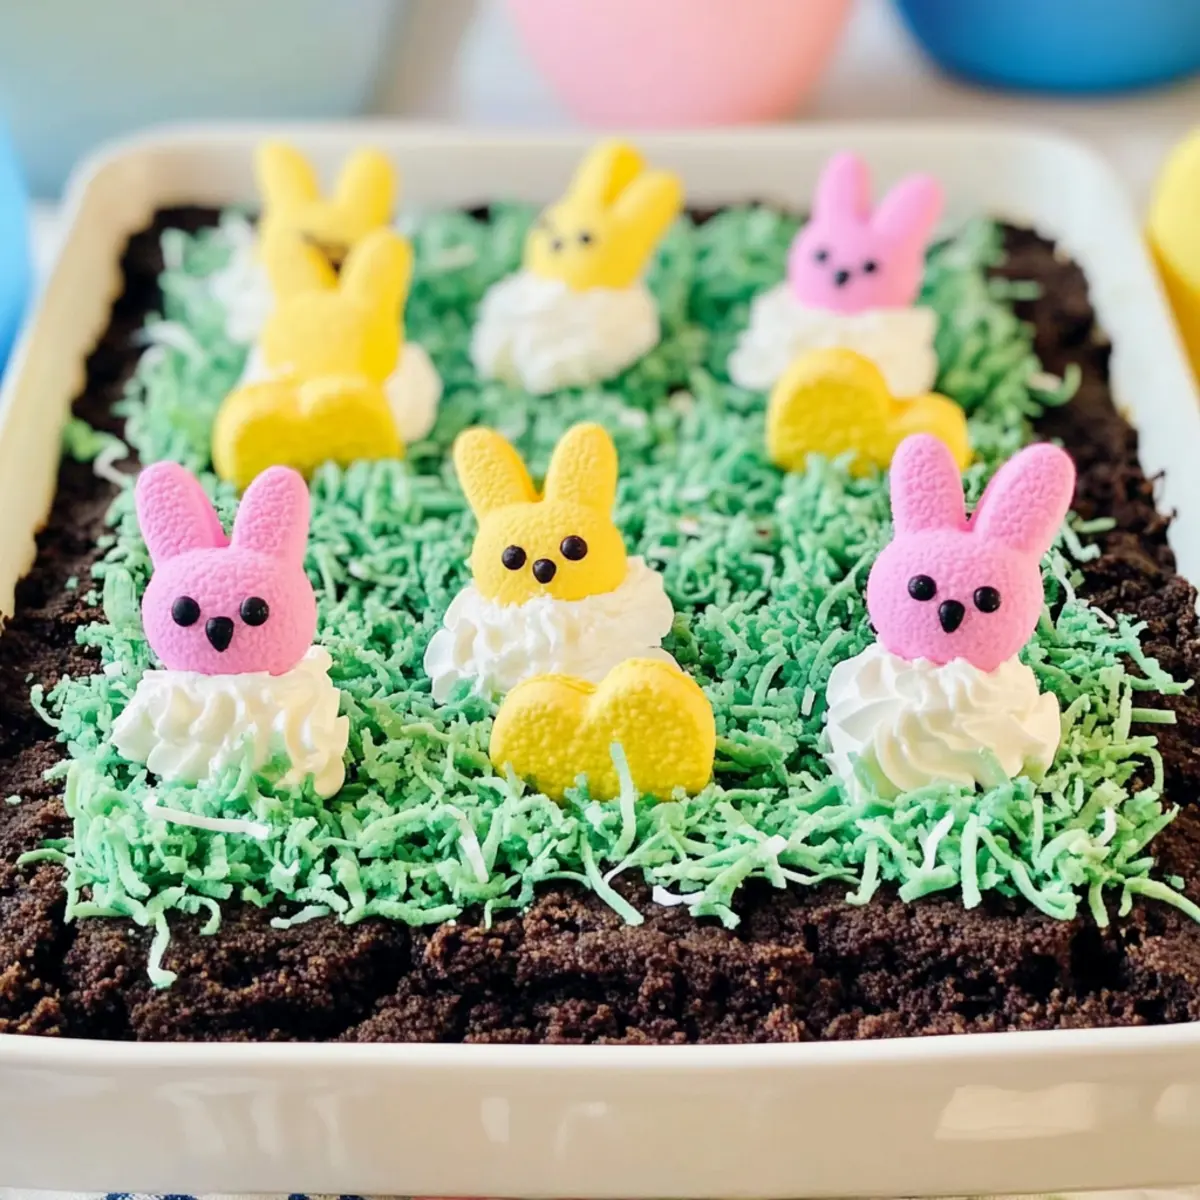
Sprinkle the tinted shredded coconut over the top of the chilled Easter dirt cake. Then, carefully place Bunny Peeps on top and scatter mini candy eggs around them for a whimsical touch. This step makes your cake not just a dessert but a centerpiece of fun for your holiday gathering.
Step 10: Serve and Enjoy
Once decorated, slice your festive no-bake Easter dirt cake into squares and serve chilled. For cleaner slices, consider chilling the dessert in the freezer for about an hour before cutting. This delightful treat is bound to bring smiles and joy to both kids and adults at your Easter celebration!
Expert Tips for Easter Dirt Cake
• Pre-chill for Ease: Chill your cake in the freezer for about an hour before slicing. This ensures clean, beautiful pieces of the Easter dirt cake.
• Don’t Rush Toppings: Add the Bunny Peeps and coconut decoration just before serving to keep them fresh and vibrant.
• Mixing Tools Matter: Use a hand mixer when blending the cream cheese for maximum aeration and fluffiness in your filling.
• Watch the Crust: Make sure to pack the Oreo crust tightly; a loose crust may crumble when you slice into the dirt cake.
• Creative Variations: Feel free to experiment with different pudding flavors—chocolate or butterscotch can give your Easter dirt cake a delightful twist!
How to Store and Freeze Easter Dirt Cake
Fridge: Keep your Easter dirt cake covered in plastic wrap or in an airtight container in the fridge for up to 3 days. This will preserve its creamy texture and flavor.
Freezer: For longer storage, you can freeze the unadorned Easter dirt cake (without toppings) for up to 3 months. Wrap it tightly in plastic wrap and foil for best results.
Thawing: When ready to enjoy, thaw the cake overnight in the refrigerator. Add your Bunny Peeps and coconut just before serving for freshness and visual appeal.
Reheating: There’s no need to reheat this delightful no-bake dessert! Serve chilled straight from the fridge for a refreshing treat at your gatherings.
Easter Dirt Cake Variations & Substitutions
Feel free to customize this delightful Easter Dirt Cake to suit your taste buds and dietary preferences!
-
Flavor Swap: Substitute instant vanilla pudding with chocolate, butterscotch, or cheesecake flavors for a delicious twist. Each variation adds a new layer of flavor that can surprise and delight your guests.
-
Candy Alternatives: Use regular Peeps instead of bunny-shaped ones if those aren’t available. They’ll still contribute sweetness and charm, keeping your cake festive and fun!
-
Texture Boost: Mix in crushed nuts or chocolate chips for added crunch in the filling. This little extra touch can elevate the dessert and appeal to those who love a bit of texture.
-
Fruit Infusion: Incorporate fresh fruits like strawberries or raspberries within the layers for a fruity surprise. The burst of flavor adds a refreshing note that beautifully contrasts the rich creaminess.
-
Dairy-Free Option: Replace cream cheese with a dairy-free alternative and swap Cool Whip for a non-dairy whipped topping. You can still achieve that satisfying creaminess while catering to dietary restrictions.
-
Royal Icing Decoration: Instead of shredded coconut, you can use royal icing to create decorative flowers or designs on top. This will give your cake an elegant touch while letting your creativity shine.
-
Heat it Up: For those who enjoy a spicy kick, sprinkle a hint of cayenne or chipotle powder in the filling. This unexpected element introduces a delightful contrast to the sweet flavors, perfect for adventurous eaters!
-
Themed Decorations: If Easter isn’t the only holiday on your mind, consider using different themed candies for decoration, like chocolate bunnies or jelly beans for a more whimsical look! You could even create a Halloween version using gummy worms and popcorn.
Let your imagination run wild with these variations! The Easter Dirt Cake is perfect for customizing and makes it a dish everyone can enjoy. If you’re also interested in other festive desserts, don’t miss out on ideas like Enchanting Barbie Cake or a delicious Coconut Cake Vape.
What to Serve with Festive No-Bake Easter Dirt Cake with Bunny Peeps
Create a joyous holiday table with delightful dishes that elevate your Easter celebration.
- Chocolate Easter Cupcakes: These rich, chocolatey treats make an adorable pairing, echoing the sweet flavors of the dirt cake and pleasing every chocolate lover.
- Fruit Salad Medley: A refreshing mix of seasonal fruits adds a burst of color and natural sweetness to balance the richness of the dirt cake, keeping things light and delightful.
- Carrot Sticks with Hummus: Crunchy carrot sticks served with creamy hummus provide a healthy, fun connection to Easter traditions, offering a savory contrast to the cake.
- Mini Cheesecakes: Bite-sized cheesecakes bring creamy indulgence while their petite size makes them perfect for guests to enjoy alongside the dirt cake without overwhelming sweetness.
Serve some sparkling lemonade or a fruity sangria for a festive touch. Don’t forget a plate of colorful Easter cookies to round out the sweet offerings, creating at table that’s a feast for both the eyes and taste buds.
Make Ahead Options
Make your Easter celebration a breeze by preparing this Festive No-Bake Easter Dirt Cake in advance! You can assemble the cake—including the Oreo crust and creamy filling—up to 24 hours ahead of time, just be sure to refrigerate it once finished. To maintain its deliciousness, cover the dish tightly with plastic wrap to prevent any unwanted moisture. For the best presentation, hold off on adding the shredded coconut and Bunny Peeps until just before serving. This way, you’ll keep the toppings fresh and maintain that delightful crunch. When it’s time for dessert, simply add the decorations, slice, and enjoy a beautiful, hassle-free treat!
Easter Dirt Cake Recipe FAQs
How do I select the best Oreos for my dirt cake?
Absolutely! For the best texture and flavor in your Easter dirt cake, go for regular stuffed Oreos rather than double-stuffed. The regular ones are easier to crush and will give you the right crunchiness for the crust and decoration. Keep an eye out for any broken ones too—they’ll conveniently crumble with minimal effort!
What’s the best way to store my Easter dirt cake?
Very! You can store your Easter dirt cake in the fridge, covered with plastic wrap or in an airtight container, for up to 3 days. This will help maintain its creamy goodness and prevent it from drying out. If you want to make it ahead of time, refrigerating it overnight works wonders too!
Can I freeze my Easter dirt cake?
Absolutely! For extended enjoyment, you can freeze the unadorned Easter dirt cake (without the toppings) for up to 3 months. Wrap it tightly in plastic wrap and then in foil to prevent freezer burn. When you’re ready to serve, simply thaw it overnight in the fridge before adding your Bunny Peeps and coconut decorations.
What should I do if my pudding isn’t thickening?
No worries! If your pudding isn’t thickening, it might need a little extra time. Ensure you’re using cold milk and that you’ve whisked it well. Let it sit in the fridge for about 10 minutes after mixing—this usually helps it firm up nicely. Also, make sure you’re using instant pudding, as cook-and-serve varieties won’t work the same way here.
Are there any dietary considerations I should be aware of?
Definitely! If serving your Easter dirt cake to those with dietary restrictions, be cautious of allergies to dairy or gluten, as both the cream cheese and Oreos contain these ingredients. For a gluten-free version, look for gluten-free cookies. You can also swap in non-dairy cream cheese and using coconut whipped topping for a lighter alternative.
How do I prevent my crust from crumbling when I serve the cake?
Very important! Make sure to pack your Oreo crust tightly into the bottom of the pan. If you’re finding it difficult to press down with your hands, use the bottom of a cup or measuring cup to help create an even, compact layer. Additionally, chilling the completed cake for a couple of hours before slicing will help maintain the integrity of the layers.
Delicious No-Bake Easter Dirt Cake for a Fun Celebration
Ingredients
Equipment
Method
- Crush the Oreos by placing them into a food processor and pulse until fine crumbs, reserve about one-third for decoration.
- Prepare the crust by combining the remaining Oreo crumbs with softened salted butter and press firmly into the bottom of a 13x9 inch baking dish.
- Blend cream cheese and powdered sugar in a large bowl using an electric mixer until smooth, adding vanilla extract.
- Incorporate Cool Whip gently into the cream cheese mixture, ensuring it's light and airy.
- Whisk together cold milk with instant vanilla pudding mix until thickened, then chill in the refrigerator for about 10 minutes.
- Combine the cream cheese mixture with the thickened pudding carefully, then pour over the prepared Oreo crust.
- Chill the cake covered with plastic wrap for at least 4 hours or overnight.
- Prepare decorations by tinting shredded coconut with green food coloring.
- Add the tinted coconut over the top, arrange Bunny Peeps, and scatter mini candy eggs around them.
- Slice into squares and serve chilled. Enjoy!
")