")
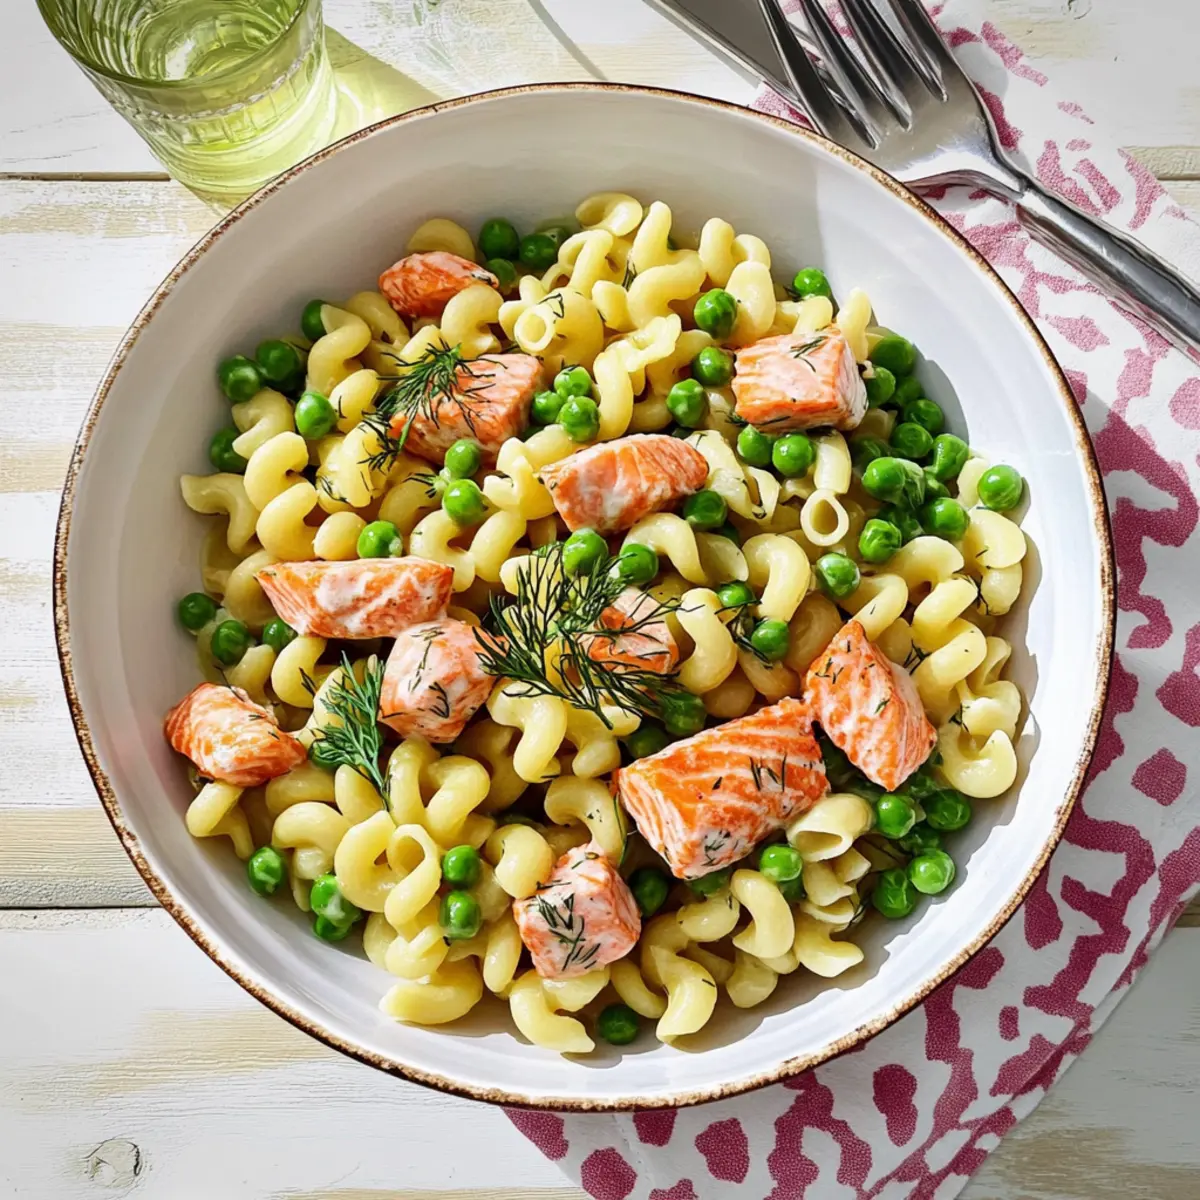
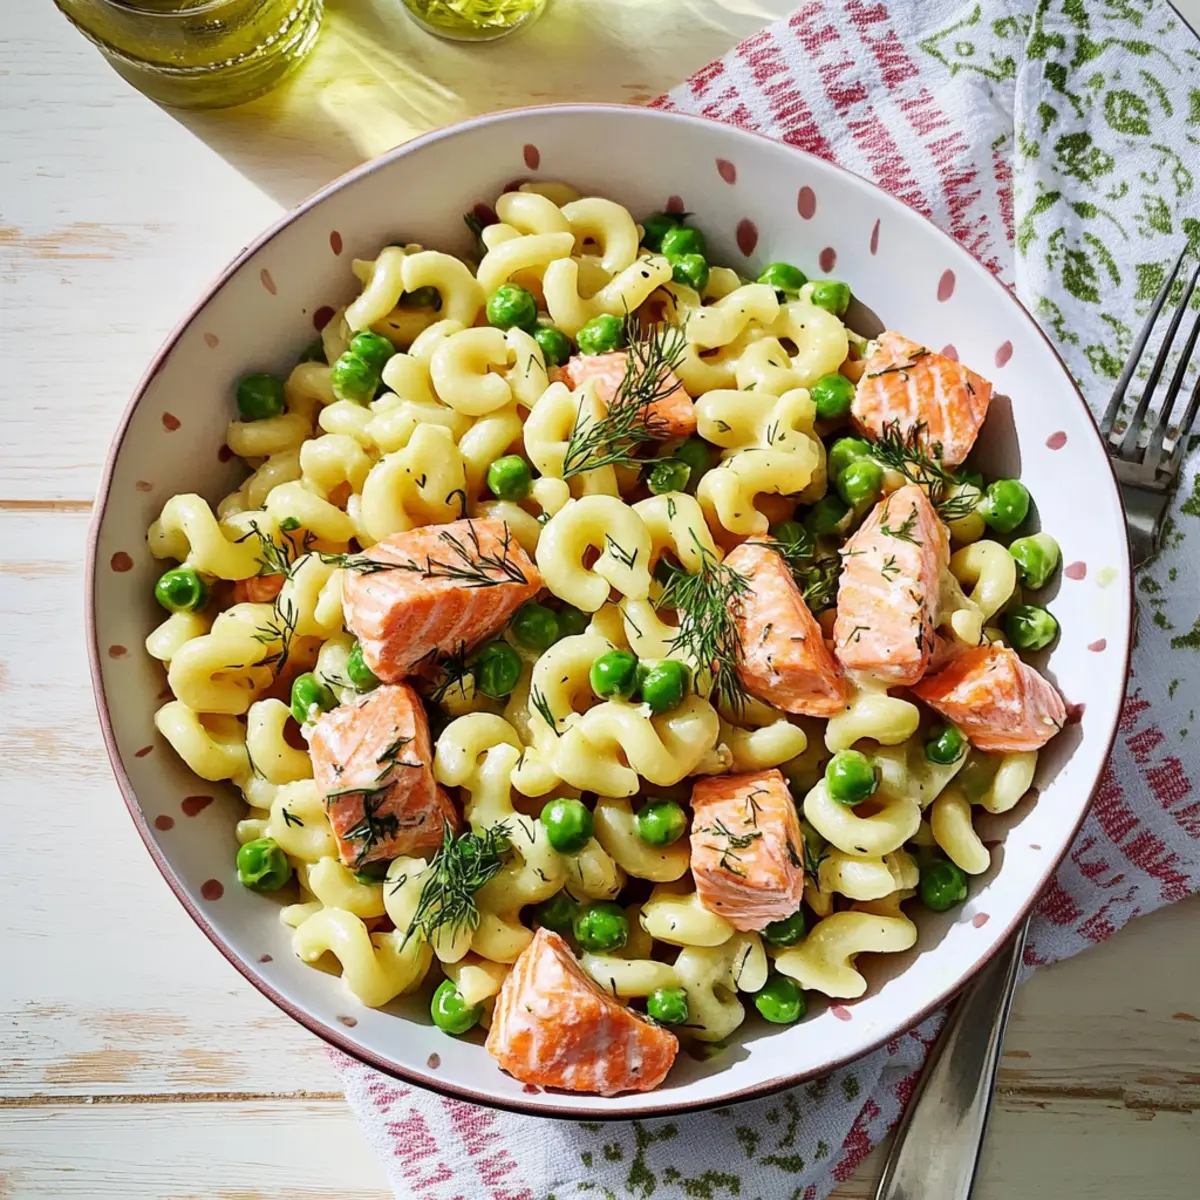
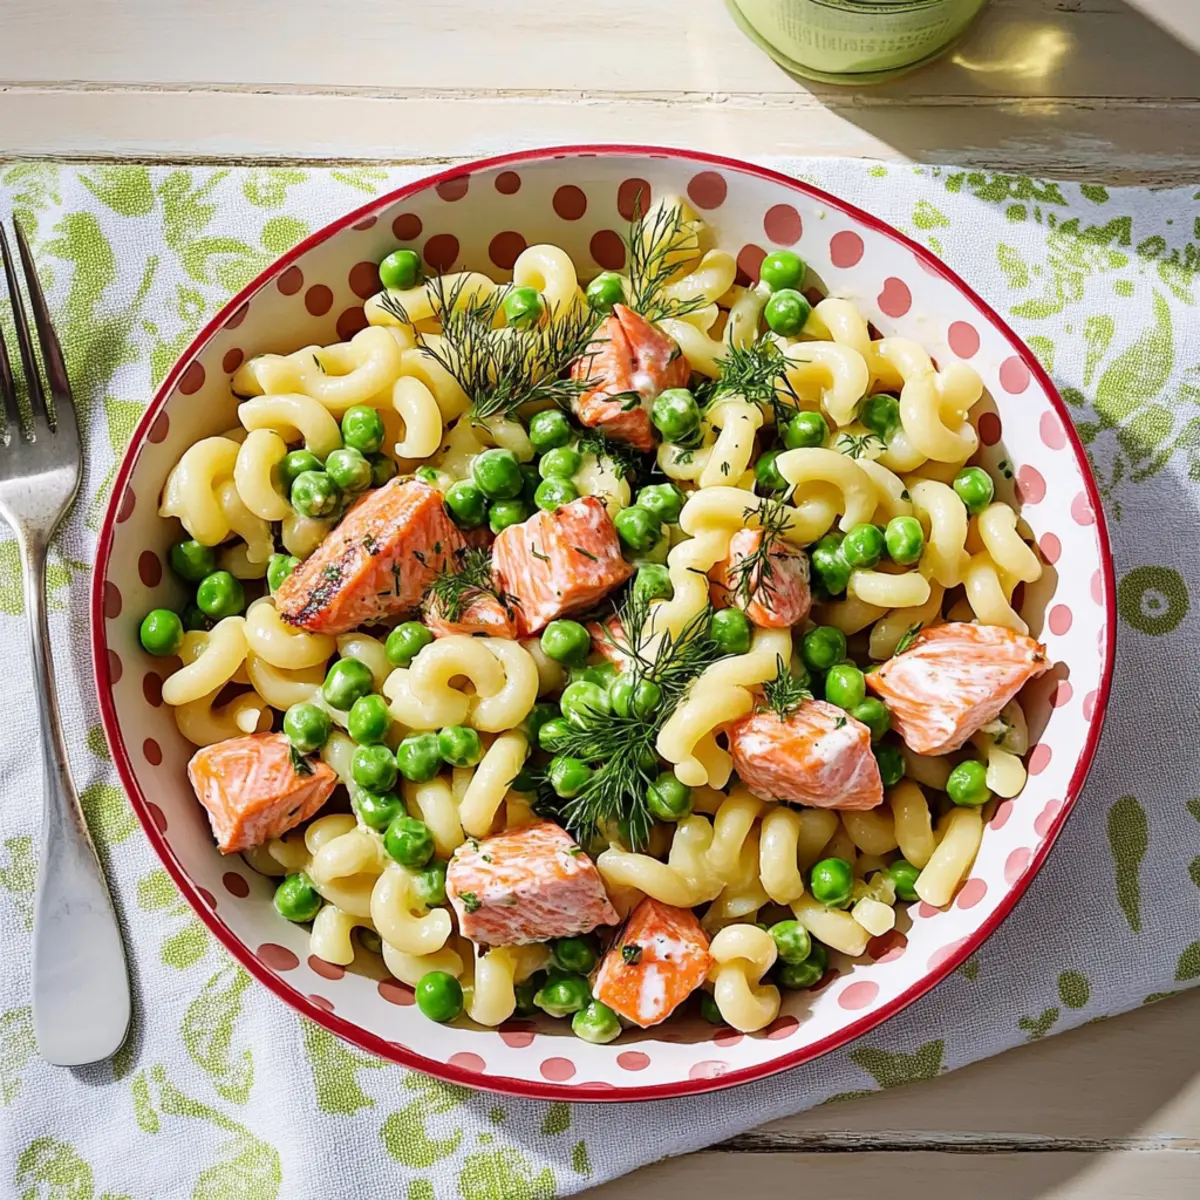
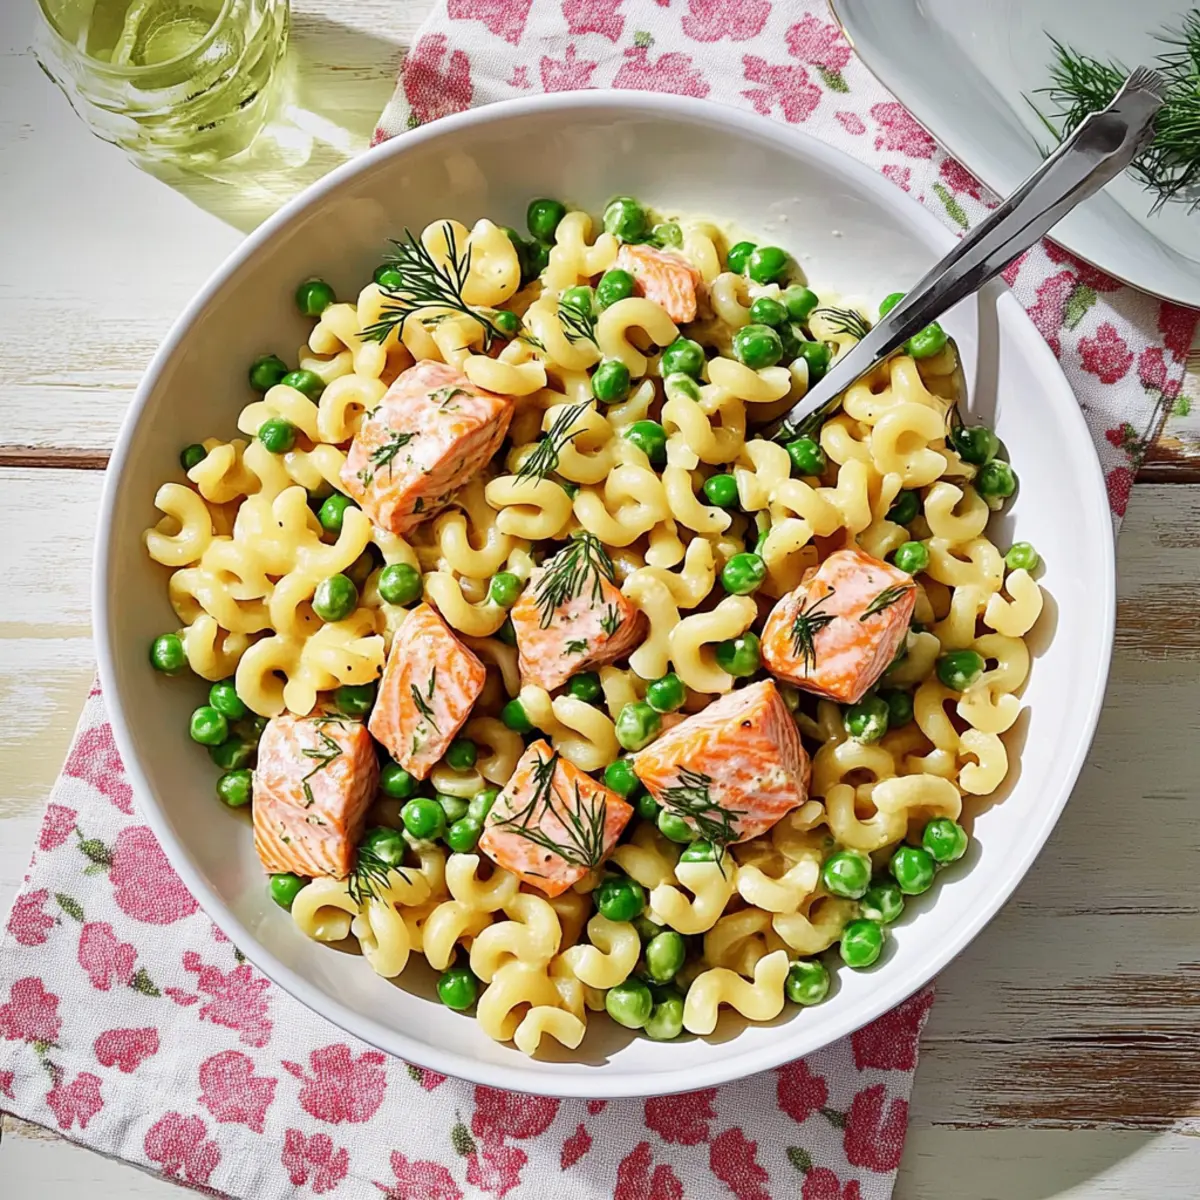
As the sun warms up and flowers begin to bloom, my kitchen transforms into a canvas for seasonal creativity. That’s when I turn to my beloved Fresh Spring Pasta with Salmon, Peas, and Dill. This dish isn’t just a meal; it’s a celebration of all the vibrant, fresh flavors that spring has to offer. Featuring flaky roasted salmon and sweet peas, this recipe not only presents a lighter option perfect for warm days but also comes together in a snap—ideal for those busy evenings. With rich layers of buttery white wine sauce enveloping each piece of pasta, it’s sure to make your dinner table sparkle with spring vibes. What’s your favorite way to embrace the changing seasons in your cooking?
Why is Spring Pasta Perfect for You?
Simplicity at Its Finest: This dish comes together effortlessly, making it perfect for even the busiest weeknights.
Fresh, Vibrant Flavors: Every bite bursts with the natural essence of spring, from the flaky salmon to the sweet peas that brighten up your plate.
Health-Conscious Delight: Packed with protein and omega-3s, this recipe is both nutritious and satisfying, perfect for those looking to enjoy lighter meals.
Versatile Ingredients: Feel free to experiment! Swap salmon for shrimp or add seasonal vegetables like asparagus for a delightful twist.
Crowd-Pleaser Appeal: Whether you’re hosting a dinner party or indulging in a cozy night in, this dish fits the occasion perfectly. Pair it with a crisp salad or a slice of crusty bread for a complete meal. Embrace the freshness of spring with this stunning dish!
Spring Pasta with Salmon Ingredients
• This recipe is all about fresh, lively ingredients that celebrate the essence of spring.
For the Pasta
- Cavatappi or other short pasta – This unique shape captures the buttery sauce well; gluten-free options are available.
- Fresh or frozen English peas – Adds a touch of sweetness and vibrant color; both work beautifully here.
For the Salmon
- Salmon fillets – The star of the dish, skinless is easier to work with for a smooth finish.
- Whole coriander, crushed – Adds a warm, citrusy note; ground coriander can be used in a pinch.
For the Sauce
- Unsalted butter, cut into pieces – Creates a creamy base for the sauce; olive oil offers a lighter alternative.
- Yellow onion, chopped – Provides a savory depth; shallots can be substituted for a milder flavor.
- Dry white wine – Elevates the sauce with acidity; feel free to use vegetable broth for a non-alcoholic version.
Seasoning
- Kosher salt and freshly ground black pepper – Essential for enhancing the overall flavor; adjust to your taste.
- Fresh dill, torn – Brightens the dish with its herby aroma; dried dill can work if fresh isn’t available.
This spring pasta with salmon, peas, and dill celebrates the season with every delicious bite!
Step‑by‑Step Instructions for Spring Pasta with Salmon, Peas, and Dill
Step 1: Preheat the Oven
Start by preheating your oven to 400°F (200°C). While it warms up, prepare a rimmed baking sheet by lightly coating it with cooking spray. This will prevent the salmon from sticking. The crispy exterior of the salmon will add a delightful texture to your spring pasta.
Step 2: Season the Salmon
Pat the salmon fillets dry with a paper towel and season them generously with crushed coriander, kosher salt, and freshly ground black pepper. Place the seasoned salmon fillets skin-side down (if applicable) on the prepared baking sheet. This will allow them to roast beautifully, enhancing the flavor of the spring pasta.
Step 3: Roast the Salmon
Roast the salmon in the preheated oven for about 12–15 minutes. Keep an eye on it; the fillets should turn opaque and flake easily with a fork when fully cooked. This ensures that your salmon is tender and moist, providing a perfect protein element for your spring pasta with salmon, peas, and dill.
Step 4: Cook the Pasta
While the salmon is roasting, cook your cavatappi or chosen short pasta according to the package instructions in a large pot of salted boiling water. Aim for al dente texture—about 8-10 minutes is usually perfect. Once done, drain the pasta and set it aside while you prepare the sauce.
Step 5: Sauté the Onion
In a large skillet over medium heat, melt the unsalted butter and add the chopped yellow onion. Sauté for about 5 minutes, stirring occasionally, until the onion is translucent and fragrant. This process will create a savory base for the creamy sauce that will envelop your spring pasta.
Step 6: Create the Sauce
Pour in the dry white wine into the skillet with the sautéed onions, allowing it to simmer and reduce for about 3-4 minutes. You want the alcohol to cook off, leaving behind a rich, concentrated flavor. This fragrant sauce will beautifully complement the fresh elements of your spring pasta.
Step 7: Add Peas and Pasta
Stir in the English peas and cooked pasta, tossing everything together. Allow this mixture to cook for an additional 2-3 minutes until the peas are bright and heated through. The vibrant green of the peas enhances the dish, making your spring pasta visually appealing and delicious.
Step 8: Flake the Salmon
Remove the roasted salmon from the oven and let it rest for a moment before gently flaking it into large chunks using a fork. Carefully fold the salmon pieces into the pasta mixture, ensuring not to break it apart too much, keeping the dish hearty and satisfying.
Step 9: Finish with Fresh Dill
Finally, tear the fresh dill and sprinkle it over the pasta, giving everything a gentle toss. Taste and adjust the seasoning with salt and pepper as needed, elevating the flavors of your spring pasta with salmon, peas, and dill to perfection. Serve warm and revel in the fresh, vibrant essence of spring!
How to Store and Freeze Spring Pasta
Fridge: Store leftovers of your spring pasta with salmon, peas, and dill in an airtight container. They will stay fresh for up to 2 days, allowing you to enjoy a quick meal later.
Freezer: For longer storage, freeze the dish in a freezer-safe container. It can last up to 2 months, but note that the texture of the salmon may change slightly upon reheating.
Reheating: When ready to enjoy, thaw overnight in the fridge and reheat on the stovetop over low heat, adding a splash of water or broth to revive the creamy sauce.
Helpful Tricks for Spring Pasta
-
Perfectly Cooked Salmon: Ensure salmon is just flaky and not overcooked by checking it at the 12-minute mark. It continues to cook after removal, ensuring tenderness.
-
Quality Pasta Choice: Opt for high-quality cavatappi or a gluten-free alternative. Remember to adjust cooking times if using fresh or refrigerated pasta for your spring pasta with salmon, peas, and dill.
-
Taste as You Go: Always taste and adjust the seasoning before serving. This step is key to elevating flavors and enhancing your dish’s overall appeal.
-
Butter vs. Olive Oil: For a lighter outcome, consider using olive oil instead of butter. This substitution still delivers a rich flavor while providing a healthier option.
-
Fresh Herbs Matter: Use fresh dill for the best flavor. If it’s not available, compensating with dried dill can work, but fresh will always shine brighter in your spring pasta dish.
What to Serve with Spring Pasta with Salmon, Peas, and Dill
Embrace the harmony of flavors that complete your vibrant meal with these delightful pairings.
-
Light Green Salad: A refreshing mix of leafy greens dressed in a tangy vinaigrette adds a crisp contrast, enhancing the meal’s lightness.
-
Garlic Bread: Warm, buttery garlic bread invites everyone to the table, providing a comforting, savory element that perfectly complements the pasta.
-
Roasted Asparagus: Tender-crisp asparagus drizzled with olive oil and lemon brighten the dish and add a seasonal touch to your table.
-
Chilled White Wine: A glass of crisp Sauvignon Blanc mirrors the dish’s freshness, enhancing the flavors without overwhelming the palate.
-
Grilled Vegetables: Seasonal veggies like zucchini and bell peppers bring earthy sweetness, balancing the creamy, buttery notes of the spring pasta beautifully.
-
Fruit Tart: Conclude your meal with a light raspberry or lemon tart for a sweet, tangy finish that echoes the freshness of the dish.
Each of these pairings adds its own unique touch, making your spring pasta with salmon, peas, and dill an unforgettable dining experience.
Spring Pasta with Salmon Variations
Feel free to enhance and customize this recipe to suit your taste, and embrace the fresh flavors of spring!
-
Seafood Swap: Substitute salmon with shrimp for a delightful twist; just sauté quickly for tender results.
Shrimp adds a sweet ocean essence while still providing the healthy benefits you’re after. -
Veggie Boost: Swap peas for asparagus or spinach, adding a new seasonal dimension to your dish.
Asparagus brings a crunchy texture, while spinach offers a lovely depth with its earthy taste. -
Herb Infusion: Experiment by using fresh basil or parsley instead of dill for a different herbal flair.
Changing up the herbs will refresh the dish and make it uniquely yours. -
Pasta Variety: Try fettuccine or whole grain pasta for a heartier bite that complements the sauce beautifully.
Whole grain pasta adds an extra layer of fiber, making your meal even more satisfying. -
Creamy Twist: Add a splash of heavy cream to your sauce for a luxuriously creamy finish that enriches the dish.
This addition transforms your spring pasta into an indulgent delight for special occasions. -
Spicy Kick: Mix in a pinch of crushed red pepper flakes for a bit of heat to elevate the flavor profile.
A subtle warmth can create an exciting contrast against the sweetness of the peas. -
Nutritional Upgrade: Incorporate fresh kale or baby spinach for a nutrient-packed addition that brightens your pasta.
Not only will this add color, but it will also enhance the health benefits of your meal. -
Flavorful Broth: Use vegetable broth instead of white wine for a kid-friendly and alcohol-free version.
This swap keeps the dish flavorful while being suitable for all family members.
By offering these variations, you can turn your fresh spring pasta with salmon, peas, and dill into a celebration of tastes that truly reflects your family’s preferences. As you explore these delightful riffs, consider pairing your dish with a light green salad or even crusty bread for a well-rounded dining experience, just like in my beloved Marry Chicken Pasta or Dill Pickle Soup for a touch of vibrant flavor. Happy cooking!
Make Ahead Options
These Fresh Spring Pasta with Salmon, Peas, and Dill are perfect for busy home cooks looking to save time! You can prepare the pasta and sauce components up to 24 hours in advance. Simply cook the cavatappi until al dente, then toss it with a bit of olive oil to prevent sticking before refrigerating. Additionally, roast the salmon and store it separately in an airtight container for up to 3 days. When you’re ready to serve, just reheat the pasta and sauce gently in a pan, add in the peas and salmon, and finish with fresh dill. This way, you’ll enjoy all the deliciousness of your spring pasta without the evening rush!
Spring Pasta with Salmon, Peas, and Dill Recipe FAQs
How do I choose ripe ingredients for this recipe?
Absolutely! For the salmon, look for bright, vibrant fillets with a firm texture and no dark spots, which indicate freshness. As for the peas, choose bright green, firm ones—if using frozen, ensure they are whole and not clumped together. This ensures you get that sweet flavor in your spring pasta with salmon, peas, and dill.
What is the best way to store leftovers?
Very! To store your spring pasta with salmon, peas, and dill, place it in an airtight container in the fridge. It will remain safe to eat for up to 2 days. Just make sure it cools down before sealing to retain freshness. When it comes to reheating, I find that using a stovetop on low is best, adding a splash of water or broth to keep it creamy.
Can I freeze this dish for later use?
Of course! If you want to freeze your spring pasta, let it cool completely, then transfer it into a freezer-safe container. It can be stored for up to 2 months. When you’re ready to enjoy it again, simply thaw overnight in the fridge. Reheat gently on low heat, adding a little liquid if needed, to keep the sauce from drying out.
What should I do if the pasta turns mushy?
When pasta goes mushy, it’s often overcooked. To avoid this in your spring pasta with salmon, always aim for al dente texture, following the package instructions closely—usually around 8-10 minutes should do it. If you find your pasta mushy, simply mix it with a bit of olive oil and fresh herbs to brighten it up.
Is this recipe suitable for those with dietary restrictions?
Absolutely! If you’re looking for a gluten-free option, substitute the cavatappi with a gluten-free pasta. For dairy-free, olive oil can be used instead of butter, and vegetable broth can replace the white wine for a non-alcoholic option. Always check ingredient labels for allergies, especially regarding fish, and adjust as needed.
How can I elevate the flavors further?
The more the merrier! To enhance the taste of your spring pasta, add a squeeze of fresh lemon juice just before serving. This brightens the dish beautifully. You can also experiment by introducing seasonal vegetables like asparagus or zucchini for added texture and flavor, keeping that spring essence alive in every bite!
Spring Pasta with Salmon, Peas, and Dill for a Fresh Feast
Ingredients
Equipment
Method
- Preheat your oven to 400°F (200°C) and prepare a rimmed baking sheet with cooking spray.
- Pat the salmon fillets dry and season with crushed coriander, salt, and pepper, then place skin-side down on the baking sheet.
- Roast the salmon for about 12–15 minutes until opaque and flakes easily.
- Cook the cavatappi pasta in salted boiling water according to package instructions for 8-10 minutes.
- In a skillet over medium heat, melt the butter and sauté the chopped onion for about 5 minutes until translucent.
- Pour in the dry white wine and let it simmer and reduce for 3-4 minutes.
- Stir in the peas and cooked pasta and allow to cook for an additional 2-3 minutes until heated through.
- Flake the salmon into large chunks and gently fold into the pasta mixture.
- Tear fresh dill and sprinkle over the pasta, adjusting seasoning with salt and pepper as needed.
")