")
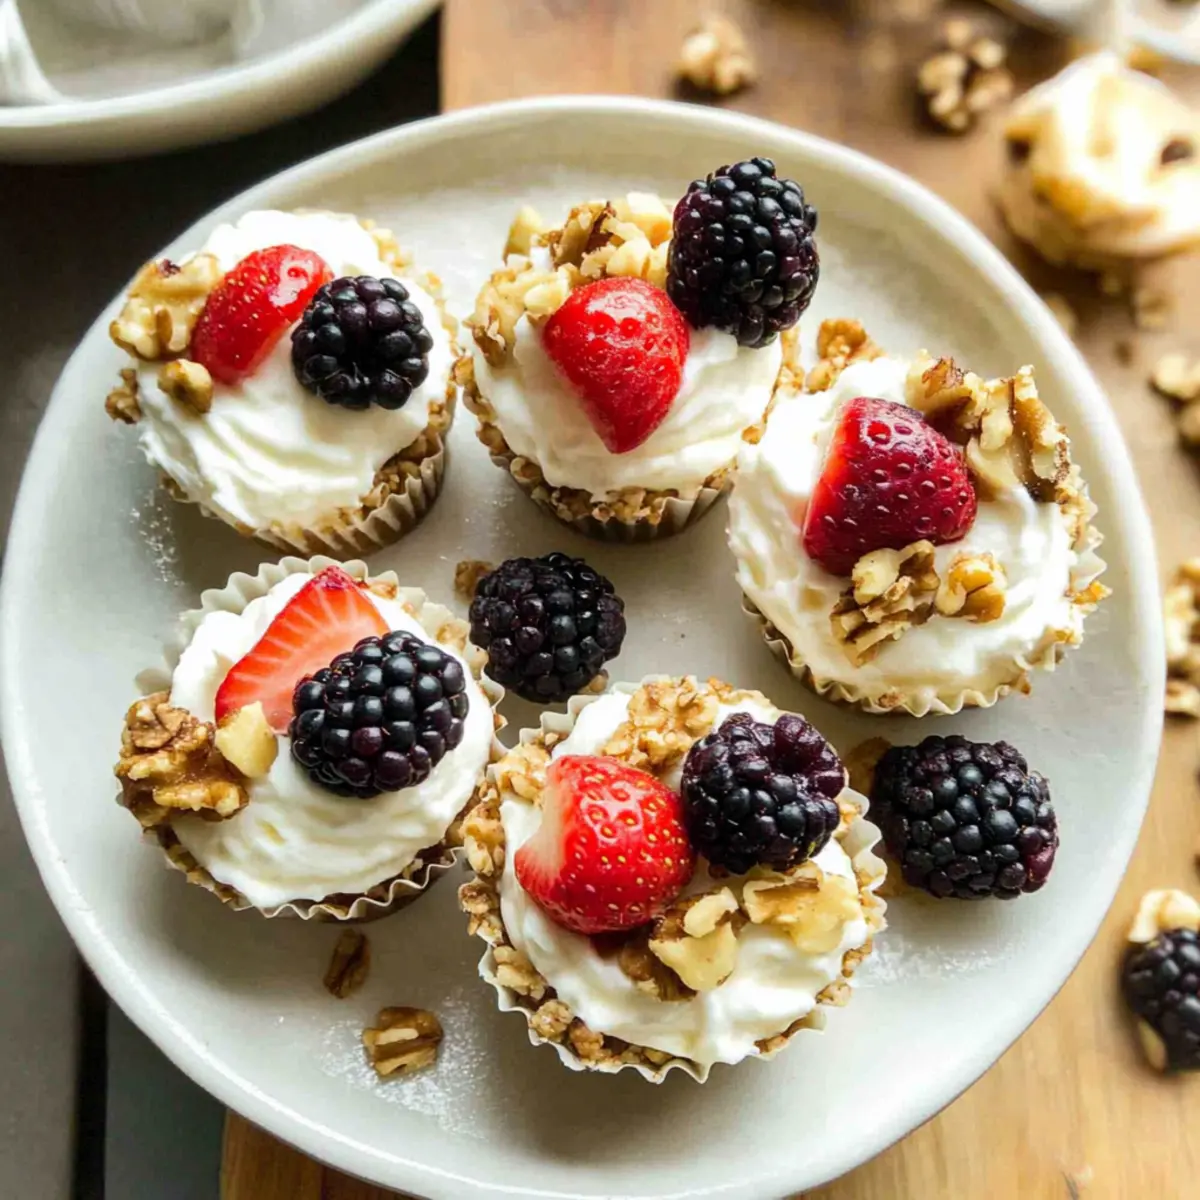
As I rummaged through my pantry last week, I stumbled upon a treasure: a stash of granola that was just begging to be put to good use. That sparked the idea for these Quick Frozen Yogurt Granola Cups, a delightful fusion of creamy yogurt and crunchy granola, perfect for snacking warrior souls like ours! In just five minutes, you can whip up these healthy, no-bake treats that not only satisfy sweet cravings but also fit seamlessly into busy mornings or afternoon pick-me-ups. With wholesome ingredients and a customizable topping bar, everyone can enjoy this guilt-free treat, whether for breakfast or a midday snack. Are you ready to take a quick dive into these delectable cups of goodness?
Why are Frozen Yogurt Granola Cups a must-try?
Quick and Easy: In just 5 minutes, you’ll whip up these delightful cups without any baking fuss. Perfect for a busy lifestyle!
Healthy Indulgence: Packed with protein from Greek yogurt and healthy fats from nuts, these cups are a guilt-free snack for any time of day.
Customizable Flavor: Tailor them to your taste with different fruits and nut butters. Feel free to experiment with toppings and enjoy a different flavor sensation each time!
Versatile Treat: Ideal as a quick breakfast, post-workout snack, or even a dessert—these cups satisfy every craving!
Crowd-Pleasing: Serve them at gatherings, and watch everyone swoon over these delicious, no-bake treats. They’ll be asking for your secret recipe in no time! If you’re looking for more quick meal ideas, check out Frozen Burrito Enchiladas as another fantastic option!
Frozen Yogurt Granola Cups Ingredients
For the Base
• Peanut Butter – Provides creaminess and healthy fats. Substitution: Almond butter or Nutella can be used for a different flavor.
• Honey – Adds sweetness and helps bind the mixture. Substitution: Agave syrup for a vegan option.
• Granola – Adds crunch and texture. Note: You can use flavored granola for added taste.
For the Filling
• Greek Yogurt – Acts as a base for the cups and adds protein. Note: Use dairy-free yogurt to make it dairy-free.
• Sliced Berries – Offers freshness and natural sweetness. Substitution: Use any fruit of choice, such as bananas, strawberries, or mangoes.
For the Topping
• Chopped Walnuts – Enhances flavor and adds healthy fats. Substitution: Any nut or seed can be used, or omitted if a nut-free option is needed.
• Honey Drizzle (optional) – Extra sweetness if desired. Note: Skip if you prefer less sweetness.
Step‑by‑Step Instructions for Frozen Yogurt Granola Cups
Step 1: Prepare the Muffin Tin
Line a muffin tin with six paper or silicone liners to create the perfect mold for your Frozen Yogurt Granola Cups. This setup ensures easy removal once they’re frozen. Make sure to space the liners evenly to allow for proper filling and freezing.
Step 2: Mix the Base Ingredients
In a medium-sized bowl, combine peanut butter, honey, and granola. Stir together these creamy, sweet, and crunchy ingredients until they’re well incorporated. You want a sticky consistency that binds everything together—this will provide a solid base for your granola cups.
Step 3: Fill the Liners with Granola Mixture
Spoon the granola mixture into each muffin liner, dividing it evenly. Use the back of a spoon to press down firmly to help the mixture hold its shape and form a solid base. Each cup should be filled to about halfway, creating a sturdy foundation for your yogurt layer.
Step 4: Add the Greek Yogurt
Using a tablespoon, fill each granola cup with Greek yogurt, aiming for about 2-3 tablespoons per liner. Gently spread the yogurt to reach the top of the liners and create a smooth surface. The creamy yogurt pairs beautifully with the crunchy base, making your Frozen Yogurt Granola Cups delightful.
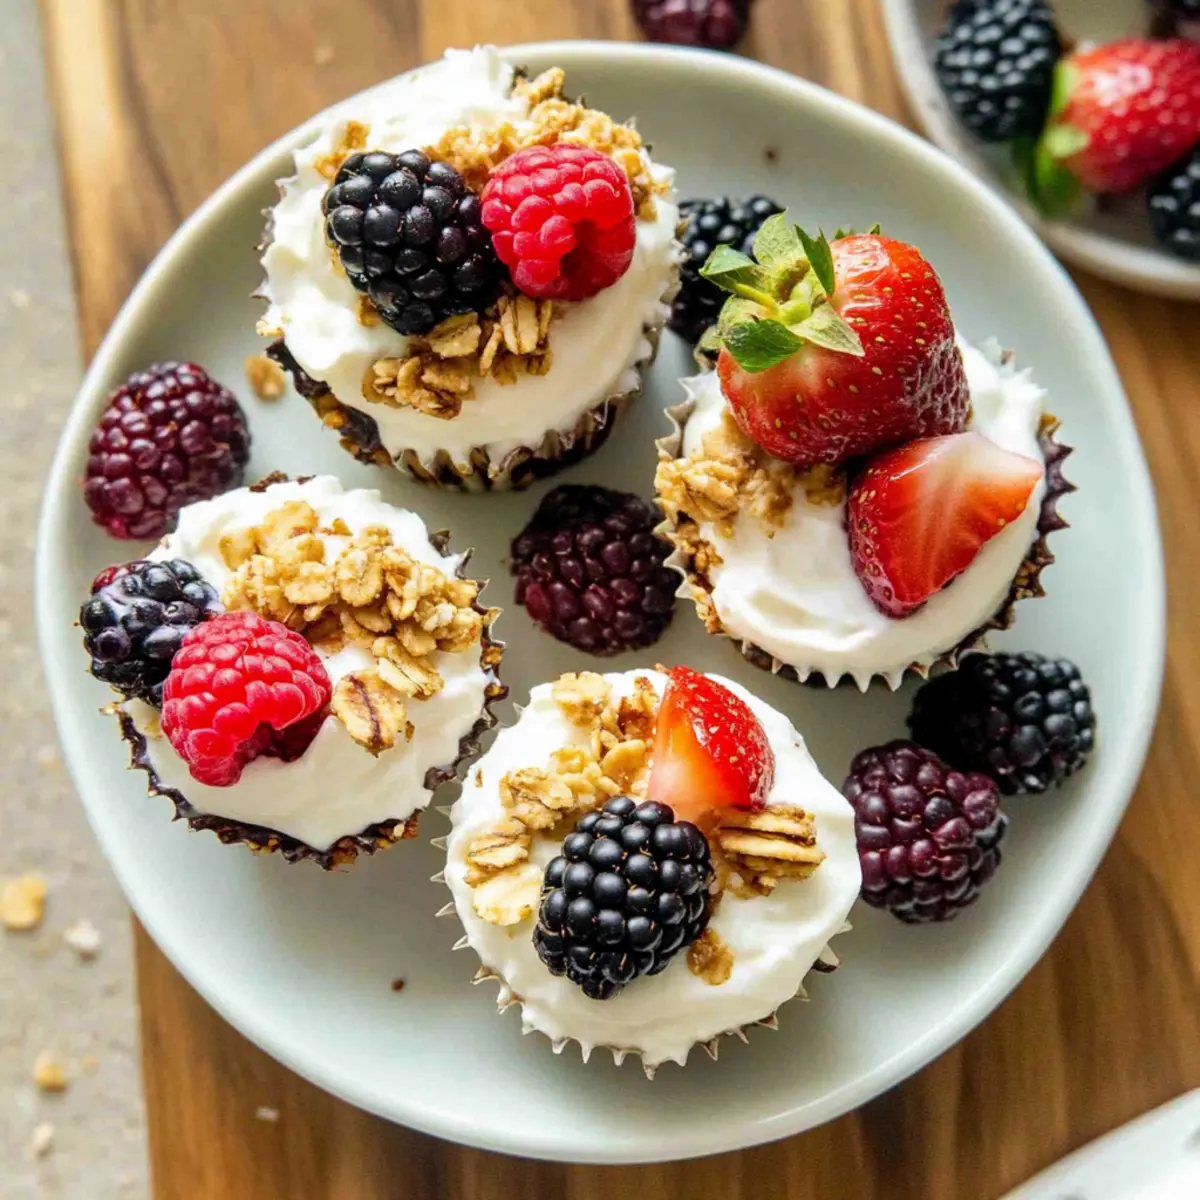
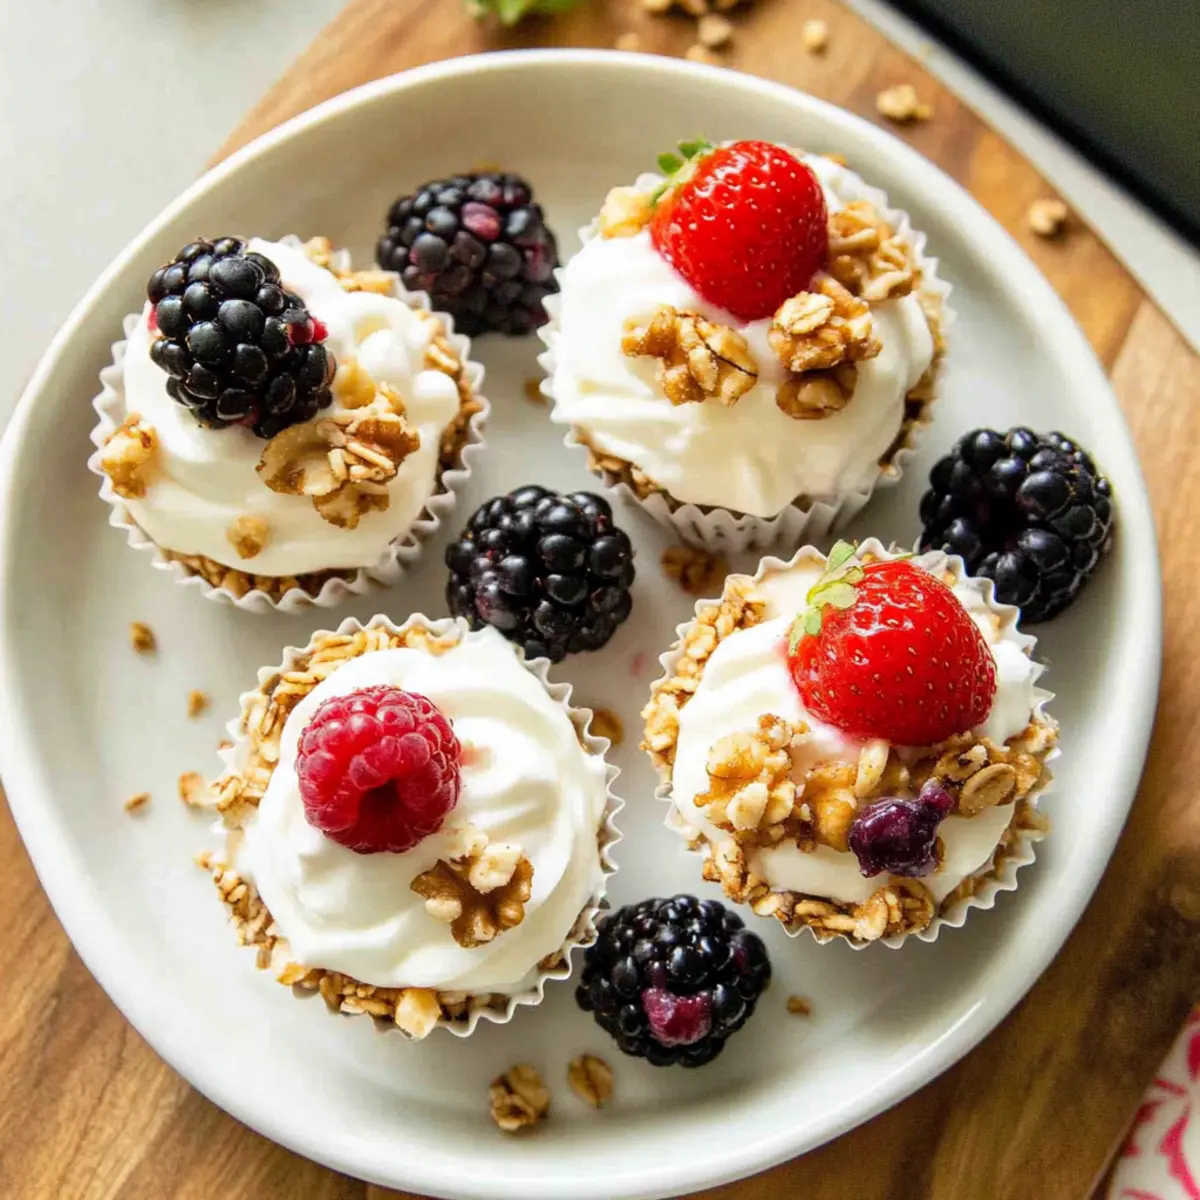
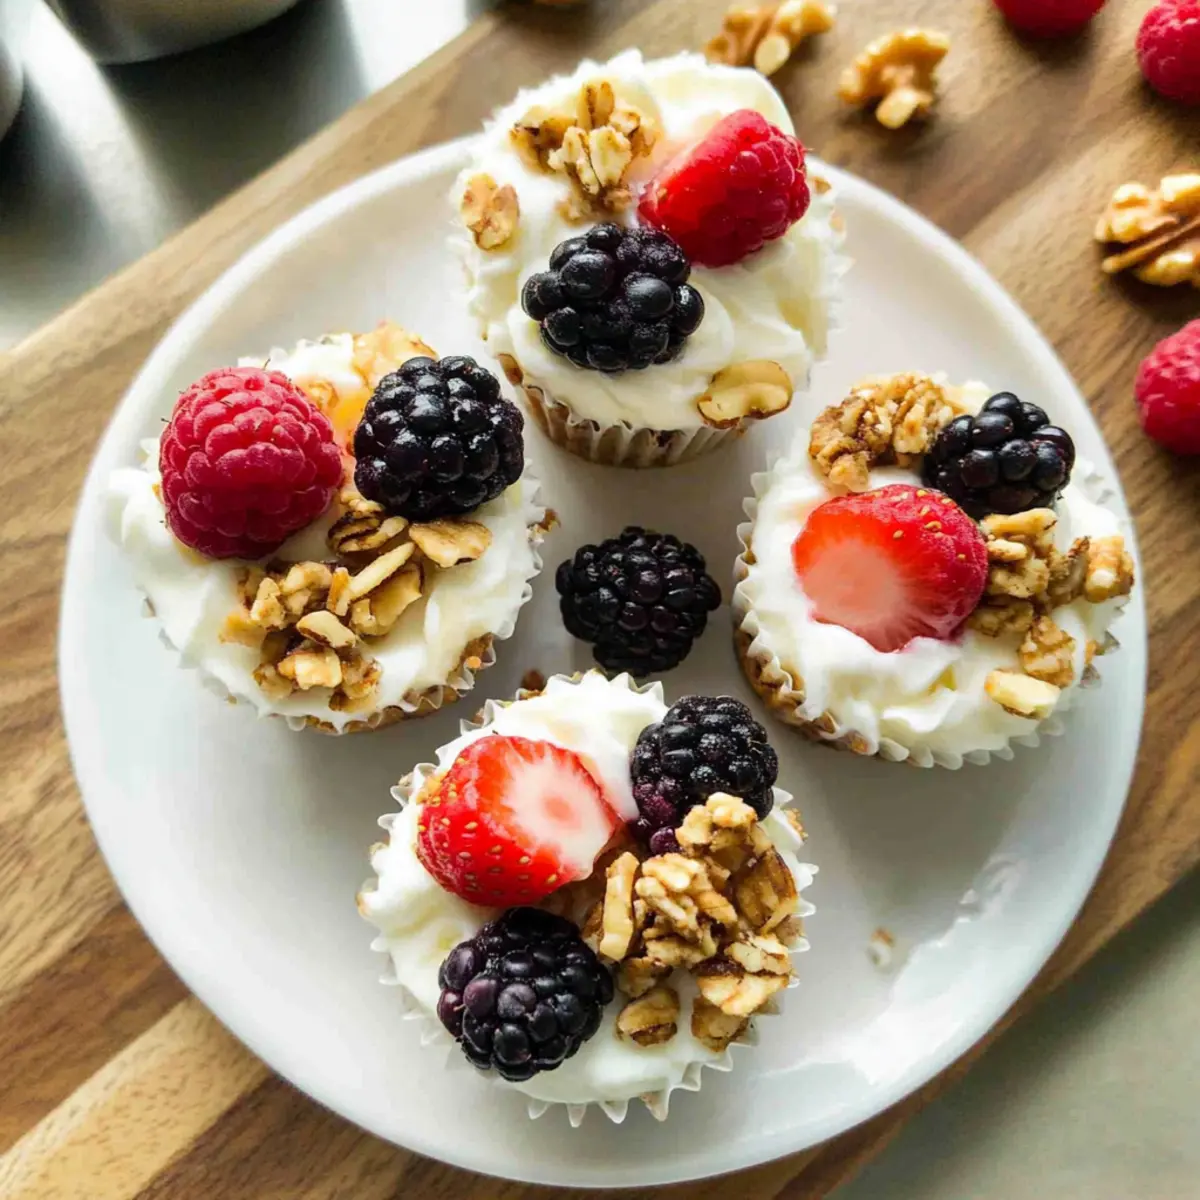
Step 5: Top with Fresh Ingredients
Now it’s time to customize! Top your yogurt with sliced berries and chopped walnuts, distributing them evenly for a burst of flavor and texture. If you like extra sweetness, consider drizzling some honey on top. These fresh toppings will enhance the overall taste and presentation of your cups.
Step 6: Freeze Until Firm
Place the muffin tin carefully in the freezer and let the cups freeze for 30 minutes to 1 hour. You’ll know they are ready when the yogurt is firm to the touch. Freezing gives the Frozen Yogurt Granola Cups the perfect texture and makes them a refreshing treat.
Step 7: Serve or Store
After freezing, let the cups thaw for about 2-3 minutes before gently removing them from the muffin tin. Enjoy these delightful Frozen Yogurt Granola Cups immediately, or store any leftovers in an airtight container in the freezer for up to four weeks. These cups are perfect for a quick snack or breakfast anytime!
What to Serve with Frozen Yogurt Granola Cups?
Complete your snack or breakfast experience with these delightful pairings that will elevate your Frozen Yogurt Granola Cups into a wholesome meal.
- Fresh Fruit Salad: A vibrant medley of seasonal fruits adds a refreshing burst of color and sweetness that complements the creamy yogurt.
- Nutty Granola Cluster: Enhance the texture by serving extra granola on the side for that satisfying crunch with every bite of yogurt cup. Consider using a mix of oats, nuts, and a hint of cinnamon for extra flavor.
- Creamy Coconut Yogurt: For a dairy-free twist, replace traditional yogurt with creamy coconut yogurt. Its tropical essence offers a unique flavor that harmonizes beautifully with the granola cups.
- Chilled Herbal Tea: A glass of refreshing mint or chamomile tea brings a soothing element, perfect for a cooling afternoon snack. It also complements the sweetness of the yogurt cups without overpowering.
- Honey Drizzle Addition: Serving a small dish of honey on the side allows everyone to add a drizzle to their cups for an extra touch of sweetness. This personal touch makes each bite uniquely delightful.
- Dark Chocolate Shavings: For a touch of indulgence, sprinkle some dark chocolate shavings over the yogurt cups. The rich chocolate balances the sweetness and elevates your snack to a treat worthy of celebration.
Make Ahead Options
These Frozen Yogurt Granola Cups are a fantastic choice for meal prep enthusiasts! You can easily prepare the granola base (peanut butter, honey, and granola mixture) up to 3 days in advance. Simply store it in an airtight container in the refrigerator to keep it fresh and flavorful. When you’re ready to assemble, fill your cups with yogurt and top them with fruit and nuts just before freezing to ensure they remain vibrant and fresh, maintaining their delightful textures. Once frozen, they can last up to 4 weeks, making it a perfect grab-and-go snack for busy mornings or afternoon cravings. Enjoy your delicious, guilt-free treat any time with minimal effort!
Expert Tips for Frozen Yogurt Granola Cups
• Press Firmly: Make sure to press the granola mixture down firmly into the liners for stability, preventing them from crumbling apart.
• Freeze Longer: For the best texture, freeze your cups for at least 1 hour. A longer freeze helps achieve that perfect creamy-yet-firm consistency.
• Flavored Yogurt: Opt for flavored Greek yogurt like vanilla or honey to elevate the taste. It adds a delightful twist to your Frozen Yogurt Granola Cups.
• Fresh Toppings: Add the fresh fruit and nuts once you’re ready to serve. This keeps them vibrant and crunchy, enhancing your overall enjoyment.
• Storage Savvy: Store the cups in an airtight container in the freezer to maintain freshness, and enjoy them within 4 weeks for optimal flavor.
How to Store and Freeze Frozen Yogurt Granola Cups
Fridge: If you choose to keep them in the fridge, consume within 1 day as they may become softer and lose their delightful crunch.
Freezer: Store Frozen Yogurt Granola Cups in an airtight container in the freezer for up to 4 weeks, ensuring they stay fresh and flavorful.
Serving: Enjoy them straight from the freezer for a refreshing treat or allow them to thaw for 2-3 minutes for a softer texture before savoring.
Reheating: No need to reheat; these cups are best enjoyed cold as a snack or breakfast option that’s both quick and guilt-free!
Frozen Yogurt Granola Cups Variations
Feel free to get creative with your Frozen Yogurt Granola Cups and make them uniquely yours!
- Nut-Free: Replace peanut butter with sun butter or tahini for a deliciously nut-free option.
- Vegan: Swap the Greek yogurt for coconut yogurt and use maple syrup instead of honey for a fully vegan treat.
- Extra Crunch: Add seeds like pumpkin or sunflower seeds to the granola layer for a delightful crunch and added nutrition.
- Chocolate Lovers: Mix in dark chocolate chips or cocoa powder to the granola for a deliciously indulgent twist.
- Berry Bliss: Experiment with different fruits, like diced mango or kiwi, for a tropical burst of flavor.
- Granola Swap: Use a store-bought granola with your favorite flavors or ingredients, or make your own to customize the sweetness and crunch.
- Health Boost: Stir in chia seeds or flaxseeds into the yogurt for an extra health kick without altering the flavor.
- Heat It Up: Add a pinch of cayenne pepper to the granola mixture for a spicy kick that beautifully contrasts with the sweetness.
These variations allow for endless customization, making it easy for you and your loved ones to enjoy a treat that fits your preferences. If you’re inspired to create more easy meals, don’t forget to check out those delicious Frozen Burrito Enchiladas for a satisfying dinner idea!
Frozen Yogurt Granola Cups Recipe FAQs
How do I choose the right yogurt for my Frozen Yogurt Granola Cups?
Absolutely! For the best flavor and texture, I recommend using Greek yogurt. It’s thick and creamy, providing a lovely base for your cups. You can also choose flavored Greek yogurt like vanilla or honey for an extra punch of taste. If you need a dairy-free option, go ahead and select your favorite dairy-free yogurt, ensuring you still enjoy that delightful creaminess.
How long can I store Frozen Yogurt Granola Cups?
You can keep your delicious cups in an airtight container in the freezer for up to 4 weeks. This ensures they stay fresh and maintain their yummy flavors. If kept in the fridge, consume them within 1 day to avoid losing that delightful crunch and texture!
Can I freeze the ingredients before making the Frozen Yogurt Granola Cups?
Yes! Prepare your ingredients and freeze the yogurt in ice cube trays to make blending easier. When you’re ready to assemble, melt the frozen yogurt slightly before mixing it with your granola mixture. This step helps ensure a smooth blend, maintaining a creamy texture in your Frozen Yogurt Granola Cups!
What should I do if my granola cups fall apart after freezing?
Very often, this happens because the granola mixture wasn’t pressed down firmly enough. Next time, make sure to really pack the granola mixture into the muffin liners during Step 3. This will help them hold their shape better. Also, consider freezing them for a longer period, at least 1 hour, which helps them set correctly.
Can pets eat Frozen Yogurt Granola Cups?
It’s a no-go for pets, especially due to ingredients like honey and nuts that can be unsafe for dogs and cats. If you want to share some joy with your furry friends, try making frozen yogurt cups specifically designed for them. Use unsweetened yogurt and pet-friendly fruits like blueberries or bananas!
What should I do if I have nut allergies?
The more the merrier! If you’re looking to make these Frozen Yogurt Granola Cups nut-free, simply replace the peanut butter with sunflower seed butter or omit it altogether. You can still achieve a delightful flavor with other toppings like seeds or just more granola!
Frozen Yogurt Granola Cups: Your Quick Guilt-Free Snack
Ingredients
Equipment
Method
- Line a muffin tin with six paper or silicone liners to create the perfect mold for your Frozen Yogurt Granola Cups.
- In a medium-sized bowl, combine peanut butter, honey, and granola. Stir until well incorporated.
- Spoon the granola mixture into each muffin liner, pressing down firmly.
- Fill each granola cup with Greek yogurt, aiming for about 2-3 tablespoons per liner.
- Top yogurt with sliced berries and chopped walnuts, distributing them evenly.
- Place the muffin tin in the freezer and let the cups freeze for 30 minutes to 1 hour.
- After freezing, let cups thaw for 2-3 minutes before gently removing them from the muffin tin.
")