")
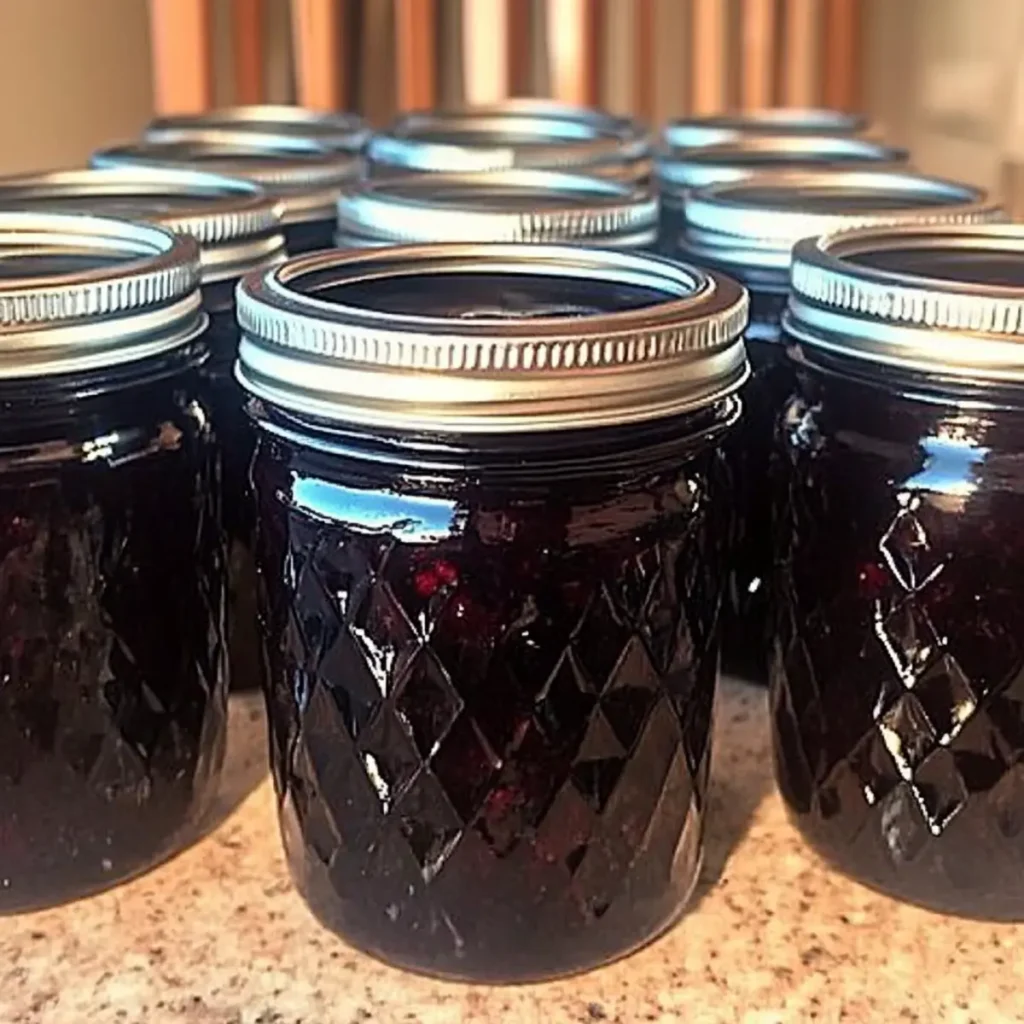
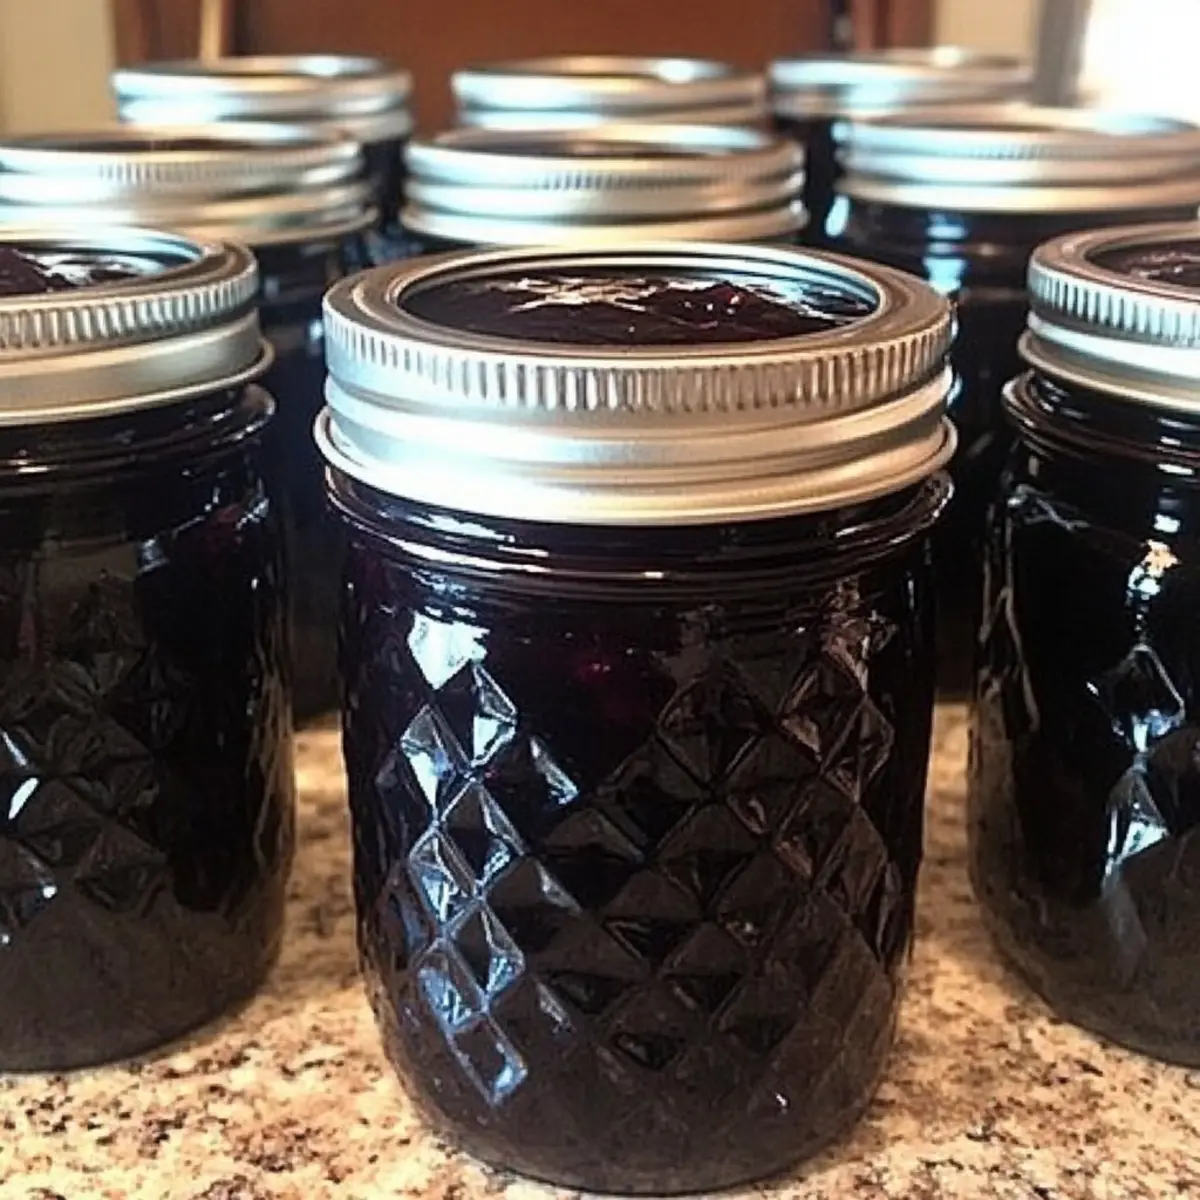
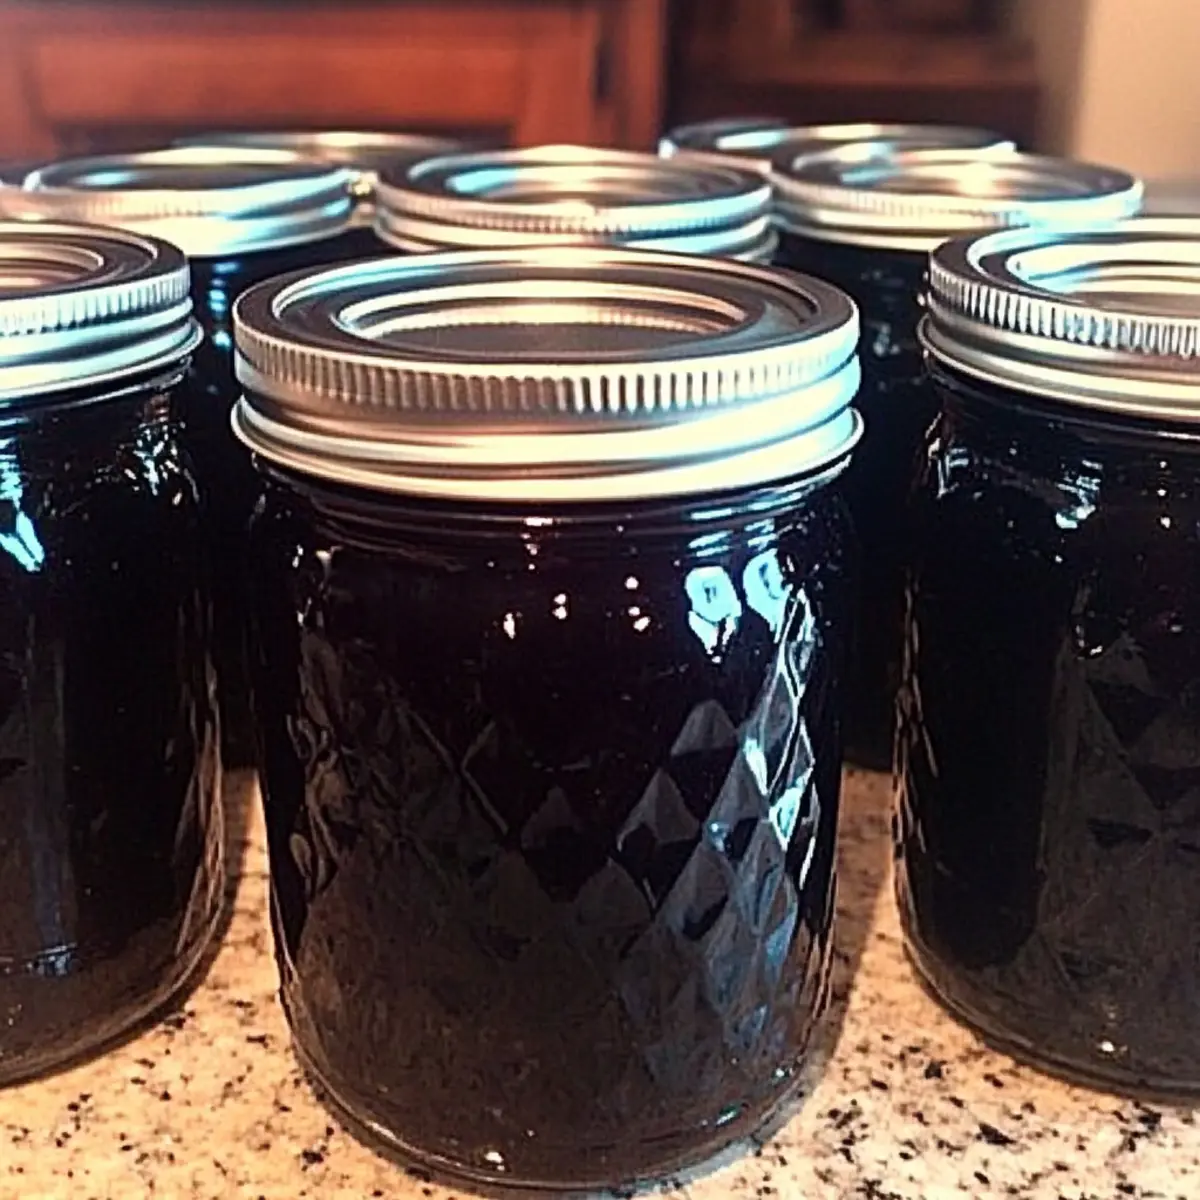
The sweet scent of summer can fill your kitchen even in the heart of winter with my Homemade Blackberry Jam. Each rich, berry-filled jar is more than just a spread—it’s a feel-good reminder of sunny days spent picking blackberries. This simple recipe is perfect for those who want to create their own seasonal preserves with minimal fuss and maximum reward, allowing you to relish in the essence of summertime all year round. Plus, it’s not only a crowd-pleaser but also a fun way to engage in canning, making it an excellent choice for both novice and seasoned home chefs alike. Are you ready to capture the magic of summer in a jar?
Why Make Homemade Blackberry Jam?
Flavorful Bliss: This recipe captures the sweet essence of fresh blackberries, letting you savor their juicy flavor year-round.
Simple Steps: With easy-to-follow instructions, even those new to canning will shine in the kitchen.
Versatile Uses: Perfect for spreading on toast, drizzling over pancakes, or pairing with cheese, your homemade jam will elevate any meal.
Seasonal Delight: Embrace the tradition of canning and enjoy the fruits of summer all winter long, making it an exciting project for everyone.
Healthier Option: You control the ingredients! Use a low-sugar pectin if you prefer a lighter touch without sacrificing taste.
Homemade Blackberry Jam Ingredients
For the Jam
• Fresh Blackberries – Use 5 cups fresh blackberries (about 7 cups whole) for best results and maximum flavor.
• Granulated Sugar – Essential for sweetness and preservation; follow exact measurements or use low-sugar pectin for reduced sugar options.
• Fruit Pectin – One package (1 3/4 ounces) is crucial for achieving that perfect jam consistency.
• Butter – Add 1/2 teaspoon if desired, to reduce foaming during cooking.
Step‑by‑Step Instructions for Homemade Blackberry Jam
Step 1: Prepare the Equipment
Begin by sanitizing your jars, lids, and rings. Place them in a pot of boiling water for about 10 minutes to ensure they are clean. Meanwhile, fill a boiling water canner with clean, warm water, preparing it to process your homemade blackberry jam later.
Step 2: Prepare Blackberries
Wash and stem 5 cups of fresh blackberries, then drain them well. Using a potato masher or food processor, crush the berries until you have a chunky mixture—avoid pureeing them as you want that delightful texture in your jam. Set aside the crushed blackberries to infuse their juicy essence.
Step 3: Measure Ingredients
In a measuring cup or bowl, carefully measure out 5 cups of the prepared blackberry mixture. Set this aside as you also measure the sugar and pectin, ensuring everything is ready to go before cooking. Having your ingredients pre-measured will streamline the process and improve your chances of success with your blackberry jam.
Step 4: Cook Jam Mixture
In a large saucepan, combine the crushed blackberries and one package of fruit pectin. Place the saucepan over high heat and bring the mixture to a full rolling boil, stirring constantly. This should take about 5-7 minutes. You’ll know it’s ready when the mixture is bubbling vigorously and cannot be stirred down.
Step 5: Add Sugar
Once at a rolling boil, quickly stir in the measured sugar. Return the mixture to a rolling boil for precisely 1 minute, continuing to stir rigorously. This step is critical as it ensures your homemade blackberry jam properly sets and gets that wonderful sweet flavor. Watch for the jam to bubble vigorously during this minute.
Step 6: Ladle into Jars
Using a ladle, carefully fill the sanitized jars with the hot jam, leaving approximately 1/8 inch of space at the top. Wipe the rims of the jars with a clean cloth to remove any jam that may have spilled. Seal each jar immediately with lids and rings, tightening them until they are fingertip tight.
Step 7: Process Jars
Gently place the filled jars into your boiling water canner. Process the jars in the boiling water for 10 minutes, adjusting for altitude if necessary. This step ensures that the seals will set properly, allowing your homemade blackberry jam to be preserved safely.
Step 8: Cool and Store
After processing, carefully remove the jars using tongs and place them on a clean towel or cooling rack. Let them cool for 12-24 hours without disturbing them. Check the seals after they have cooled—lids should not spring back when pressed. Store your sealed jars in a cool, dark place where they can be enjoyed for up to a year.

Homemade Blackberry Jam Variations
Feel free to make this recipe your own with these delicious twists and swaps that will elevate your homemade blackberry jam experience.
-
Spice It Up: Add 1 teaspoon of cinnamon or allspice for a warm, comforting flavor that pairs wonderfully with the berries. It’s like wrapping your taste buds in a cozy blanket!
-
Berry Blend: Replace 1 cup of blackberries with blueberries or raspberries for a mixed berry jam that’s as delightful as a summer picnic. Just think of those vibrant colors dancing in your jar!
-
Citrusy Boost: Stir in the zest of 1 lemon or an orange before boiling for a refreshing citrus twist that brightens the flavor profile. It’s a great way to bring a zingy surprise to your morning toast!
-
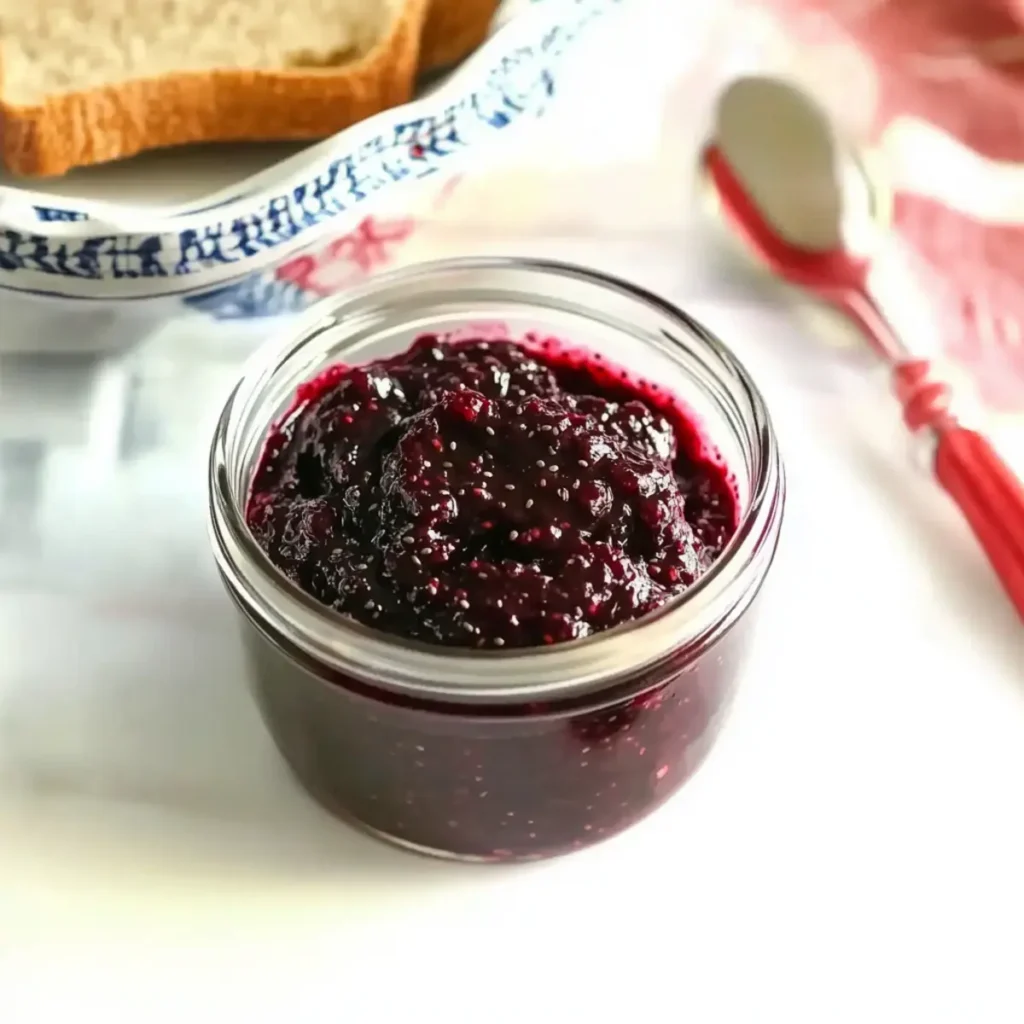
Chia Jam: Substitute sugar with 1/2 cup chia seeds for a healthier, lower sugar alternative. The chia seeds will give your jam a thicker texture while also loading it with fiber. This change is a delicious way to indulge guilt-free!
-
Herbal Infusion: Add a few sprigs of fresh mint or even rosemary while cooking for an aromatic kick that adds complexity to your jam. Imagine how lovely this will be on cheese platters!
-
Vanilla Essence: Include 1 tablespoon of pure vanilla extract to enhance the flavor and add a rich undertone. This dreamy touch will make your homemade blackberry jam taste gourmet!
-
Hot and Spicy: For a unique twist, add a pinch of cayenne pepper or a splash of hot sauce to turn up the heat in your jam. It’s a bold way to surprise your taste buds and pairs wonderfully with savory dishes.
If you’re looking for more delicious concoctions, don’t forget to check out my guide on pepper lunch homemade and indulge in some delightful drinks with vanilla creamer homemade. Enjoy customizing your jam journey!
What to Serve with Homemade Blackberry Jam
Indulging in the luscious taste of homemade blackberry jam is delightful, but what could elevate your meal even more?
-
Fluffy Biscuits: The buttery, flaky texture of warm biscuits pairs perfectly with the sweet-tart jam, creating a harmonious blend of flavors.
-
Creamy Yogurt: Swirl your blackberry jam into a bowl of plain yogurt for a refreshing breakfast that adds fruitiness to every creamy bite.
-
Pancakes or Waffles: Serve the jam over golden brown pancakes or waffles for a delicious twist on a breakfast classic, making every bite a burst of berry bliss!
-
Cheese Platter: Combine with tangy goat cheese for a stunning appetizer that balances flavors beautifully; the sweet jam complements the cheese’s saltiness splendidly.
-
Grilled Cheese Sandwich: Spread some jam inside a melted cheese sandwich for an unexpected but tantalizing savory-sweet combo that delights your taste buds.
-
Charcuterie Board: Incorporate your blackberry jam into a charcuterie board; its vibrant flavor adds depth, making it a show-stopping highlight alongside cured meats and cheeses.
-
Chai Tea: Enjoy a cup of chai tea with a dollop of blackberry jam stirred in; the spices of the tea mesh beautifully with the sweetness of the jam, creating a cozy experience.
Make Ahead Options
These Homemade Blackberry Jam preparations are perfect for busy cooks looking to save time without sacrificing quality! Start by washing and crushing your blackberries up to 24 hours in advance; simply store them in an airtight container in the refrigerator to keep them fresh. You can also measure out your sugar and pectin ahead of time—this way, when you’re ready to make your jam, the cooking process is smooth and quick. When you’re ready to finish, just combine your prepared ingredients and follow the cooking steps as outlined. With these prep ahead tips, you’ll have delicious homemade jam ready to enjoy with minimal effort, making it an ideal addition to your meal prep routine!
How to Store and Freeze Homemade Blackberry Jam
Fridge: Once opened, refrigerate jars of homemade blackberry jam for up to 3 weeks. Keep them sealed tightly to preserve freshness and flavor.
Freezer: If you’d like to store your jam long-term, consider freezing it. Transfer it to airtight containers or freezer-safe jars, leaving some space for expansion. It can last up to a year in the freezer.
Unopened Jars: Store unopened jars in a cool, dark place such as a pantry. Properly sealed jars can last for up to a year, allowing you to enjoy that summer taste anytime!
Thawing: When ready to use frozen homemade blackberry jam, thaw it in the fridge overnight. Stir well before serving to restore its delightful consistency.
Expert Tips for Homemade Blackberry Jam
-
Fresh Berries Only: Always use fresh blackberries for the best flavor; frozen berries can alter the taste and consistency.
-
Sugar and Pectin Ratio: Maintain the correct ratio of sugar and pectin to avoid thinning or overly stiff jam. A low-sugar pectin can help if you want less sweetness.
-
Crushing Technique: Make sure to crush the blackberries well but avoid pureeing them; this ensures your jam has a lovely texture.
-
Temperature Matters: Use high heat to reach a rolling boil quickly, as this helps activate the pectin properly for your homemade blackberry jam.
-
Seal Check: After cooling, press the center of the lid—if it pops back, reprocess or refrigerate the jar; this is crucial for safety.
-
Single Batch Success: Avoid doubling the recipe, as it can disrupt the setting process and lead to runny jam.
Homemade Blackberry Jam Recipe FAQs
How do I select ripe blackberries for making jam?
Absolutely! When picking or purchasing blackberries, look for ones that are plump, glossy, and deep black in color. Avoid berries with dark spots all over or those that are overly soft, as they may be overripe. Fresh, vibrant blackberries will provide the best flavor for your Homemade Blackberry Jam.
How should I store my homemade blackberry jam?
To keep your homemade blackberry jam ready for enjoyment, store unopened jars in a cool, dark place like your pantry, where they can last up to a year. Once opened, be sure to refrigerate the jam, and it will stay fresh for about 3 weeks. Make sure the jars are tightly sealed to maintain their delightful flavor!
Can I freeze homemade blackberry jam?
Yes, very! Freezing is a fantastic option for longer storage. To freeze your jam, simply transfer it into airtight containers or freezer-safe jars, leaving about an inch of space at the top for expansion. Your jam can safely last for up to a year in the freezer. When you’re ready to enjoy it, thaw in the fridge overnight and stir well before serving.
What if my jam is too runny?
If you find your jam is thinner than desired, don’t worry! You can always reprocess it. Pour the jam back into a pot, add more pectin, and simmer over medium heat, stirring constantly. Bring to a rolling boil for one minute before ladling back into sterilized jars. This will help thicken it up, and you can enjoy a delightful texture!
Can I make this jam with a sugar substitute?
Yes! If you’re looking for a lower-sugar option, consider using a low-sugar pectin. Look for options that specify they are designed for sugar substitutes, as they often require specific techniques or additional ingredients to ensure proper setting. Remember to follow the packet instructions carefully for the best results.
Is homemade blackberry jam safe for pets?
While a little blackberry jam might not harm pets, it’s essential to keep in mind that high sugar content is not ideal for them. It’s always best to consult with your veterinarian about introducing any human food to your pet’s diet. Be cautious and opt for pet-safe snacks instead!

Homemade Blackberry Jam: Capture Summer's Joy in a Jar
Ingredients
Equipment
Method
- Sanitize your jars, lids, and rings by placing them in boiling water for 10 minutes.
- Wash and stem the blackberries, then crush them to a chunky mixture.
- Measure out 5 cups of the blackberry mixture, along with the sugar and pectin.
- In a saucepan, combine the crushed blackberries and pectin, bring to a rolling boil.
- Quickly stir in sugar once at a boil, then boil for 1 minute.
- Ladle hot jam into sanitized jars, leaving 1/8 inch headspace, and seal.
- Process jars in boiling water for 10 minutes.
- Remove jars, let them cool for 12-24 hours, ensuring seals are tight before storing.
")