
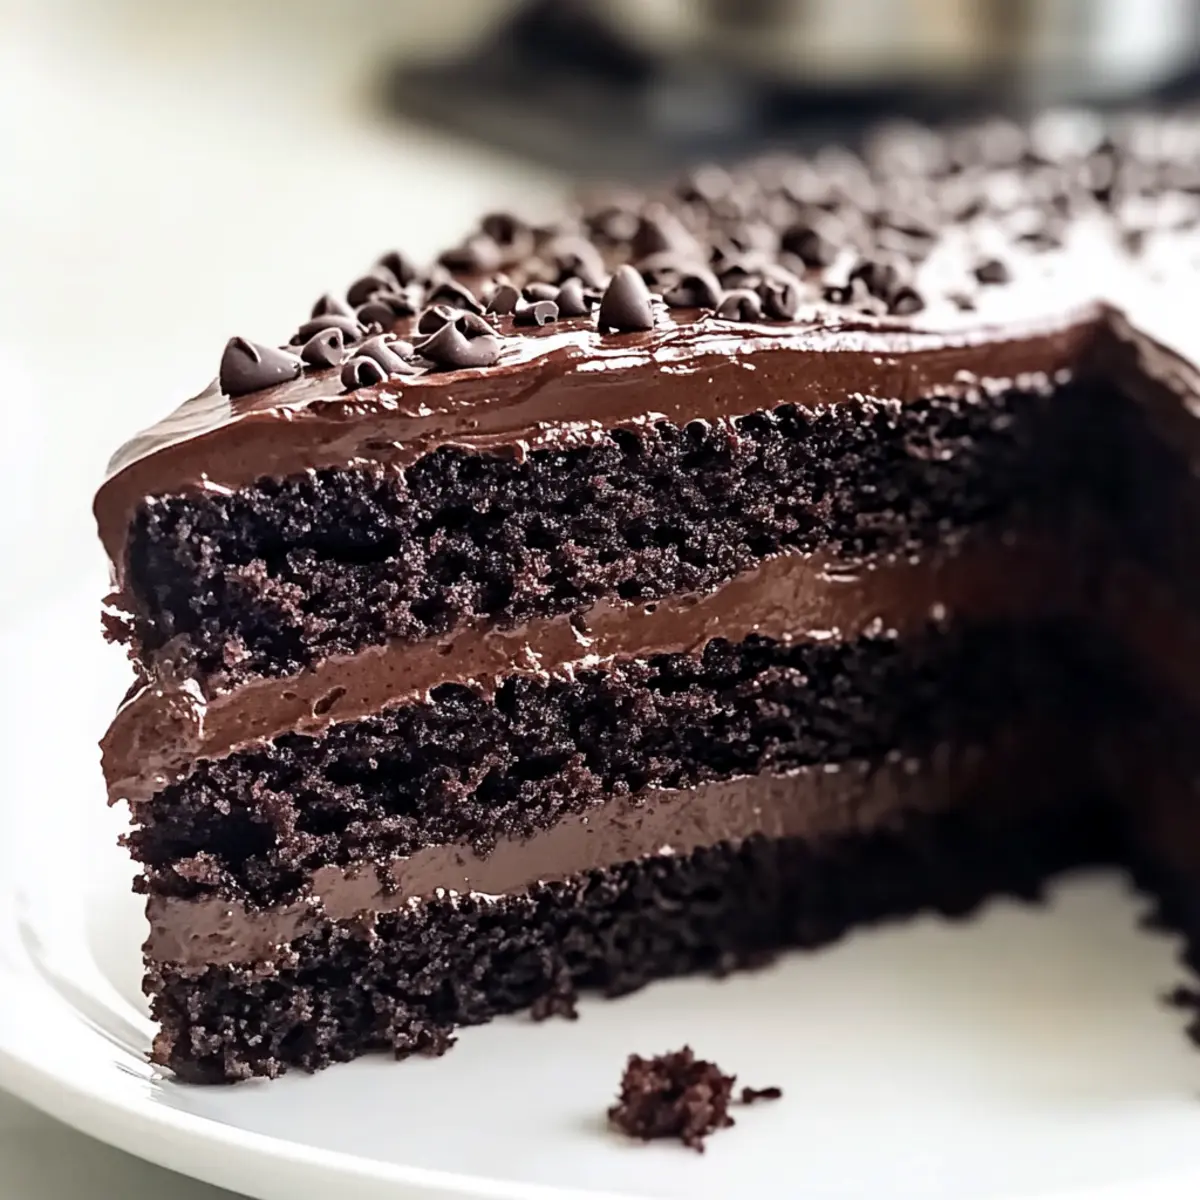
As I sifted through my kitchen pantry, a little bag of cocoa caught my eye, instantly transporting me to my childhood days of baking with my grandmother. The aroma of warm, chocolatey goodness that filled the air was unstoppable, urging me to whip up Matilda’s Chocolate Cake. This delightful recipe, perfect for both novice bakers and seasoned pros, not only delivers rich layers of chocolatey bliss but is also gluten-free and low FODMAP. Imagine serving a generous slice at your next gathering, impressing friends and family with its tender crumb and silky frosting—all while keeping things simple. With quick prep and an ability to adapt from classic layers to fun cupcakes, this cake makes indulging in homemade desserts easier than ever. Are you ready to bring warmth and nostalgia back into your kitchen?
Why Is Matilda’s Chocolate Cake a Must-Try?
Irresistibly Rich Flavor: Each bite bursts with luscious chocolate, perfectly complemented by silky frosting. This cake feels decadent yet comforting, striking a balance that pleases every palate.
Easy to Master: No complicated techniques here! With simple steps, you can produce stunning results, making it perfect for novice bakers and seasoned pros alike.
Versatile Joy: Adapt it easily—create cupcakes or a sheet cake, all while preserving that tender crumb and rich taste. Each version is just as delightful!
Gluten-Free and Low FODMAP: Deliciousness without compromise! This recipe meets dietary needs while ensuring everyone can indulge in a slice of happiness.
Crowd-Pleasing Delight: Serve at gatherings and watch friends and family marvel at this stunning dessert, reminiscing about their favorite bakery treats. Want a fresh twist? Try pairing it with a scoop of vanilla ice cream or a side of seasonal fruit for extra flair in your serving!
Matilda’s Chocolate Cake Ingredients
Get ready to bake a luscious gluten-free treat!
For the Cake
- All-Purpose Flour – Use a gluten-free blend to maintain structure and rise if you want to make this cake gluten-free.
- Unsweetened Cocoa Powder – The richer the cocoa, the more intense the chocolate flavor, enhancing your Matilda’s Chocolate Cake.
- Baking Powder – This helps the cake rise beautifully, creating that tender crumb we all adore.
- Baking Soda – Reacts with acidic ingredients, contributing to a lighter texture.
- Salt – A must-have to balance sweetness and deepen the chocolate flavor!
- Granulated Sugar – Sweetness enhances chocolate while keeping your cake moist and tender.
- Large Eggs – Bind ingredients for a wonderful structure and add richness to every bite.
- Milk – Gives the batter a creamy texture; feel free to use a dairy alternative for added flexibility!
- Vegetable Oil – Keeps the cake moist; consider substituting with melted coconut oil for a unique twist.
- Pure Vanilla Extract – This aromatic addition rounds out the chocolate perfectly.
- Boiling Water – Blooms the cocoa for maximum chocolate intensity and creates a moist crumb.
For the Frosting
- Butter – A crucial ingredient for richness and creamy texture in your frosting.
- Powdered Sugar – Sweetens and thickens your frosting for that desirable spreadable consistency.
- Additional Milk – Adjust as needed to get your frosting to the perfect creamy texture.
- Vanilla Extract (for frosting) – Enhances and harmonizes the frosting’s flavor, making it oh-so-delicious!
With these ingredients at the ready, you’re one step closer to creating your very own Matilda’s Chocolate Cake, a treat that’s sure to become a family favorite!
Step‑by‑Step Instructions for Matilda’s Chocolate Cake
Step 1: Preheat the Oven
Begin by preheating your oven to 350°F (180°C). This step is crucial as a properly heated oven ensures that Matilda’s Chocolate Cake bakes evenly and rises beautifully. While the oven warms, gather your ingredients and cake pans to prepare for the next steps.
Step 2: Prepare Cake Pans
Grease two 9-inch round cake pans liberally with butter, ensuring all surfaces are coated. Next, line the bottom of each pan with parchment paper to make for easy removal after baking. This will help your cake retain its perfect shape and prevent sticking.
Step 3: Mix Dry Ingredients
In a large mixing bowl, sift together the all-purpose flour, unsweetened cocoa powder, baking powder, baking soda, and salt. Whisk these dry ingredients until well combined, then slowly whisk in the granulated sugar until there are no visible lumps. This mixture creates the deliciously rich base for your Matilda’s Chocolate Cake.
Step 4: Combine Wet Ingredients
Add the large eggs, milk, vegetable oil, and pure vanilla extract to the dry mixture. Whisk everything together until the batter is smooth and homogenous, which should take about 2-3 minutes. The batter will start coming together nicely, ready for the next key ingredient.
Step 5: Incorporate Boiling Water
Carefully pour the boiling water into the batter, stirring gently to combine. The batter will be quite thin, but this is exactly what you want for a moist and tender cake. This step also enhances the chocolate flavor; stir until fully incorporated for a beautifully silky finish.
Step 6: Bake the Cakes
Evenly divide the batter between the two prepared cake pans. Place them in the preheated oven and bake for 30-35 minutes. To check for doneness, insert a skewer into the center; it should come out clean or with a few moist crumbs, indicating your Matilda’s Chocolate Cake is ready.
Step 7: Cool the Cakes
Once baked, remove the cakes from the oven and allow them to cool in the pans for about 10 minutes. Afterward, gently turn the cakes out onto wire racks to cool completely. This cooling process ensures your cakes maintain their shape and prevents any melting when frosting.
Step 8: Prepare the Frosting
To make the luscious frosting, start by melting the butter in a bowl. Whisk in the unsweetened cocoa powder until smooth. Next, gradually add the powdered sugar and additional milk alternately, mixing until you achieve a creamy, spreadable consistency, then stir in the vanilla extract.
Step 9: Frost the Cakes
Once the cakes are completely cool, place one layer on a serving plate and spread a generous layer of frosting on top. Gently place the second layer on top and finish frosting the top and sides of the cake. Take your time to create a beautiful finish on Matilda’s Chocolate Cake that delights everyone.
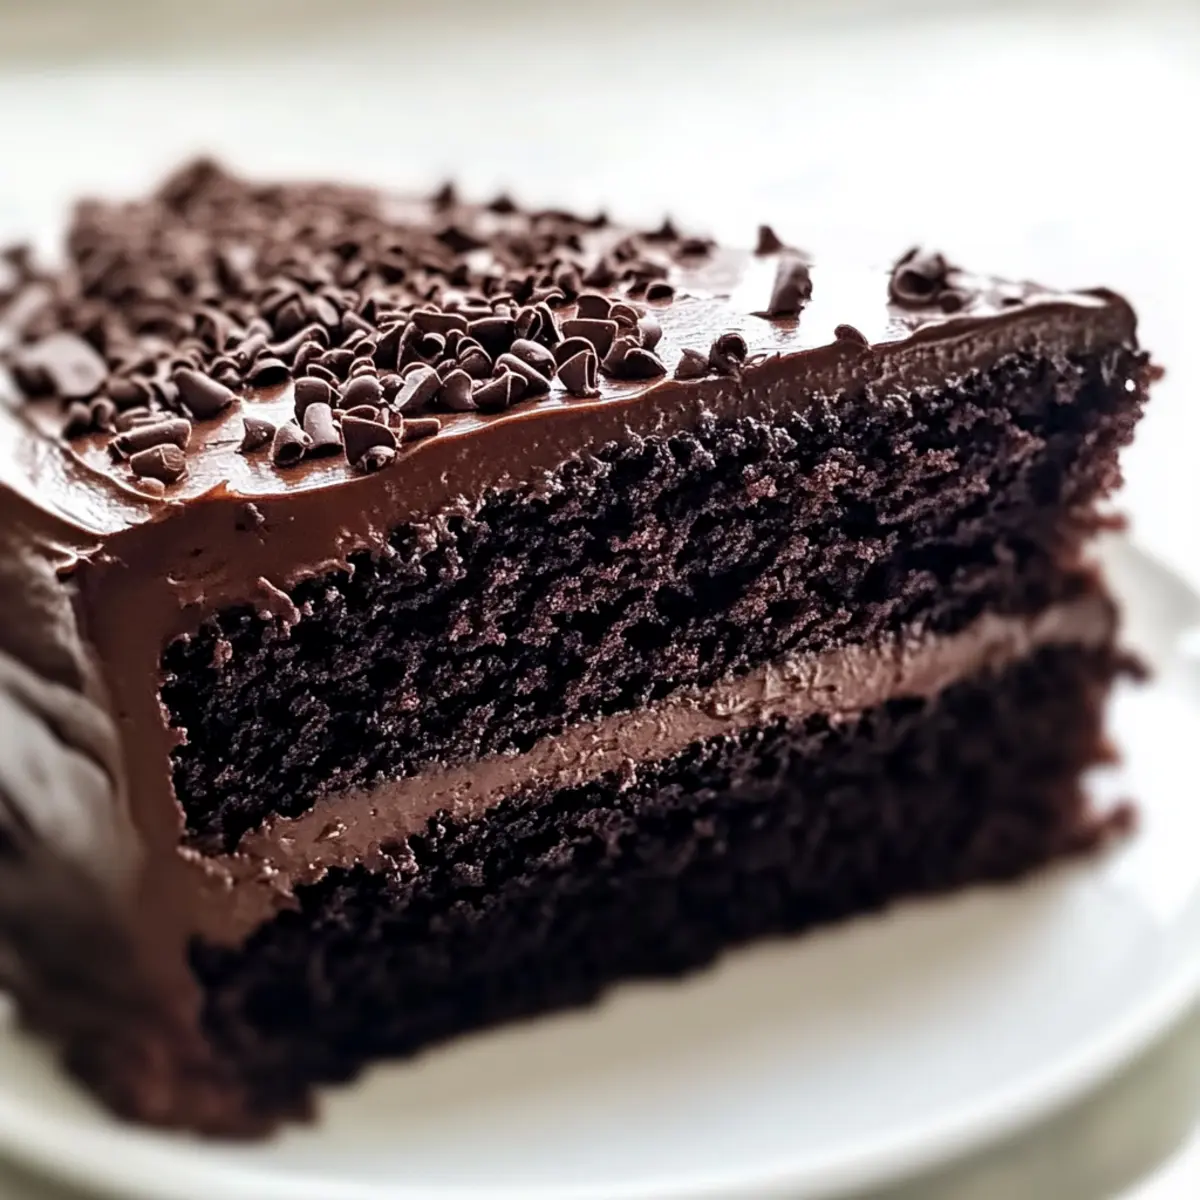
What to Serve with Matilda’s Chocolate Cake?
Indulging in a slice of this rich chocolate delight opens up a world of pairing possibilities that elevate your dessert experience.
- Fresh Berries: Juicy strawberries or raspberries add a refreshing tartness that cuts through the richness, enhancing both flavors beautifully.
- Vanilla Ice Cream: A scoop of creamy vanilla ice cream brings a cool, smooth contrast to the warm chocolate, creating bliss in every bite.
- Chocolate Ganache: Drizzle a warm chocolate ganache for an extra layer of indulgence, deepening the chocolate experience and adding a silky finish.
- Whipped Cream: Light and airy whipped cream contrasts perfectly with the dense cake, lending a delightful texture and fresh flavor.
- Espresso or Coffee: The bitterness of a rich cup of espresso complements the sweetness of the cake, making for a luxurious dessert pairing.
- Chocolate-Covered Strawberries: These sweet treats add a fun and festive touch while harmonizing beautifully with the cake’s flavors.
- Coconut Macaroons: The chewy texture and sweet coconut flavor pair wonderfully, providing a tropical twist to your dessert table.
- Mint Leaves: Fresh mint not only adds a pop of color but the herbal notes can brighten up the overall taste experience.
- Sparkling Wine: A glass of sparkling wine enhances the celebration, with its effervescence balancing the cake’s rich decadence.
- Chocolate Mousse Cups: For a double dose of chocolate, serve this creamy dessert alongside for an indulgent and unforgettable treat.
Matilda’s Chocolate Cake Variations & Substitutions
Feel free to sprinkle a little creativity into your Matilda’s Chocolate Cake—each twist will add a personal touch that makes your dessert uniquely yours!
-
Gluten-Free: Use a certified gluten-free flour blend to create a cake that everyone can enjoy without the gluten. It’s just as delicious and moist!
-
Dairy-Free: Substitute milk with almond or coconut milk and use dairy-free butter in the frosting for a delightful, creamy alternative that’s totally plant-based.
-
Low Sugar: Opt for a sugar substitute like monk fruit or stevia, adjusting amounts as needed, to create a lower-sugar version without sacrificing flavor.
-
Rich Dark Chocolate: Replace unsweetened cocoa with Dutch-processed or dark cocoa powder for an extra depth of flavor—a chocolate lover’s dream!
-
Fruit Infusion: Add a cup of mashed ripe bananas or applesauce to the batter for a subtle sweetness that complements the rich chocolate—it’s also a great way to sneak in some fruit!
-
Seasonal Spices: Stir in a teaspoon of cinnamon or a hint of espresso powder for an unexpected flavor boost that pairs beautifully with chocolate and adds warmth.
-
Nutty Crunch: Fold in a handful of chopped walnuts or hazelnuts for added texture and flavor; this delicious crunch perfectly contrasts the smooth cake!
-
Cupcake Version: Transform this recipe into delightful cupcakes by pouring the batter into muffin tins and baking for 18-20 minutes—just keep an eye on the baking time!
With these variations, you’re set to impress your family and friends. Remember, if you want a luxurious experience, consider pairing your cake with a scoop of vanilla ice cream or fresh seasonal fruit as a delightful accompaniment to your next celebration. And if you’re craving more sweet ideas, check out Easy Lemon Cake Mix Cookies or get inspired by the decadent flavors of Chocolate Chalet Cake! Each option adds its own layer of delight to the joyous world of homemade baking.
Make Ahead Options
Matilda’s Chocolate Cake is a fantastic option for meal prep enthusiasts looking to save time during busy weeknights! You can prepare the cake layers up to 24 hours in advance; simply bake them, let them cool completely, and wrap each layer tightly in plastic wrap before refrigerating to maintain moisture and freshness. The frosting can also be made ahead; store it in an airtight container in the refrigerator for up to 3 days. When you’re ready to serve, allow the frosting to come to room temperature, re-whip it for a smooth consistency, and then frost your cake layers for a delightful, homemade dessert that’s just as delicious as when freshly baked!
How to Store and Freeze Matilda’s Chocolate Cake
-
Room Temperature: Store the cake covered at room temperature for up to 2 days. This will keep it moist and delicious without drying it out.
-
Fridge: If you need to keep Matilda’s Chocolate Cake longer, refrigerate it for up to 5 days in an airtight container. Allow it to come to room temperature before serving for the best texture.
-
Freezer: For long-term storage, wrap individual slices or the whole cake tightly in plastic wrap and then foil. Freeze for up to 3 months. Thaw in the fridge overnight before enjoying!
-
Reheating: To refresh leftover slices, warm them gently in the microwave for 10-15 seconds. This helps restore some moisture and bring back that cozy aroma.
Expert Tips for Matilda’s Chocolate Cake
-
Room Temperature Ingredients: Ensure all ingredients are at room temperature for better blending and to achieve a uniform texture throughout your Matilda’s Chocolate Cake.
-
Sifting Matters: Always sift the dry ingredients, especially the cocoa powder and flour. This step prevents lumps and guarantees even cocoa distribution for that rich chocolate flavor.
-
Baking Check: Keep an eye on your baking time! Use a toothpick or skewer to check for doneness; it should come out clean, signaling your cake is perfectly baked.
-
Cool & Frost: Allow the cakes to cool completely before frosting. This prevents the frosting from melting and ensures a stunning, smooth finish on your Matilda’s Chocolate Cake.
-
Frosting Consistency: If your frosting feels too thin, chill it briefly or incorporate a little more powdered sugar until you reach that creamy, spreadable consistency.
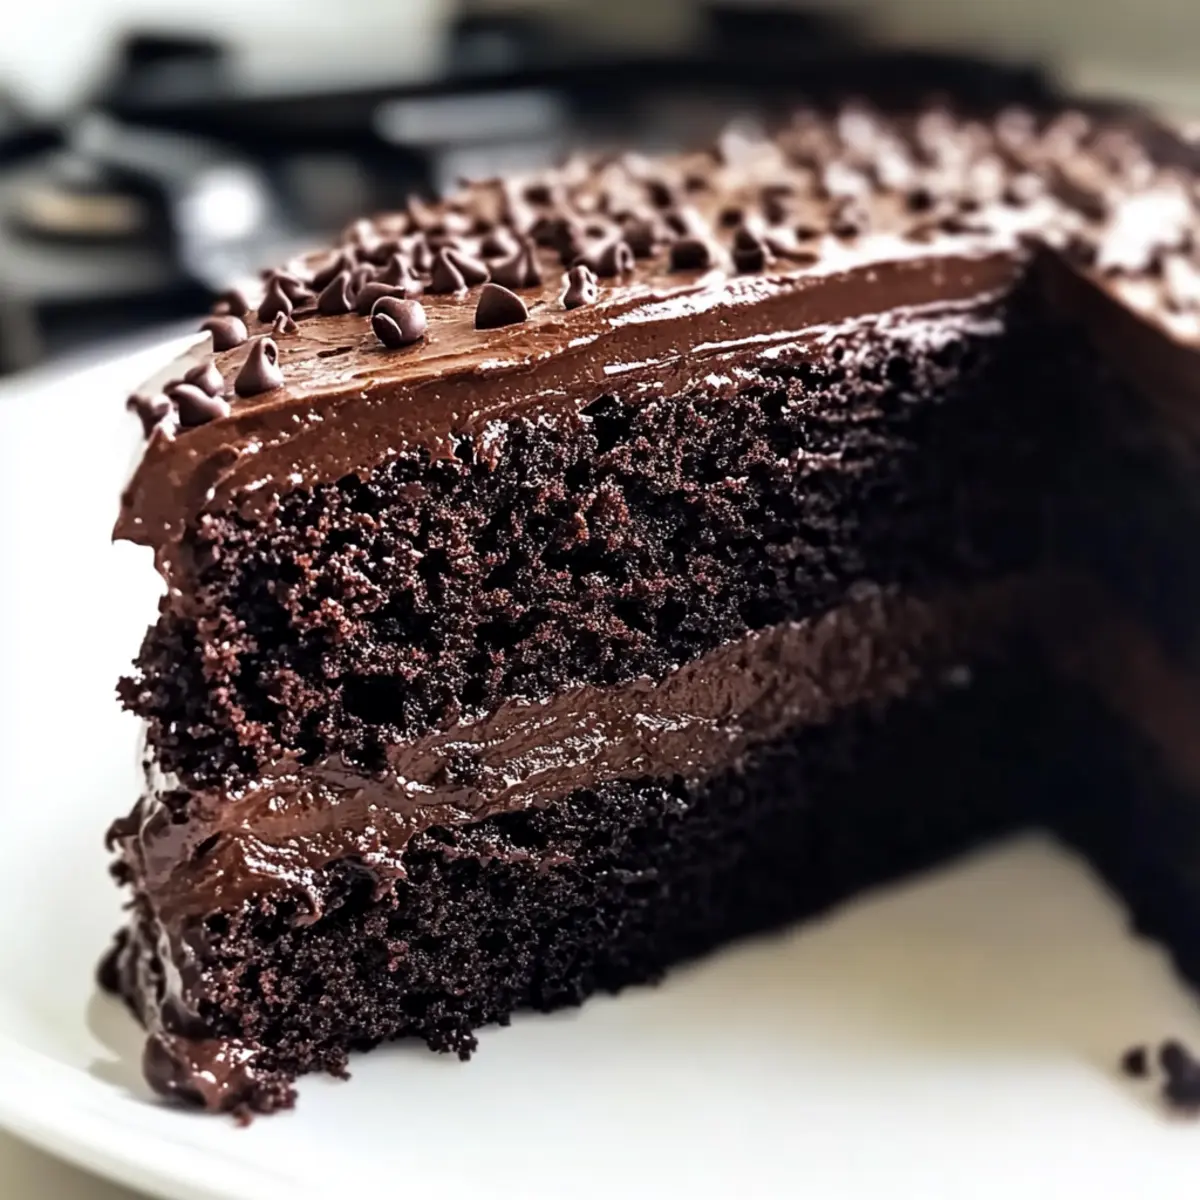
Matilda’s Chocolate Cake Recipe FAQs
What type of cocoa powder should I use for Matilda’s Chocolate Cake?
I recommend using high-quality unsweetened cocoa powder for the most intense chocolate flavor. If you’d like to experiment, Dutch-processed cocoa can also bring a unique taste and may offer a slightly darker cake. Both options yield delicious results!
How do I store Matilda’s Chocolate Cake?
To keep your cake fresh, store it covered at room temperature for up to 2 days. If you wish to keep it longer, refrigerate it in an airtight container for up to 5 days. Bringing it back to room temperature before serving will help retain that moist, tender crumb.
Can I freeze Matilda’s Chocolate Cake?
Absolutely! You can wrap individual slices or the whole cake tightly in plastic wrap followed by foil, then freeze for up to 3 months. Thaw in the fridge overnight before serving. This method preserves the cake’s moist goodness and ensures it remains delectable!
What should I do if my cake batter is too thin?
If your batter seems excessively thin, you could try adding a little extra flour incrementally, about a tablespoon at a time, until you’re satisfied with the consistency. Just keep in mind that the batter should generally be on the thinner side to achieve that tender, moist crumb.
Is Matilda’s Chocolate Cake gluten-free?
Yes, this recipe can be made gluten-free by using a suitable gluten-free all-purpose flour blend. Make sure to check the ingredients and opt for brands that work well in baking to ensure your cake holds its structure and taste beautifully!
Can I make Matilda’s Chocolate Cake in different forms?
Very much so! You can adapt this recipe into cupcakes or a sheet cake by simply adjusting your baking time accordingly. Cupcakes usually bake for about 18-20 minutes, and for a sheet cake, start checking for doneness around 25-30 minutes.
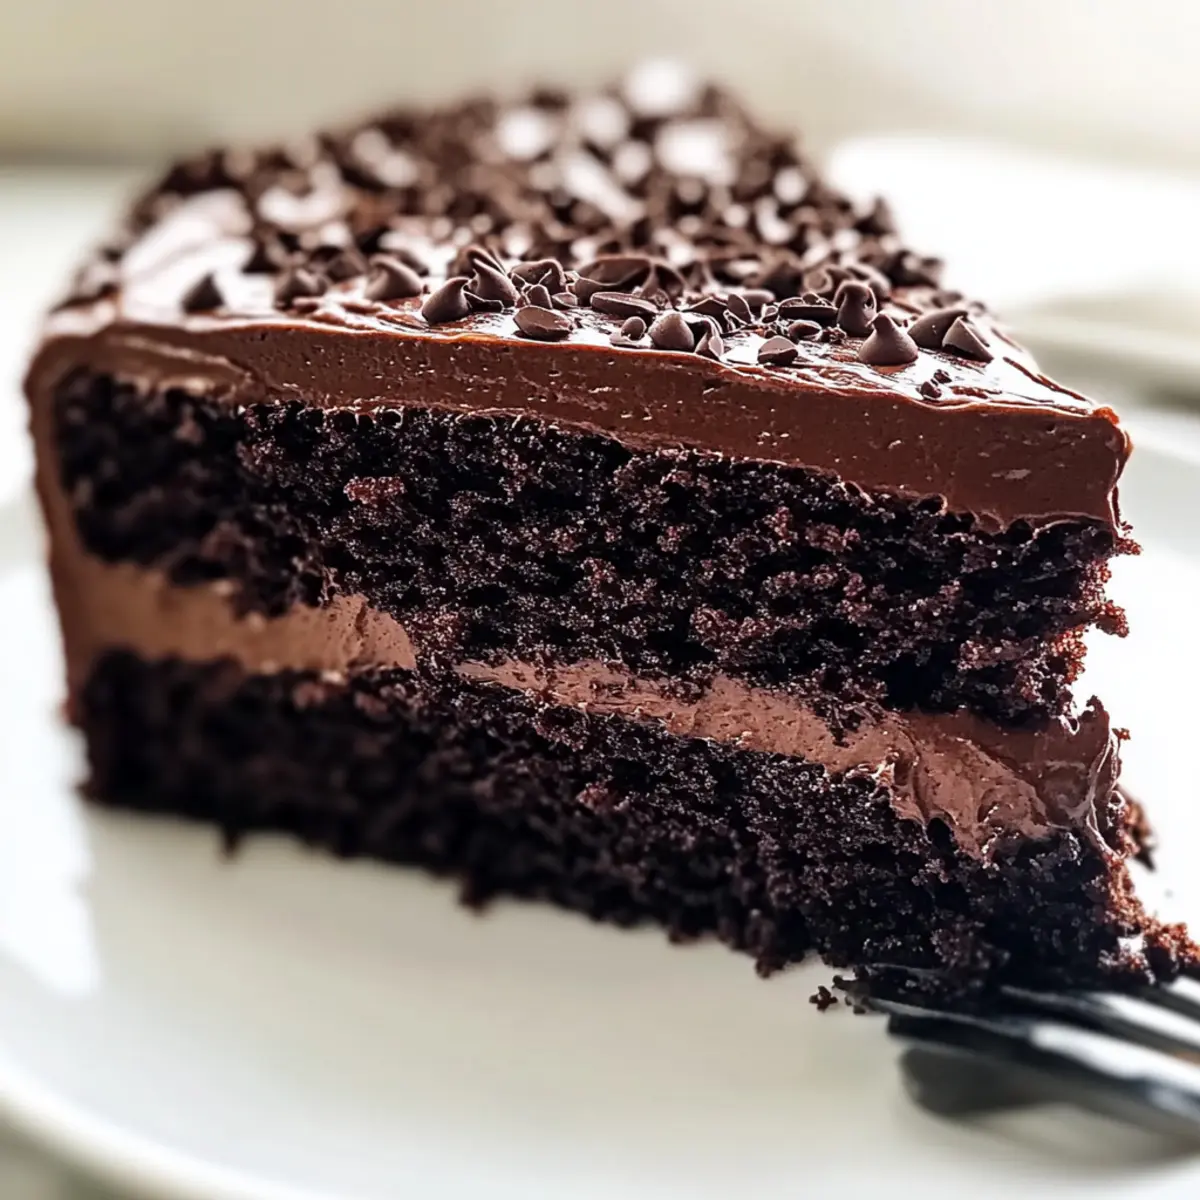
Matilda's Chocolate Cake: Irresistibly Moist and Divine!
Ingredients
Equipment
Method
- Preheat your oven to 350°F (180°C).
- Grease two 9-inch round cake pans with butter and line with parchment paper.
- In a bowl, sift together flour, cocoa powder, baking powder, baking soda, and salt. Whisk in the sugar until combined.
- Add eggs, milk, vegetable oil, and vanilla to dry mixture and whisk until smooth.
- Carefully stir in the boiling water until the batter is fully combined.
- Divide the batter evenly between the prepared pans and bake for 30-35 minutes.
- Allow cakes to cool in the pans for 10 minutes before transferring to wire racks to cool completely.
- Melt the butter and whisk in cocoa powder until smooth.
- Gradually add powdered sugar and milk alternately until achieving a creamy consistency, then stir in vanilla.
- Once cakes are cool, frost the top of one layer, add the second layer, and frost the top and sides of the cake.