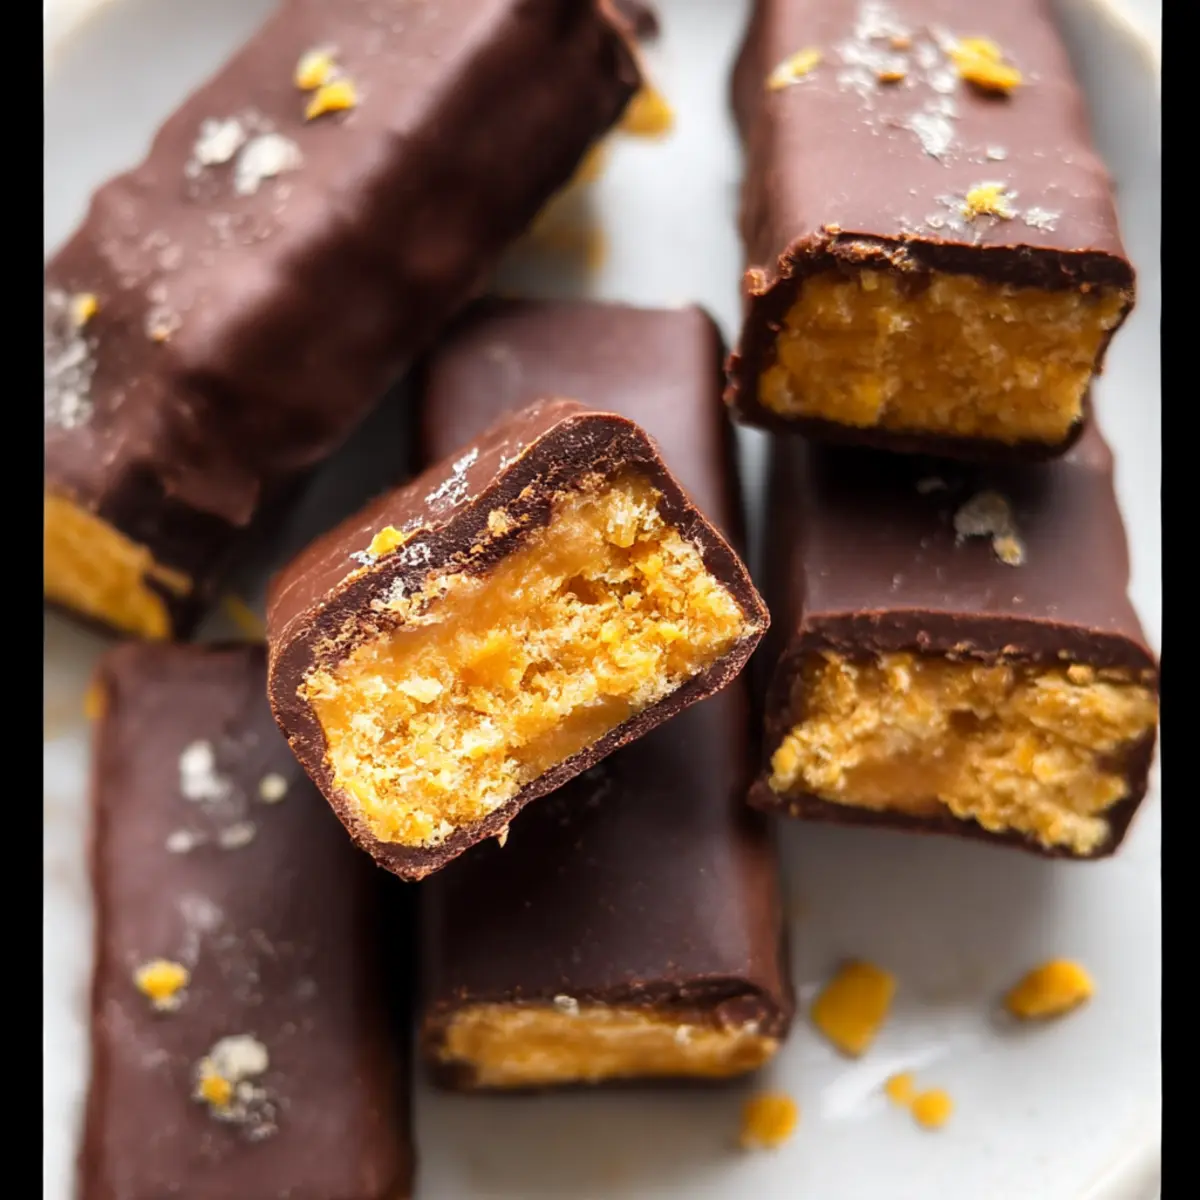
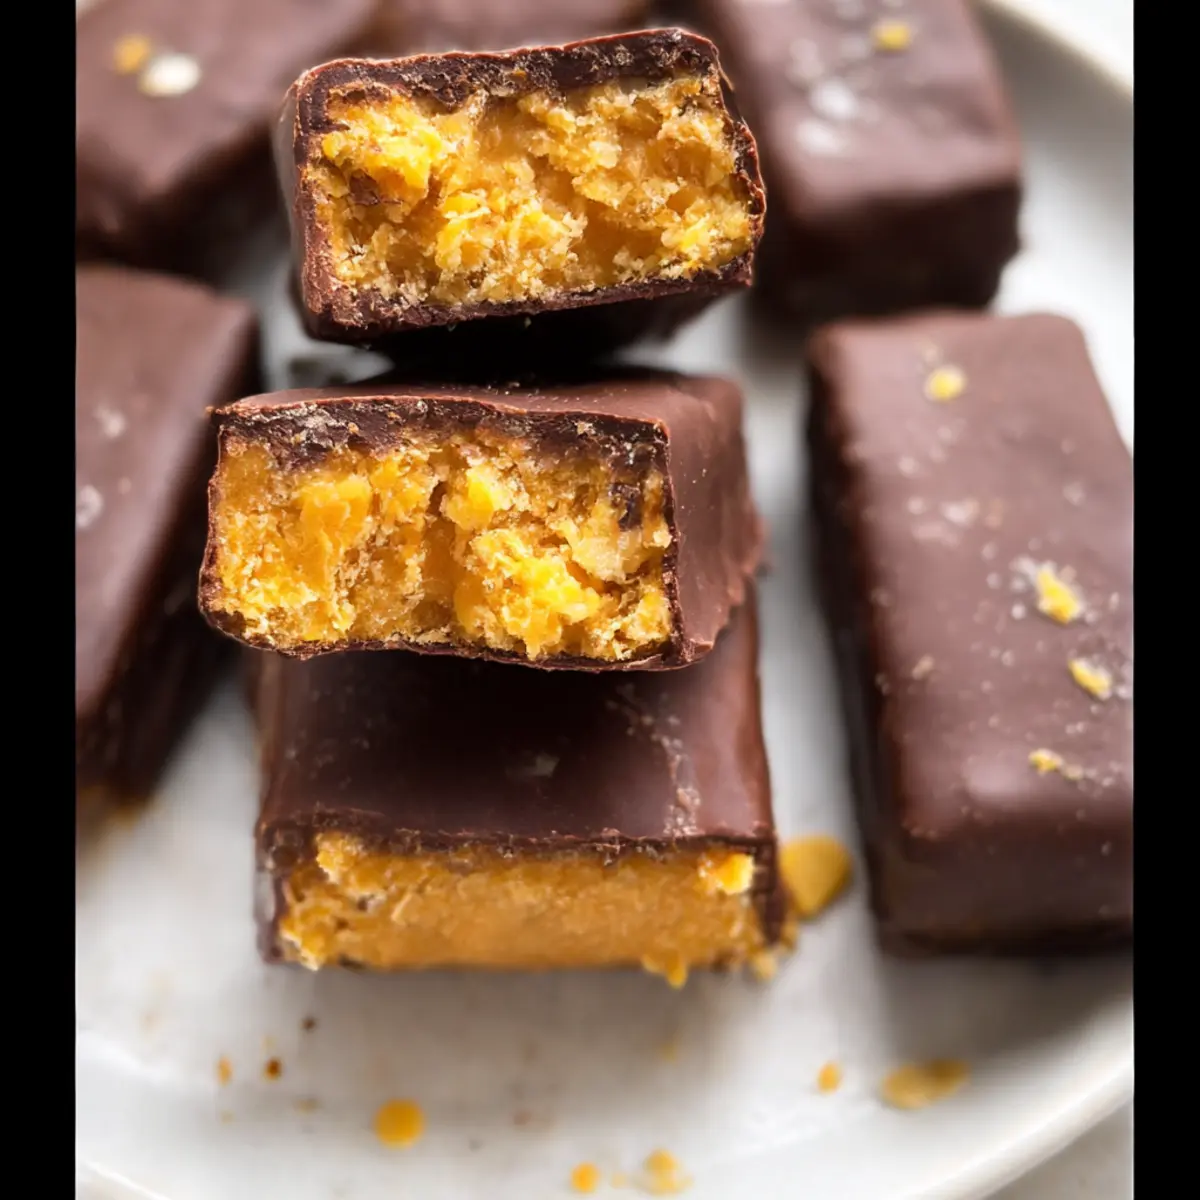
With a satisfying crunch and a luscious chocolate coating, these Healthy Homemade Butterfingers took me by surprise when I first made them. Who would have thought that a classic candy bar could be transformed into a gluten-free, dairy-free, and naturally sweetened treat? This recipe simplifies the preparation process, requiring just five wholesome ingredients, making it perfect for busy home chefs or anyone craving a guilt-free snack. Not only can you whip these up in no time, but they also store wonderfully in the freezer for an instant sweet fix whenever the mood strikes. Are you ready to indulge in a healthier twist on your favorite candy bar? Let’s dive into this delightful, homemade adventure!
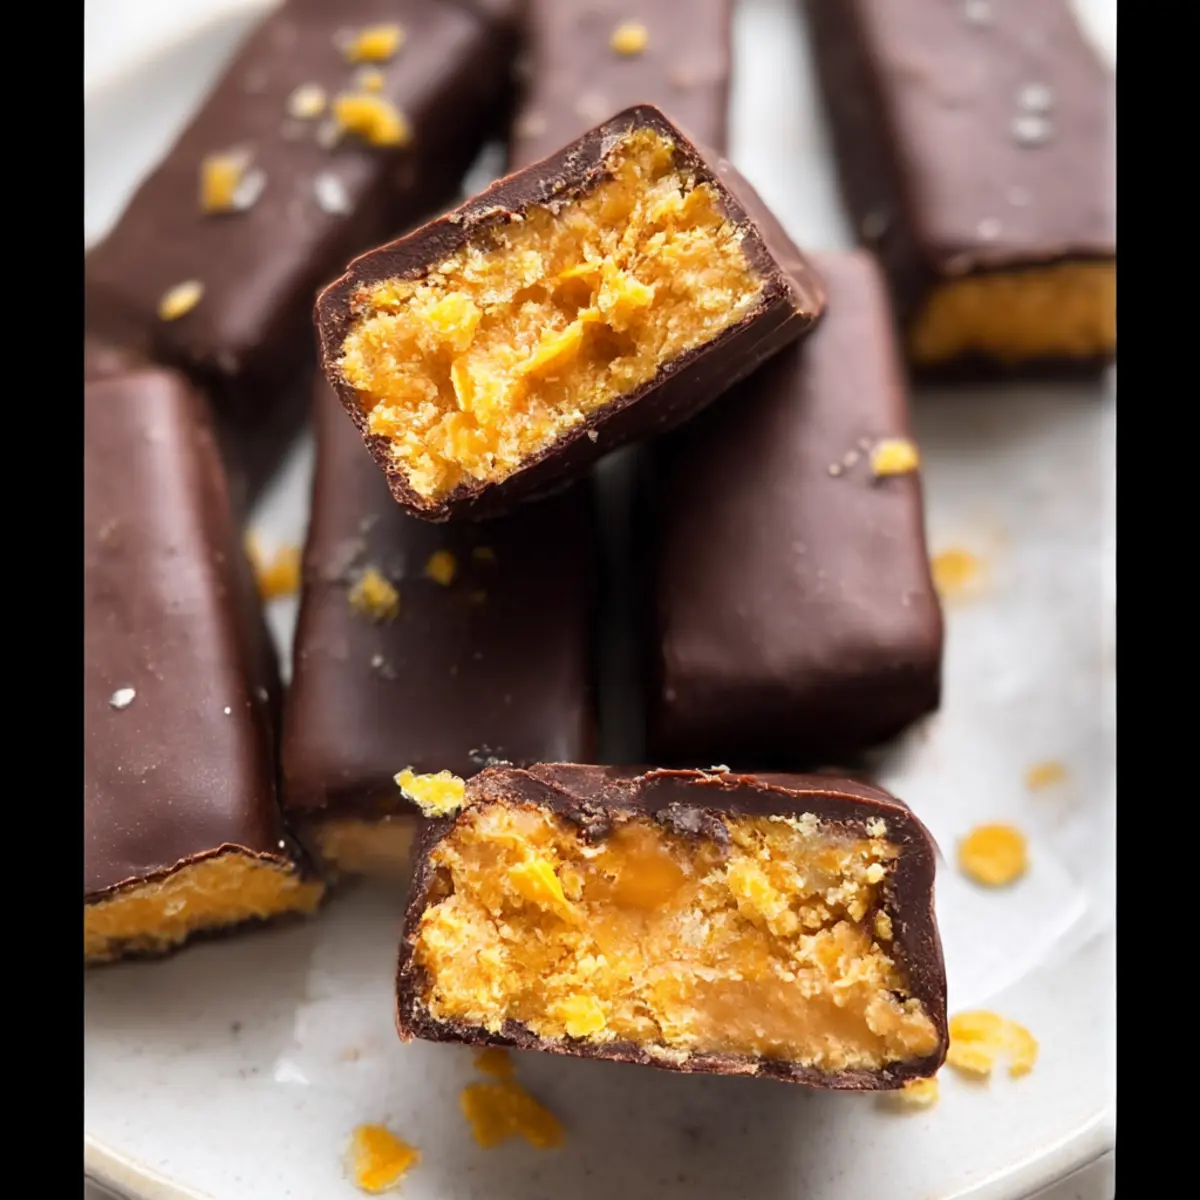
Why are Healthy Homemade Butterfingers a hit?
Simplicity at Its Core: Just five ingredients come together effortlessly, making this recipe accessible for home chefs of all skill levels.
Guilt-Free Indulgence: Enjoy the classic Butterfinger taste without the guilt—perfect for satisfying your sweet tooth in a healthier way.
Crowd-Pleasing Treat: These bars are a hit at gatherings, proving that healthy snacks can be both delicious and enjoyable.
Versatile Options: Feel free to customize with almond butter or toppings like nuts and coconut, allowing you to make it your own.
Meal Prep Friendly: Made in larger batches, these bars freeze beautifully, ensuring you always have a tasty snack on hand. Enjoy them with a glass of almond milk or a delicious smoothie for a balanced treat!
Healthy Homemade Butterfingers Ingredients
For the Butterfinger Bars
- Peanut Butter – The creamy base ingredient that gives these bars structure; almond butter can be used for a nutty flavor.
- Maple Syrup or Honey – A natural sweetener that binds the mixture and adds a touch of sweetness; choose maple syrup for a vegan-friendly option.
- Corn Flakes – These provide the delightful crunch that makes the bars irresistible; remember to opt for gluten-free corn flakes to keep the recipe entirely gluten-free.
For the Chocolate Coating
- Chocolate Chips – The luscious layer that gives these bars their chocolatey nature; dark chocolate or dairy-free chocolate chips work wonderfully for a healthier option.
- Coconut Oil – Helps melt the chocolate smoothly and adds richness to the coating; if you prefer, it can be omitted for a purely chocolate experience.
With just these simple ingredients, you’re ready to whip up some delightful Healthy Homemade Butterfingers that cater to your sweet cravings while keeping guilt at bay!
Step‑by‑Step Instructions for Healthy Homemade Butterfingers
Step 1: Crush Corn Flakes
Begin by placing the gluten-free corn flakes into a zip-top bag. Using a rolling pin or your hands, crush the flakes into small, bite-sized pieces. This process should take about 3-5 minutes. Aim for a mix of dusty crumbs and chunky pieces, ensuring your Healthy Homemade Butterfingers will have that delightful crunch.
Step 2: Combine Mixture
In a large mixing bowl, add your creamy peanut butter and maple syrup or honey. Stir these two ingredients together vigorously until you achieve a smooth and well-combined texture. This step only takes about 2-3 minutes, and you’ll know you’re ready when the mixture is completely creamy and homogenous, forming the base of your bars.
Step 3: Add Corn Flakes
Next, incorporate the crushed corn flakes into the peanut butter mixture. Gently fold the flakes in until they’re fully coated and evenly distributed. This should take about 2 minutes. The mixture will grow thick and textured, letting you know you are on the right track to creating your crunchy Healthy Homemade Butterfingers.
Step 4: Set in Pan
Line a 9×4-inch loaf pan with parchment paper to prevent sticking. Transfer the blended mixture into the pan and use your hands or a spatula to press it down firmly into an even layer. Aim for a thickness of about 1 inch. Freeze the pan for at least 1 hour, allowing the mixture to harden and set before cutting into bars.
Step 5: Cut Bars
Once the mixture is firm, carefully lift it out of the pan using the parchment paper. Place it on a cutting board and, with a sharp knife, cut it into 12 equal bars. Each Healthy Homemade Butterfinger should be about the same size for consistent snacking. This step will take about 5 minutes, and you’ll notice the satisfying crunch of the corn flakes in each bar.
Step 6: Melt Chocolate
In a small microwave-safe bowl, combine the chocolate chips and coconut oil. Microwave them in 30-second intervals, stirring in between, until the mixture is completely melted and smooth, which usually takes about 1-2 minutes total. Make sure there are no lumps in the chocolate for a beautiful coating on your Healthy Homemade Butterfingers.
Step 7: Dip Bars
Take each cut bar and dip it into the melted chocolate, ensuring it’s fully coated. Use a fork to lift the bars out, allowing any excess chocolate to drip back into the bowl. Place each coated bar on a new parchment-lined plate, ready for the next step. This process may take about 10 minutes, but it’s so rewarding to see those decadent bars come together.
Step 8: Final Freeze
Return the dipped bars to the freezer for approximately 10 minutes, or until the chocolate hardens completely. Keep an eye on them as they freeze, and once firm, they’re ready to enjoy or store. These Healthy Homemade Butterfingers can be kept in an airtight container in the freezer, ensuring they stay fresh for your future cravings!
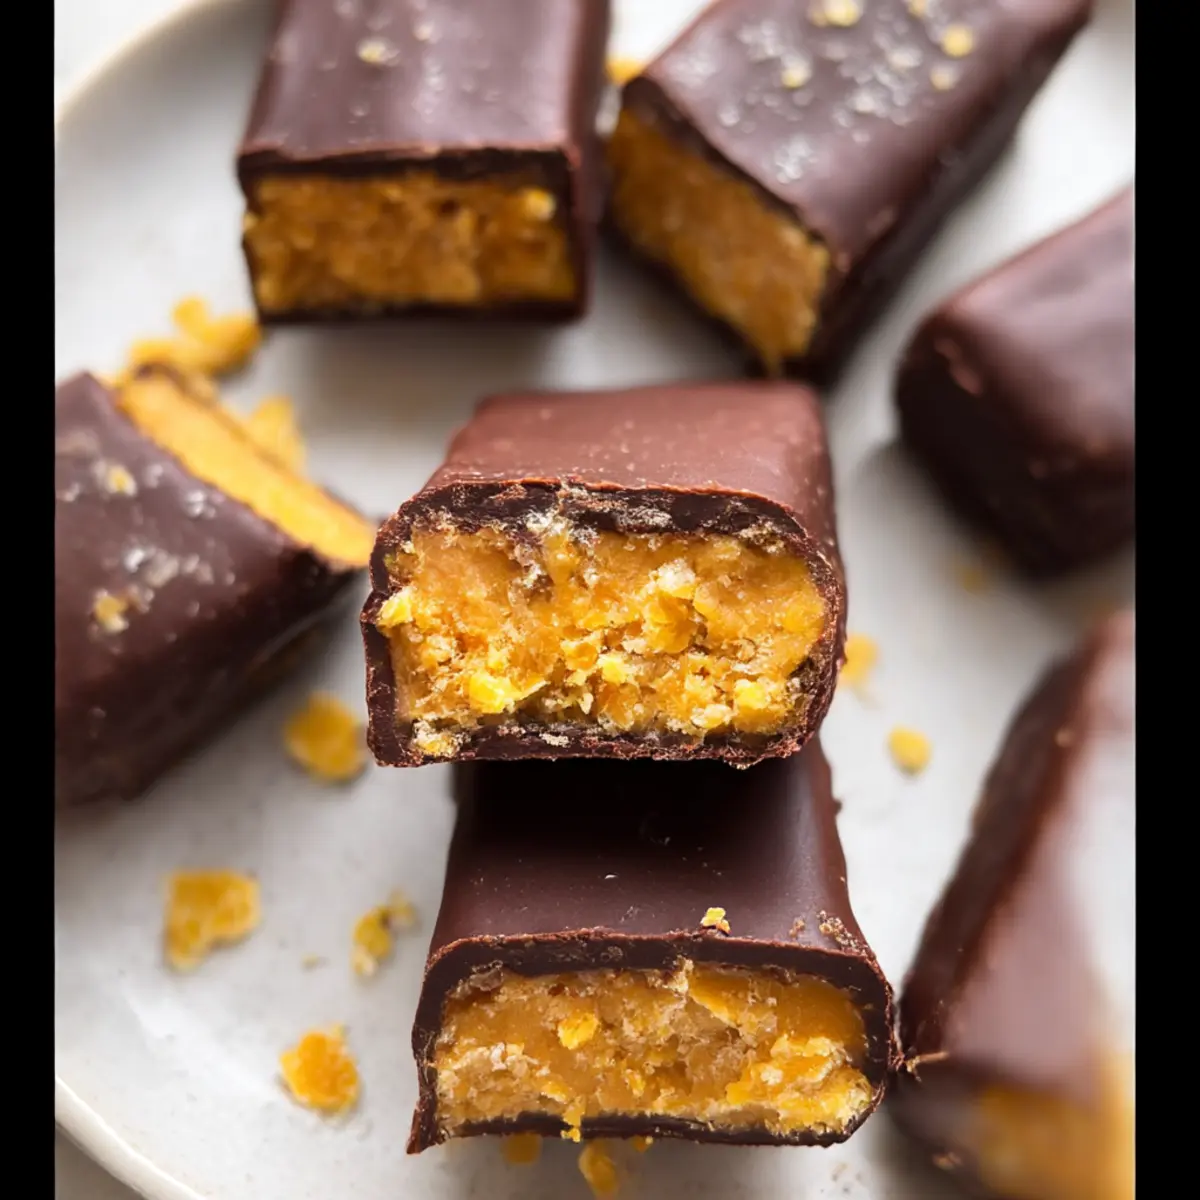
Expert Tips for Healthy Homemade Butterfingers
- Smooth Chocolate Coating: Ensure the chocolate is fully melted and smooth; preventing lumps will give a gorgeous finish to your Healthy Homemade Butterfingers.
- Firm Pressure: When pressing the corn flake mixture into the pan, use firm pressure to keep the bars from crumbling when cut.
- Check for Gluten-Free: Always double-check that your corn flakes are labeled gluten-free to stay true to the recipe’s dietary theme.
- Chill Thoroughly: Allowing the bars to freeze adequately after dipping ensures a perfect bite and prevents the chocolate from melting too quickly when served.
- Store Correctly: For optimal freshness, store your Healthy Homemade Butterfingers in an airtight container in the freezer for up to 3 months.
How to Store and Freeze Healthy Homemade Butterfingers
Fridge: Keep these delicious bars in an airtight container in the fridge for up to 1 week. This allows for easy snacking while maintaining freshness without freezing.
Freezer: For long-term storage, place your Healthy Homemade Butterfingers in an airtight container or freezer bag. They can last in the freezer for up to 3 months, preserving their delightful crunch.
Reheating: If you prefer a softer bar, simply let them thaw in the fridge for a few hours before enjoying, or microwave for a few seconds until slightly warm.
Healthy Homemade Butterfingers Variations
Feel free to elevate your Healthy Homemade Butterfingers by trying these fun and exciting twists!
-
Nutty Almond Flavor: Swap peanut butter for almond butter for a unique, nutty flavor that adds a delightful twist to your bars.
-
Sweetener Switch: Choose brown rice syrup instead of maple syrup or honey for a different natural sweetness that binds the ingredients beautifully.
-
Protein Boost: Incorporate a scoop of your favorite protein powder into the mixture for an extra protein-packed snack that fuels your adventures.
-
Coconut Crunch: Sprinkle desiccated coconut or shredded coconut alongside the corn flakes for a tropical flair and an added layer of texture.
-
Spicy Kick: Add a sprinkle of cayenne pepper to the melted chocolate for those who enjoy a touch of heat accompanying their sweet treats—it’s a surprising yet delicious combination!
-
Chunky Chocolate: Instead of chocolate chips, consider using crushed dark chocolate bars for a chunkier texture and richer chocolate flavor.
-
Crispy Rice Twist: Replace some of the corn flakes with crispy rice cereal for an airy lightness and a fun twist on the traditional bar texture.
-
Add Zest: Incorporate a teaspoon of orange or lemon zest into the mixture for a bright citrus note that complements the chocolate wonderfully.
Once you’ve made your Healthy Homemade Butterfingers, enjoy them alongside a glass of Vanilla Creamer Homemade or as a sweet treat after a meal. Don’t forget to check out these other wonderful recipes, like the Homemade Starbucks Sugar or Pepper Lunch Homemade, for more delicious ideas!
What to Serve with Healthy Homemade Butterfingers
Indulging in these delightful bars opens the door to a world of complementary flavors and textures. Picture enjoying them alongside your favorite treats for a satisfying meal or snack time!
-
Creamy Almond Milk: This nutty drink pairs perfectly, enhancing the rich flavors of the bars and creating a silky, satisfying mouthfeel.
-
Fresh Fruit Medley: A bright mix of apples, berries, and bananas adds freshness and balances the sweetness of the bars, making it a refreshing treat.
-
Nutty Granola: Crunchy granola complements the texture of the Butterfingers while adding wholesome grains to your snacking experience.
-
Yogurt Parfait: Layer your Butterfingers with yogurt and fresh fruits for a scrumptious parfait that feels indulgent yet nutritious.
-
Smoothies: Blend your favorite fruits with a splash of almond milk to create a smooth, creamy drink that complements the crunch of the bars.
-
Chilled Herbal Tea: A lightly sweetened herbal tea can cleanse the palate and balance the rich chocolatey flavor of the Butterfingers.
-
Coconut Ice Cream: For an extra decadent touch, serve these bars with a scoop of coconut ice cream—it’s a tropical twist that feels indulgent.
-
Energy Bites: Pairing with nutritious energy bites creates a snack assortment that satisfies both your sweet tooth and your hunger!
Make Ahead Options
These Healthy Homemade Butterfingers are perfect for busy home cooks looking to meal prep! You can prepare the butterfinger mixture and freeze it for up to 3 days before dipping in chocolate. Simply follow the instructions up to step 4, then wrap the pan tightly with plastic wrap and place it in the freezer. This way, you can maintain the crunchiness of the corn flakes and ensure the bars stay fresh. When you’re ready to enjoy, just take the mixture out, cut it into bars, melt the chocolate, dip, and return them to the freezer for about 10 minutes. You’ll have delicious, guilt-free treats on hand without the last-minute fuss!
Healthy Homemade Butterfingers Recipe FAQs
What type of peanut butter should I use for Healthy Homemade Butterfingers?
I recommend using natural peanut butter without added sugars or oils. Look for ones with just peanuts and a pinch of salt for the best flavor and consistency. You can also use almond butter if you’re looking for a nuttier taste or want to keep it nut-free!
How should I store Healthy Homemade Butterfingers?
For short-term storage, these bars can be kept in an airtight container in the refrigerator for up to 1 week. If you’re looking to enjoy them longer, freeze them! They can last in the freezer for up to 3 months. Just place them in a freezer-safe container or bag, separating layers with parchment paper to prevent sticking.
Can I freeze Healthy Homemade Butterfingers?
Absolutely! To freeze your Healthy Homemade Butterfingers, first allow them to cool and set completely. Wrap each bar individually in plastic wrap or aluminum foil and then place them in an airtight freezer bag or container. They’ll stay fresh for about 3 months. When you’re ready to indulge, you can thaw them in the fridge for a few hours or simply enjoy them straight from the freezer!
What if my Healthy Homemade Butterfingers are too crumbly?
If your bars turn out too crumbly, it may be because the mixture wasn’t pressed firmly enough into the pan prior to freezing. To troubleshoot this, make sure to press down hard on the mixture in the pan. You can also try adding a bit more peanut butter or honey to bind the mixture better next time. Remember, those firm pressures are key to keeping them together!
Are Healthy Homemade Butterfingers suitable for people with allergies?
These bars can be modified to be allergy-friendly. Use almond butter instead of peanut butter for nut allergies, and swap maple syrup with brown rice syrup if someone has honey allergies. Just be cautious with chocolate chips, as some brands may contain allergens. Always read labels and choose dairy-free options if necessary!
Healthy Homemade Butterfingers: Guilt-Free Joy in Every Bite
Ingredients
Equipment
Method
- Crush the gluten-free corn flakes in a zip-top bag using a rolling pin or your hands for 3-5 minutes.
- In a large mixing bowl, stir together the creamy peanut butter and maple syrup or honey for 2-3 minutes until smooth.
- Add the crushed corn flakes to the peanut butter mixture and fold until fully coated, about 2 minutes.
- Line a 9x4-inch loaf pan with parchment paper and press the mixture into an even layer. Freeze for at least 1 hour.
- Once firm, cut the mixture into 12 equal bars on a cutting board using a sharp knife.
- Melt chocolate chips and coconut oil in a microwave-safe bowl in 30-second intervals, stirring until smooth, about 1-2 minutes.
- Dip each bar into the melted chocolate ensuring it's fully coated, then place on a parchment-lined plate.
- Return the dipped bars to the freezer for 10 minutes or until the chocolate hardens completely.