")
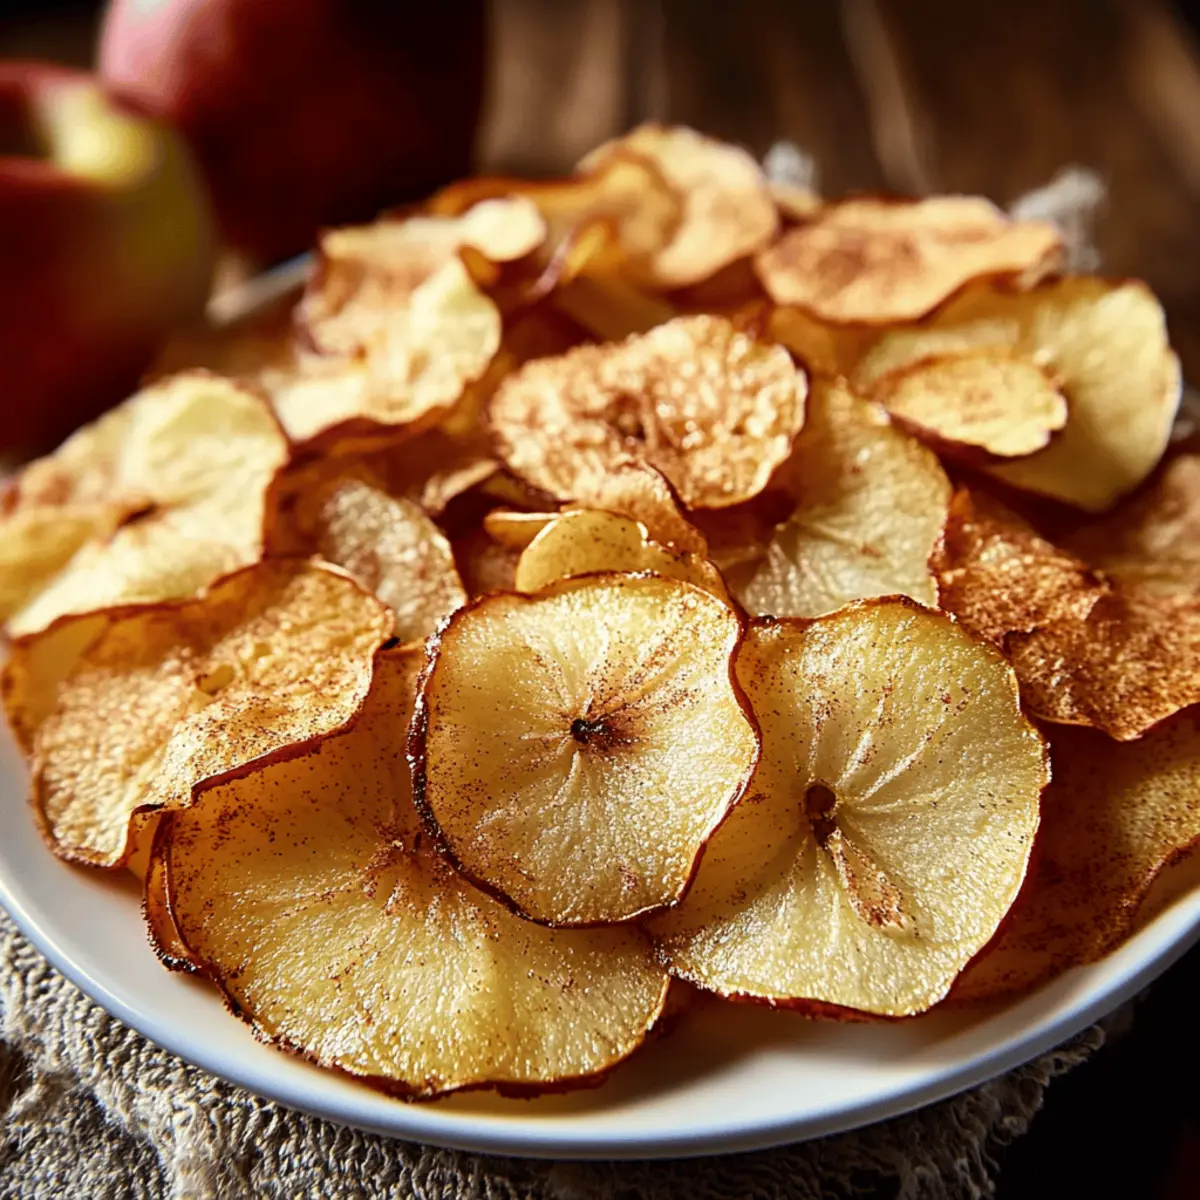
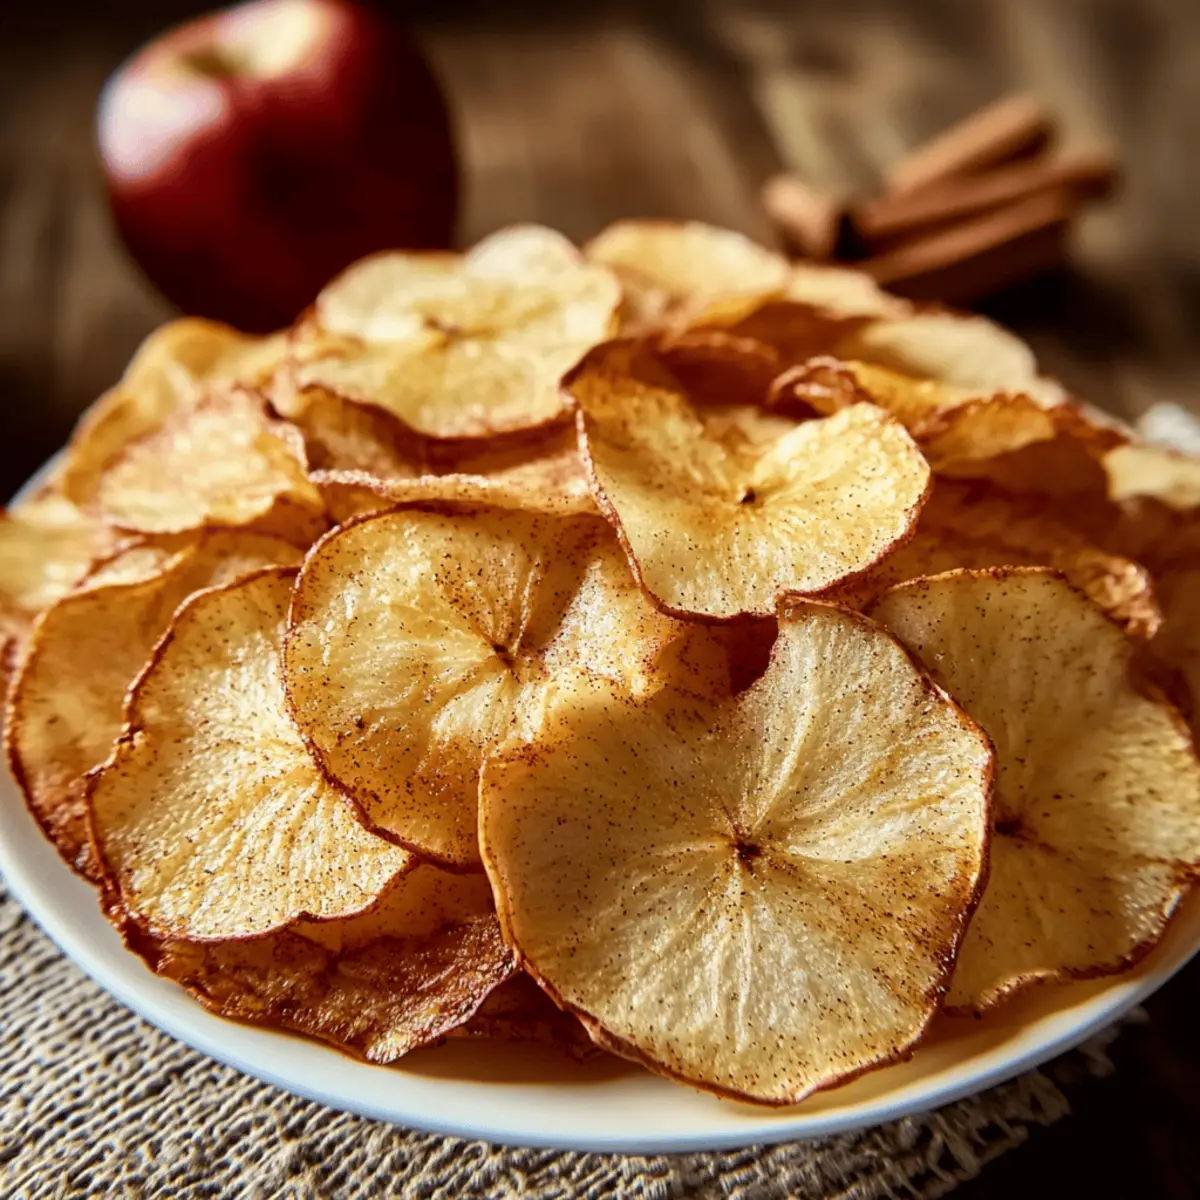
As I slid my freshly baked apple chips from the oven, the warm, inviting aroma of cinnamon wafted through my kitchen, instantly transporting me to crisp autumn days. With just a handful of ingredients, these Baked Apple Chips transform ordinary apples into a guilt-free, crunchy snack that’s perfect for any time of day. Not only are they a healthier alternative to store-bought chips, but they’re also incredibly easy to make, taking just a couple of hours from start to finish. Imagine munching on these delightful treats while curling up with a good book or sharing them with friends during a cozy gathering. Are you ready to turn your kitchen into a haven of savory-sweet goodness? Let’s dive into this simple yet satisfying recipe together!
Why Are These Baked Apple Chips a Must-Try?
Simplicity at its finest: This recipe requires minimal ingredients and basic preparation skills, making it perfect for anyone looking to whip up a healthy snack in no time.
Crispy Texture: The result is a satisfyingly crunchy treat that rivals your favorite potato chips—without the guilt.
Flavorful Twist: Enhanced by warm cinnamon, these chips offer a delightful balance of sweetness and spice that will keep you coming back for more.
Versatile Snack: Whether enjoyed alone, paired with yogurt, or tossed into salads, these Baked Apple Chips fit seamlessly into any meal or snack routine.
Healthier Choice: With a sugar-free option available, you can indulge without compromising your dietary goals—ideal for those seeking wholesome alternatives like Chocolate Chips Cookies.
Kid-Friendly: Even the pickiest eaters won’t be able to resist this fun snack that makes fruit exciting!
Baked Apple Chips Ingredients
Transform your apples into crispy delight!
For the Chips
• Apples – Use Fuji or Honeycrisp for optimal sweetness and crunch.
• Cinnamon – Adds a warm aromatic flavor that beautifully complements the apples.
• Granulated Sugar (optional) – Enhances sweetness and promotes caramelization; omit for a sugar-free option.
• Lemon Juice (optional) – Prevents browning; use if you want to keep your slices looking fresh before baking.
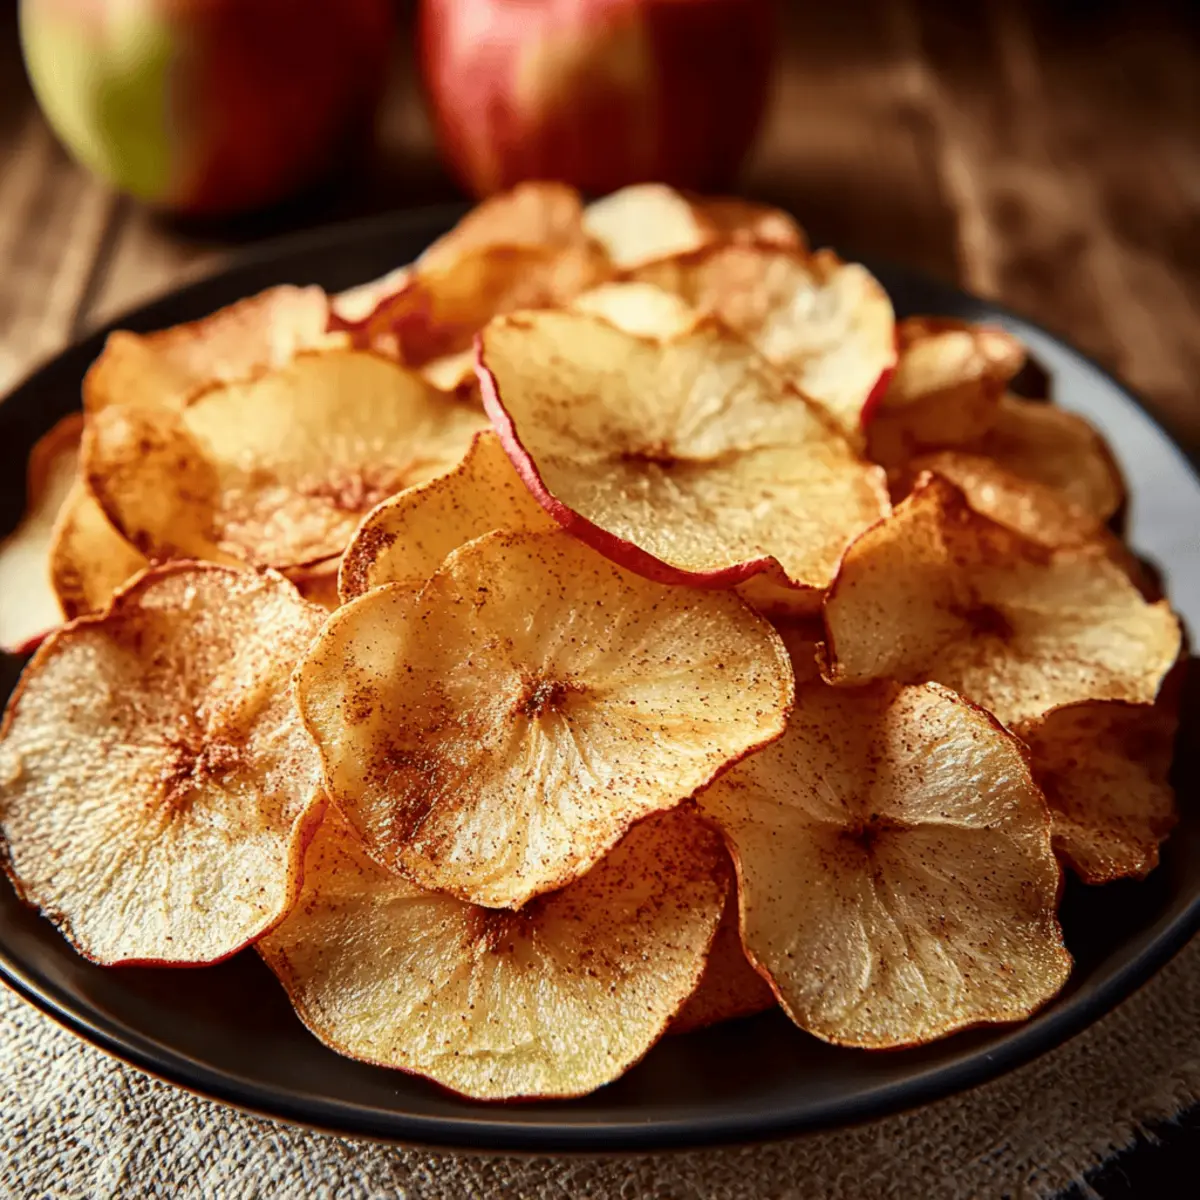
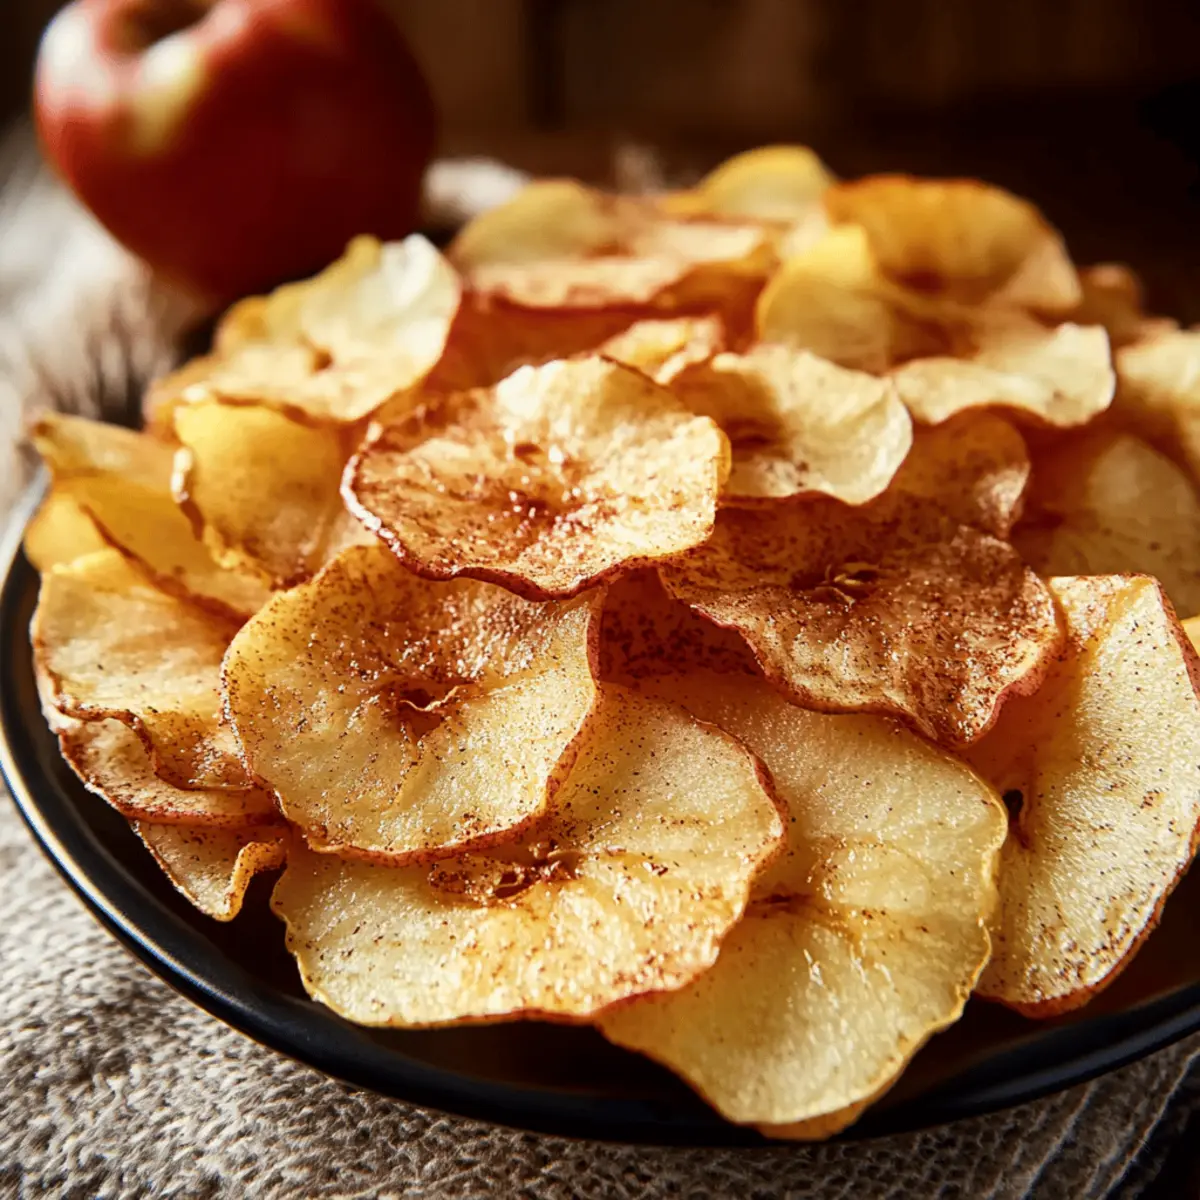
These Baked Apple Chips are not only easy to make but also provide a satisfying crunchy experience that’s a healthier alternative to conventional snacks!
Step‑by‑Step Instructions for Baked Apple Chips
Step 1: Preheat the Oven
Begin by preheating your oven to 200°F (95°C). This low temperature is essential for slowly dehydrating the apples, transforming them into the delightful Baked Apple Chips we’ve all been craving. Meanwhile, gather your baking sheets and parchment paper, which will help prevent sticking and facilitate easy cleanup.
Step 2: Prepare the Baking Sheets
Line your baking sheets with parchment paper, ensuring each sheet is completely covered. This simple step makes removal a breeze once the Baked Apple Chips are finished baking. You’ll want to have enough sheets ready to accommodate all of your apple slices in a single layer for optimal crispiness.
Step 3: Slice the Apples
Take your apples and use a mandoline or a sharp knife to slice them into thin rounds, about 1/8 inch thick. Make sure to remove the seeds for a smooth snacking experience. As you slice, admire the vibrant colors of the apples; this is a good sign of fresh, delicious chips to come!
Step 4: (Optional) Prevent Browning
If desired, brush each apple slice lightly with lemon juice to prevent browning. This step ensures your Baked Apple Chips maintain their lovely appearance. The lemon juice not only enhances freshness but also adds a subtle tartness to the flavor profile of your final snack.
Step 5: Arrange the Apple Slices
Carefully arrange the apple slices in a single layer on the prepared baking sheets. Make sure not to overlap the slices, as this allows for even airflow and optimal crispness during baking. As you do this, relish the sight of your beautifully arranged apples, ready to become crispy chips.
Step 6: Season the Apples
In a small bowl, mix together cinnamon and sugar, if using, to create a sweet spice blend. Take a pinch of this mixture and sprinkle it evenly over the apple slices on each baking sheet. The cinnamon will add a warm, inviting aroma and flavor that perfectly complements the sweetness of the Baked Apple Chips.
Step 7: Bake the Chips
Place the baking sheets in the preheated oven and bake for 1 hour. During this time, keep a close eye on your chips to ensure they don’t over-brown. The apples will become slightly shriveled and begin to crisp up, filling your kitchen with an irresistible smell.
Step 8: Flip for Crispness
After 1 hour, carefully flip each apple slice over to promote even crispiness. Return the trays to the oven and continue to bake for an additional hour, checking periodically until the chips are fully crispy and lightly golden. Depending on your apples and oven, you might need an extra few minutes—trust your senses!
Step 9: Cool the Chips
Once baked to perfection, remove the apple chips from the oven and let them cool on the baking sheets. This cooling process not only helps them crisp further but also allows you to handle them safely. Take a moment to enjoy the delightful aroma that fills your kitchen.
Step 10: Store Your Chips
After the Baked Apple Chips have cooled completely, transfer them to an airtight container. Store them in a cool, dry place to maintain their crispness. These delicious chips can last up to two weeks, but I doubt they’ll last that long when you start snacking on them!
How to Store and Freeze Baked Apple Chips
Airtight Container: Store your Baked Apple Chips in an airtight container to keep them crunchy and fresh for up to 2 weeks at room temperature.
Fridge Option: If you’re in a humid environment, keep them in the fridge, but ensure they’re in an airtight container; they may last a bit longer but can lose some crispness.
Freezing Tips: For longer storage, freeze the chips in a single layer on a baking sheet, then transfer them to a freezer bag. They can be frozen for up to 3 months.
Reheating: If you prefer them warm, simply pop them in a 200°F (95°C) oven for a few minutes to restore their delicious crispiness.
Expert Tips for Baked Apple Chips
-
Slice Thinly: Ensure apple slices are about 1/8 inch thick for even baking. Thick slices may result in chewy, less crispy chips.
-
Watch the Time: Monitor your apple chips closely during the last baking stages to prevent over-browning. It’s easy to miss that perfect crispness!
-
Even Layer: Arrange apple slices in a single layer without overlapping on the baking sheet. Overlapping can lead to uneven cooking and soggy spots.
-
Storage Matters: Store chips in an airtight container to maintain crispiness. They can last up to two weeks if you keep them in a cool, dry place.
-
Spice It Up: Experiment with adding nutmeg or pumpkin spice for an exciting twist; this ensures your Baked Apple Chips stay interesting and unique!
What to Serve with Baked Apple Chips?
Transform your homemade apple chips into a delightful meal experience with these tasty pairings that complement their sweet crunch.
-
Creamy Yogurt: A dollop of Greek yogurt adds a rich, tangy contrast that balances the sweetness of the chips. Perfect for a nutritious breakfast or snack!
-
Nutty Granola: Sprinkle granola over yogurt alongside apple chips for a hearty crunch. The earthy flavors enhance the apple’s sweetness while boosting fiber intake.
-
Cheese Platter: Pairing with aged cheddar or creamy brie creates a sophisticated snack board. The contrast of textures and flavors makes for a unique culinary experience.
-
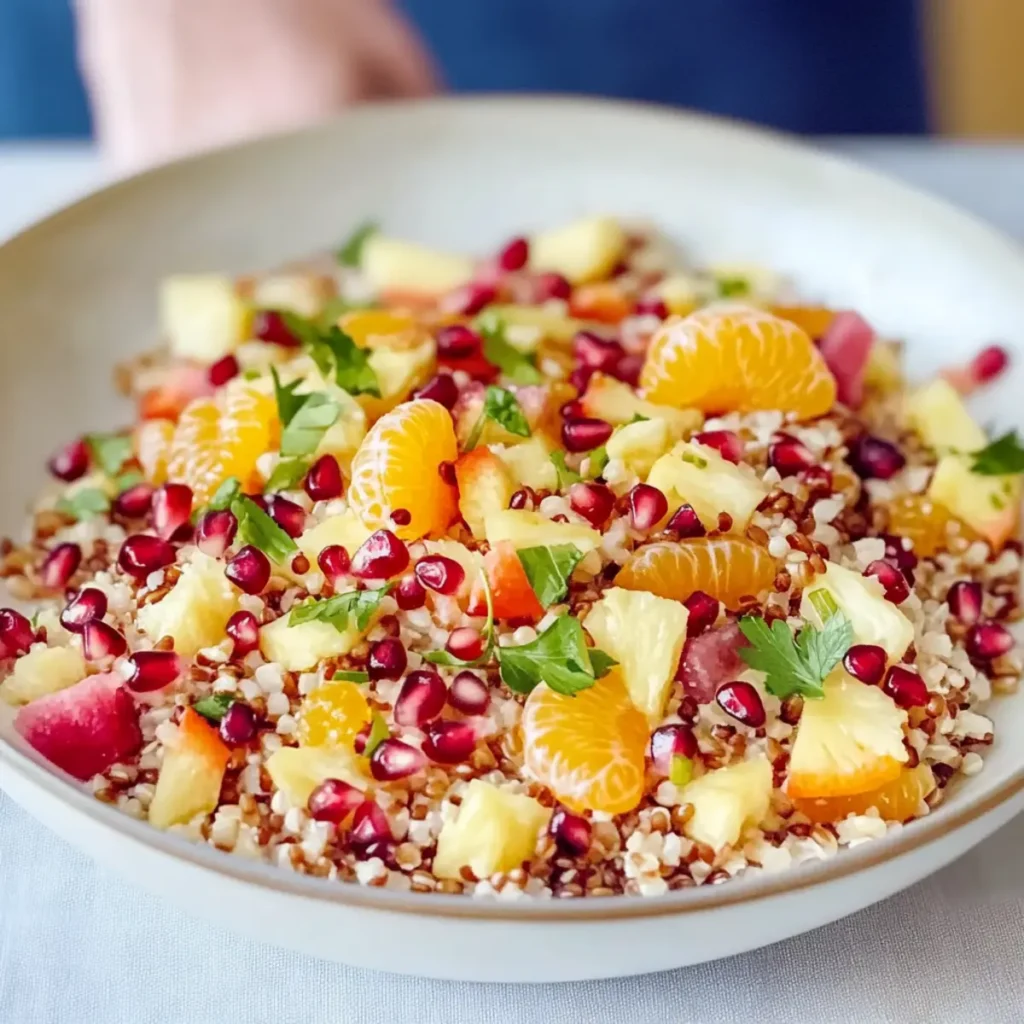
Fresh Salads: Toss Baked Apple Chips on a bed of mixed greens with nuts and cheese. They add a delightful crunch that elevates simple salads into something special.
-
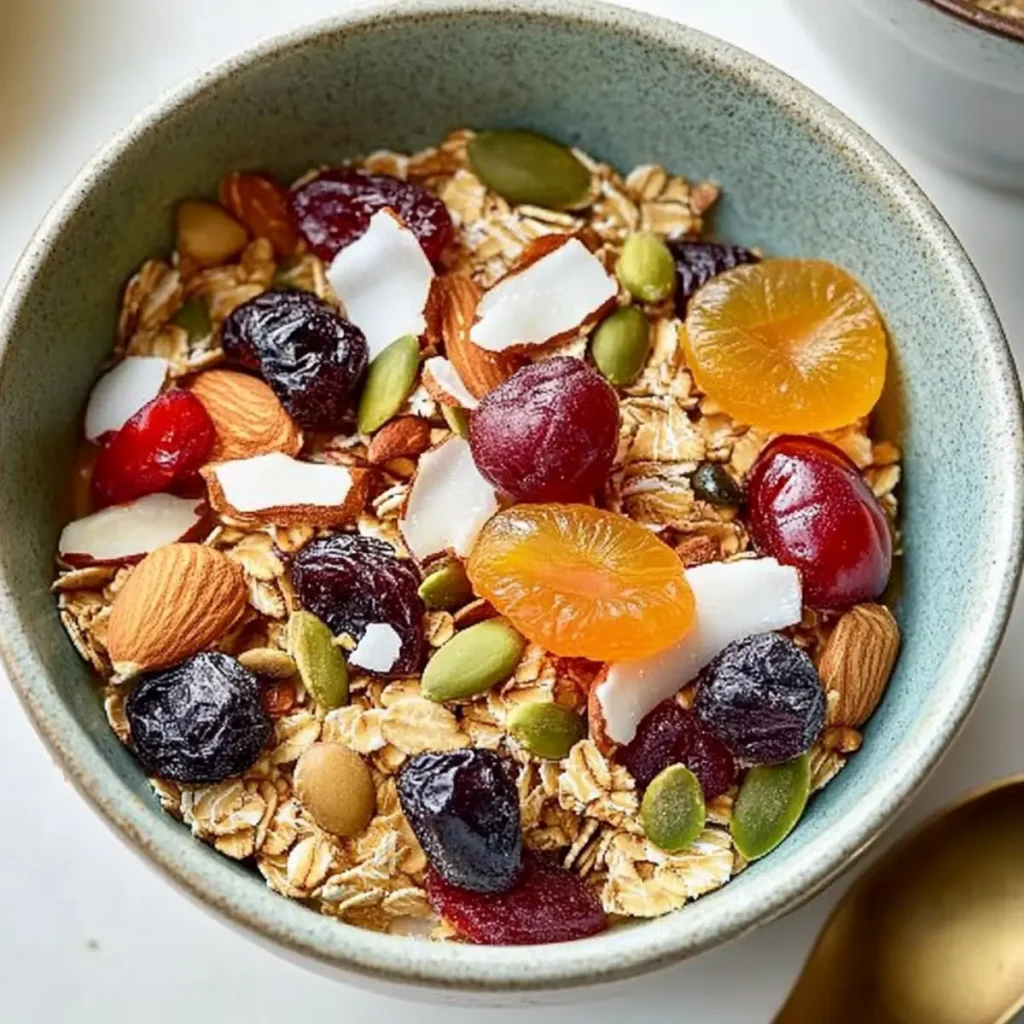
Savory Trail Mix: Combine apple chips with nuts, seeds, and dried fruits for a satisfying and portable snack. This mix offers a delightful balance of sweet and savory.
-
Warm Spiced Tea: Enjoy your apple chips with a cup of chai or herbal tea. The warmth and spices echo the cinnamon in the chips, enhancing the overall experience.
-
Chocolate Dip: Melt some dark chocolate for an indulgent treat. The rich, bittersweet chocolate perfectly contrasts the lighter sweetness of the apple chips.
Transform your simple snacks into unforgettable moments with these delightful pairings that will make your Baked Apple Chips a beloved staple!
Make Ahead Options
These Baked Apple Chips are perfect for meal prep enthusiasts! You can slice the apples and toss them with lemon juice to prevent browning up to 24 hours in advance, storing them in an airtight container in the refrigerator until you’re ready to bake. When it’s time to enjoy your crispy snacks, simply arrange the apple slices on baking sheets, sprinkle with cinnamon and optional sugar, and bake as directed. This ensures they turn out just as delicious and crispy while saving you precious time on busy days. Enjoy your homemade snack without the fuss, knowing it’s ready in a snap!
Baked Apple Chips Variations & Substitutions
Customize your Baked Apple Chips to suit your taste and dietary needs—let your creativity shine!
- Different Apples: Try using Granny Smith for a tart flavor or Gala for a sweeter taste. Each variety brings its unique sweetness!
- Sugar-Free: Omit granulated sugar completely for a healthy, sugar-free snack. You won’t miss the sweetness once you try these delightful treats!
- Spice Variation: Add a pinch of nutmeg or pumpkin spice for a seasonal twist. The enchanting aroma will make every bite a holiday gift!
- Coconut Sugar: Substitute granulated sugar with coconut sugar for a richer flavor and lower glycemic index. It’s a sweet swap that packs a punch!
- Cinnamon and Vanilla: Mix in a dash of vanilla extract with the cinnamon for a warm, aromatic touch. Your kitchen will smell heavenly while they bake!
- Heat It Up: Spice things up by adding a dash of cayenne pepper to the cinnamon mixture for a surprising kick. Your taste buds will thank you!
- Yogurt Dip: Serve your apple chips alongside a creamy yogurt dip for an added layer of flavor. Pair with your favorite dip for a delightful snack experience!
- Salad Topping: Crumble them over a fresh spinach salad for a fantastic crunch and added sweetness. These tasty chips elevate any meal, making it visually and tastefully satisfying!
Feel free to explore these variations and discover which flavors excite your palate! If you’re interested in other comforting snack ideas, don’t forget to check out our delicious Chocolate Chips Cookies for more homemade goodies!
Baked Apple Chips Recipe FAQs
What type of apples work best for Baked Apple Chips?
Absolutely! Fuji and Honeycrisp apples are my top recommendation for making Baked Apple Chips. They offer the perfect balance of sweetness and crunch, ensuring your chips turn out deliciously crisp. If you want to experiment, you could also try Gala or Granny Smith apples for a tart twist!
How do I store Baked Apple Chips to keep them crispy?
To maintain the delightful crunch of your Baked Apple Chips, store them in an airtight container at room temperature. They can last up to 2 weeks this way. If you live in a humid environment, consider keeping them in the fridge while still in an airtight container; this can help them stay fresh a little longer, though they might lose some of their crispness.
Can I freeze Baked Apple Chips?
Yes, absolutely! For longer storage, spread your cooled Baked Apple Chips in a single layer on a baking sheet and freeze them for about 2-3 hours. Once they’re fully frozen, transfer the chips to a freezer bag, where they’ll stay fresh for up to 3 months. When you’re ready to enjoy them, simply preheat your oven to 200°F (95°C) and warm them for several minutes to bring back their crunch!
What if my Baked Apple Chips are not crispy enough?
If you find that your Baked Apple Chips are chewy or not crispy enough, don’t worry! This can happen if the apple slices were too thick. To fix this, place them back in the oven for an additional 10-15 minutes, checking frequently to avoid burning. Ensure that they’re arranged in a single layer for the best results.
Are Baked Apple Chips safe for pets?
Be cautious! While apples are generally safe for dogs, you should avoid giving them your Baked Apple Chips due to added spices or sugar that can be harmful. Always ensure to remove any seeds and consult with your vet regarding specific ingredients before sharing any homemade snacks with your pets.
How do I prevent apples from browning before baking?
For an effective way to prevent your apple slices from browning, lightly brush each slice with lemon juice before baking. This not only keeps them looking fresh but also adds a subtle tangy flavor that complements the sweetness of the apples. Additionally, try to slice your apples just before baking to minimize browning!
Baked Apple Chips: Crunchy, Guilt-Free Cinnamon Snack
Ingredients
Equipment
Method
- Preheat your oven to 200°F (95°C).
- Line your baking sheets with parchment paper.
- Slice the apples into thin rounds, about 1/8 inch thick, removing seeds.
- Brush each slice lightly with lemon juice, if desired.
- Arrange the apple slices in a single layer on the prepared baking sheets.
- Mix together cinnamon and sugar, sprinkle it evenly over the apple slices.
- Bake for 1 hour, checking frequently to avoid over-browning.
- Flip each slice after 1 hour and continue baking for an additional hour.
- Once baked, let the chips cool on the baking sheets.
- Transfer cooled chips to an airtight container for storage.
")