")
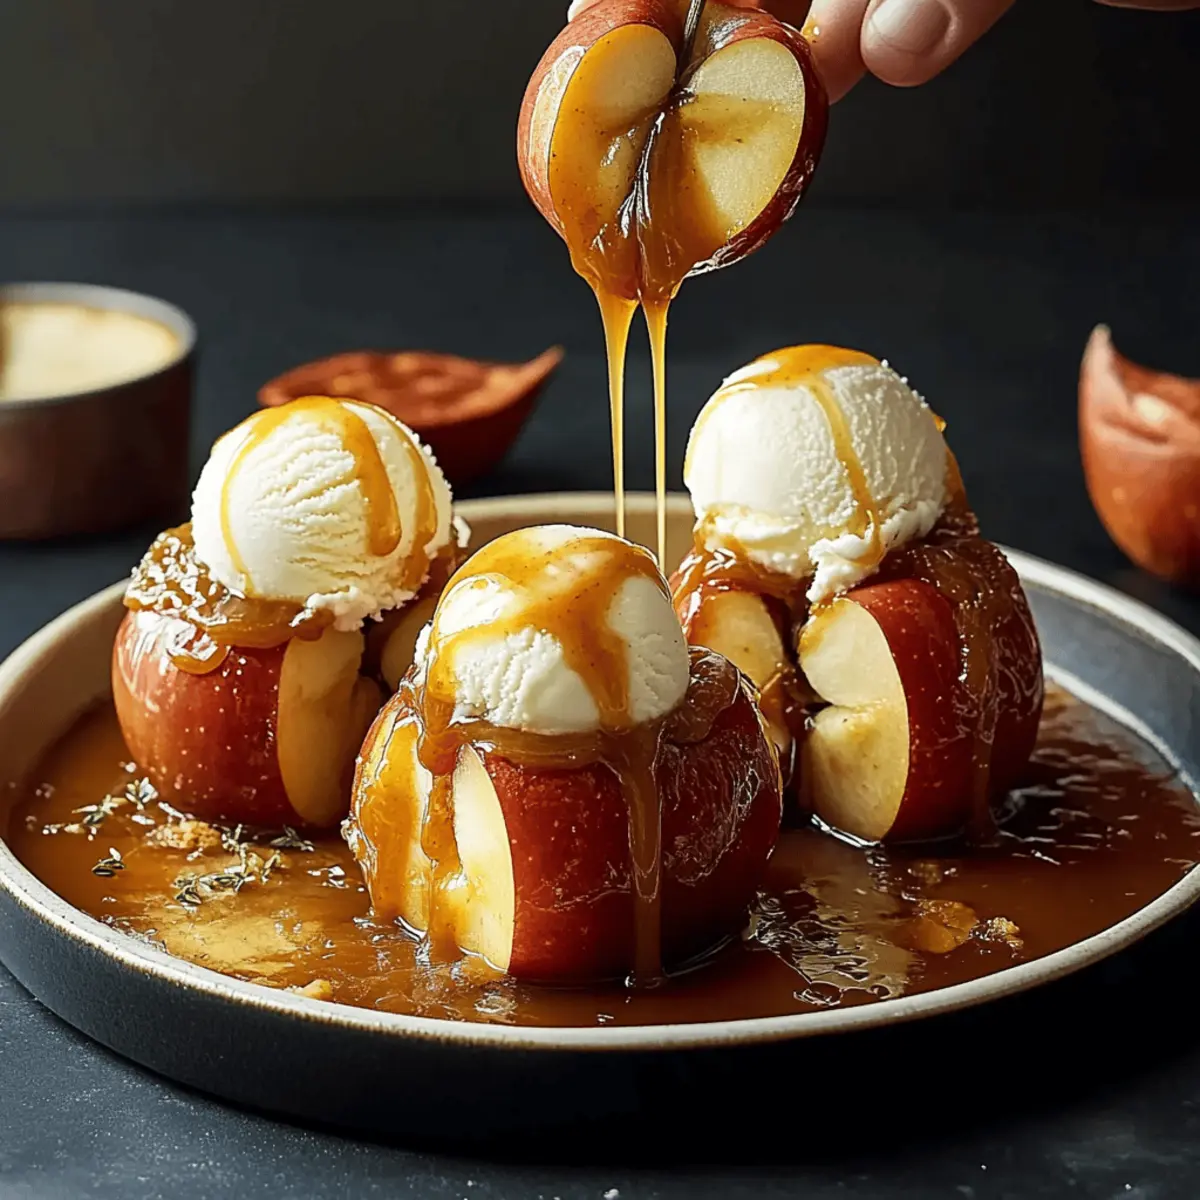
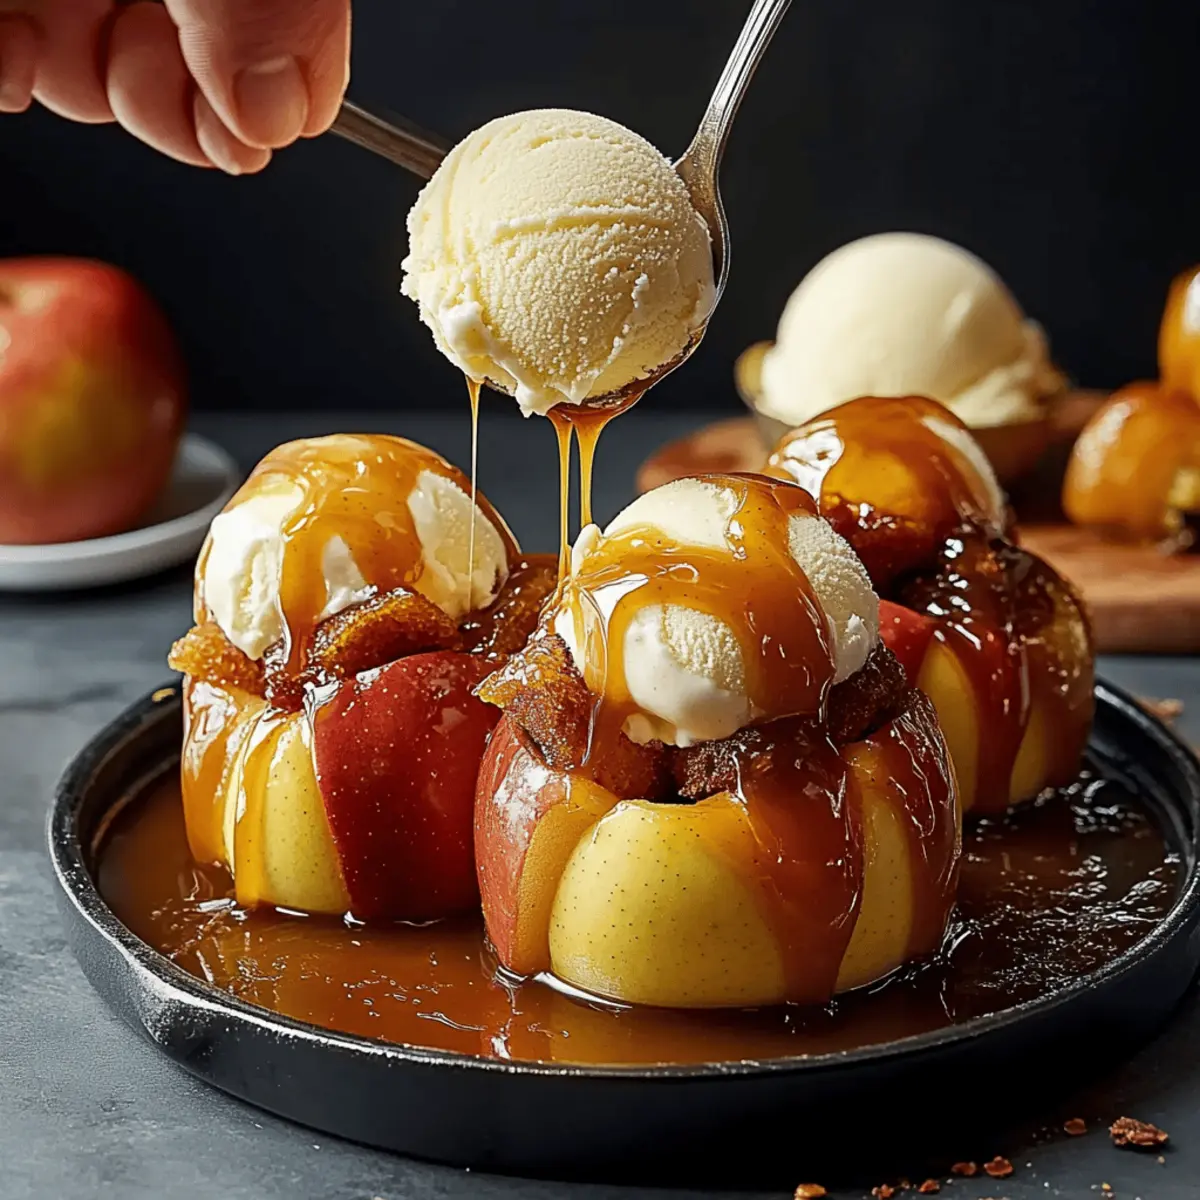
As the leaves turn and the air cools, the allure of cozy dessert recipes calls to me. Today, I’m excited to share my Caramel-Stuffed Bloomin’ Apples recipe—a delightful twist on traditional fall treats. Picture a warm, tender apple, sliced to reveal a gooey caramel core, all topped off with a scoop of creamy vanilla ice cream. Not only is this interactive dessert easy to whip up, but it also transforms the humble apple into a stunning centerpiece for any gathering. Each bite offers a wonderful contrast of textures and flavors that perfectly embodies the essence of the season. Are you ready to impress your friends and family with this show-stopping fall dessert? Let’s dive in!
Why Are Bloomin’ Apples So Appealing?
Interactive Experience: This dessert invites you and your guests to dig in, making it perfect for gatherings.
Delicious Aroma: Baking these apples fills your home with the warm scents of cinnamon and caramel—it’s fall in a dish!
Simplicity Meets Wow Factor: With just a few ingredients, you can create a stunning dessert that looks impressive without a fuss.
Versatile Twist: Adapt it with fun variations, like adding oats for crunch or experimenting with spices to tantalize your taste buds.
Perfect for Celebrations: Whether you’re hosting a cozy dinner or a festive gathering, these bloomin’ apples are sure to delight everyone. Treat yourself to this seasonal favorite—you won’t be disappointed!
Bloomin’ Apples Ingredients
For the Apples
• Firm Apples – Choose varieties like Honeycrisp or Granny Smith for their excellent structure when baked.
• Chewy Caramel Squares – These create the gooey center; opt for soft caramels to ensure proper melting.
For the Coating
• Melted Butter – Adds richness and helps the sugars caramelize; substitute with coconut oil for a dairy-free version.
• Packed Brown Sugar – Contributes moisture and depth of flavor; no substitutions needed for the best taste.
• Granulated Sugar – Provides balanced sweetness; consider reducing the amount for a less sweet dessert.
• Ground Cinnamon – Imparts warmth and enhances the apple flavor; can be replaced with nutmeg for a unique twist.
For Serving
• Vanilla Ice Cream – A creamy addition that compliments the warm apples; try dairy-free ice cream for an alternate option.
• Caramel Sauce – Adds an extra drizzle of indulgence; feel free to use homemade or your favorite store-bought variety.
These delicious Bloomin’ Apples are not just a feast for the taste buds but also a delightful scope for creativity! Enjoy making them as an easy dessert that will charm your family and friends.
Step‑by‑Step Instructions for Bloomin’ Apples Recipe
Step 1: Preheat Your Oven
Begin by preheating your oven to 375°F (190°C). If you’re using an air fryer, set it to 350°F (175°C). This initial step is crucial, as it ensures your Bloomin’ Apples will cook evenly, resulting in tender fruit bursting with delicious flavors.
Step 2: Create the Butter Mixture
In a small bowl, whisk together the melted butter, packed brown sugar, granulated sugar, and ground cinnamon until well combined. This mixture will enhance the natural sweetness of the apples and form a delightful caramel crust. The warm melt of butter should encourage the sugars to blend smoothly, creating a lovely glaze.
Step 3: Prepare the Apples
Carefully slice the tops off each firm apple and core them, taking care not to puncture the bottom. Next, make thin crosswise cuts around the apple, almost down to the bottom, resembling a blooming flower. This step allows the sugars and flavors to seep into the fruit while baking, making your Bloomin’ Apples visually stunning.
Step 4: Stuff the Apples
Fill each prepared apple with two chewy caramel squares, ensuring they nestle comfortably inside. Then, take your butter mixture and brush it generously over the apples, coating all surfaces thoroughly. This step is key to achieving a beautiful caramelized topping as they bake, promising a gooey center you’ll love.
Step 5: Bake the Apples
For the oven method, place the stuffed apples in a greased baking dish and bake for approximately 30 minutes, or until the apples are tender and a rich caramel aroma fills your kitchen. If you’re using an air fryer, arrange the apples in the basket and cook for about 20 minutes, checking for that lovely softness and golden hue.
Step 6: Serve and Enjoy
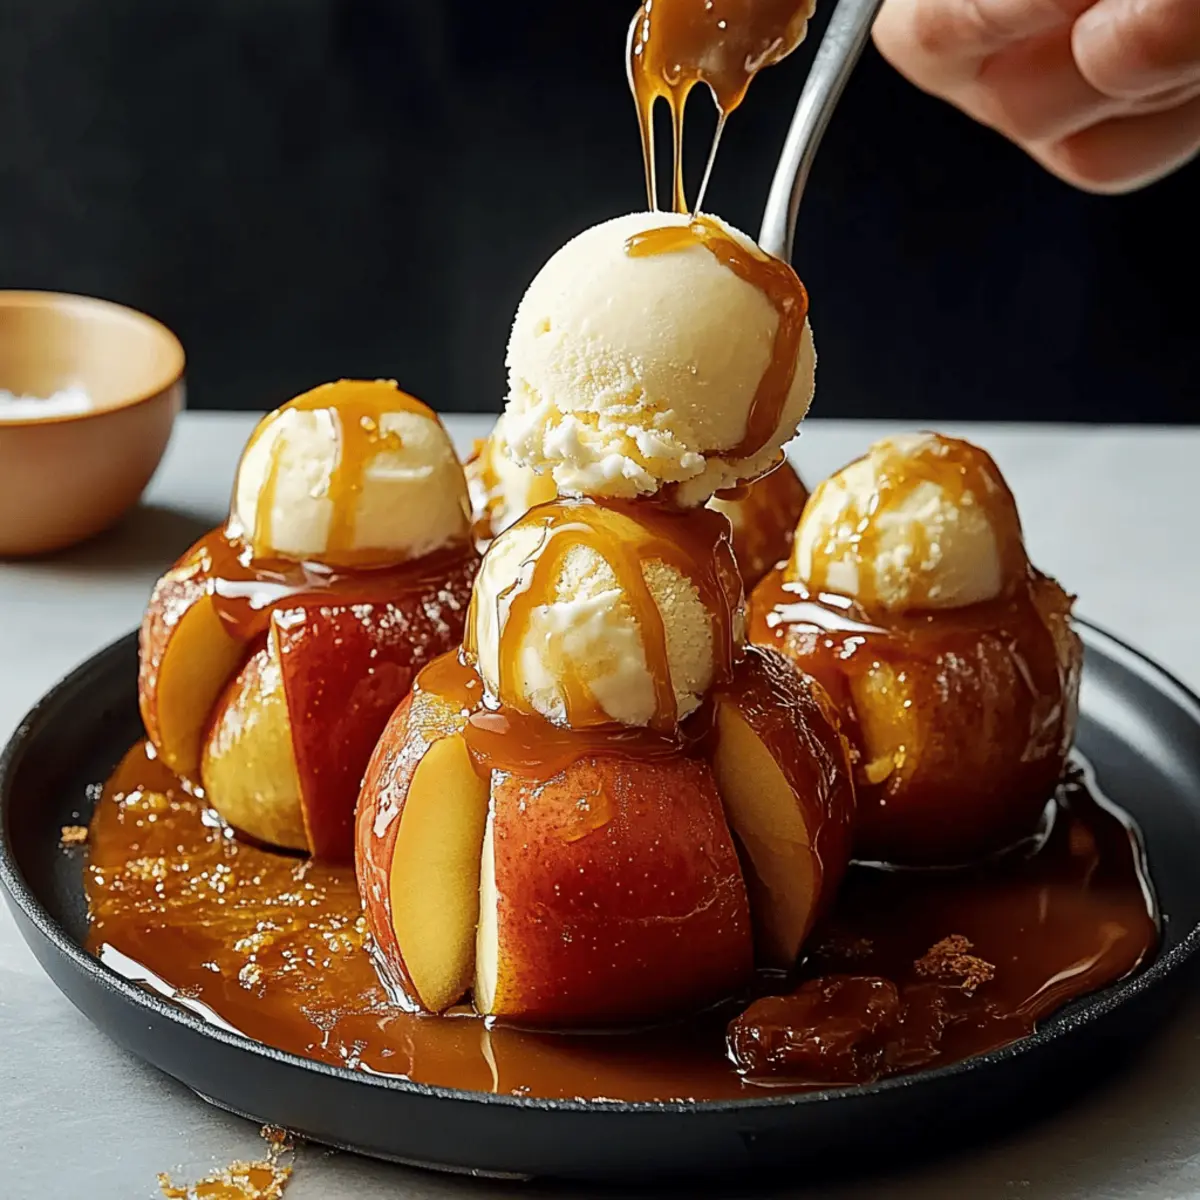
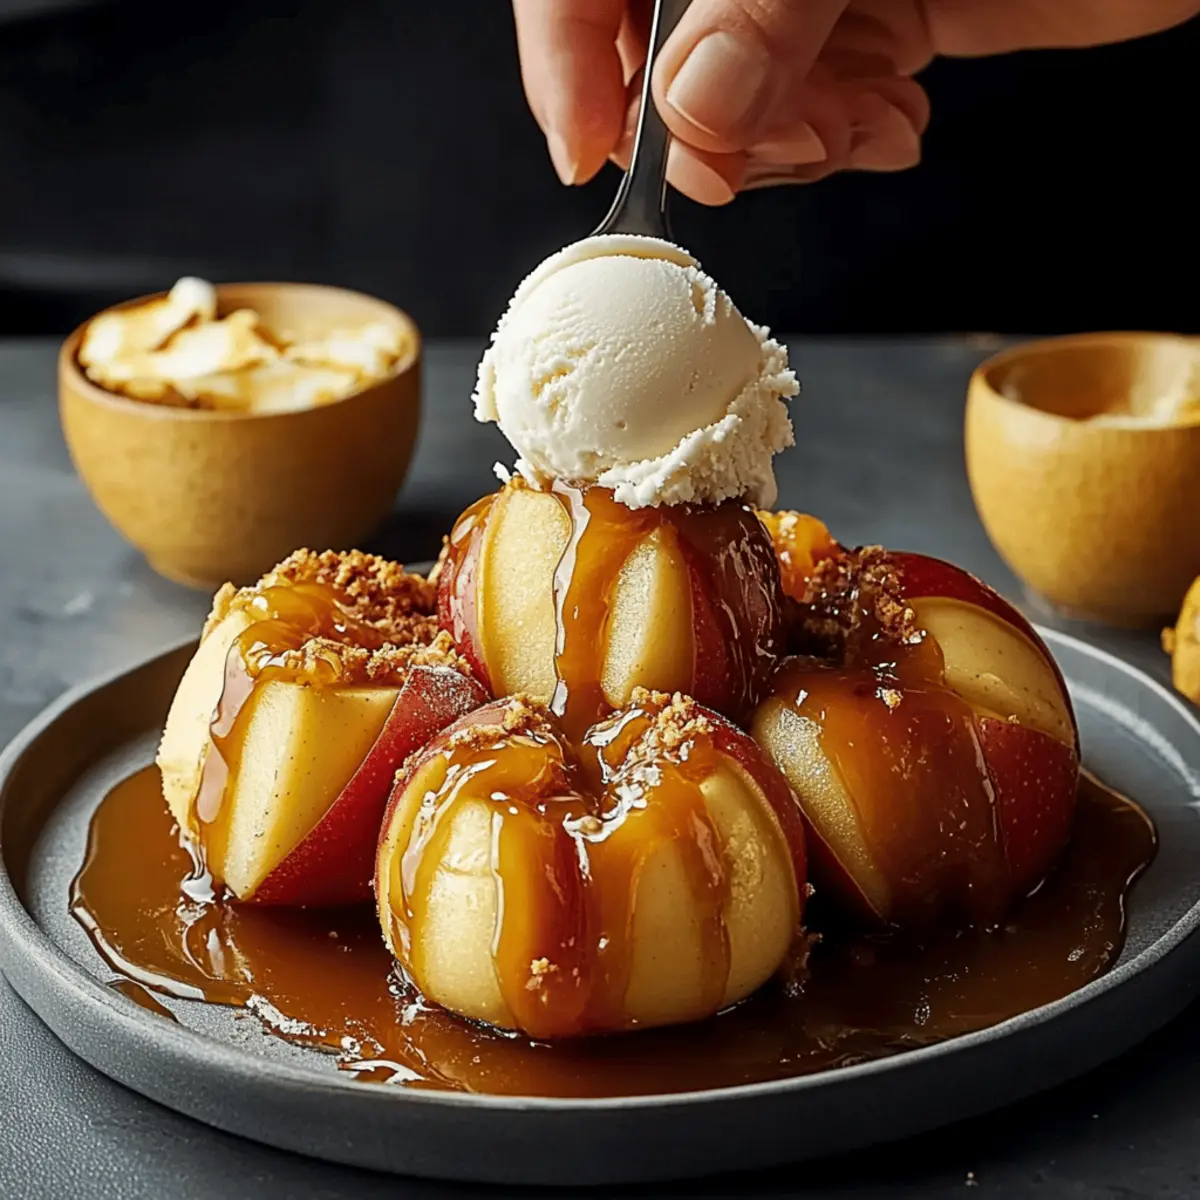
Once your Bloomin’ Apples are perfectly baked, remove them from the oven or air fryer and let them cool for a few minutes. Top each apple with a generous scoop of creamy vanilla ice cream and drizzle with caramel sauce for extra indulgence. The warm apple combined with the cold ice cream creates a delightful contrast that’s irresistible.
What to Serve with Caramel-Stuffed Bloomin’ Apples?
Warm your heart and home with delightful pairings complementing this comforting fall treat.
- Creamy Vanilla Ice Cream: The cool, creamy ice cream contrasts beautifully with the warm apples and gooey caramel, enhancing each delicious bite.
- Spiced Cider: A warm cup of spiced apple cider brings out the fall flavors in this dessert, creating a cozy atmosphere. The hints of cinnamon and nutmeg seamlessly tie everything together.
- Toasted Nuts: Sprinkle some toasted pecans or walnuts on top for a crunchy texture that beautifully contrasts the tender apple and molten caramel.
- Cinnamon Sugar Donuts: Serve alongside giving your guests a choice to indulge further in the comfort of fall flavors. The light sweetness and generous dusting of cinnamon sugar can elevate the experience.
- Gingerbread Cookies: The bold spice of gingerbread adds an extra layer of warmth and nostalgia, making for a delightful pairing that perfectly matches autumn vibes.
- Caramel Drizzle: Offer an extra drizzle of homemade caramel sauce for those who love their sweets extra indulgent. It creates a luscious layer of flavor to the already delightful dessert.
- Chai Tea: The aromatic spices of chai tea harmonize beautifully with the flavors of the bloomin’ apples, making this combo a perfect cozy evening treat on a crisp fall night.
- Cranberry Sauce: A tart cranberry sauce can provide a refreshing contrast to the sweetness of the apples, balancing the flavors and adding a pop of color to your table.
- Chocolate Stout Cake: For a rich finish, a slice of chocolate stout cake offers a decadent end to a meal, providing a deep chocolate flavor that pairs surprisingly well with the caramel apple goodness.
Bloomin’ Apples Recipe Variations
Feel free to explore exciting twists to make your Bloomin’ Apples truly your own!
- Apple Crisp Style: Stuff apples with a mix of oats, brown sugar, and chopped nuts for a delightful crunch.
- Spicy Twist: Swap out ground cinnamon for ginger or allspice to give your dessert a zesty kick.
- Bourbon Infusion: Add a splash of bourbon to the butter mixture for a sophisticated flavor note that compliments the apples beautifully.
- Nut Butter Surprise: Try spooning almond or peanut butter into the center alongside the caramel for an extra layer of richness.
- Salted Caramel: Sprinkle sea salt over the baked apples for a delightful contrast that enhances the sweet and savory flavors.
- Fruit Medley: Mix in dried cranberries or raisins while stuffing for added flavor and texture.
- Pumpkin Spice: Handful of pumpkin spice can add seasonal flair and warmth to your baked apples—perfect for fall!
- Mini Bloomin’ Apples: Use small apples like crabapples for a bite-sized treat that’s cute and fun to serve at gatherings.
Each variation invites fun creativity in the kitchen, just like my Pastina Comforting All brings warmth and joy to the table! Don’t hesitate to share your creations and inspire others—these mesmerizing Bloomin’ Apples are here for unforgettable moments!
Make Ahead Options
These Caramel-Stuffed Bloomin’ Apples are a fantastic dessert to prepare ahead of time for busy weeknights! You can core and slice your apples up to 24 hours in advance, tossing them in a bit of lemon juice to prevent browning. The caramel squares can be prepped and stored in an airtight container for up to 3 days, saving you time on the day of serving. When you’re ready to bake, simply brush the butter mixture over the prepared apples and stuff them with caramel. Bake as instructed, and enjoy the same warm, gooey delight that everyone will love without the last-minute rush!
Expert Tips for Bloomin’ Apples
- Apple Selection: Choose firm, crisp apples like Honeycrisp or Granny Smith to prevent them from turning mushy during baking.
- Slice Carefully: When making crosswise cuts, use chopsticks as a guide to avoid cutting through the bottom of the apple.
- Watch Baking Time: Start checking your Bloomin’ Apples a few minutes before the suggested baking time to ensure they don’t overcook.
- Customize the Filling: Experiment with different fillings like oats or nuts to add texture and flavor variations to your dessert.
- Serving Temperature: Serve these apples warm for the best experience; the contrast with cold ice cream enhances the overall indulgence.
How to Store and Freeze Bloomin’ Apples
Fridge: Store any leftover bloomin’ apples in an airtight container for up to 3 days. Place parchment paper between layers to prevent sticking.
Freezer: For longer storage, wrap individual bloomin’ apples tightly in plastic wrap and place them in a freezer bag. They can be frozen for up to 2 months.
Reheating: To enjoy, thaw in the fridge overnight, then reheat in the oven at 350°F for about 10-15 minutes until warmed through. Perfect for a cozy dessert any time!
Prep Ahead: If you’re preparing apples in advance, core and slice them a few hours before serving, tossing them with lemon juice to prevent browning.
Bloomin’ Apples Recipe FAQs
What type of apples should I use for this recipe?
Absolutely! For Bloomin’ Apples, it’s best to choose firm varieties such as Honeycrisp, Gala, or Granny Smith. These apples hold their shape while baking, ensuring you get that perfect bloom without turning mushy. Avoid using soft apples like McIntosh, as they may collapse during the cooking process.
How should I store leftover bloomin’ apples?
After enjoying your delightful dessert, store any leftovers in an airtight container in the refrigerator for up to 3 days. I recommend placing parchment paper between layers, especially if you stacked them, to keep the apples from sticking together.
Can I freeze bloomin’ apples, and how?
Yes, you can freeze Bloomin’ Apples! Wrap each apple tightly in plastic wrap to prevent freezer burn, then place them in a freezer-safe bag. They can be enjoyed for up to 2 months. When you’re ready to savor them again, simply thaw in the fridge overnight and reheat in the oven at 350°F for about 10-15 minutes until warmed through.
What should I do if my apples aren’t blooming properly?
Very! If you’re finding that your apples aren’t blooming as expected, ensure you’re making deep, evenly spaced crosswise cuts without cutting through the bottom. You can use chopsticks alongside your apple as a cutting guide to help achieve even slices. Also, make sure to brush the apples thoroughly with the butter mixture so that the caramel can seep down and aid in blooming.
Are bloomin’ apples allergy-friendly?
Definitely! To make this dessert more allergy-friendly, you can substitute the melted butter with coconut oil for a dairy-free option. Additionally, be cautious with the caramel squares; choose brands that accommodate specific dietary restrictions, like nut-free or gluten-free if necessary.
Can I prepare the apples in advance?
Absolutely! You can core and slice the apples a few hours before serving. Just toss them lightly in lemon juice to prevent browning. This method is a real time-saver if you’re hosting guests, allowing you to assemble and bake them right before dessert time.
Bloomin’ Apples Recipe - Caramel Delight for Cozy Nights
Ingredients
Equipment
Method
- Preheat your oven to 375°F (190°C) or air fryer to 350°F (175°C).
- In a bowl, whisk together melted butter, brown sugar, granulated sugar, and cinnamon until combined.
- Slice the tops off each apple, core them, and make thin crosswise cuts around the apple.
- Stuff each apple with two caramel squares and brush the butter mixture over the apples.
- Bake in a greased dish for about 30 minutes, until tender, or about 20 minutes in an air fryer.
- Serve warm topped with ice cream and drizzled with caramel sauce.
")