")
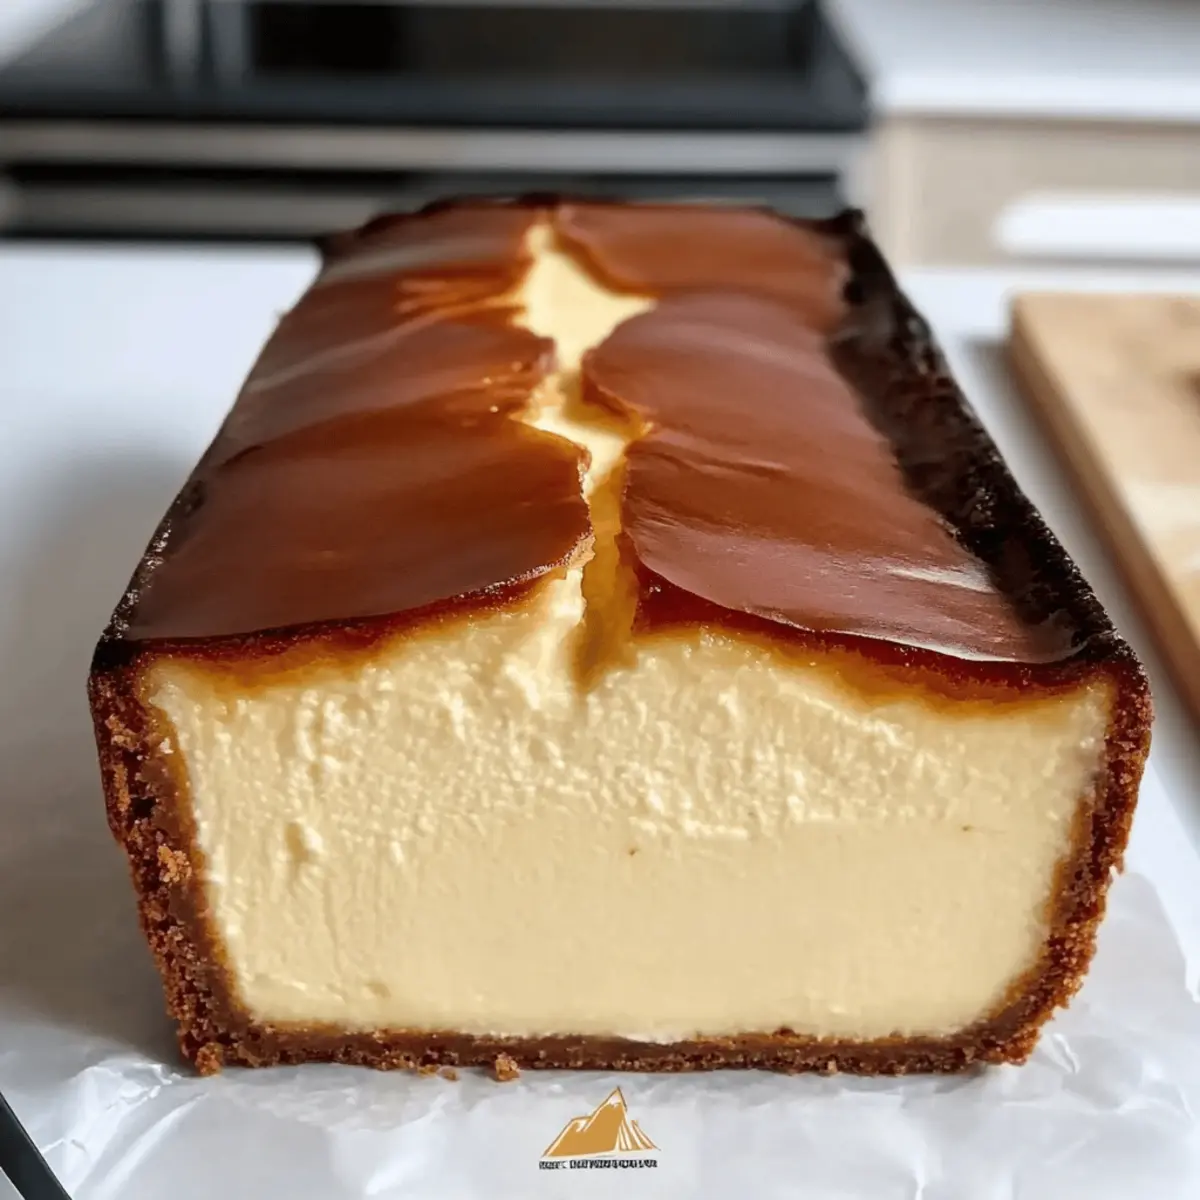
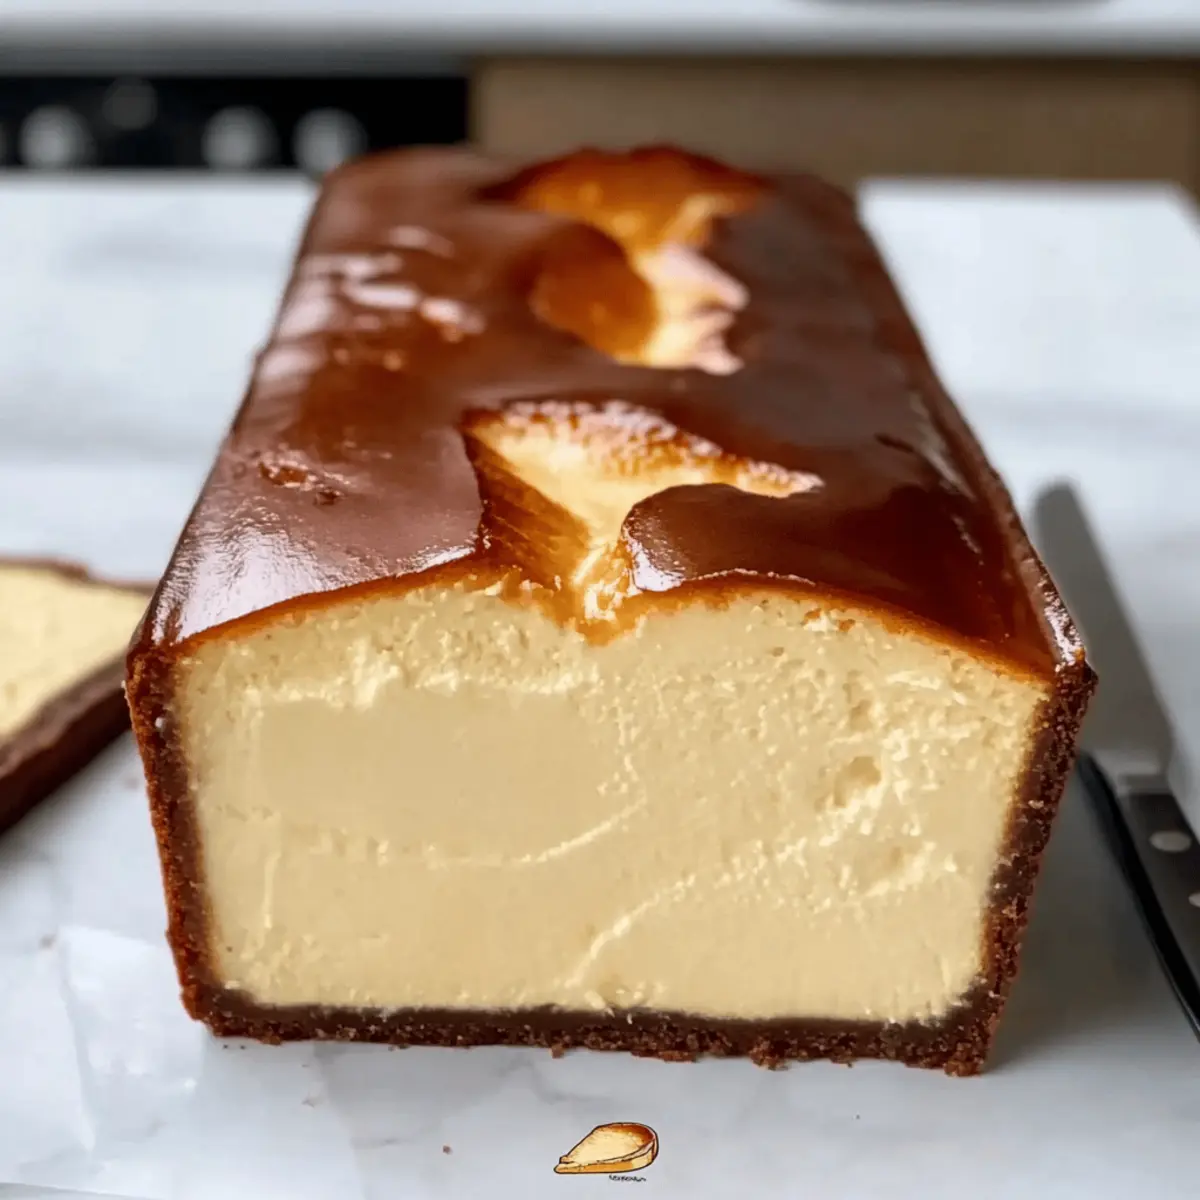
As I carefully pulled the warm loaf pan from the oven, the intoxicating aroma of caramelized cream cheese wafted through my kitchen, captivating my senses. This Burnt Basque Cheesecake, often overshadowed by its more traditional counterparts, proves that simplicity can lead to sheer bliss. Designed for small gatherings, this crustless wonder is not only easy to whip up but also offers a delightful twist on a beloved classic. The strikingly burnt top, with its elegant imperfections, masks a silky, custard-like center that promises to be the star of any dinner table. Plus, you can prepare it with minimal fuss, leaving you more time to savor the sweet moments. Curious to find out how this irresistible dessert can elevate your next homemade feast? Let’s dive into the recipe!

Why Is Burnt Basque Cheesecake So Irresistible?
Simplicity at Its Best: This recipe shines with its minimal ingredients and uncomplicated method, perfect for busy home cooks.
Rich, Creamy Texture: The combination of full-fat cream cheese and eggs delivers an ultra-smooth, custard-like experience that melts in your mouth.
Impressive Presentation: With its striking burnt top and rustic charm, this cheesecake is sure to wow your guests and become a conversation starter at any gathering.
Time-Saving Delight: Whip this up quickly in a loaf pan, allowing you to enjoy homemade decadence without the fuss of a traditional cheesecake.
Versatile Flavors: Serve it alone or enhance it with fresh berries or a drizzle of caramel, making it adaptable for every palate.
With every slice, this Burnt Basque Cheesecake promises to be a delightful addition to your dessert repertoire!
Burnt Basque Cheesecake Ingredients
For the Cheesecake
- Full-Fat Cream Cheese – Essential for achieving that rich and creamy texture; low-fat can be used but may affect smoothness.
- Granulated Sugar – Sweetens the cheesecake and enhances that striking caramelization on the top.
- Eggs – Crucial for binding the ingredients and ensuring a custard-like consistency; make sure they’re well-beaten for the best results.
- All-Purpose Flour – Adds necessary structure; can be substituted with a gluten-free blend if needed.
- Salt – A small amount elevates the overall flavor of the cheesecake.
- Vanilla Extract – Introduces aromatic depth that complements the creaminess of the cheesecake.
Feel the excitement build as you gather these ingredients! Soon, you’ll be indulging in the velvety bliss that is this Burnt Basque Cheesecake!
Step‑by‑Step Instructions for Burnt Basque Cheesecake
Step 1: Prep the Loaf Pan
Preheat your oven to 400°F (200°C). Lightly butter a 9×5 inch loaf pan, then line it with parchment paper, ensuring it overhangs the edges for easy removal later. This setup will help you avoid any sticky situations when unveiling your delicious Burnt Basque Cheesecake!
Step 2: Mix Ingredients
In a large mixing bowl, beat 16 ounces of full-fat cream cheese with an electric mixer on medium speed until it’s completely smooth (about 2 minutes). Gradually add in 1 cup of granulated sugar, mixing well until combined. Then, incorporate 3 large eggs one at a time, ensuring each is fully blended before adding the next to achieve a rich, creamy batter.
Step 3: Add Dry Ingredients
Once your mixture is creamy, gently fold in 1/4 cup of all-purpose flour and a pinch of salt. Mix until just combined—it’s perfectly fine if the batter remains slightly lumpy! Finally, stir in 1 teaspoon of vanilla extract, enhancing the flavors of your Burnt Basque Cheesecake with a delightful aroma that will fill your kitchen.
Step 4: Bake
Pour the luscious cheesecake mixture into your prepared loaf pan, smoothing the top with a spatula. Bake in the preheated oven for approximately 45 minutes, or until the top is deeply golden and the center is still jiggly. The burnt appearance is characteristic of this Basque-style cheesecake and adds to its rustic charm!
Step 5: Cool and Chill
Once baked, remove the loaf pan from the oven and let it cool at room temperature for about 30 minutes. This gradual cooling will help prevent sinking. Afterward, refrigerate your cheesecake for a minimum of 4 hours, preferably overnight, allowing the flavors to develop and the texture to firm up beautifully.
Step 6: Serve
To serve your Burnt Basque Cheesecake, carefully lift it out of the loaf pan using the parchment overhang. Slice into generous portions and enjoy it chilled or at room temperature. For added flair, feel free to top with whipped cream, fresh berries, or a drizzle of caramel, elevating this already indulgent dessert!
Expert Tips for Burnt Basque Cheesecake
-
Cool Gradually: Allow the cheesecake to cool in the oven for 10-15 minutes after baking. This prevents it from sinking in the middle, ensuring a perfect texture.
-
Embrace the Jiggle: A slightly jiggly center is desirable; it will set as it cools in the refrigerator. Don’t be tempted to overbake—trust the process!
-
Chill for Texture: For the best taste and texture, chill your cheesecake overnight. This allows the flavors to meld beautifully, creating a richer experience.
-
Rustic Charm: The burnt top is a hallmark of this Burnt Basque Cheesecake; embrace the cracks as part of its rustic beauty—they add character!
-
Serve at Room Temperature: For optimal flavor, serve the cheesecake chilled or let it sit at room temperature for 10-15 minutes before slicing. This enhances the creamy texture.
How to Store and Freeze Burnt Basque Cheesecake
Fridge: Store your Burnt Basque Cheesecake in an airtight container for up to 5 days. This ensures it stays fresh while allowing the flavors to develop as it sits.
Freezer: If you want to keep it longer, wrap slices tightly in plastic wrap and then in aluminum foil. It can be frozen for up to 2 months—just remember to thaw in the fridge overnight before enjoying!
Reheating: For the best texture, serve it chilled, or let it sit at room temperature for 10-15 minutes before slicing. This enhances its creamy, custard-like goodness.
Leftover Ideas: Use any leftovers creatively! Crumble a slice over yogurt or blend it into a milkshake for a delicious twist.
Make Ahead Options
Planning ahead with this Burnt Basque Cheesecake makes weeknight desserts a breeze! You can mix the cheesecake batter and store it in the refrigerator for up to 24 hours before baking (just cover it tightly). This preparation allows the flavors to meld beautifully. If you prefer, you can bake the cheesecake, let it cool, and refrigerate it for up to 3 days. To maintain its rich texture, be sure to store it in an airtight container. When you’re ready to serve, simply slice it straight from the fridge or let it come to room temperature for 10-15 minutes. This dessert retains its creamy indulgence, saving you precious time while ensuring delicious results!
Burnt Basque Cheesecake Variations & Substitutions
Feel free to get creative with this delightful dessert! Customize your Burnt Basque Cheesecake to suit your taste buds and dietary preferences.
- Gluten-Free: Use a gluten-free flour blend for the dry ingredients, ensuring everyone can indulge.
- Dairy-Free: Substitute with a dairy-free cream cheese alternative for a lactose-friendly version; just check for flavor and consistency.
- Add Citrus: Incorporate citrus zest like lemon or orange into the batter for a bright, zesty flavor that cuts through the richness beautifully. Imagine the zingy aroma wafting through your kitchen!
- Chocolate Lovers: Fold in cocoa powder or melted chocolate for a decadent twist that transforms this classic into a chocolate lover’s dream.
- Sweet Spice: Add a pinch of cinnamon or nutmeg to the mixture for a warm spice that complements the creamy texture perfectly.
- Mini Cheesecakes: Pour the batter into muffin tins for individual, bite-sized treats that are perfect for sharing. Adjust baking time to about 25 minutes for these charming little desserts.
- Fruit Swirl: Before baking, create a fruit compote, like raspberry or cherry, and swirl it into the top of the batter for a colorful and flavorful twist. It’s a vision of beauty and deliciousness!
- Whipped Cream Finish: For an eye-catching presentation, top the cooled cheesecake with a generous dollop of homemade whipped cream and a sprinkle of fresh berries.
To enhance your cheesecake experience, think about pairing it with seasonal fruits or even exploring how to make a delightful cheesecake dip alongside it for some variety during gatherings. By mixing it up with these variations, you can make the Burnt Basque Cheesecake your own!
What to Serve with Burnt Basque Cheesecake?
When you indulge in this creamy delight, think about how a few complementary dishes can elevate your entire meal experience.
-
Fresh Berries: Juicy raspberries, strawberries, or blueberries bring a burst of tangy freshness that contrasts beautifully with the rich, creamy cheesecake.
-
Whipped Cream: A cloud of lightly sweetened whipped cream adds a delightful lightness and enhances the overall dessert experience.
-
Caramel Sauce: Drizzling warm caramel over each slice elevates the sweetness and provides a luxurious touch that pairs perfectly.
-
Espresso: The robust flavor of a freshly brewed espresso balances the sweetness of the cheesecake, creating a harmonious dessert moment.
-
Chocolate Ganache: A silky ganache drizzled on top or served on the side provides a decadent chocolatey flavor that complements the burnt notes of the cheesecake.
-
Shortbread Cookies: Crisp, buttery shortbread adds a lovely crunch and a hint of saltiness, creating a delightful textural contrast with the creaminess.
-
Seasonal Fruit Salad: A refreshing mix of seasonal fruits, with their vibrant colors and flavors, can brighten your plate and add a fresh note.
-
Prosecco: A bubbly glass of Prosecco enhances your dessert with a fizzy elegance, making each bite feel extra special.

Burnt Basque Cheesecake Recipe FAQs
What type of cream cheese should I use for the cheesecake?
For the richest and creamiest texture, I highly recommend using full-fat cream cheese. While you can opt for low-fat versions, be aware that they may result in a less smooth and rich cheesecake. Always check the packaging for freshness, and choose a brand you trust for the best results!
How should I store my Burnt Basque Cheesecake?
To keep your cheesecake fresh, store it in an airtight container in the refrigerator for up to 5 days. This allows the flavors to deepen and gives you the best dessert experience! If you’re planning to store it for a longer period, consider freezing it.
Can I freeze the Burnt Basque Cheesecake? If so, how?
Absolutely! To freeze your cheesecake, first, let it cool completely in the refrigerator. Then, wrap each slice tightly in plastic wrap followed by aluminum foil to prevent freezer burn. It can be frozen for up to 2 months. When you’re ready to enjoy a slice, simply transfer it to the refrigerator to thaw overnight—no need to rush!
Why is my cheesecake sinking in the middle?
That can happen if the cheesecake cools too quickly or is overbaked. Always allow it to cool gradually in the oven for about 10-15 minutes after baking. The middle should remain a bit jiggly when you take it out; it will firm up as it cools in the refrigerator.
Is this recipe suitable for those with food allergies?
This Burnt Basque Cheesecake contains common allergens like eggs and dairy, making it unsuitable for people with respective allergies. If you’re catering to someone with gluten sensitivities, feel free to use a gluten-free flour blend during preparation. Always check ingredient labels in case of cross-contamination.
What can I serve with Burnt Basque Cheesecake?
The possibilities are endless! You can enjoy it as is, or elevate its presentation with toppings like sweetened whipped cream, fresh seasonal berries, or a luscious drizzle of caramel sauce. It’s a great way to put a personal touch on this delectable dessert!
Indulge in Creamy Burnt Basque Cheesecake Bliss
Ingredients
Equipment
Method
- Preheat your oven to 400°F (200°C). Lightly butter a 9x5 inch loaf pan and line it with parchment paper.
- In a mixing bowl, beat cream cheese until smooth, add sugar, then incorporate eggs one at a time.
- Fold in flour and salt, mix until combined, then stir in vanilla extract.
- Pour the mixture into the loaf pan and bake for approximately 45 minutes or until the top is golden.
- Let cool at room temperature for 30 minutes and then refrigerate for at least 4 hours.
- Lift out of the pan using parchment, slice, and serve chilled or at room temperature.
")


