")
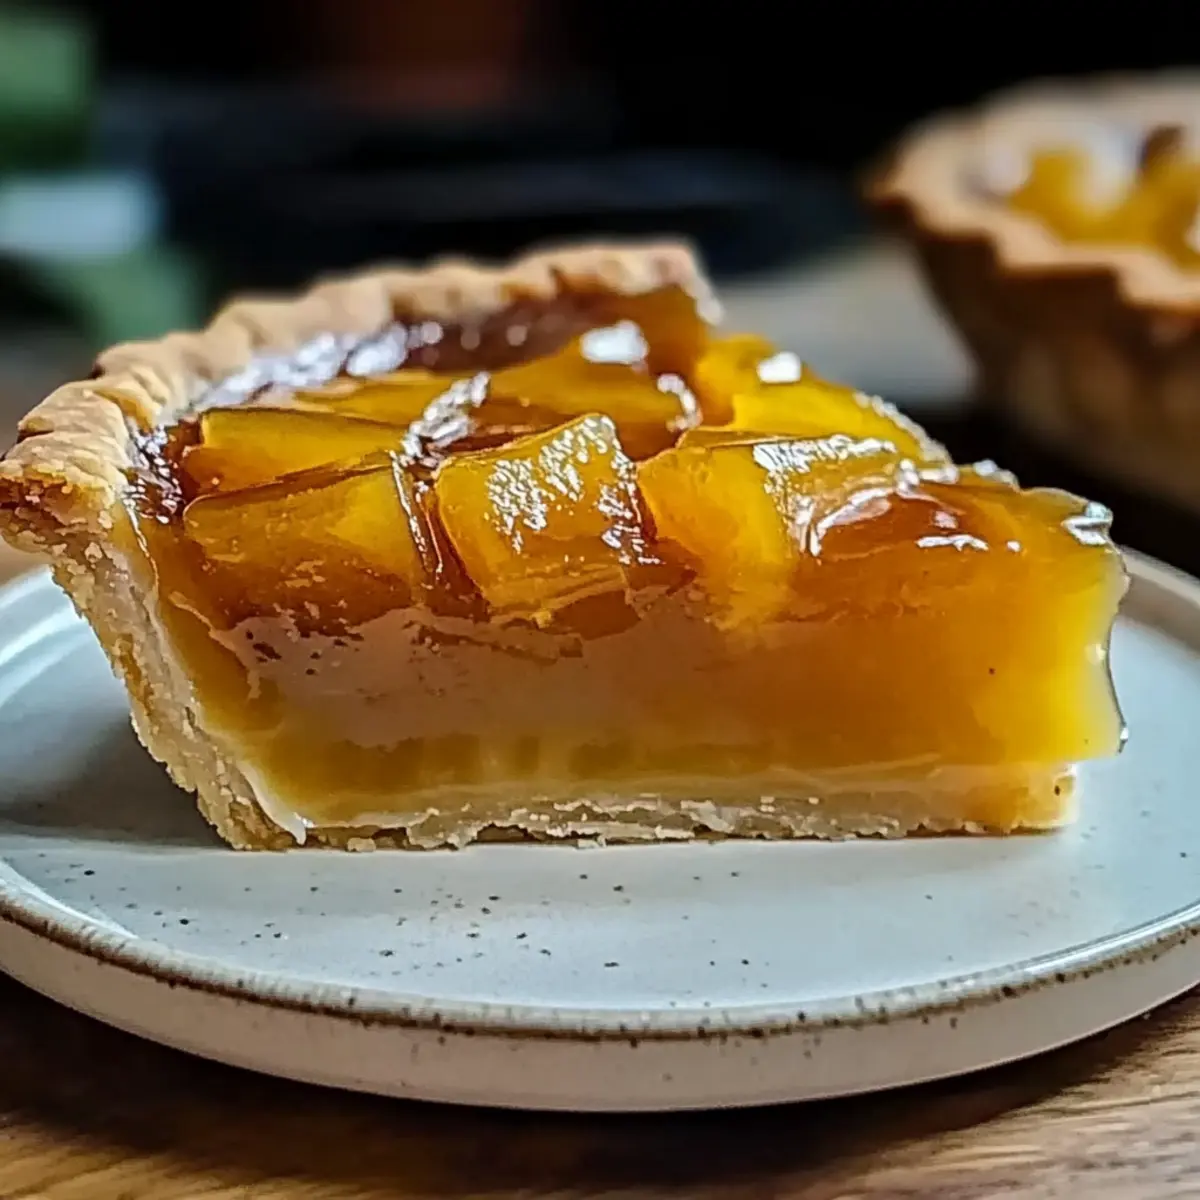
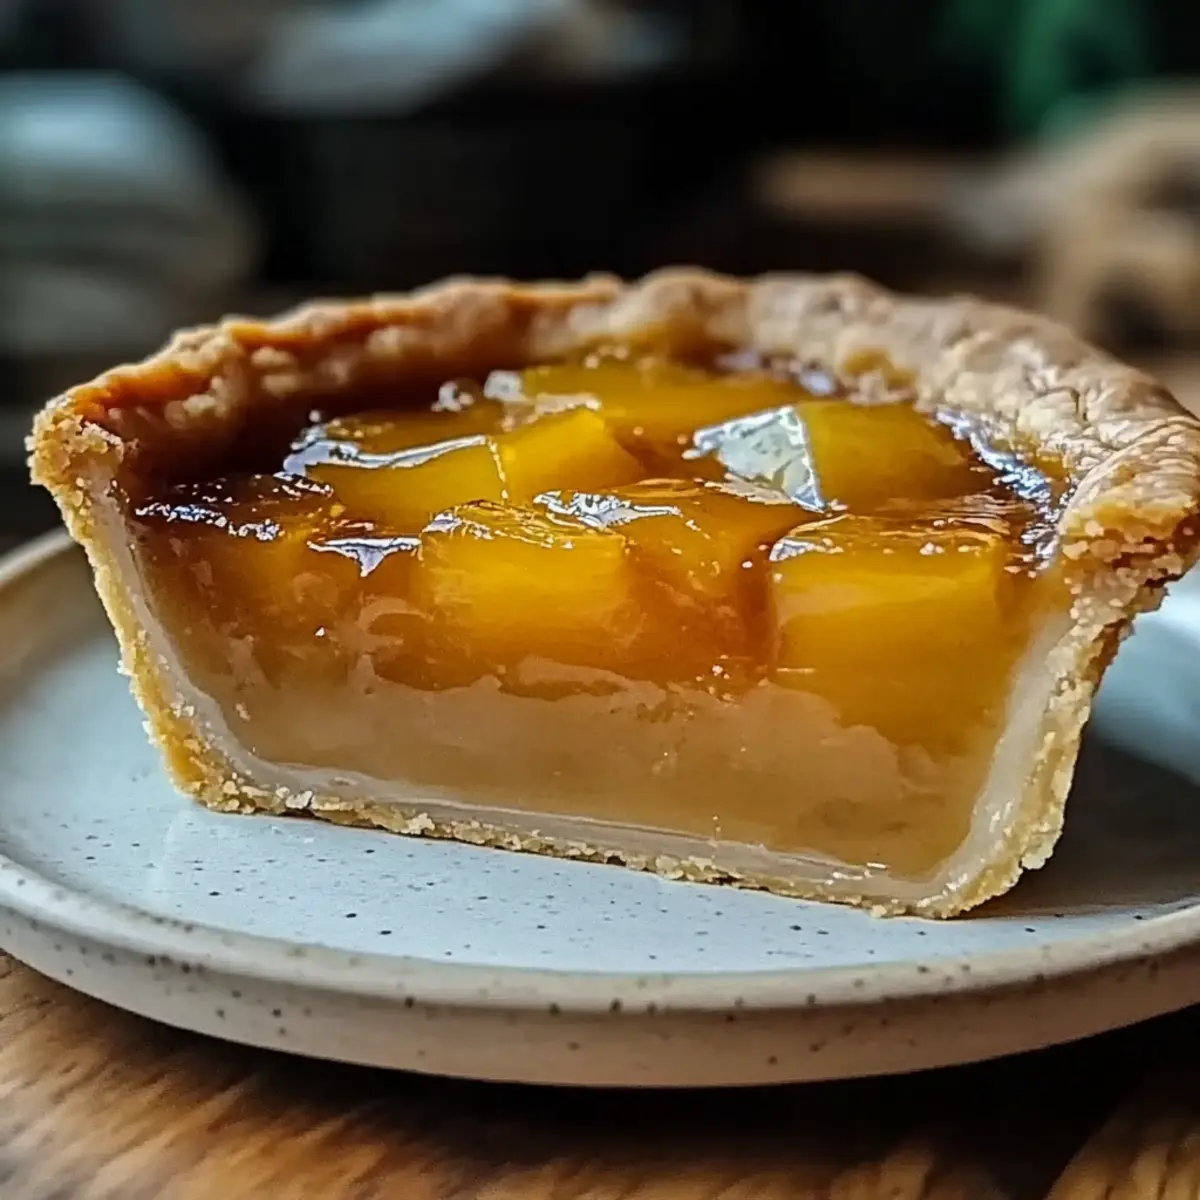
As the sweet scent of caramelized honey wafts through my kitchen, I can’t help but feel a subtle thrill—this is the start of something magical! The recipe for Burnt Honey Pie has become a cherished favorite in my home, bringing a unique twist to the classic dessert scene. With its rich, silky texture and the tantalizing depth of burnt honey, this pie not only satisfies your sweet tooth but also makes for an impressive centerpiece at any gathering. Plus, it’s easily customizable! Whether you opt for a vegan version or stick with traditional ingredients, this dessert is a delightful way to show off your culinary skills. Are you ready to elevate your dessert game? Let’s embark on this flavorful journey together!
Why is Burnt Honey Pie So Special?
Unique Flavor: The combination of caramelized honey creates a taste that’s both rich and intriguing, elevating a simple pie into a showstopper.
Easy Customization: With options for vegan adaptations or topping variations like a scoop of ice cream, this recipe caters to various dietary preferences effortlessly.
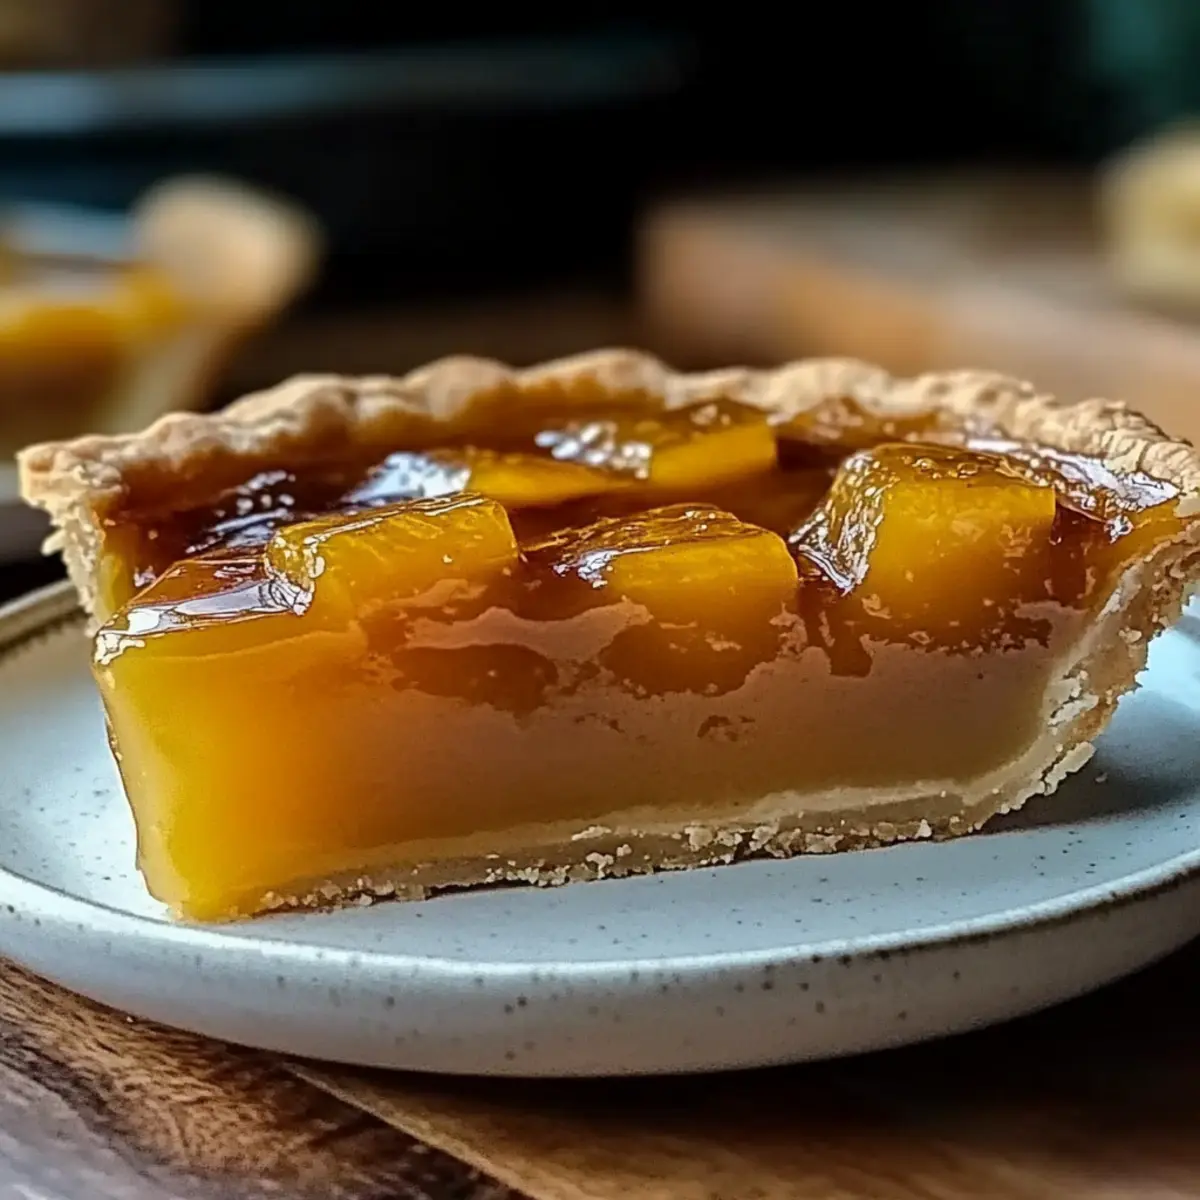
Impressive Presentation: The striking appearance with its golden burnt top makes it an instant crowd-pleaser, perfect for dinner parties or family gatherings.
Comfort at Home: Enjoy the pleasure of crafting this pie in your kitchen, transforming everyday ingredients into something extraordinary for loved ones. For more delightful dessert ideas, you might want to check out our Lemon Meringue Pie that brings zesty charm to any table.
Accessible Techniques: Don’t worry if you’re not a pro in the kitchen! The straightforward process ensures success for all skill levels, inviting everyone to enjoy the warm, inviting aroma of fresh-baked pie.
Burnt Honey Pie Ingredients
For the Filling
- Honey – This is the star ingredient providing sweetness; feel free to substitute with maple syrup or agave nectar for a different twist.
- Cream – Adds richness and creaminess to the filling; using heavy cream will yield the best results.
- Eggs – These provide structure and richness; for a vegan option, use flax eggs (1 tablespoon flaxseed meal + 2.5 tablespoons water).
- Salt – Essential for balancing the sweetness and enhancing the overall flavor.
For the Crust
- Pie Crust – This forms the base of the pie; a store-bought crust is perfectly acceptable for convenience.
Step‑by‑Step Instructions for Burnt Honey Pie
Step 1: Prepare the Pie Crust
Start by preheating your oven to 375°F (190°C). If you’re using a homemade pie crust, roll it out evenly and fit it into a 9-inch pie dish, then chill it for about 15 minutes. For store-bought crusts, follow the package directions to prepare it. Once ready, blind-bake the crust for 15 minutes, using parchment paper and pie weights to keep its shape.
Step 2: Burn the Honey
In a medium saucepan, add 1 cup of honey and heat over medium-low heat. Stir occasionally as it begins to bubble, watching closely for about 8-10 minutes. You’re looking for a deep amber color and a rich, caramelized aroma; the honey should be bubbling gently but not burning. Remove it from heat once it reaches this beautiful stage.
Step 3: Prep the Filling
In a mixing bowl, whisk together 1 cup of heavy cream, 3 eggs, and the burnt honey until well combined and smooth. Ensure there are no lumps, as a silky texture is key for the Burnt Honey Pie. This mixture will be rich and fragrant; set it aside while you prepare to combine it with the crust.
Step 4: Combine & Pour
Carefully pour the honey mixture into the prepared and cooled pie crust. Gently tap the pie dish on the counter to release any air bubbles, ensuring an even filling. The filling should be spread uniformly, avoiding any significant gaps to allow for a perfectly baked pie.
Step 5: Bake
Bake the Burnt Honey Pie in the preheated oven at 375°F (190°C) for 40-45 minutes. The pie is done when the edges are set but the center remains slightly jiggly—this slight movement is crucial for a creamy texture. Keep an eye on the pie to prevent over-baking.
Step 6: Cool
Once baked, remove the pie from the oven and let it cool on a rack at room temperature for at least 1 hour. This cooling time allows the filling to set properly. For best results, refrigerate the pie for a few hours or overnight before serving, which also enhances the flavors of the Burnt Honey Pie.
Step 7: Serve
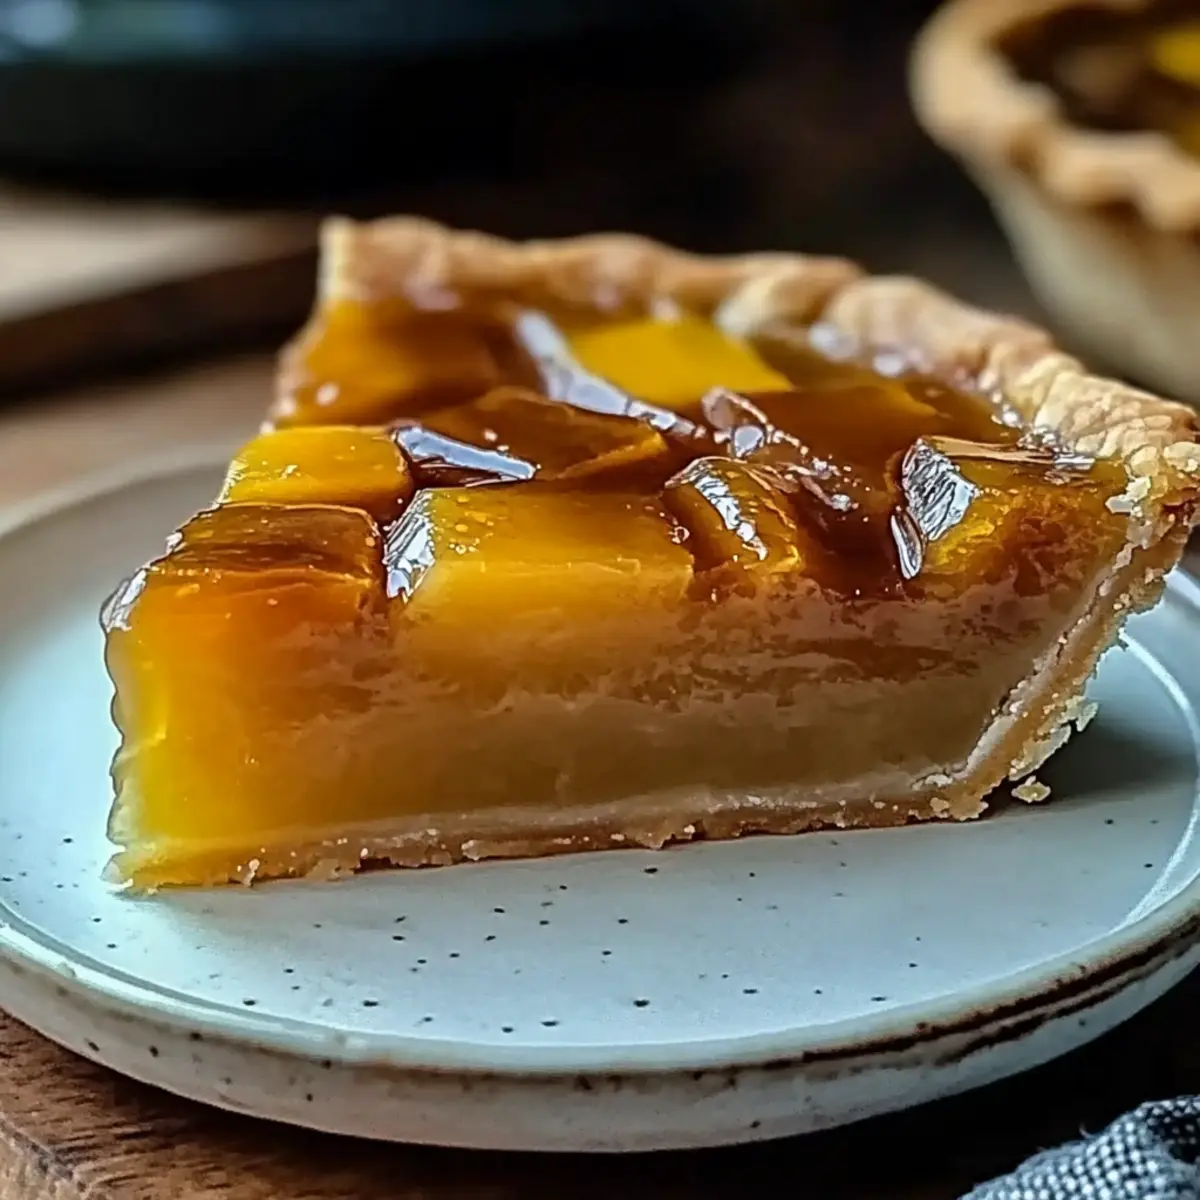
Before serving, cut the pie into slices while ensuring the edges remain clean and defined. Top each slice with a dollop of whipped cream or fresh fruit for a beautiful presentation. This decadent Burnt Honey Pie is now ready to impress your family and friends!
Burnt Honey Pie Variations & Substitutions
Feel free to put your own spin on this delightful dessert, making it truly yours with these fun ideas!
-
Vegan Option: Substitute heavy cream with coconut cream and use flax eggs for a delicious dairy-free pie.
-
Flavor Boost: Add a teaspoon of vanilla extract to the filling for an extra layer of aromatic sweetness.
-
Spice it Up: Sprinkle in a pinch of cinnamon or nutmeg to the filling for a warm, comforting touch.
-
Nutty Crunch: Top with crushed walnuts or pecans before serving to add a satisfying crunch and flavor contrast.
-
Berry Bliss: Serve slices with fresh berries on the side to brighten the rich flavors of the pie and add a refreshing burst.
-
Chilled Delight: For a refreshing twist, chill each slice and serve with a drizzle of chocolate or caramel sauce.
-
Maple Infusion: Swap honey for pure maple syrup for a distinct, earthy sweetness that pairs beautifully with the creaminess.
-
Gourmet Whipped Cream: Top your pie with whipped cream infused with a splash of bourbon or amaretto for an adult twist.
By exploring these variations, you’ll keep mealtime exciting and allow your creativity to shine in the kitchen! And don’t forget, if you’re in the mood for other delightful desserts, our Lemon Meringue Pie offers a zesty alternative that’s sure to impress.
Storage Tips for Burnt Honey Pie
Refrigerator: Store leftover Burnt Honey Pie in an airtight container for up to 3 days. This will keep the pie fresh and flavorful while allowing the creamy filling to set beautifully.
Room Temperature: If serving at a gathering, the pie can be left out at room temperature for up to 2 hours. Just remember to store any leftovers back in the fridge afterward!
Freezer: For longer storage, wrap the pie tightly in plastic wrap and aluminum foil, and freeze for up to 1 month. Thaw in the refrigerator overnight before serving.
Reheating: If you prefer the pie warm, gently reheat individual slices in the microwave for about 15-20 seconds. Enjoy the cozy, deliciousness that the Burnt Honey Pie brings to your table!
What to Serve with Burnt Honey Pie
Indulging in a slice of Burnt Honey Pie is just the beginning of a delightful meal experience!
- Whipped Cream: A dollop adds a light, airy contrast to the rich filling and enhances the sweetness beautifully.
- Fresh Berries: Juicy blueberries or raspberries offer a refreshing tartness that cuts through the creaminess of the pie, making every bite balanced.
- Vanilla Ice Cream: Melting a scoop on warm pie creates a deliciously creamy experience and softens the flavors to perfection. Ideal for chocolate or caramel lovers!
- Mint Tea: A warm cup of mint tea refreshes the palate, providing a soothing herbal note that complements the caramelized honey.
- Caramel Sauce Drizzle: Showstopper presentation! A drizzle of caramel intensifies the dessert’s sweet profile while adding a glossy finish.
- Cinnamon Sugar Cookies: Pairing the pie with these cookies introduces a slightly spicy, crunchy texture, offering contrast to the velvety pie.
Choose any of these pairings for a meal that warms the heart and invites seconds!
Make Ahead Options
These Burnt Honey Pie components are perfect for meal prep, making it easier to enjoy this delightful dessert during busy times! You can prepare the pie crust and burnt honey up to 24 hours in advance. Simply store the crust covered in plastic wrap, and for the honey, allow it to cool completely before transferring it to an airtight container and refrigerating. The pie filling can be mixed and stored in the refrigerator for an additional 1-3 days, but be sure to cover it tightly to maintain its silky texture. When you’re ready to bake, simply pour the filling into the crust and bake as instructed. With these make-ahead tips, you can savor the sweet satisfaction of Burnt Honey Pie without the last-minute rush!
Expert Tips for Burnt Honey Pie
Temperature Check: Use a thermometer to monitor the honey—burnt honey should reach around 300°F (150°C) for optimal flavor without losing control.
Watch the Bubbles: Keep an eye on the honey as it bubbles; stirring occasionally prevents unexpected burning.
Cool Time Matters: Allow the pie to cool completely before slicing. This ensures clean edges and a perfectly set filling for your Burnt Honey Pie.
Check the Jiggly Center: If the filling appears too jiggly after baking, return the pie to the oven for a few more minutes until set.
Experiment with Flavors: Feel free to add spices like cinnamon or nutmeg to the filling to enhance complexity and warmth.
Burnt Honey Pie Recipe FAQs
What type of honey is best for this recipe?
Absolutely! For the best flavor, I recommend using high-quality, raw honey that has a rich and intense flavor profile. Look for honey that is amber-colored and aromatic. If you’re experimenting with different flavors, consider using wildflower honey or even a flavored honey for a unique twist!
How should I store leftover Burnt Honey Pie?
To keep your lovely Burnt Honey Pie fresh, store any leftovers in an airtight container in the refrigerator for up to 3 days. It can be enjoyed chilled or at room temperature. Just be sure to cover it well to avoid any unwanted flavors from the fridge mingling in!
Can I freeze the Burnt Honey Pie?
Absolutely! If you want to enjoy this pie later, wrap it tightly with plastic wrap and then aluminum foil. It can be frozen for up to 1 month. When you’re ready to dig in, simply thaw it in the refrigerator overnight. If you’d like to enjoy it warm, you can reheat individual slices in the microwave for about 15-20 seconds.
What do I do if my pie is jiggly in the center after baking?
Very! If your Burnt Honey Pie appears too jiggly after the recommended baking time, just return it to the oven for an additional 5-10 minutes. Continue checking for the edges to be set while ensuring the center remains slightly jiggly—this is key for that perfect creamy texture.
Are there any dietary considerations for this recipe?
Indeed! If you’re looking to make a vegan version of the Burnt Honey Pie, you can substitute traditional eggs with flax eggs (1 tablespoon flaxseed meal mixed with 2.5 tablespoons water, allowed to sit for a few minutes until it thickens). Also, opt for coconut cream in place of heavy cream for a delectable dairy-free filling.
How can I tell if I’ve burned the honey during preparation?
Great question! You’ll know if you’ve burned the honey if it develops a bitter taste or turns a very dark color too quickly, almost black. Instead, you’re aiming for a deep amber color and a rich caramel aroma. If it starts to smell burnt, that’s your cue to remove it from the heat immediately!
Decadent Burnt Honey Pie for an Unforgettable Dessert Experience
Ingredients
Equipment
Method
- Preheat your oven to 375°F (190°C). If using a homemade crust, roll it out and chill for 15 minutes. Blind-bake for 15 minutes.
- In a medium saucepan, heat honey over medium-low for 8-10 minutes until amber and caramelized.
- In a mixing bowl, whisk together heavy cream, eggs, and burnt honey until smooth.
- Pour the honey mixture into the cooled pie crust and tap to release air bubbles.
- Bake for 40-45 minutes until edges are set but the center is slightly jiggly.
- After baking, cool at room temperature for 1 hour, then refrigerate before serving.
- Slice and serve, optionally topped with whipped cream or fresh fruit.
")