")
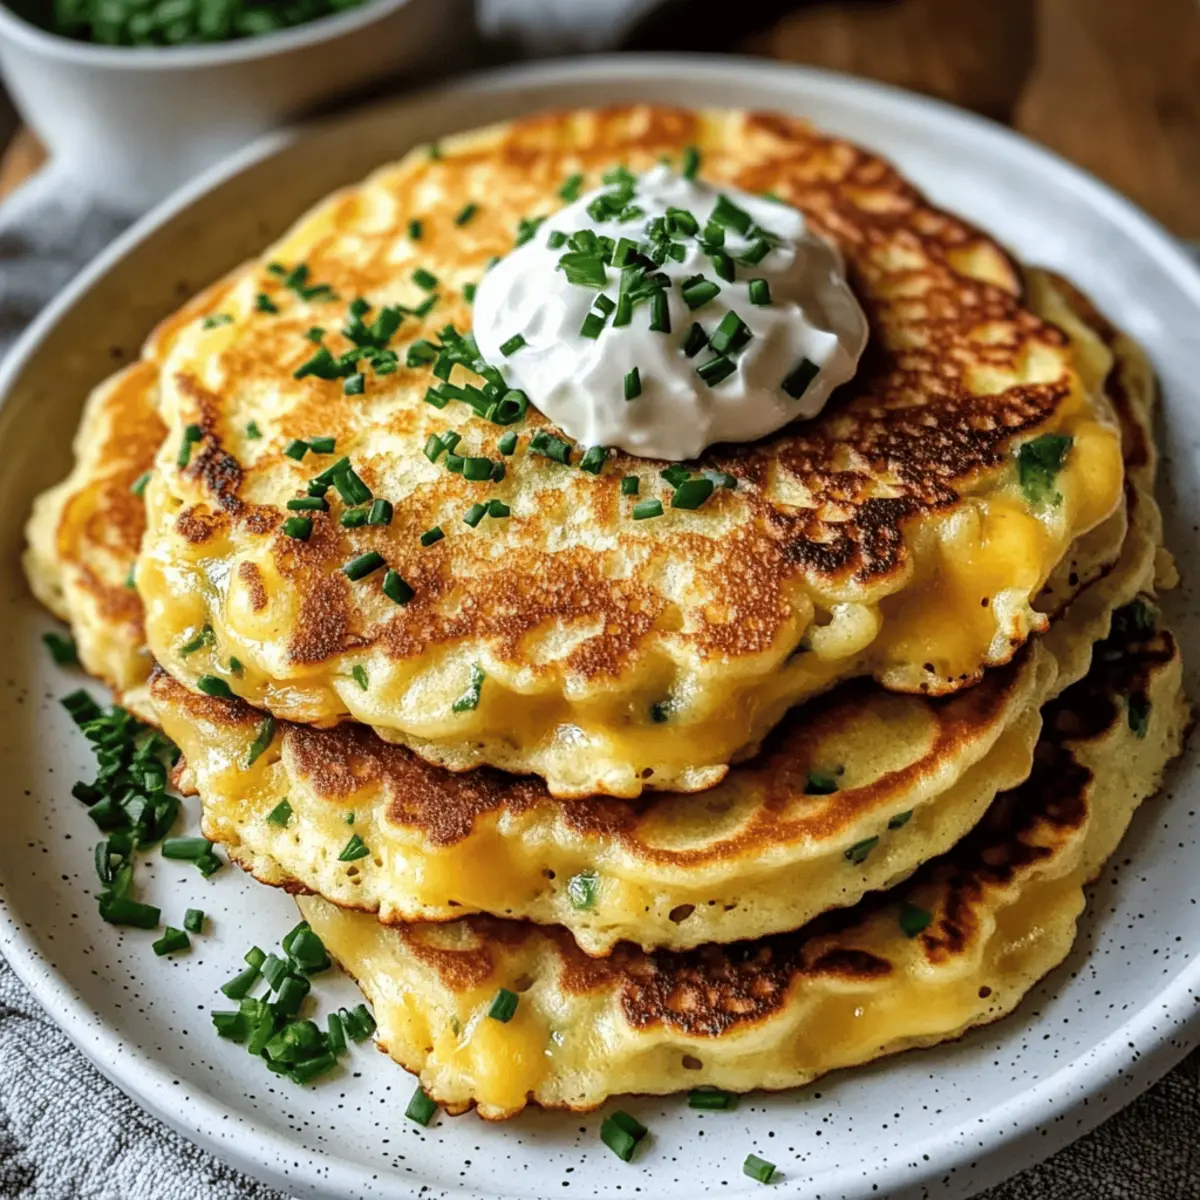
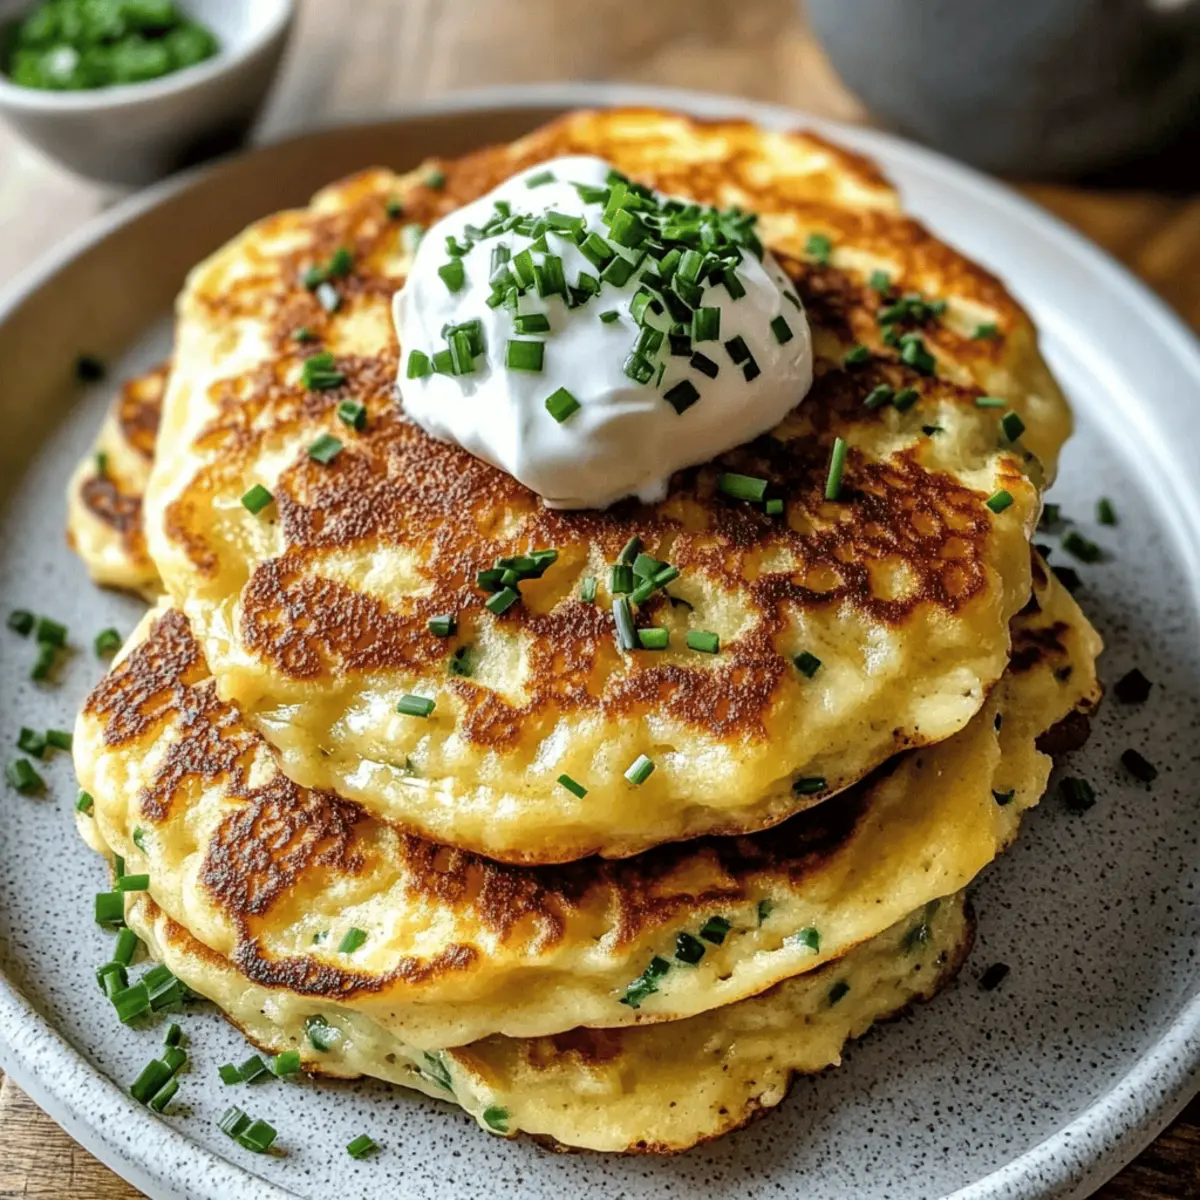
In the midst of a bustling brunch gathering, I overheard someone proclaim, “Who needs sweet when savory is this good?” And they were right—savory Cheese & Chive Pancakes take center stage in the world of delightful breakfasts, offering a refreshing departure from the ordinary! These pancakes are not only easy to whip up, perfect for both seasoned home chefs and curious beginners, but they also add a touch of gourmet flair to your meal. Fluffy and infused with sharp cheddar and fresh chives, each bite merges cheesy richness with herbaceous brightness. Whether you’re serving them at a weekend brunch or simply treating yourself to a satisfying breakfast, these Cheese & Chive Pancakes promise to elevate your dining experience. Are you ready to transform your pancake game? Let’s dive into this savory adventure!
Why are Cheese & Chive Pancakes a Must-Try?
Simplicity at Its Best: This recipe is beginner-friendly, requiring just a few basic ingredients to create a gourmet brunch option.
Savory Explosion: The combination of sharp cheddar and fresh chives offers a delightful contrast in every bite, turning breakfast into a flavor-packed experience.
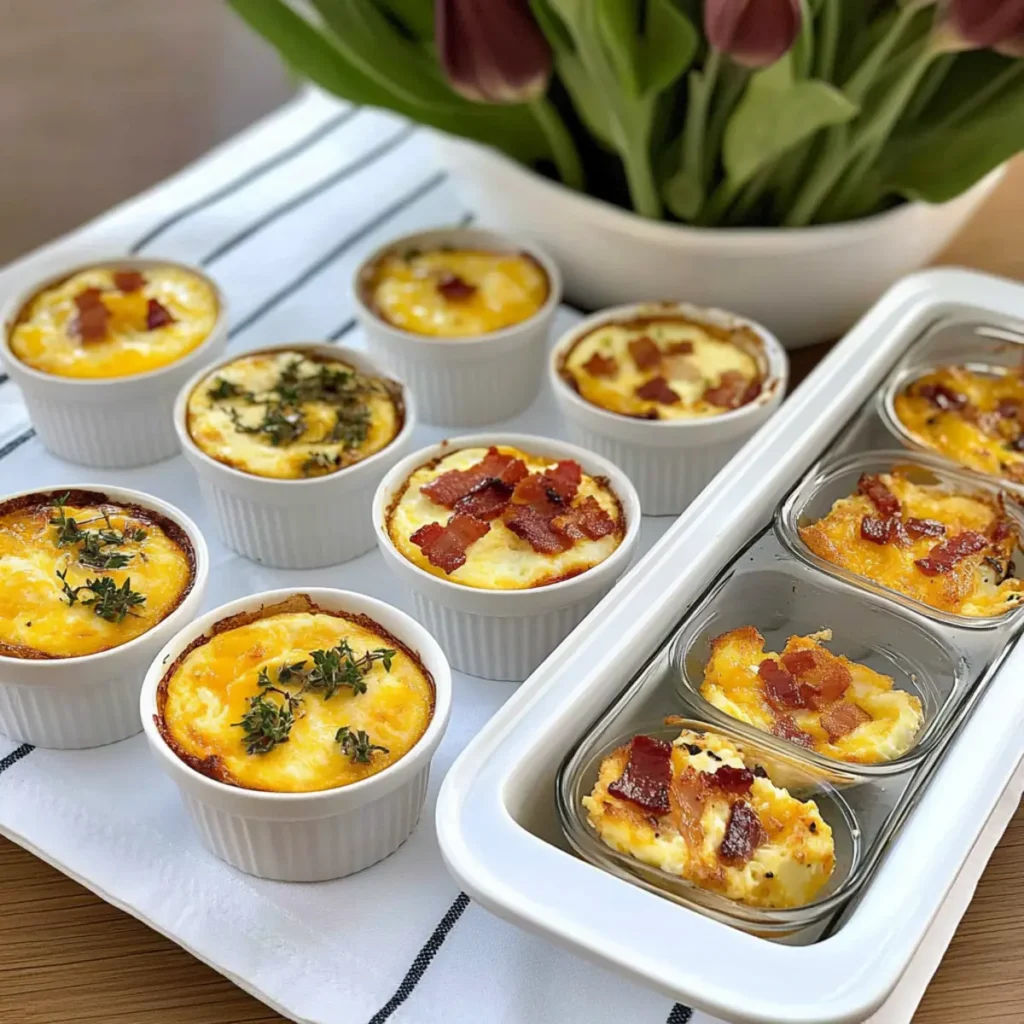
Endless Versatility: Want to spice things up? Add crumbled bacon or substitute whole wheat flour for a different twist!
Quick Cooking: From mixing to flipping, this recipe is perfect for those busy mornings, ready in just a flash.
Crowd-Pleaser: Whether it’s a lazy Sunday or a bustling brunch, these pancakes are sure to impress your guests and keep everyone coming back for seconds. Pair them with a dollop of sour cream or try them alongside crispy bacon for a delightful feast!
Cheese & Chive Pancakes Ingredients
For the Batter
- All-Purpose Flour – Provides the structure for the pancakes, forming a tender crumb when combined with other ingredients.
- Baking Powder – Acts as a leavening agent that creates air pockets, ensuring each pancake is light and fluffy.
- Salt – Enhances the natural flavors of the cheese and chives, balancing the batter.
- Milk – Hydrates the dry ingredients and contributes to a smooth batter; its sweetness complements the sharp cheese.
- Large Egg – Binds the ingredients together and adds richness, helping the pancakes hold their shape and develop a tender texture.
- Unsalted Butter (melted) – Adds a hint of creamy richness and promotes browning during cooking.
For the Flavor
- Shredded Cheddar Cheese – Delivers sharp, tangy flavor and gooey texture, setting these pancakes apart from sweet varieties.
- Fresh Chives (finely chopped) – Infuses pancakes with an onion-like freshness and vibrant color.
For Cooking
- Additional Butter or Oil – Used for cooking to prevent sticking and enhance browning.
Step‑by‑Step Instructions for Cheese & Chive Pancakes
Step 1: Whisk the Dry Ingredients
In a large mixing bowl, combine 1 cup of all-purpose flour, 1 tablespoon of baking powder, and a pinch of salt. Whisk these dry ingredients together until they are evenly mixed. This will create the base for your Cheese & Chive Pancakes, ensuring a light and fluffy texture when cooked. Set this bowl aside as you prepare the wet ingredients.
Step 2: Prepare the Wet Mixture
In a separate bowl, crack one large egg and beat it lightly with a whisk. Gradually mix in 1 cup of milk and 2 tablespoons of melted unsalted butter, stirring until the mixture is smooth and well-combined. This step is crucial for adding moisture and richness to your batter, setting the stage for the savory flavors of cheese and chives.
Step 3: Combine Wet and Dry Ingredients
Gently pour the wet mixture into the bowl with the dry ingredients. Using a spatula, stir until just combined; be careful not to overmix. A few lumps are perfectly fine—it’s these little imperfections that lead to light and fluffy Cheese & Chive Pancakes! Once combined, set the batter aside for a moment to rest and allow the baking powder to activate.
Step 4: Incorporate Cheese and Chives
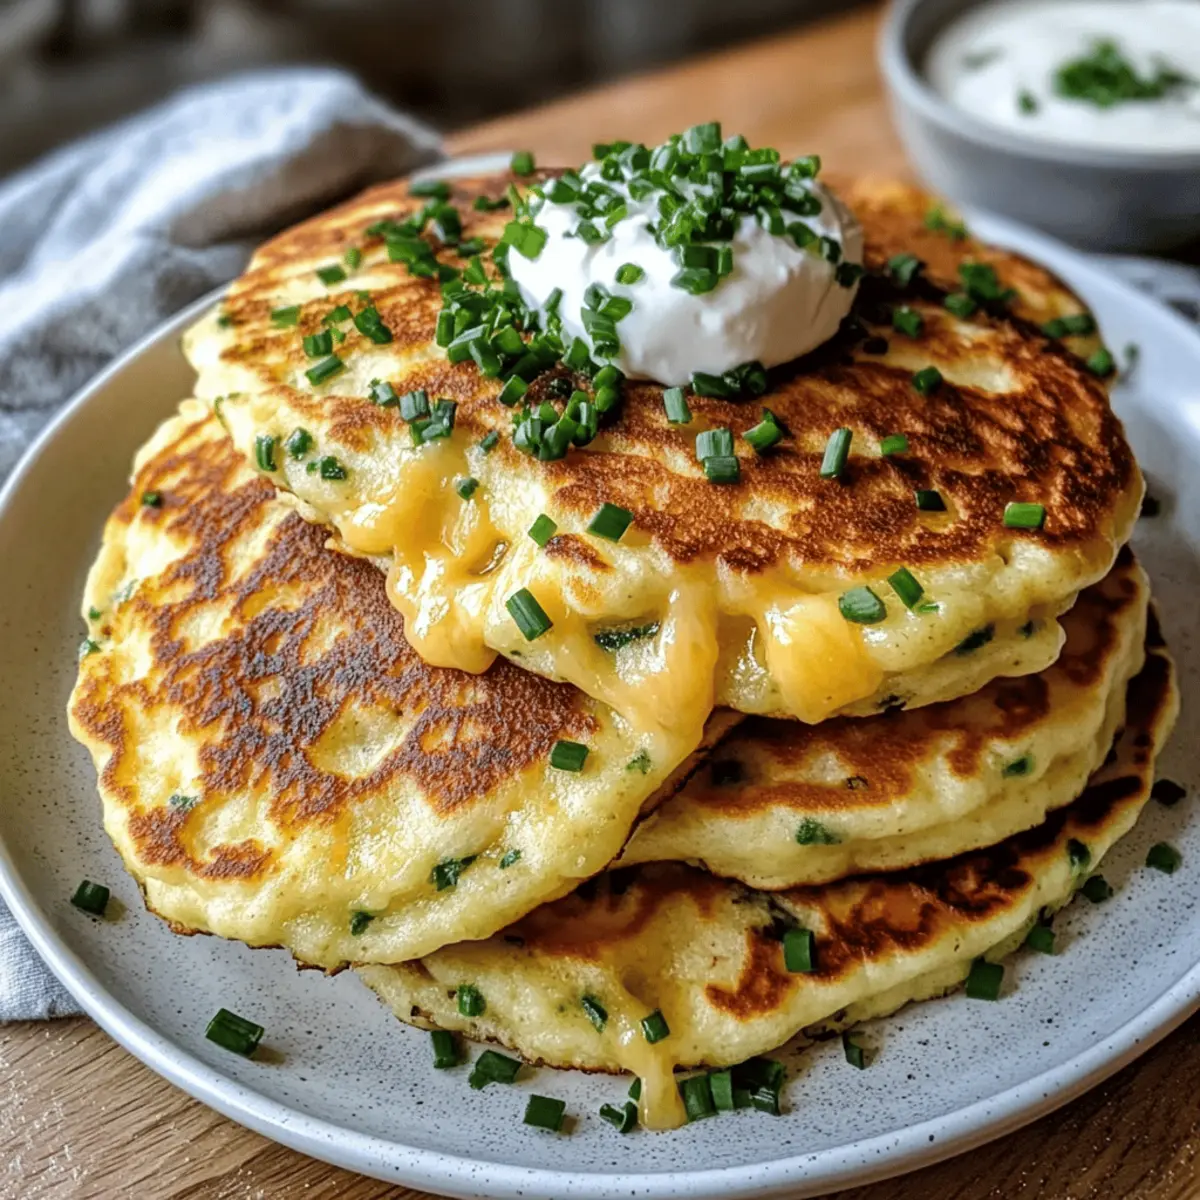
Now, fold in 1 cup of shredded cheddar cheese and 1/4 cup of finely chopped fresh chives into the batter. Make sure the cheese and chives are evenly distributed throughout while continuing to avoid overmixing. This step enhances the savory profile of the pancakes, allowing the delicious flavors to shine through each fluffy bite.
Step 5: Heat the Skillet
Place a non-stick skillet over medium heat and allow it to warm for a couple of minutes. Once heated, add a little butter or oil to lightly grease the skillet, which will prevent sticking and promote golden-brown edges. Make sure the skillet is hot enough that a drop of water sizzles when it hits the surface—this is key for achieving the perfect texture.
Step 6: Cook the Pancakes
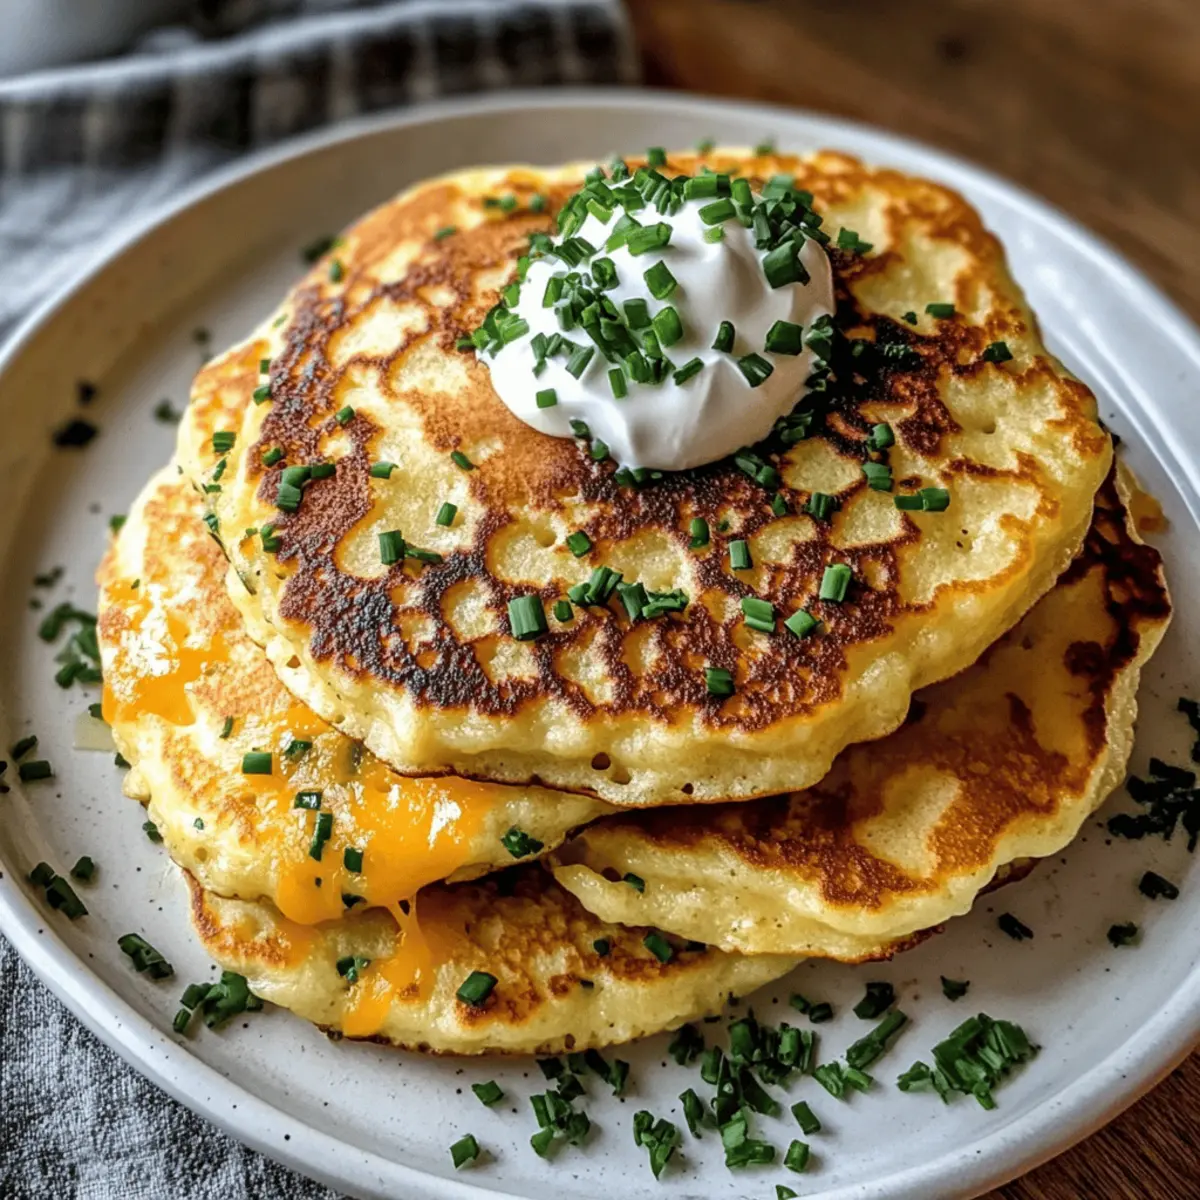
Using a ladle or measuring cup, spoon approximately 1/4 cup of batter onto the preheated skillet for each pancake. Cook for about 2 minutes, or until bubbles start forming on the surface and the edges appear set. Carefully flip each pancake and cook for an additional 1-2 minutes until golden brown on the other side. This will create a beautiful presentation and enhance the flavors of your Cheese & Chive Pancakes.
Step 7: Keep Warm and Serve
Transfer the cooked pancakes to a warm plate and cover them with a kitchen towel to keep them warm as you repeat the cooking process with the remaining batter. This ensures that all your pancakes are served warm and ready for the perfect brunch experience.
Step 8: Final Touches for Serving
Once all pancakes are cooked, serve them hot, optionally garnished with extra chives for a pop of color and a dollop of sour cream or butter for added richness. These savory Cheese & Chive Pancakes make a delightful addition to any brunch spread and are sure to impress!
Expert Tips for Cheese & Chive Pancakes
-
Avoid Overmixing: Gently stir the batter until just combined. Overmixing can lead to dense pancakes instead of fluffy Cheese & Chive Pancakes.
-
Proper Skillet Temperature: Ensure your skillet is preheated before cooking. A too-cool skillet can cause pancakes to cook unevenly and become tough.
-
Right Consistency: Your pancake batter should be slightly lumpy—this is a good sign! Lumps indicate you’ve avoided overmixing, contributing to a light texture.
-
Flipping Technique: Use a spatula to peek at the underside of the pancake before flipping. They should be golden brown, giving you the perfect color and flavor.
-
Reheating Tips: If you have leftovers, reheat pancakes in a toaster or on a skillet for best texture. Microwaving can make them chewy.
-
Add Extra Flavor: Consider folding in cooked bacon bits or fresh herbs for added richness and dimension, taking your Cheese & Chive Pancakes to the next level!
Cheese & Chive Pancakes Variations
Feel free to customize these delightful pancakes to suit your taste buds; the savory world of Cheese & Chive Pancakes awaits your unique twist!
-
Whole Wheat Flour: Substitute all-purpose flour with whole wheat for a nuttier flavor and denser texture. This variation adds wholesome goodness, making your pancakes heartier and satisfying.
-
Gluten-Free Option: Use a gluten-free flour blend to make these pancakes suitable for those with dietary restrictions. Just be mindful to check the consistency and adjust liquid as necessary for a perfect pancake.
-
Bacon Boost: Fold in crumbled bacon for a delightful, savory crunch that elevates these pancakes to brunch superstar status. The smoky flavor pairs beautifully with cheese and chives.
-
Creamy Addition: Add a spoonful of cream cheese to the batter for even richer, creamier pancakes. This hints at a luscious texture that will seduce your taste buds with each bite!
-
Herb Medley: Mix in fresh herbs like parsley or dill along with the chives to enhance the flavor profile. These fragrant additions will give your pancakes a vibrant, garden-fresh twist.
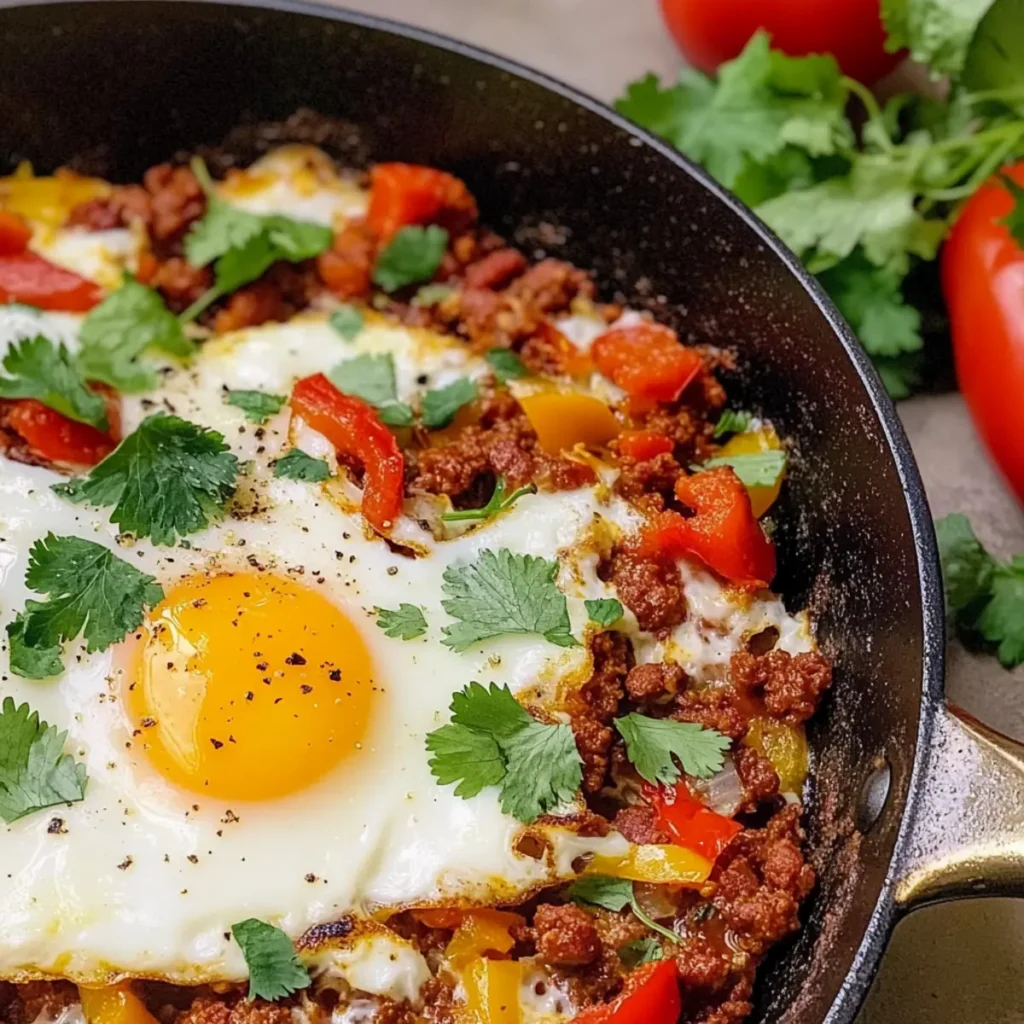
-
Spicy Kick: Craving some heat? Add diced jalapeños or sprinkle red pepper flakes into your batter for a delightful spicy surprise that’ll wake up your palate!
-
Yogurt Topping: Swap out sour cream for Greek yogurt as a topping. It adds creaminess without added sweetness and pairs excellently with fresh chives.
Enjoy exploring these variations while you perfect your Cheese & Chive Pancakes! With endless options, there’s something for everyone to love. If you’re looking for more unique flavor combinations, why not check out our delightful Goat Cheese Appetizer or explore the beloved Velveeta Mac & Cheese? Happy cooking!
How to Store and Freeze Cheese & Chive Pancakes
-
Room Temperature: Serve Cheese & Chive Pancakes warm, but if you have leftovers, they can sit out for about 1 hour before needing refrigeration.
-
Fridge: Store leftover pancakes in an airtight container for up to 3 days to maintain freshness. Make sure they are completely cool before sealing to prevent moisture buildup.
-
Freezer: For longer storage, freeze pancakes in a single layer, then transfer to an airtight container or freezer bag with parchment paper between layers. They can be stored for up to 2 months.
-
Reheating: When ready to enjoy, reheat pancakes in the toaster or skillet to maintain their fluffy texture. Avoid microwaving for the best results.
What to Serve with Cheese & Chive Pancakes
Imagine the harmonious blend of flavors and textures that can elevate your savory breakfast experience to new heights!
-
Crispy Bacon: The salty crunch of crispy bacon balances the fluffy pancakes, creating a mouthwatering combination that delights the palate.
-
Greek Yogurt: A dollop of creamy Greek yogurt adds a smooth, tangy contrast to the richness of the pancakes, enhancing their savory notes.
-
Avocado Slices: Creamy avocado provides a fresh, buttery touch, complementing the sharp cheddar while introducing a lovely creaminess to each bite.
-
Leafy Green Salad: A light, refreshing salad with lemon vinaigrette adds a bright contrast to the rich pancakes, making your meal feel balanced and wholesome.
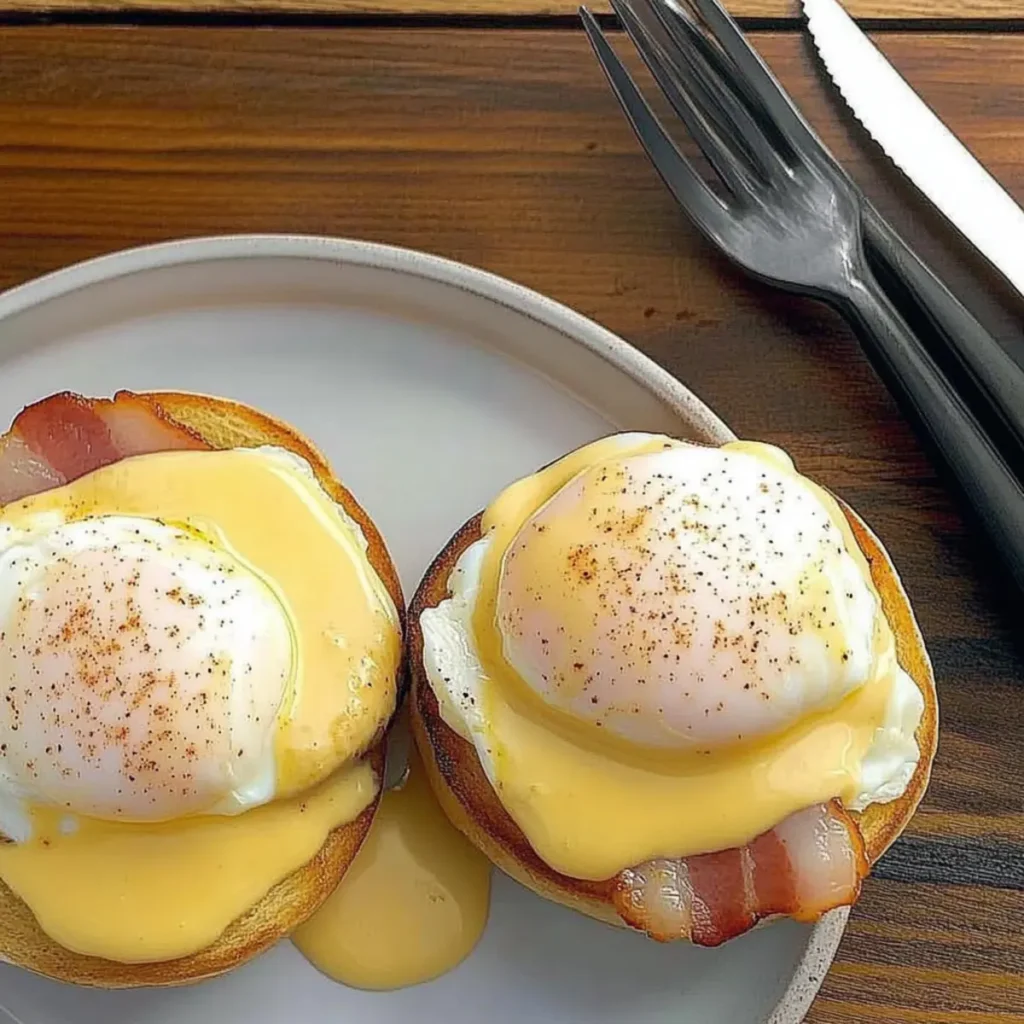
-
Eggs Benedict Style: Top your pancakes with poached eggs and hollandaise sauce for a luxurious brunch experience that combines savory and creamy elements.
-
Smoked Salmon: The delicate flavor of smoked salmon pairs beautifully with the cheese and chives, creating a sophisticated twist on your typical pancake meal.
-
Fruit Salad: A side of mixed berries or citrus salad introduces fresh sweetness and acidity, refreshing your palate between bites of cheesy goodness.
-
Mimosas: A bubbly mimosa brings a celebratory flair to brunch, balancing the savory richness with a light, fruity finish.
-
Chocolate Chip Cookies: For a sweet ending, serve warm chocolate chip cookies that can provide a charming contrast to the pancakes’ savory flavor.
Make Ahead Options
These Cheese & Chive Pancakes are perfect for busy home cooks looking to save time during meal prep! You can prepare the batter up to 24 hours in advance by mixing the dry ingredients and wet ingredients separately, then combine them just before cooking to keep the fluffiness intact. Additionally, you can cook the pancakes ahead of time and refrigerate them for up to 3 days or freeze for up to 2 months. When it’s time to serve, simply reheat them in a toaster or oven for the best texture. By taking these steps, you ensure that your savory Cheese & Chive Pancakes stay just as delicious as freshly made!
Cheese & Chive Pancakes Recipe FAQs
How do I select the right chives for my Cheese & Chive Pancakes?
Absolutely! Look for fresh chives that are vibrant green and firm. Avoid any that show signs of wilting or browning. Fresh chives enhance the flavor of your pancakes, providing that delightful onion-like freshness that makes each bite special.
What is the best way to store leftover Cheese & Chive Pancakes?
To keep your leftover pancakes fresh, place them in an airtight container in the refrigerator for up to 3 days. Make sure they are completely cool before sealing to prevent moisture, which can make them soggy. They can be served cold or reheated for later enjoyment!
Can I freeze Cheese & Chive Pancakes for later use?
Yes, you can freeze these pancakes! To do this, first, let the pancakes cool completely. Then, layer them between pieces of parchment paper in an airtight container or freezer bag, making sure to remove as much air as possible. They can be frozen for up to 2 months. When you’re ready to eat them, simply reheat in a toaster or on a skillet for the best texture!
What should I do if my pancake batter is too thick?
If your batter seems too thick, just add a little more milk, one tablespoon at a time, until you reach the desired consistency. It should be pourable but still have a bit of thickness. Remember, a slightly lumpy batter is perfectly okay, as overmixing can lead to dense pancakes!
Are Cheese & Chive Pancakes suitable for people with gluten allergies?
Certainly! You can substitute all-purpose flour with a gluten-free flour blend. Just make sure to check the packaging for any additional binding ingredients that might be required. Everything else in the recipe, including cheese and chives, is gluten-free, making it a delicious option for those with dietary restrictions.
Can I make Cheese & Chive Pancakes ahead of time?
Yes, you can! Prepare the batter and store it in the refrigerator for up to 2 hours before cooking. This allows the flavors to meld beautifully. Just give it a gentle stir before pouring it onto the skillet, and you’ll have a quick and tasty brunch ready in no time!
Cheese & Chive Pancakes: A Savory Brunch Delight You’ll Love
Ingredients
Equipment
Method
- In a large mixing bowl, combine all-purpose flour, baking powder, and a pinch of salt. Whisk until evenly mixed.
- In another bowl, beat the egg lightly, then mix in milk and melted butter until smooth.
- Pour the wet mixture into the dry ingredients and stir until just combined. A few lumps are fine.
- Fold in shredded cheddar cheese and chopped chives until evenly distributed.
- Preheat a non-stick skillet over medium heat and grease with a little butter or oil.
- Spoon about 1/4 cup of batter for each pancake and cook until bubbles form on top, then flip and cook until golden brown.
- Transfer pancakes to a warm plate, covering with a towel to keep warm.
- Serve hot, optionally garnished with extra chives and a dollop of sour cream.
")