")
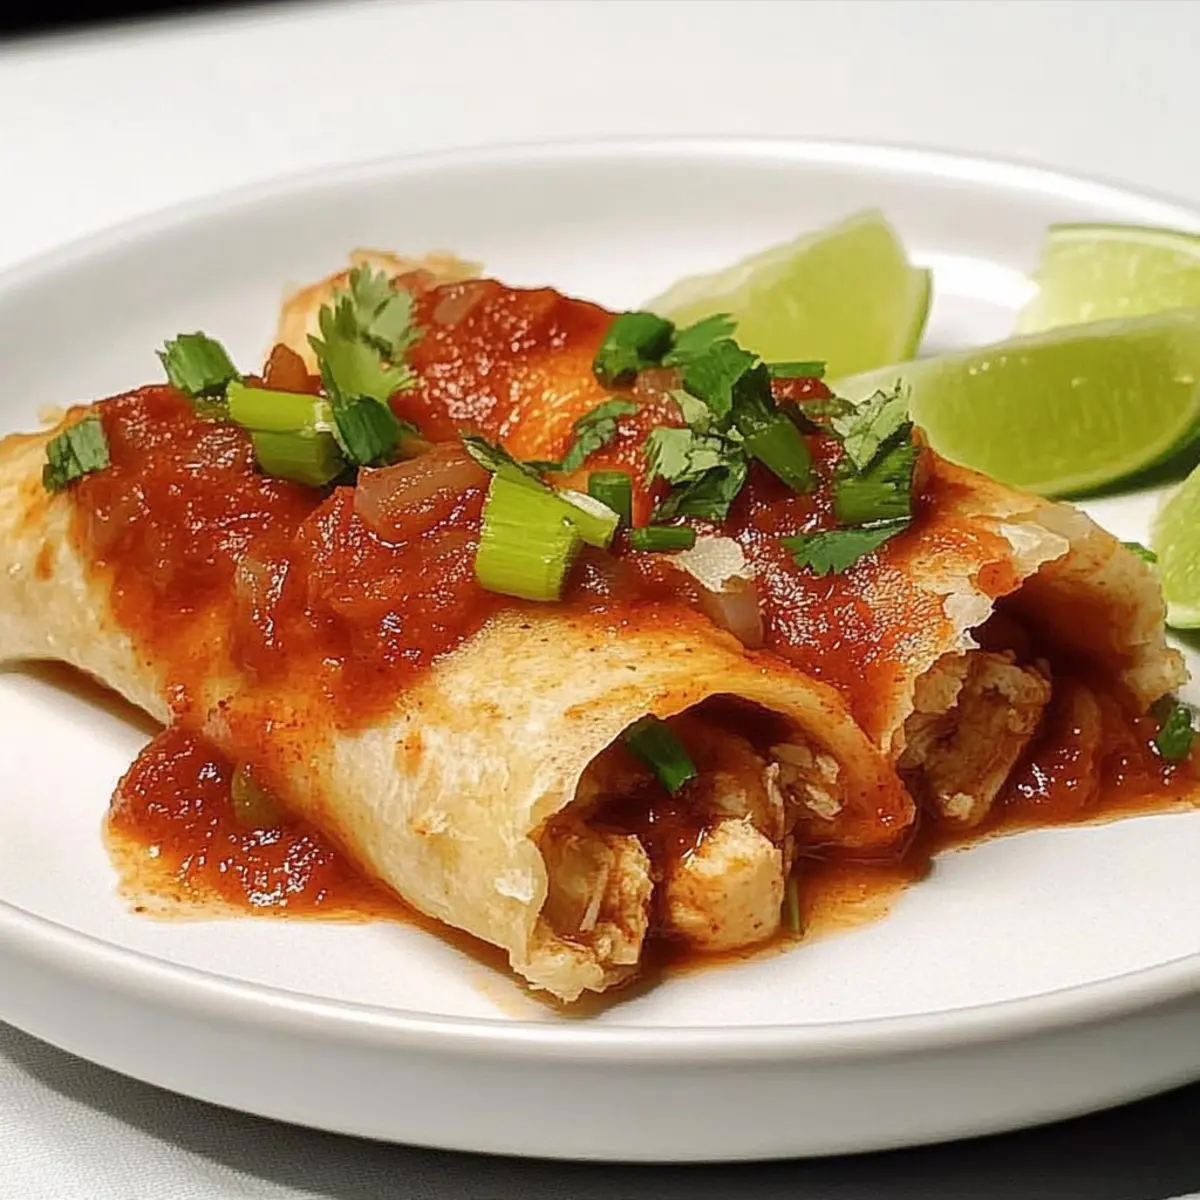
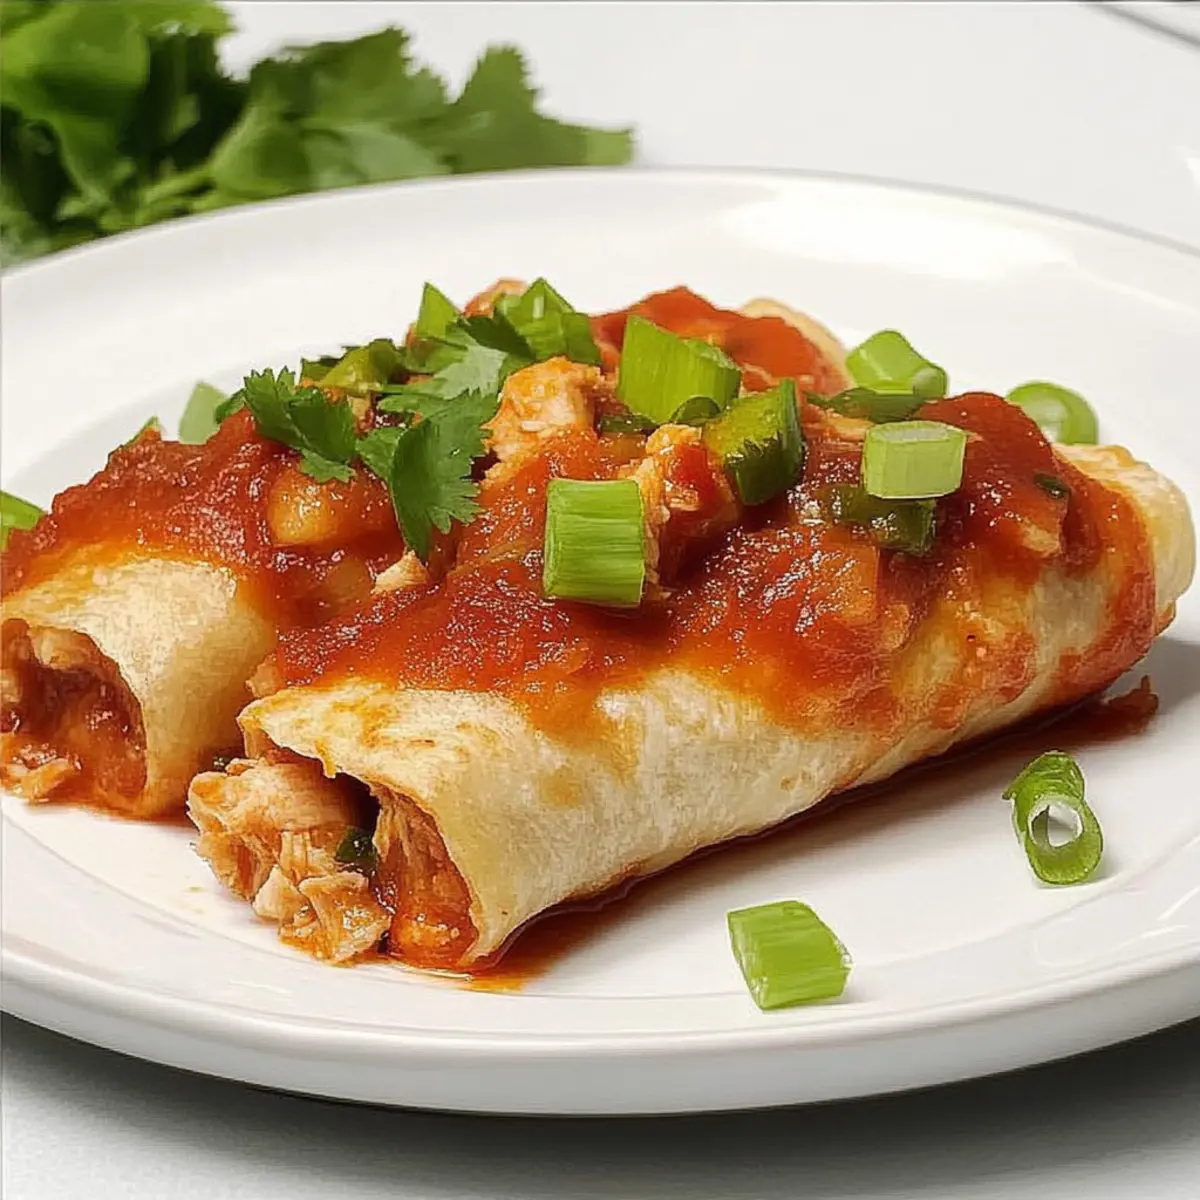
As I opened my kitchen door, a tantalizing aroma wafted through, instantly transporting me to a vibrant Mexican street market. If you’re craving the crunch of freshly made chimichangas but still want a healthier option, you’re in for a treat! These baked Chicken Chimichangas offer the perfect blend of indulgence and a lighter twist, allowing you to enjoy all the deliciousness without the guilt. With just a bit of prep, you can whip up this meal in no time—ideal for busy weeknights or cozy weekends alike. Plus, they’re fully customizable—experiment with different fillings or spice levels to suit your taste! Ready to dive into a delightful culinary adventure? Let’s get cooking!
Why Are These Chimichangas Special?
Healthier Twist: Enjoy the classic flavor of chimichangas without the extra oil.
Quick Preparation: With minimal cooking time, these baked beauties are perfect for your busy schedule.
Customizable Flavors: From ground beef to black beans, you can easily adapt the filling to fit any dietary preference.
Simple to Make: You don’t need expert skills—just fold, bake, and savor!
Charming Presentation: Their golden, crispy exterior makes them a showstopper at family dinners or gatherings.
Serve them alongside Mexican rice or a fresh salad to enhance the meal experience!
Chicken Chimichangas Ingredients
For the Filling
• Cubed Cooked Chicken Breast – Delivers protein and a hearty base for your chimichangas; feel free to swap for shredded chicken or leftover rotisserie chicken for quick prep.
• Picante Sauce – Brings moisture and a zing; choose your spice level with mild, medium, or hot varieties.
• Reduced-Fat Cheddar Cheese – Adds a creamy texture and delicious flavor; jack cheese makes a great substitute for a different kick.
• Chopped Green Onions – Provides a fresh crunch; chives or scallions can be used in their place.
• Ground Cumin – Infuses warmth and depth; omit for a milder dish or replace it with chili powder for extra heat.
• Dried Oregano – Elevates the flavor profile; fresh oregano can also work beautifully—adjust the amount for freshness.
For the Tortilla
• Flour Tortillas (8 inches) – The perfect vessel for your filling; feel free to use whole wheat or corn tortillas for variety.
For Baking
• Butter (melted) – Gives the chimichangas a rich flavor and golden finish; swap it out for olive oil for a lighter option.
Optional Topping
• Sour Cream – A gentle creaminess to top off your chimichangas; consider Greek yogurt as a healthy substitute, or skip altogether for a lighter touch.
Embrace the flavors and textures with these Chicken Chimichangas, baked to crispy perfection!
Step‑by‑Step Instructions for Chicken Chimichangas
Step 1: Preheat the Oven
Begin by preheating your oven to 375°F (190°C). This allows the Chicken Chimichangas to bake evenly, giving them that perfect golden-brown crisp you crave. While the oven heats up, gather your ingredients and baking equipment, ensuring a smooth cooking experience.
Step 2: Prepare the Filling
In a large mixing bowl, combine the cubed cooked chicken breast, 3/4 cup of picante sauce, the reduced-fat cheddar cheese, 1/4 cup of chopped green onions, ground cumin, and dried oregano. Stir the mixture together until all ingredients are well integrated, leaving you with a flavorful filling that’s ready to be wrapped in your tortillas.
Step 3: Assemble the Chimichangas
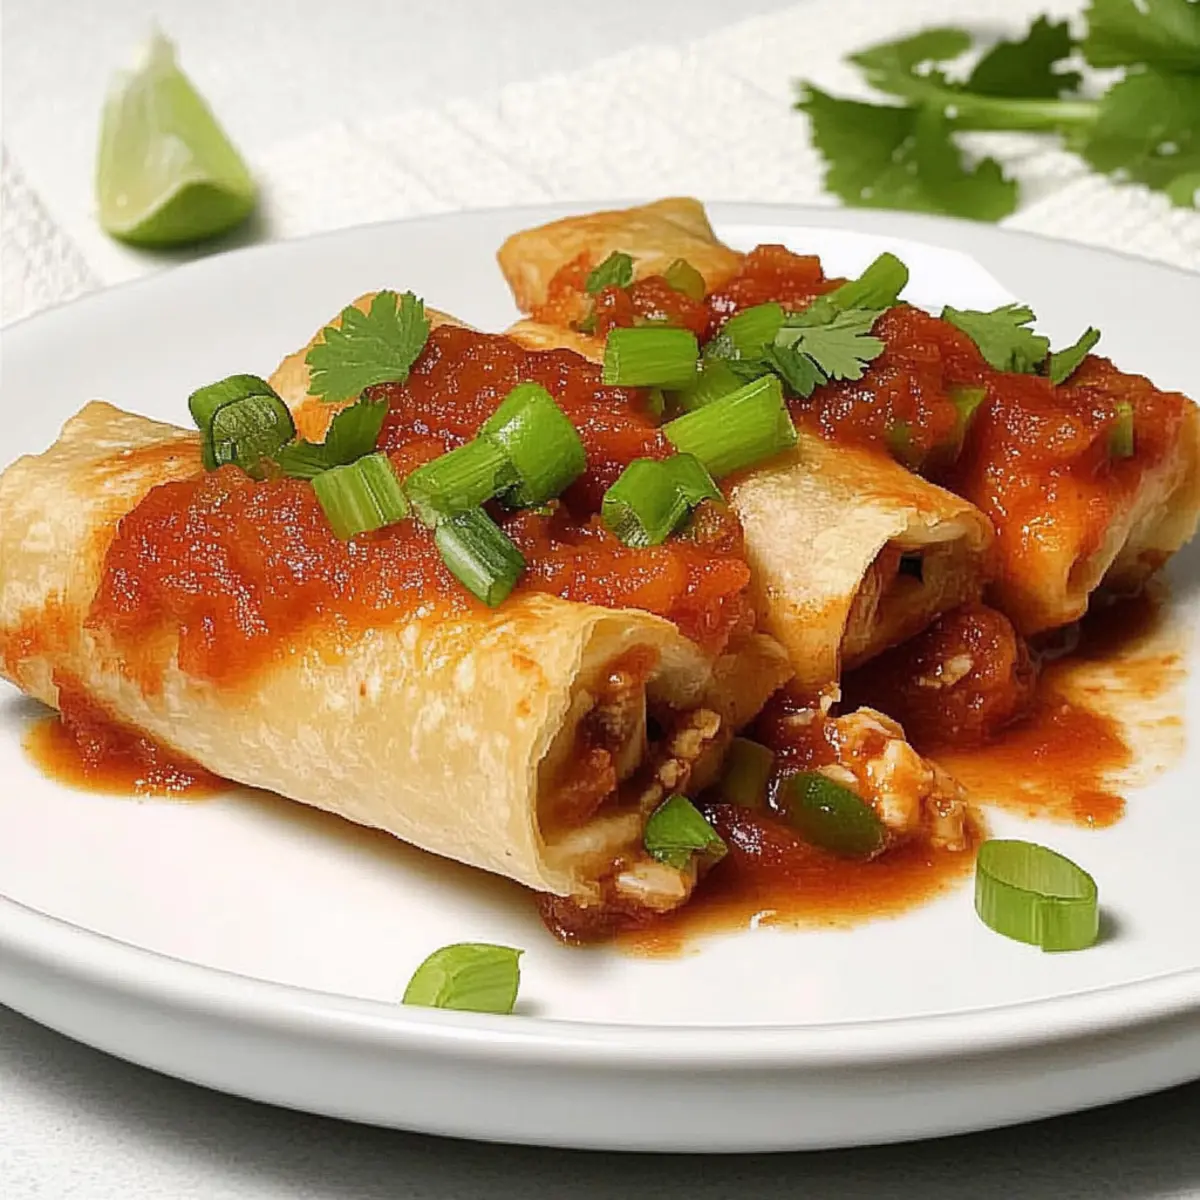
Lay a flour tortilla flat on your work surface and spoon 1/2 cup of the chicken filling down the center. Carefully fold the sides of the tortilla over the filling, then roll it up tightly from the bottom to the top, ensuring the filling is secure inside. Repeat this step for each tortilla until all your chicken chimichangas are rolled up and ready for baking.
Step 4: Arrange in Baking Dish
Lightly grease a baking pan with cooking spray or a splash of oil, then place the assembled chimichangas seam-side down in the dish. This positioning will help keep them intact while baking. Make sure they are not overcrowded, allowing for better heat circulation and crispiness all around.
Step 5: Brush with Butter
Melt some butter and use a pastry brush to coat the tops of the chimichangas generously. This simple step adds richness and ensures the Chicken Chimichangas develop that delectably crispy exterior as they bake in the oven.
Step 6: Bake the Chimichangas
Place the baking dish in the preheated oven and bake uncovered for 20-25 minutes. Watch for a lovely golden color to develop on the chimichangas, signaling they are heated through and perfectly crispy. For an extra touch, you might broil them for an additional minute to enhance that golden finish.
Step 7: Garnish and Serve
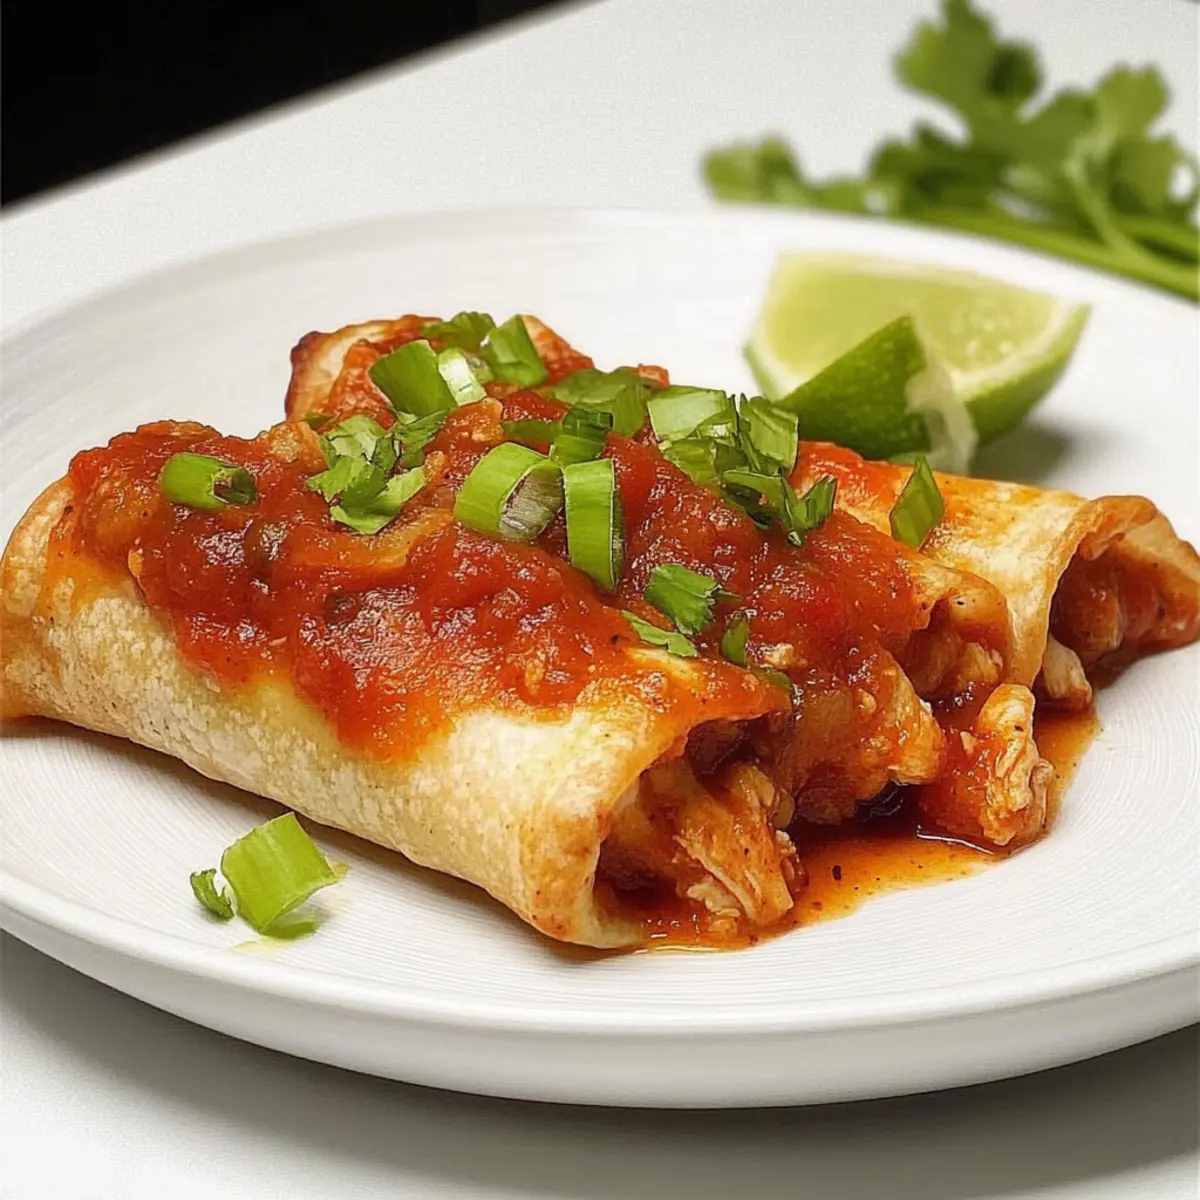
Once the Chicken Chimichangas are out of the oven, top them with the remaining picante sauce and sprinkle on any leftover green onions for a fresh pop. If desired, serve with a dollop of sour cream or Greek yogurt for an extra creamy touch that complements the flavors beautifully.
Make Ahead Options
These Chicken Chimichangas are perfect for meal prep enthusiasts! You can prepare the filling by combining cubed cooked chicken, picante sauce, cheese, green onions, cumin, and oregano up to 24 hours in advance—just refrigerate it in an airtight container. The assembled chimichangas can also be wrapped tightly and stored in the fridge for up to 3 days. To maintain their crispiness, bake them right before serving rather than freezing. When you’re ready to enjoy, simply brush with melted butter and bake in a preheated oven at 375°F (190°C) for 20-25 minutes until golden brown. With this make-ahead strategy, you’ll have a delicious and satisfying meal with minimal effort on busy days!
How to Store and Freeze Chicken Chimichangas
Fridge: Store baked chicken chimichangas in an airtight container for up to 5 days. Let them cool before sealing to maintain crispness.
Freezer: For long-term storage, freeze unbaked chimichangas individually wrapped in plastic wrap and then placed in a freezer bag for up to 3 months.
Reheating: To reheat, bake frozen chimichangas directly from the freezer at 375°F for 25-30 minutes. If using the fridge, bake for 15-20 minutes until heated through.
Leftovers: If you have leftover cooked chimichangas, treat them as a delightful snack! Just store in the fridge and enjoy within a few days.
What to Serve with Baked Chicken Chimichangas
Complement your meal with delightful pairings that elevate the experience and tantalize your taste buds.
-
Mexican Rice: A flavorful rice dish that adds a hearty base and complements the textures of the chimichangas.
-
Fresh Guacamole: This creamy dip brings a refreshing contrast to the crispy chimichangas while adding rich, buttery flavor.
-
Crisp Green Salad: A light salad with vibrant greens and a zesty lime vinaigrette brings a fresh zing, perfect for balancing the meal.
-
Refried Beans: Rich and creamy, beans offer a protein boost while adding a traditional touch that works beautifully with the chimichangas.
-
Pico de Gallo: Fresh tomatoes, onions, and cilantro provide a bright and zesty topping that awakens all the flavors in your dish.
-
Sour Cream or Greek Yogurt: A dollop on top contributes creaminess and helps balance the spices in every bite.
-
Fruit Salsa: For a twist, serve a fruity salsa made with mango or pineapple for a sweet contrast that will surprise your palate.
-
Margaritas: Sip on a classic margarita, its tangy notes perfectly enhance the flavors of your chimichangas and celebrate the festive spirit of the meal.
Expert Tips for Chicken Chimichangas
-
Warm Tortillas: Always warm your tortillas before filling; this prevents cracking and makes them easier to roll.
-
Layering: Bake the chicken chimichangas in a single layer to ensure even cooking and perfect crispiness on all sides.
-
Adjust Filling: Feel free to tweak the amount of filling based on your preference. A smaller baking dish can help if you’re making fewer servings.
-
Air Frying Option: For a quicker method, air fry at 375°F for 5-6 minutes, flipping halfway through for an evenly cooked result.
-
Personalize Spice Levels: Experiment with the spice in your picante sauce or add jalapeños to the filling for an extra kick!
Chicken Chimichangas Variations
Feel free to let your culinary creativity shine as you adapt these baked chicken chimichangas to suit your tastes!
-
Dairy-Free: Swap out cheese for a dairy-free alternative like nutritional yeast or vegan cheese to keep it creamy yet plant-based.
-
Ground Beef: Substitute cooked chicken with ground beef for a hearty twist. Season it with taco spices for added flavor that pairs perfectly.
-
Vegetarian Delight: Use black beans or lentils in place of chicken for a satisfying vegetarian option that’s full of protein and fiber.
-
Cheese Variety: Experiment with different cheeses, such as pepper jack for a spicy kick or feta for a tangy finish. Cheese makes all the difference!
-
Veggie Boost: Toss in sautéed bell peppers, corn, or spinach for a nutritious boost that adds vibrant colors and flavors to your filling.
-
Heat Levels: Add chopped jalapeños or a splash of hot sauce to the mixture for those who love an extra spicy kick in their dish.
-
Smoky Flavor: Incorporate smoked paprika or chipotle powder in your filling to introduce a warm, smoky nuance that enhances the overall taste.
-
Air Frying Alternative: For an even crispier finish, air fry the chimichangas at 375°F for 5-6 minutes—allowing you to enjoy that crunch without added fat.
Embrace all the variety these Chicken Chimichangas can offer! You might also enjoy savoring them with fresh sides, such as a zesty Chicken Parm Sandwich or a side of flavorful Mexican rice. Happy cooking!
Chicken Chimichangas Recipe FAQs
How do I select the right ripeness for my chicken?
Absolutely! When picking chicken, ensure it’s fully cooked and tender. If using raw chicken, look for bright pink flesh without any dark spots, which can indicate spoilage. If you’re using cooked chicken, like rotisserie, aiming for freshness is key, as older chicken may compromise the taste of your chimichangas.
How should I store leftover chicken chimichangas?
Very! Store any baked chicken chimichangas in an airtight container in the fridge for up to 5 days. Make sure they cool down to room temperature before sealing. If you want to retain that crispy exterior, I recommend reheating them in the oven instead of a microwave—just bake them at 375°F for about 15-20 minutes until heated through.
Can I freeze chicken chimichangas? If so, how?
Of course! To freeze unbaked chicken chimichangas, wrap each one tightly in plastic wrap, then place them in a freezer bag to avoid freezer burn. They can be stored in the freezer for up to 3 months. When you’re ready to enjoy them, just bake them straight from the freezer at 375°F for about 25-30 minutes. No need to thaw, which is a huge time-saver!
What are some common troubleshooting tips for making chimichangas?
Absolutely! If your chimichangas split open while baking, the tortillas may have been too cold or not warmed enough before rolling. Also, don’t overfill them; less is more to avoid bursting. If you find them a bit soggy, letting them cool slightly on a wire rack will help maintain their crispiness before serving.
Are chicken chimichangas safe for my dog?
While the ingredients in chicken chimichangas—like cooked chicken and tortillas—aren’t toxic to dogs, it’s important to keep them in moderation. Avoid giving any chimichangas with spicy sauces or excessive cheese as they can upset a pup’s stomach. Always consult with your vet before introducing new foods to your pet’s diet!
Can I make these chicken chimichangas gluten-free?
Yes, indeed! To make a gluten-free version, simply substitute the flour tortillas with gluten-free tortillas. There are many great options available on the market today. The filling ingredients are naturally gluten-free as long as your picante sauce doesn’t contain any gluten ingredients—always check the label to be sure!
Delicious Chicken Chimichangas Baked to Crispy Perfection
Ingredients
Equipment
Method
- Preheat your oven to 375°F (190°C).
- In a large mixing bowl, combine cubed chicken, picante sauce, cheese, green onions, cumin, and oregano.
- Lay a tortilla flat, spoon filling down the center, fold sides over, and roll tightly.
- Grease a baking pan, place chimichangas seam-side down, ensuring there's space between them.
- Brush tops with melted butter to add richness and a crispy exterior.
- Bake in the preheated oven for 20-25 minutes until golden brown.
- Top with remaining picante sauce and green onions before serving. Optionally, add sour cream or yogurt.
")