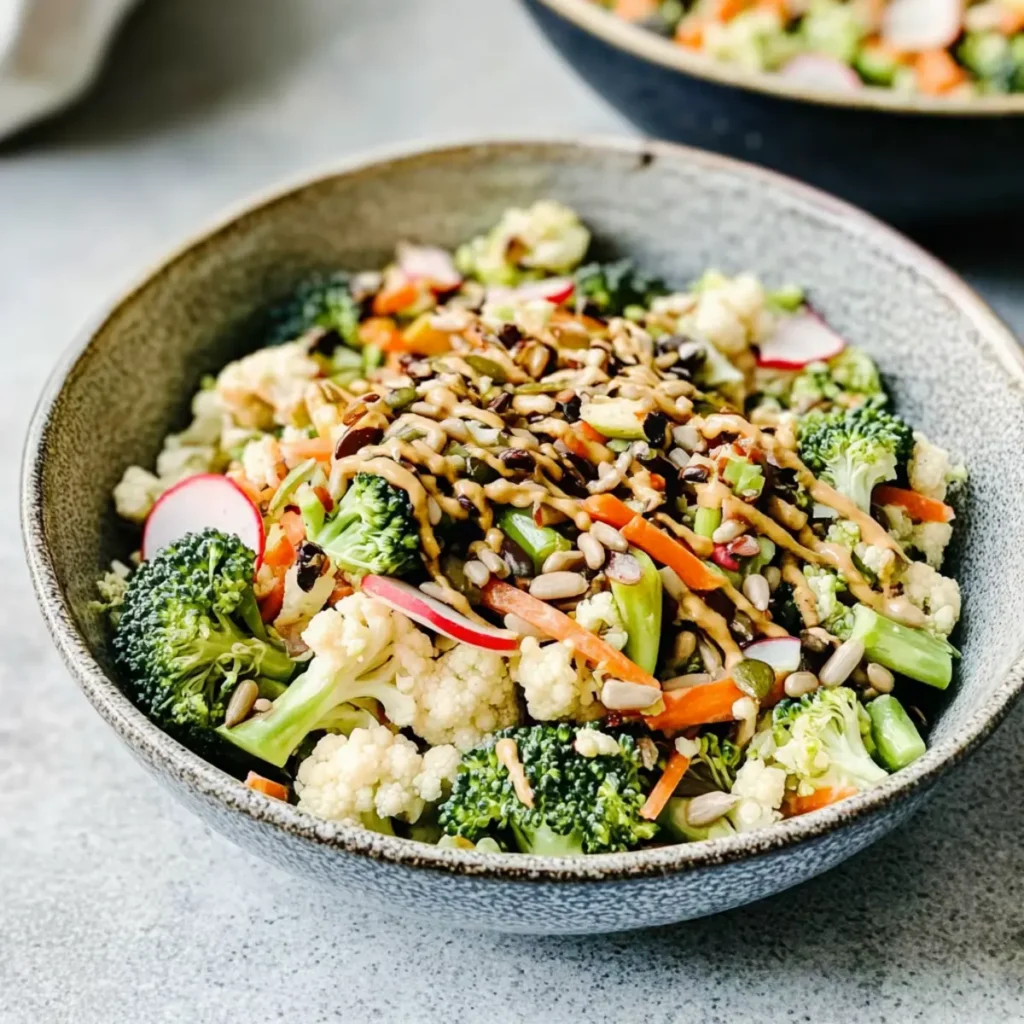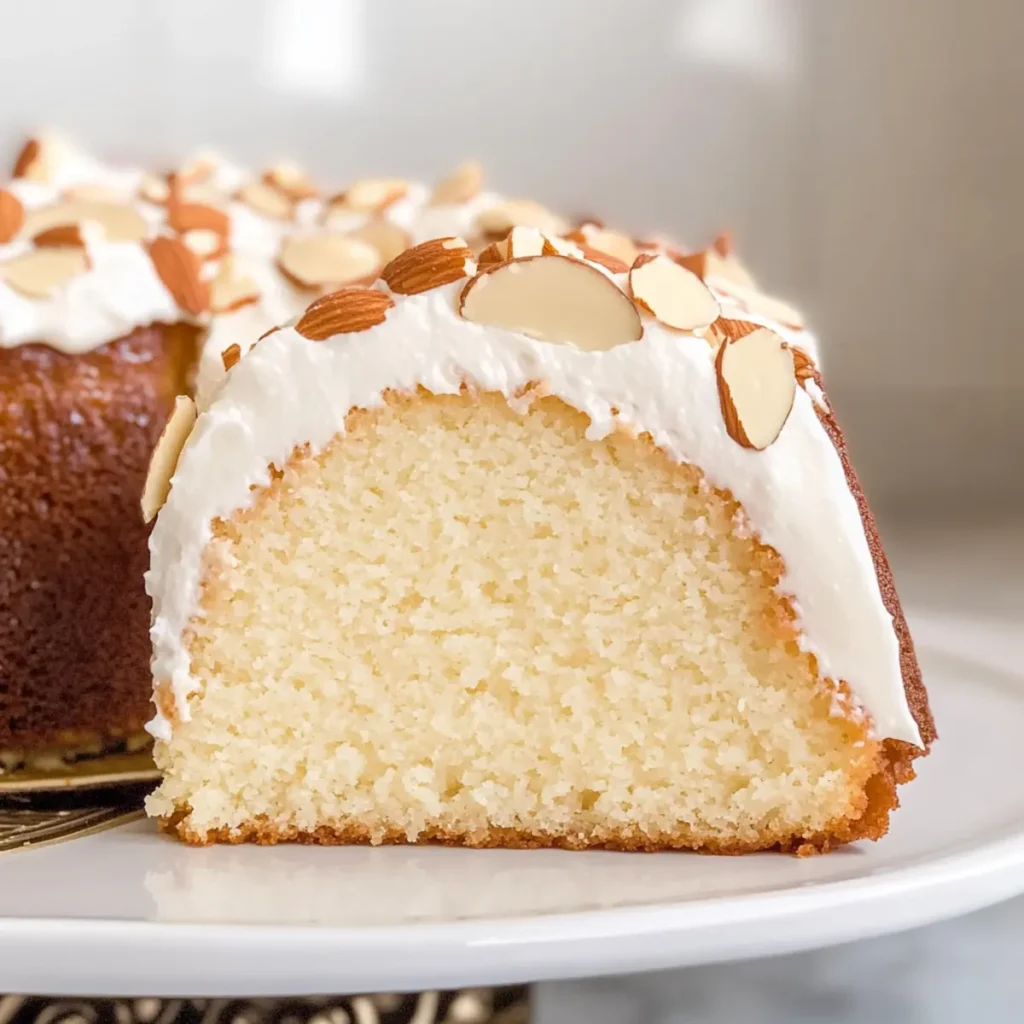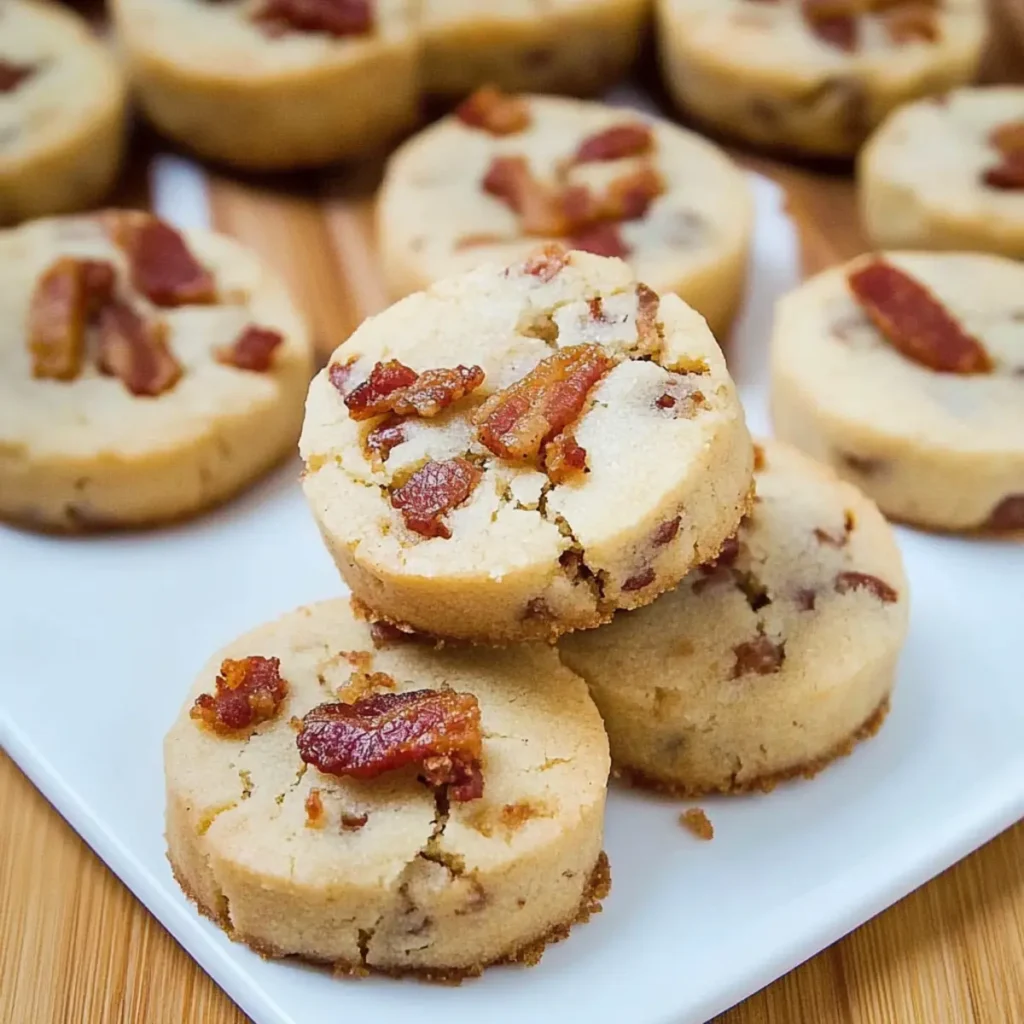

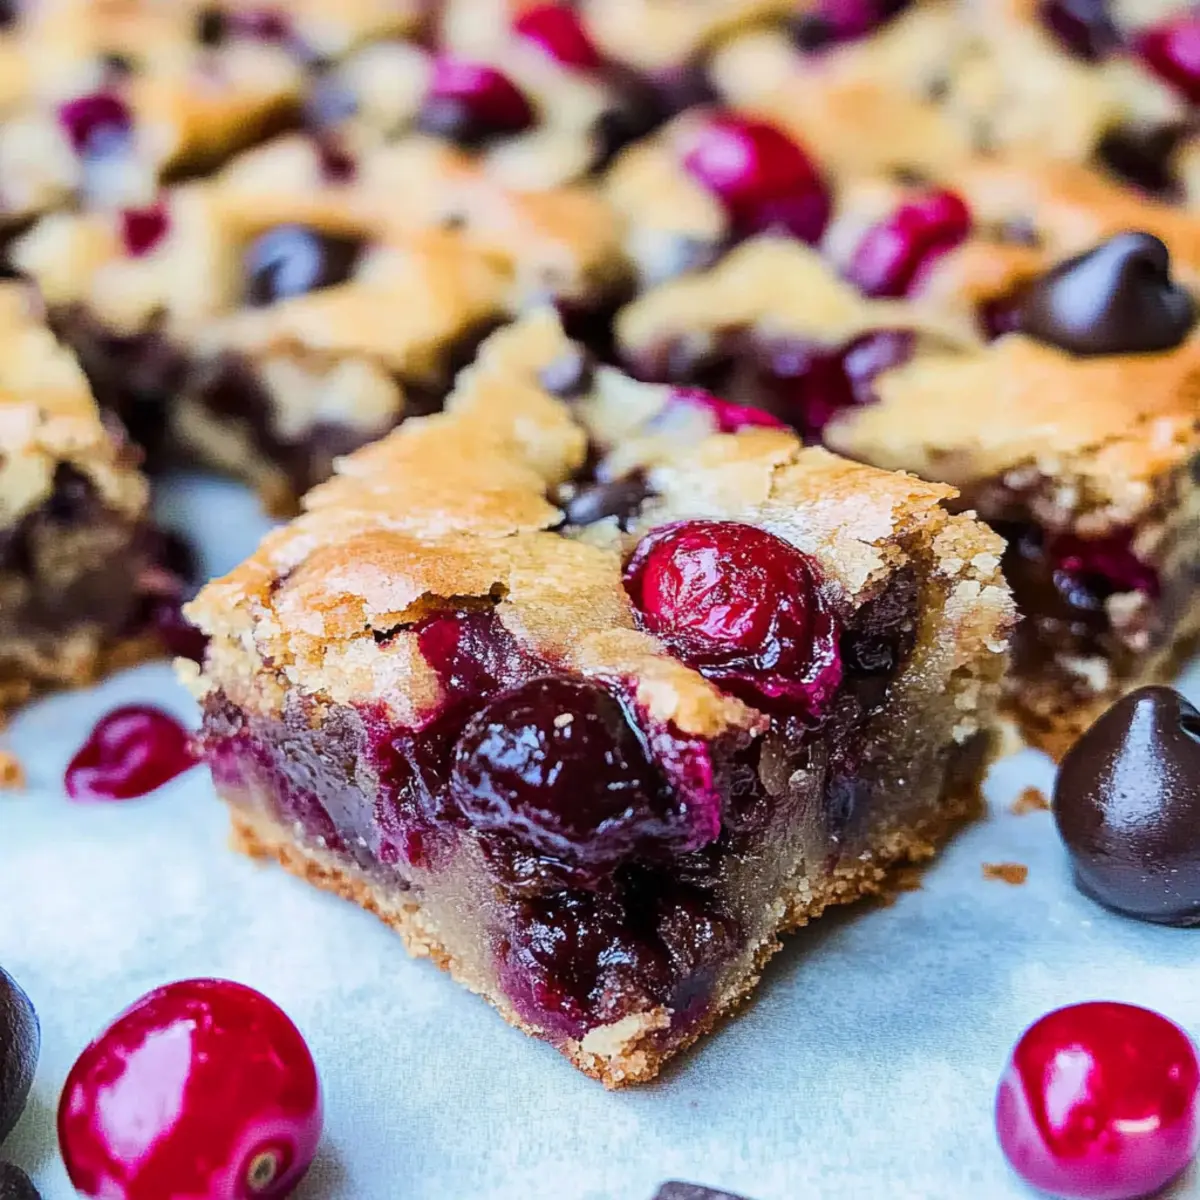
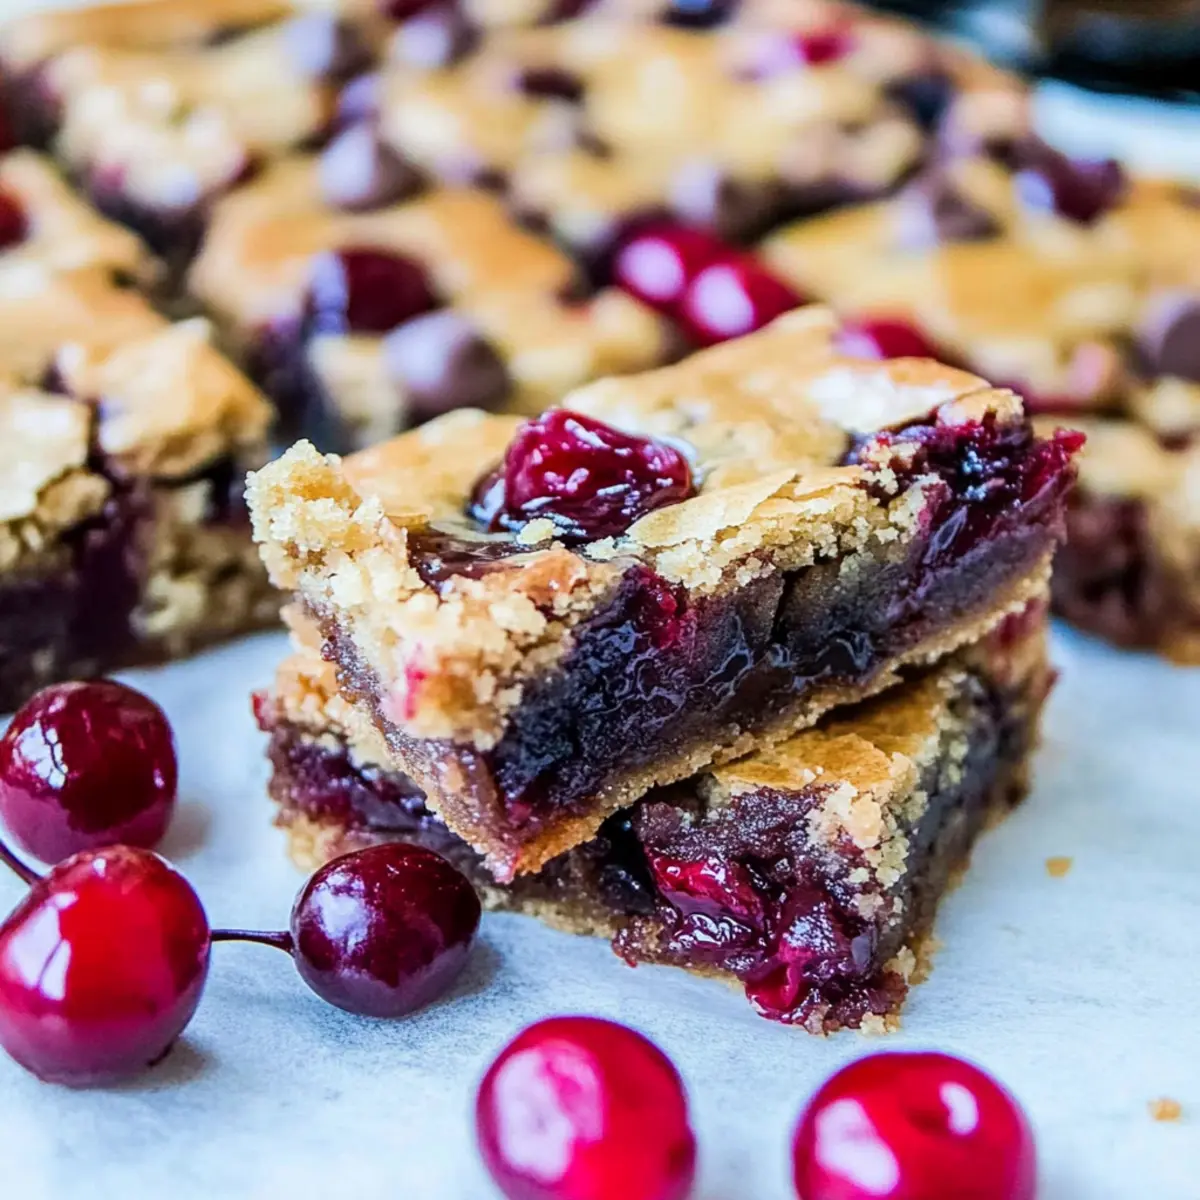
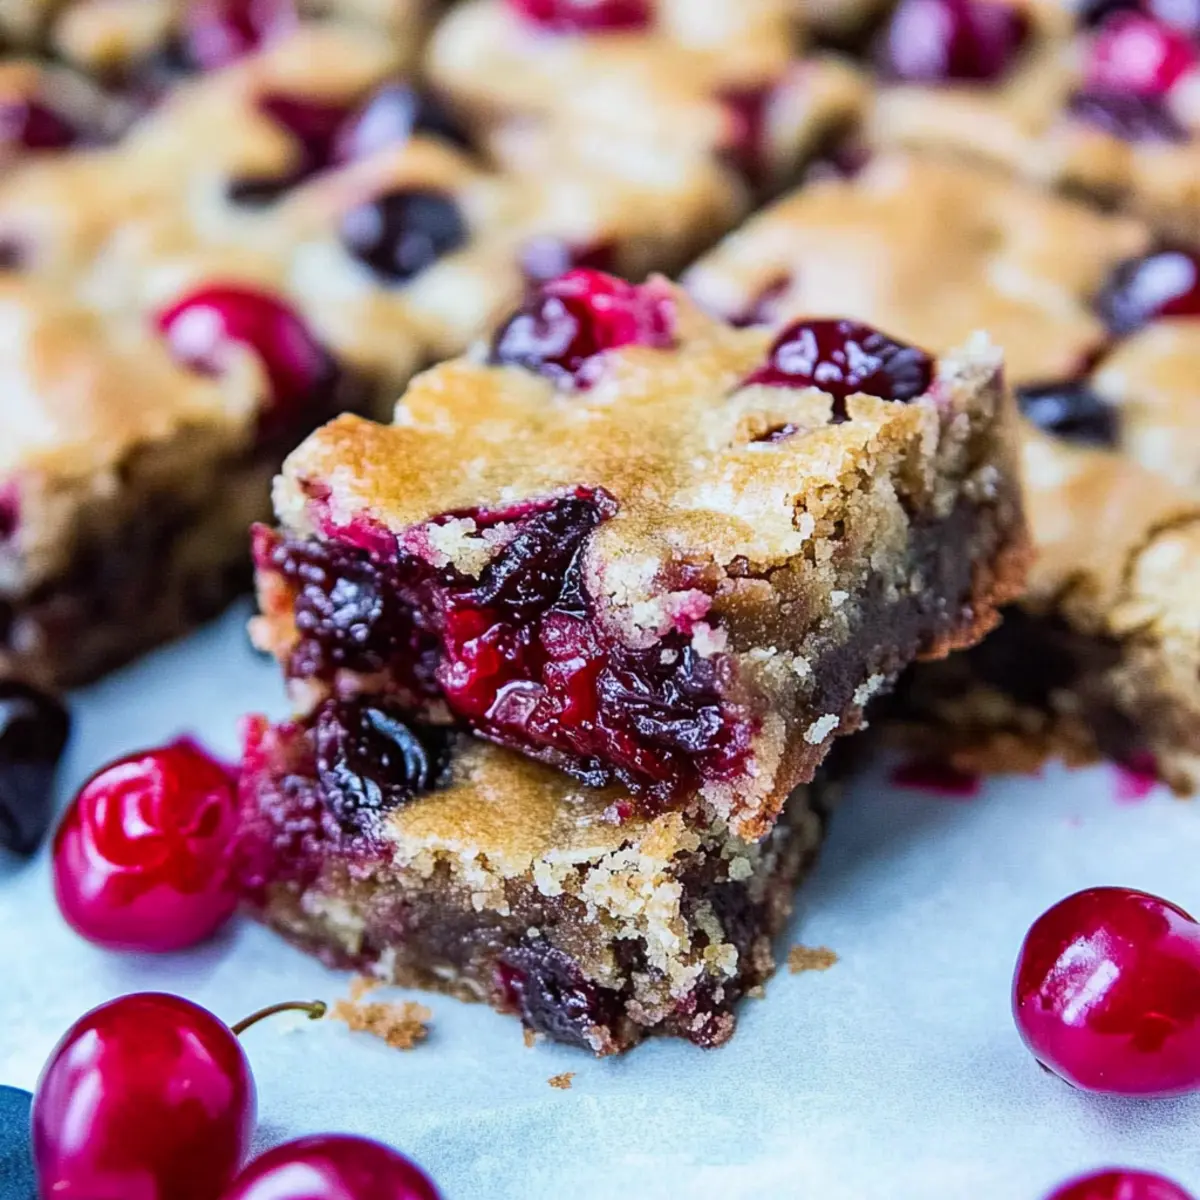
As I stood in my kitchen, I caught the enticing aroma of cherries mingling with chocolate, and I knew it was a sign to whip up my favorite treat: Chocolate Chip Cherry Bars. This easy no-mixer recipe makes the process such a breeze, ensuring that even on the busiest of days, I can indulge in a delicious homemade dessert. Imagine sinking your teeth into these chewy bars, where the sweetness of fresh cherries perfectly complements the rich chocolate. Plus, they are customizable! Swap out cherries for seasonal plums, peaches, or even berries to suit your cravings. Who wouldn’t want to explore endless flavor combinations? Ready to dive into this delightful adventure and find out how to make these heavenly bars?
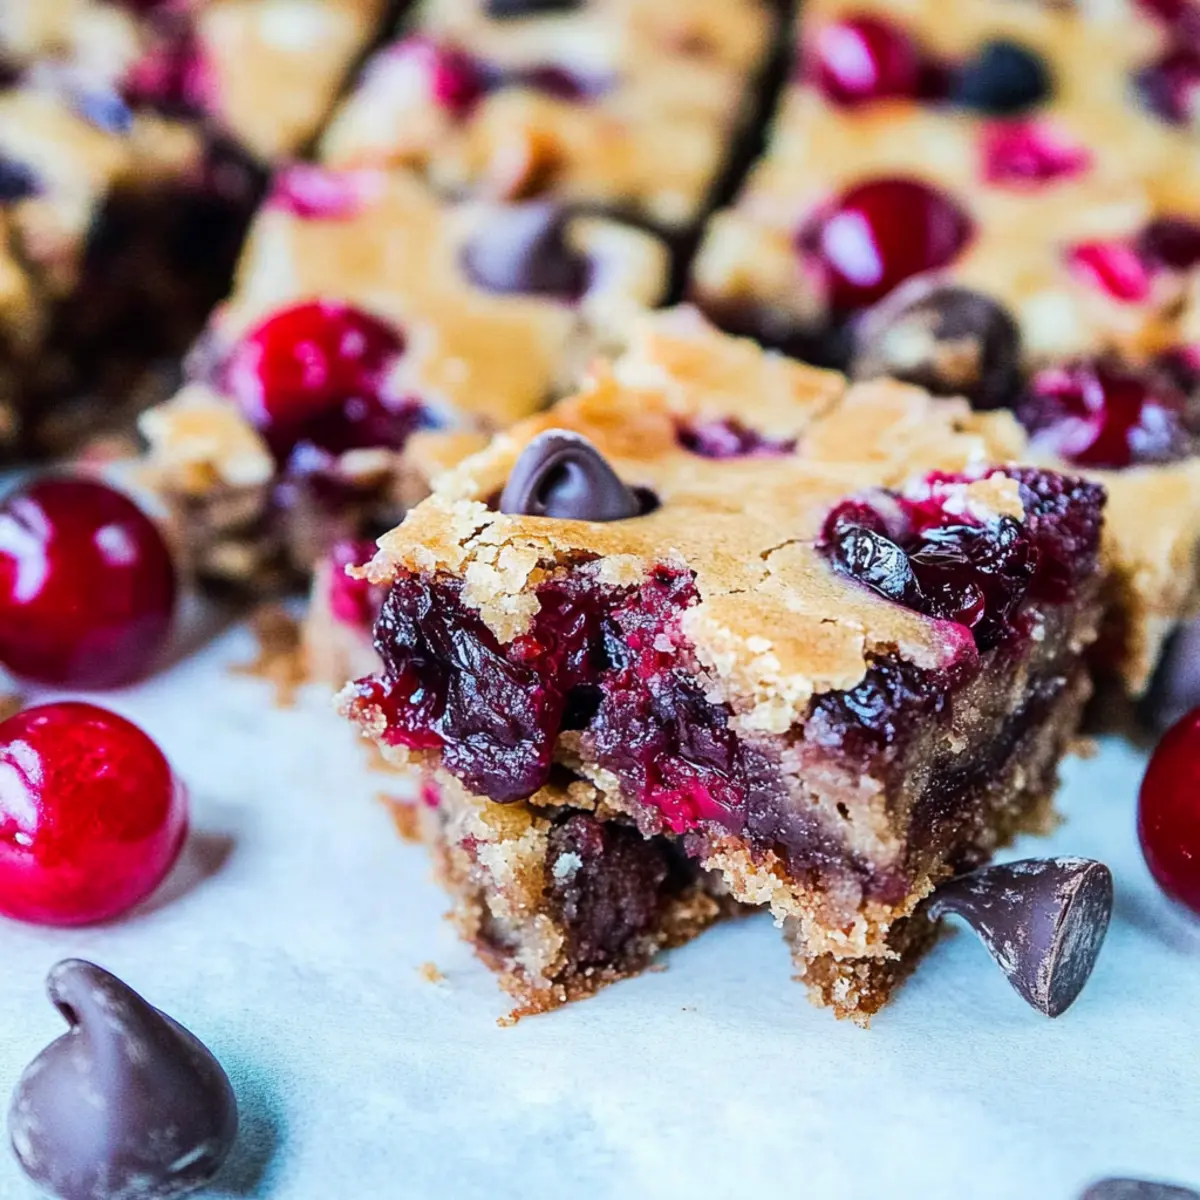
Why Are Chocolate Cherry Bars So Amazing?
Irresistible flavor: These Chocolate Chip Cherry Bars are a heavenly combination of rich chocolate and juicy cherries, creating a mouthwatering experience!
Effortless preparation: No mixer is needed—just mix by hand for simplicity and enjoyment.
Customizable delight: Feel free to swap out the cherries for your favorite seasonal fruits like plums or peaches, keeping your dessert game fresh!
Perfect for sharing: These bars are an instant crowd-pleaser, making them ideal for gatherings or cozy nights. Experience the joy of baking without the hassle! You might also love trying out Chocolate Chips Cookies for a classic favorite or a light Chipotle Corn Salsa to balance the sweetness!
Chocolate Chip Cherry Bars Ingredients
For the Bars
• Unsalted Butter – Adds moisture and richness; use margarine as a substitute if desired.
• Light Brown Sugar – Provides sweetness and contributes to the chewy texture; dark brown sugar can deepen the flavor.
• Large Egg – Binds the ingredients together; no direct vegetarian substitute is suggested for this recipe.
• Vanilla Extract – Enhances the overall flavor; almond extract can add an interesting twist if you prefer.
• All-Purpose Flour – Gives structure to the bars; whole wheat flour can be a healthier alternative.
• Salt – Optional but enhances the sweetness; omit if you’re following a low-sodium diet.
• Semi-Sweet Chocolate Chips – Offers a decadent chocolate flavor; feel free to substitute with milk or white chocolate if you like.
• Cherries (pitted) – Provide juicy flavor; fresh cherries are preferred for best results, but frozen can be used in a pinch.
With this wonderful selection of ingredients, you’re well on your way to baking the most delightful Chocolate Chip Cherry Bars!
Step‑by‑Step Instructions for Chocolate Chip Cherry Bars
Step 1: Preheat and Prepare
Start by preheating your oven to 350°F (175°C). While the oven warms up, take an 8×8-inch baking pan and line it with parchment paper, allowing some paper to hang over the edges for easy removal. This will ensure your delicious Chocolate Chip Cherry Bars don’t stick to the pan, so they come out perfectly.
Step 2: Melt the Butter
In a microwave-safe bowl, add unsalted butter and melt it in the microwave for about 60 seconds, or until fully melted. Stir gently to ensure even melting. The butter should be warm and liquid, which will help blend it seamlessly with the other ingredients for your bars.
Step 3: Combine Ingredients
Once the butter has melted, add light brown sugar to the bowl and mix thoroughly until well combined. Then, crack in the large egg and pour in the vanilla extract, stirring until this mixture is smooth and creamy. The combination of sweet sugar and rich butter will create a luscious base for your Chocolate Chip Cherry Bars.
Step 4: Mix Dry Ingredients
Gradually add all-purpose flour and salt to the bowl, mixing gently with a spatula or wooden spoon. Be cautious to avoid overmixing; you want the flour just incorporated to maintain the chewy texture of your bars. At this point, your batter will start to come together beautifully.
Step 5: Add Chips and Cherries
Fold in semi-sweet chocolate chips and pitted cherries, mixing gently to evenly distribute these flavorful ingredients. Make sure not to halve the cherries for chunkier bites in each bar. You’ll want to see pops of chocolate and bright cherries throughout the batter, adding excitement to the Chocolate Chip Cherry Bars.
Step 6: Pour and Smooth
Carefully pour the batter into the prepared baking pan and use a spatula to smooth the top evenly. This will help ensure that the bars bake uniformly. You’re just about ready to place this delightful mixture in the oven for baking, bringing the sweet aroma into your kitchen.
Step 7: Bake to Perfection
Place the pan in your preheated oven and bake for 27 to 32 minutes. Keep an eye on the edges—they should start to pull away from the sides of the pan, while the center should be set yet slightly soft. Your Chocolate Chip Cherry Bars are nearly ready to emerge from the oven!
Step 8: Cool and Slice
Once baked, remove the pan from the oven and allow the bars to cool in the pan for at least 1 hour. This cooling step is crucial for setting the bars properly. After they’ve cooled, use the parchment paper to lift them out and slice them into squares. Enjoy the anticipation as you prepare to indulge in these chewy treats!
How to Store and Freeze Chocolate Chip Cherry Bars
Room Temperature: Keep your Chocolate Chip Cherry Bars in an airtight container for up to 3 days at room temperature. This will maintain their chewy texture and flavor.
Fridge: For longer freshness, store the bars in the refrigerator for up to 1 week. Ensure they’re covered or in a sealed container to prevent drying out.
Freezer: If you want to save some for later, wrap individual bars tightly in plastic wrap and place them in a freezer-safe bag. They can be frozen for up to 3 months.
Reheating: To enjoy a warm treat, simply microwave the bars for 10-15 seconds or warm them in the oven at 350°F (175°C) for about 5 minutes, ensuring they remain deliciously chewy.
Make Ahead Options
These Chocolate Chip Cherry Bars are ideal for meal prep enthusiasts looking to save time! You can prepare the batter up to 24 hours in advance by mixing all the ingredients (except for the chocolate chips and cherries) and refrigerating it. Just remember to store it in an airtight container to maintain freshness. On the day you plan to bake, fold in the chocolate chips and cherries before pouring it into the pan. This step ensures the bars are just as delightful as if they had been made fresh that day. By prepping ahead, you can enjoy a quick dessert that’s ready with minimal effort, perfect for busy weeknights or unexpected guests!
Expert Tips for Chocolate Chip Cherry Bars
• Watch Your Mixing: Avoid overmixing the batter, as it can result in tough chocolate chip cherry bars. Mix just until ingredients are combined to preserve chewiness.
• Fruit Freshness Matters: Opt for fresh cherries when possible. They provide the best texture and flavor. If using frozen, make sure to thaw and drain excess liquid before adding.
• Adjust Baking Time: Depending on the type of fruit you choose, the baking time may need adjusting. Softer fruits may require less time to avoid overly gooey bars.
• Pitting Cherries: Ensure that cherries are well-pitted before adding them to the batter. This prevents any unfortunate surprises and keeps your chocolate chip cherry bars enjoyable.
• Let Them Cool: Allow the bars to cool fully before slicing. This helps them set properly and achieve that perfect chewy texture you crave.
Chocolate Chip Cherry Bars Variations
Feel free to get creative with these delightful Chocolate Chip Cherry Bars to suit your tastes and pantry staples!
-
Fruit Substitutions: Use plums, peaches, or mixed berries instead of cherries for a fruity twist. Each choice brings its unique sweetness and flavor profile!
-
Dairy-Free Option: Swap unsalted butter for coconut oil or vegan butter for a dairy-free version. You’ll still achieve that lovely moisture without the dairy!
-
Chocolate Twist: Experiment with milk or white chocolate chips for a sweeter treat. Dark chocolate can also lend a rich, indulgent flavor.
-
Nutty Addition: Toss in chopped nuts, like walnuts or pecans, for an extra crunch. They add texture and a lovely nutty flavor that complements the chocolate beautifully.
-
Add a Spice: Consider adding a dash of cinnamon or nutmeg to the flour for a warm, spiced backdrop. It elevates the flavor, making each bite even more comforting.
-
Creative Mix-Ins: Add shredded coconut or dried fruit for a chewy, tropical twist. These additions can enhance both texture and flavor, making your bars even more enjoyable.
-
Saucy Delight: Drizzle with caramel or chocolate sauce before serving for an indulgent finish. This sweet touch will turn your bars into a decadent dessert that’s hard to resist!
-
Frozen Treats: Slice and freeze the bars, then dip in chocolate and refreeze for a cool treat on a hot day. It’s a fun way to enjoy them in the summer!
Feel invited to also try out these Chocolate Chips Cookies for another handling of the sweet tooth or balance those flavors with a vibrant Chipotle Corn Salsa!
What to Serve with Chocolate Chip Cherry Bars
Indulge in a delightful spread that will elevate your baking experience and satisfy your cravings.
-
Vanilla Ice Cream: The creaminess of vanilla ice cream perfectly balances the chewy bars’ rich chocolate and tart cherries.
-
Whipped Cream: Light and airy, freshly whipped cream adds a luscious touch that complements the smoothness of the bars.
-
Fresh Fruit Salad: A mix of seasonal fruits adds a refreshing, juicy contrast, brightening the dessert table and enhancing flavors.
-
Dark Chocolate Drizzle: Enhance the chocolate experience by drizzling melted dark chocolate over the top for an extra touch of decadence.
-
Nutty Granola: Serve alongside for a crunchy contrast. The nuttiness pairs beautifully with the chocolate and cherry flavors.
-
Hot Coffee: A warm cup of coffee provides a delightful contrast to the sweetness of the bars, making it a perfect pairing for afternoon cravings.
-
Chilled Sparkling Water: A refreshing and bubbly drink clears the palate, allowing the rich flavors of each bar to shine.
-
Cheese Platter: Some mild cheese like brie can add a savory element, creating a beautiful balance with the sweet dessert.
Explore these delicious pairings to create an unforgettable experience with your Chocolate Chip Cherry Bars!
Chocolate Chip Cherry Bars Recipe FAQs
What type of cherries should I use for the best flavor?
Absolutely! Fresh cherries provide the best flavor and texture for your Chocolate Chip Cherry Bars. If fresh cherries aren’t available, you can use frozen ones, but be sure to thaw and drain any excess liquid to avoid sogginess.
How should I store leftover Chocolate Chip Cherry Bars?
You can keep your Chocolate Chip Cherry Bars in an airtight container at room temperature for up to 3 days. For longer storage, simply place them in the fridge, where they will stay fresh for up to a week. Just remember to cover them well to maintain their delightful chewiness!
Can I freeze Chocolate Chip Cherry Bars?
Yes, you can freeze these delicious bars! Wrap each individual piece tightly in plastic wrap, then place them in a freezer-safe bag or container. They will stay delicious for up to 3 months. When you’re ready to enjoy one, just thaw it in the fridge overnight or warm it up in the microwave for about 10-15 seconds.
What happens if I overmix the batter?
Overmixing can be a common pitfall! It can result in tough Chocolate Chip Cherry Bars instead of the desired chewy texture. To avoid this, stir the ingredients gently and only until just combined, especially when incorporating the flour.
Can I substitute any ingredients if I have dietary restrictions?
Absolutely! You can use margarine instead of butter, substitute almond extract for vanilla, or replace all-purpose flour with whole wheat for a healthier option. If you have egg allergies, consider using a flax egg—a mixture of 1 tablespoon ground flaxseed and 2.5 tablespoons water for each egg needed in the recipe.
How do I know when my bars are perfectly baked?
Great question! Your Chocolate Chip Cherry Bars are done when the edges start to pull away from the sides of the pan and the center is set but still slightly soft. This typically takes about 27 to 32 minutes in a preheated oven at 350°F (175°C). Just keep an eye on them for that perfect balance!
Chocolate Chip Cherry Bars That Are Irresistibly Chewy
Ingredients
Equipment
Method
- Preheat your oven to 350°F (175°C) and line an 8x8-inch baking pan with parchment paper.
- Melt the unsalted butter in a microwave-safe bowl for about 60 seconds.
- Add light brown sugar to the melted butter and mix thoroughly. Then, crack in the egg and pour in the vanilla extract, stirring until smooth.
- Gradually add all-purpose flour and salt, mixing gently to combine.
- Fold in the semi-sweet chocolate chips and pitted cherries, being careful not to halve the cherries.
- Pour the batter into the prepared baking pan and smooth the top evenly.
- Bake in the preheated oven for 27 to 32 minutes, until edges pull away from the pan.
- Allow the bars to cool in the pan for at least 1 hour before lifting them out and slicing into squares.