")
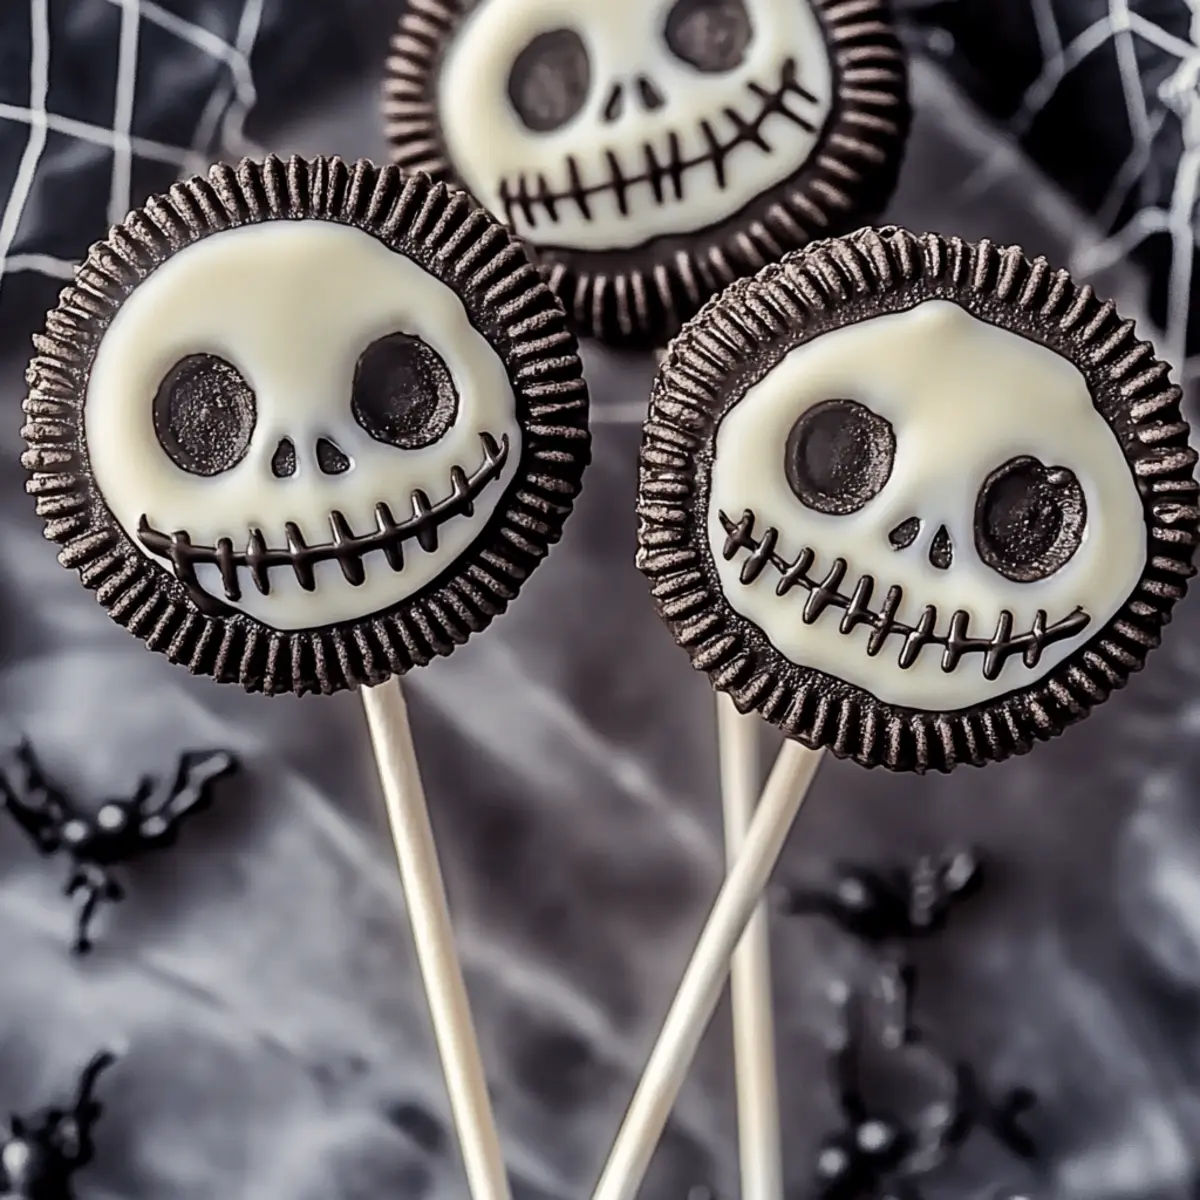
In the midst of a chaotic Halloween preparations, I stumbled upon a nostalgic memory of my childhood, where homemade treats brought friends together. This year, I’m reviving that spirit with delightful Jack Skellington Oreo Pops for Halloween fun! These no-bake, kid-friendly desserts combine the flavors of creamy Oreos with a rich chocolate coating, ensuring they’re not just a hit at spooky gatherings but also a simple treat you can whip up in no time. These pops are perfect for brightening up movie nights or adding a whimsical touch to your Halloween festivities. What spooky characters will you create with them?

Why Are These Oreo Pops So Special?
Delightful Jack Skellington Oreo Pops are the ultimate treat for Halloween, blending fun and creativity effortlessly. No-Bake Easy to prepare, they require minimal effort while delivering maximum flavor. Kid-Friendly and perfect for all ages, these pops are sure to be a crowd-pleaser at any spooky gathering. Versatile in presentation, customize them with different decorations or flavors to suit your Halloween theme! Looking for more no-bake ideas? Check out my Free Pastina Delightful or some fun and festive dips like Funfetti Dip Parties!
Delightful Jack Skellington Oreo Pops Ingredients
• Perfect for your ghoulish festivities!
For the Oreo Mixture
- Oreo Cookies – The delicious base of our pops; feel free to swap with gluten-free Oreos for a special twist!
- Cream Cheese – Helps bind our Oreo crumbs and adds a creamy texture; you can use softened butter for a unique flavor.
For the Coating
- Black Chocolate Melts – The rich coating that adds decadence; consider dark or milk chocolate melts if you prefer!
- White Chocolate Melts – Perfect for creating Jack’s charming facial features; try colored candy melts for themed variations!
For Presentation
- Popsicle Sticks – Essential for making these delights easy to hold; they give our pops a festive presentation!
Step‑by‑Step Instructions for Delightful Jack Skellington Oreo Pops for Halloween Fun
Step 1: Crush the Oreos
Begin by placing your Oreo cookies into a food processor. Pulse them until they become fine crumbs, resembling sand. If you don’t have a food processor, you can use a zip-top bag and a rolling pin to crush them. This step is crucial for creating the base of your Delightful Jack Skellington Oreo Pops, so ensure you have about 2 cups of fine crumbs before moving forward.
Step 2: Mix with Cream Cheese
In a medium mixing bowl, combine the crushed Oreo cookies with softened cream cheese. Using a spatula, blend the mixture thoroughly until it is well combined and moldable. This should take about 2–3 minutes of mixing. You want the mixture to form a cohesive dough-like consistency, which will make it easier to shape into pops later.
Step 3: Shape into Balls
Once your mixture is ready, take small portions and roll them into 1-inch balls. Place the shaped balls on a parchment-lined baking sheet. This avoids any sticking and makes cleanup easier. After rolling out all the balls, pop the baking sheet into the freezer for 30 minutes. This will help firm them up and ensure they hold their shape during dipping.
Step 4: Melt the Chocolate
While the pops are chilling, prepare your black chocolate melts according to the package instructions. Typically, you’ll microwave them in 30-second intervals, stirring between each, until smooth and creamy. Keep an eye on the melts to avoid overheating them, which could affect the dipping process for your Delightful Jack Skellington Oreo Pops.
Step 5: Dip the Pops
Once the Oreo balls are firm, remove them from the freezer. Insert popsicle sticks into the center of each ball, ensuring they are secure. Next, dip each pop into the melted black chocolate, rolling it around for even coating. Lift the pops, allowing excess chocolate to drip off before placing them back on the parchment paper. This step is essential for achieving a perfectly coated pop that’s ready for decoration.
Step 6: Decorate Your Pops
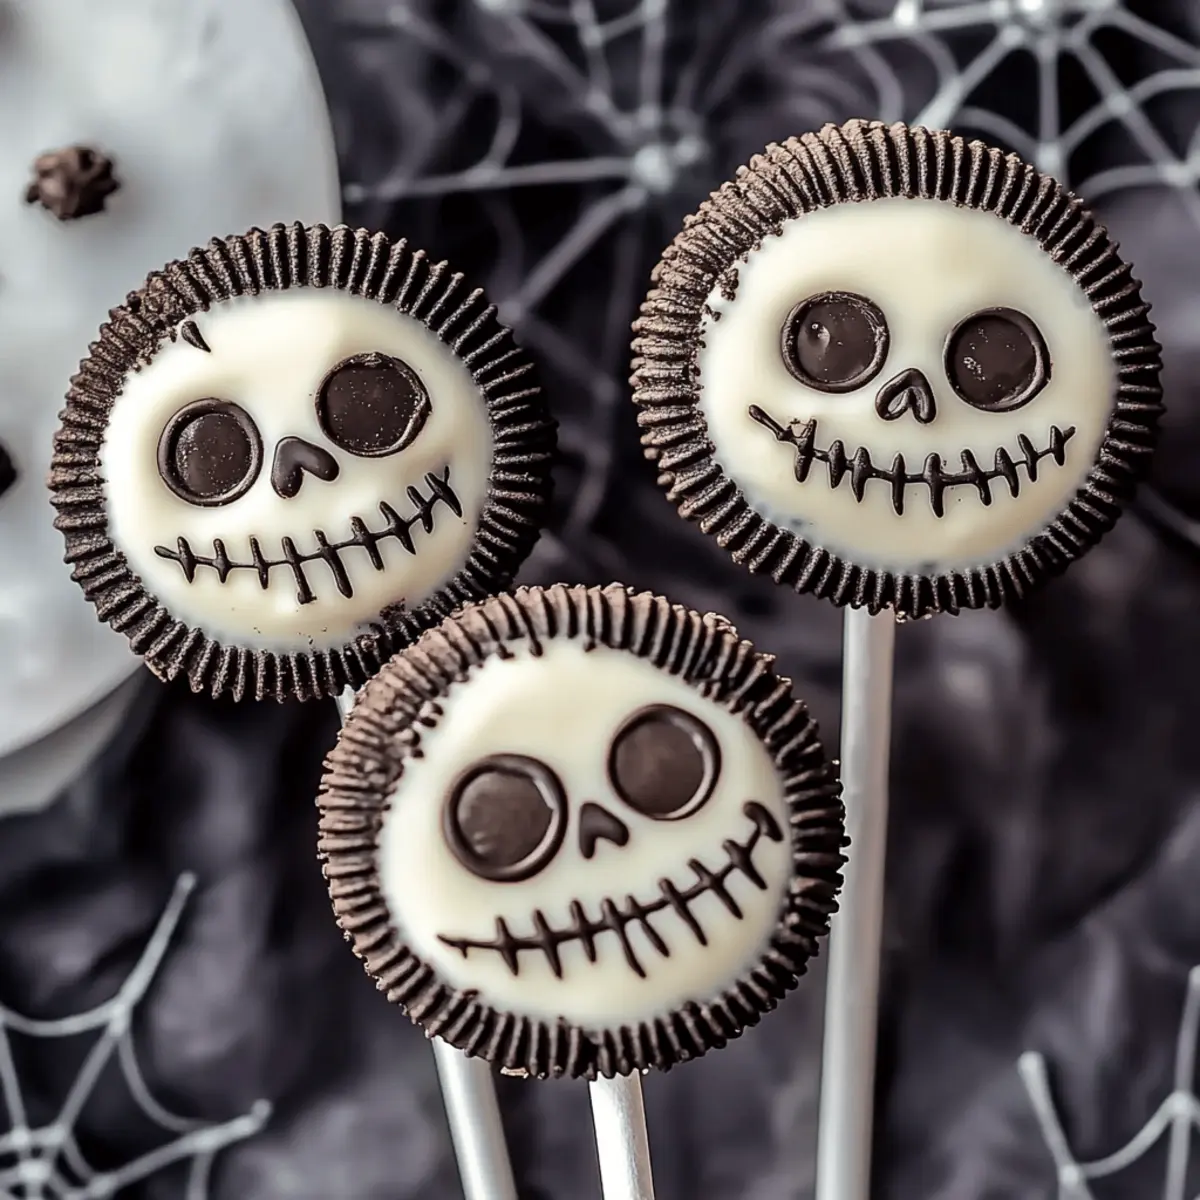
Before the chocolate sets completely, get creative and decorate the pops! Use white chocolate melts, melted candy melts, or edible decorations to create Jack’s face features. Drawing small eyes and a mouth is part of the fun! Allow the decorated pops to rest on the parchment paper until the chocolate fully hardens, which usually takes about 10–15 minutes.
Step 7: Serve and Enjoy
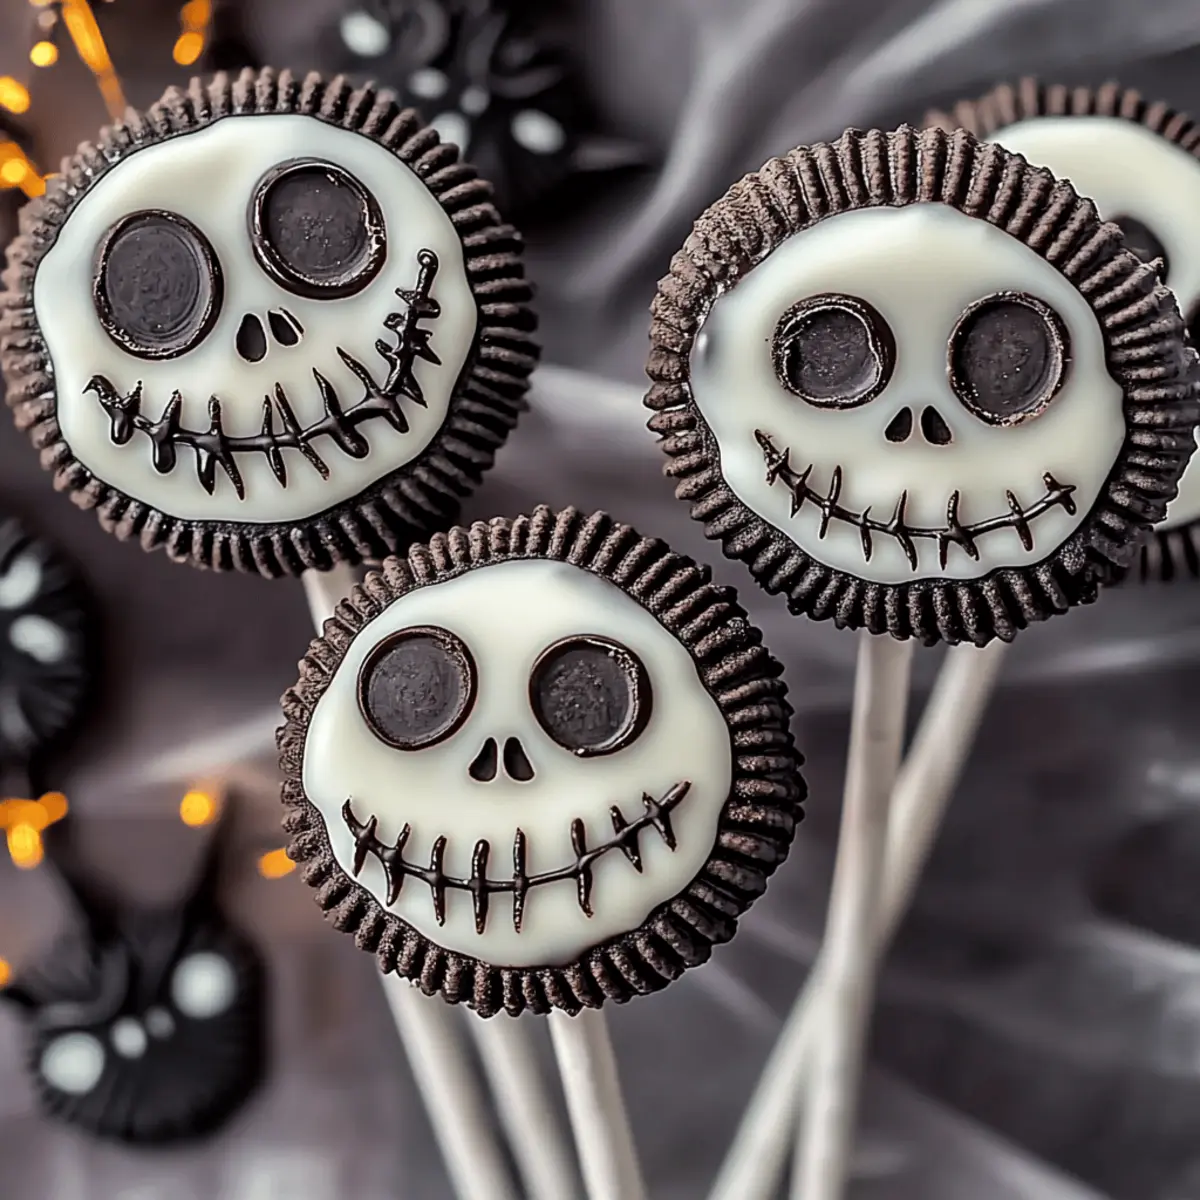
Once the chocolate has set, your Delightful Jack Skellington Oreo Pops are ready to brighten up any Halloween gathering! Transfer them to a serving platter and display them at your spooky festivities. These fun, no-bake treats are perfect for treating kids and adults alike; just make sure to keep them chilled if the weather is warm.
Delightful Variations for Jack Skellington Oreo Pops
Get ready to unleash your creativity with these delicious variations that will make your Jack Skellington Oreo Pops a hit this Halloween!
- Gluten-Free: Substitute regular Oreo cookies with gluten-free Oreos to cater to all dietary needs, ensuring everyone can indulge.
- Flavorful Extracts: Add a dash of peppermint or almond extract to the Oreo mixture for a surprising taste twist; it elevates the chocolate experience!
- Rainbow Pops: Swap out the black chocolate melts for colorful candy melts to match your Halloween party theme or to entice kids with a pop of color.
- Sprinkle Fun: After coating the pops in chocolate, immediately sprinkle them with festive Halloween sprinkles; they’ll add a delightful crunch and visual appeal.
- Caramel Core: For a luscious surprise, insert a small caramel candy into the center of the Oreo mixture before rolling it into balls. The gooey center will enchant eaters!
- Nutty Note: Add crushed nuts to the Oreo mixture for added texture; it brings a delightful crunch that contrasts beautifully with the creamy filling.
- Ghostly Twists: Use white chocolate melts to create ghostly decorations; simply drizzle melted chocolate over the pops to create fun designs or faces!
Don’t forget you can pair these delightful treats with other festive snacks, like a velvety cream cheese frosting, to create a perfect dessert buffet this Halloween. Explore more delicious ideas with my Cream Cheese Frosting.
What to Serve with Jack Skellington Oreo Pops
Enjoy these whimsical treats at your next Halloween gathering, pairing them with delightful accompaniments for a memorable experience.
- Pumpkin Spice Cupcakes: The warm, spiced flavors of these cupcakes echo Halloween aromas, perfect for a festive dessert table.
- Caramel Apple Slices: Crunchy and sweet, these slices add a fresh and fruity contrast that balances the richness of the Oreo pops.
- Spooky Cheese Platter: Include a variety of cheeses with ghoulish decorations for a savory option. The creamy textures provide a lovely contrast to the pops.
- Crispy Ghost Chips and Salsa: This crunchy, salty snack allows guests to munch between sweet bites, ensuring a well-rounded festive spread.
- Bloody Shirley Temples: These refreshing mocktails with a splash of grenadine bring a fun, fruity twist that kids and adults alike will enjoy.
- Chocolate Dipped Pretzels: Sweet and salty, these treats echo the chocolate on the pops, creating an exquisite flavor harmony.
- Halloween Themed Fruit Salad: Bright and colorful, this dish adds a light, healthy element, bursting with vibrant flavors that contrast beautifully with the rich pops.
- Spiced Cider: The warm, fragrant aroma of spiced cider wraps the gathering in cozy vibes, complementing the pops perfectly.
- Ghostly Meringues: Light and airy with a hint of sweetness, these whimsical treats mirror the fun spirit of the Jack Skellington pops, enhancing the Halloween theme.
Storage Tips for Jack Skellington Oreo Pops
- Room Temperature: Enjoy your Jack Skellington Oreo Pops at room temperature for up to 2 hours; this way, they maintain their delightful texture during parties.
- Fridge: Store any leftovers in an airtight container in the fridge for up to 1 week. This keeps them fresh and ensures the creamy center remains delightful!
- Freezer: For longer storage, wrap the pops tightly and freeze them for up to 3 months. When ready to enjoy, let them thaw in the fridge for a few hours.
- Reheating: Although these are best served chilled, you can bring them to room temperature for a few minutes post-freezing to enhance their delicious flavors.
Make Ahead Options
These delightful Jack Skellington Oreo Pops are perfect for meal prep enthusiasts! You can make the Oreo mixture and shape the balls up to 24 hours in advance by storing them in the fridge. Simply follow the recipe steps until you form the balls, then place them on a parchment-lined baking sheet and cover with plastic wrap. When you’re ready to dip and decorate, take them out and insert the popsicle sticks before dipping in melted chocolate. To maintain quality, ensure the chocolate coating is applied while the pops are still chilled, preventing any melting. With these make-ahead tips, you’ll have a fun Halloween treat ready to impress without the last-minute rush!
Expert Tips for Jack Skellington Oreo Pops
- Chocolate Temperature: Ensure that your chocolate melts aren’t too hot; if they are, they risk melting the Oreo balls during dipping, ruining the pops.
- Storage Solutions: Keep your Delightful Jack Skellington Oreo Pops in an airtight container in the refrigerator for up to a week. They can also be frozen for longer freshness.
- Creative Decorations: Unleash your creativity by using various colored candy melts or edible glitter; this customization can make your pops truly unique for Halloween.
- Popsicle Stick Placement: Insert the popsicle sticks into the Oreo balls firmly but gently to prevent cracks; a secure stick ensures easier handling during the chocolate dipping process.
- Mixing Consistency: For best results, blend the crushed Oreos and cream cheese until the mixture is smooth and moldable, ensuring your pops hold their shape beautifully.
Jack Skellington Oreo Pops Recipe FAQs
How do I choose the right Oreo cookies?
Absolutely! When selecting Oreo cookies for your Jack Skellington Oreo Pops, opt for fresh cookies without any dark spots or signs of moisture. If you need a gluten-free version, gluten-free Oreos are a fantastic substitute that works just as beautifully.
What is the best way to store the Oreo pops?
Very! Store your Delightful Jack Skellington Oreo Pops in an airtight container in the refrigerator, where they’ll stay fresh for up to a week. If you want to keep them longer, wrap each pop tightly in plastic wrap and freeze them – they can last for up to 3 months! Just remember to thaw them in the fridge for a few hours before enjoying.
Can I freeze Jack Skellington Oreo Pops?
Absolutely! To freeze your pops, first place them in a single layer on a baking sheet and freeze them for about 1-2 hours until firm. Then, wrap each pop individually in plastic wrap to protect against freezer burn. When you’re ready to enjoy, simply take them out and let them thaw in the fridge for a couple of hours.
What if my chocolate melted too quickly when dipping?
No worries! If your chocolate melts too quickly and starts to get thick, simply reheat it gently in the microwave, adding a teaspoon of shortening or vegetable oil to smooth it out. This will give it a better consistency for dipping. Always ensure that your Oreo balls are sufficiently chilled, as this will help prevent them from melting while being dipped!
Are there any dietary considerations with this recipe?
Definitely! The ingredients in Jack Skellington Oreo Pops may not be suitable for individuals with dairy allergies, as they contain cream cheese and chocolate. For a dairy-free option, try using vegan cream cheese and enjoy chocolate melts that are dairy-free. Always check the ingredient labels when accommodating specific dietary needs, especially if serving these treats to kids.
Delightful Jack Skellington Oreo Pops for Halloween Fun
Ingredients
Equipment
Method
- Begin by placing your Oreo cookies into a food processor. Pulse them until they become fine crumbs, resembling sand. Ensure you have about 2 cups of fine crumbs before moving forward.
- In a medium mixing bowl, combine the crushed Oreo cookies with softened cream cheese. Blend thoroughly until it is well combined and moldable.
- Take small portions of the mixture and roll them into 1-inch balls. Place the shaped balls on a parchment-lined baking sheet and freeze for 30 minutes.
- Prepare your black chocolate melts according to the package instructions until smooth and creamy.
- Insert popsicle sticks into the center of each ball. Dip each pop into the melted black chocolate, rolling it around for even coating.
- Before the chocolate sets completely, decorate with white chocolate melts or melted candy melts to create Jack’s face features.
- Once the chocolate has set, your Delightful Jack Skellington Oreo Pops are ready to serve!
")


