")
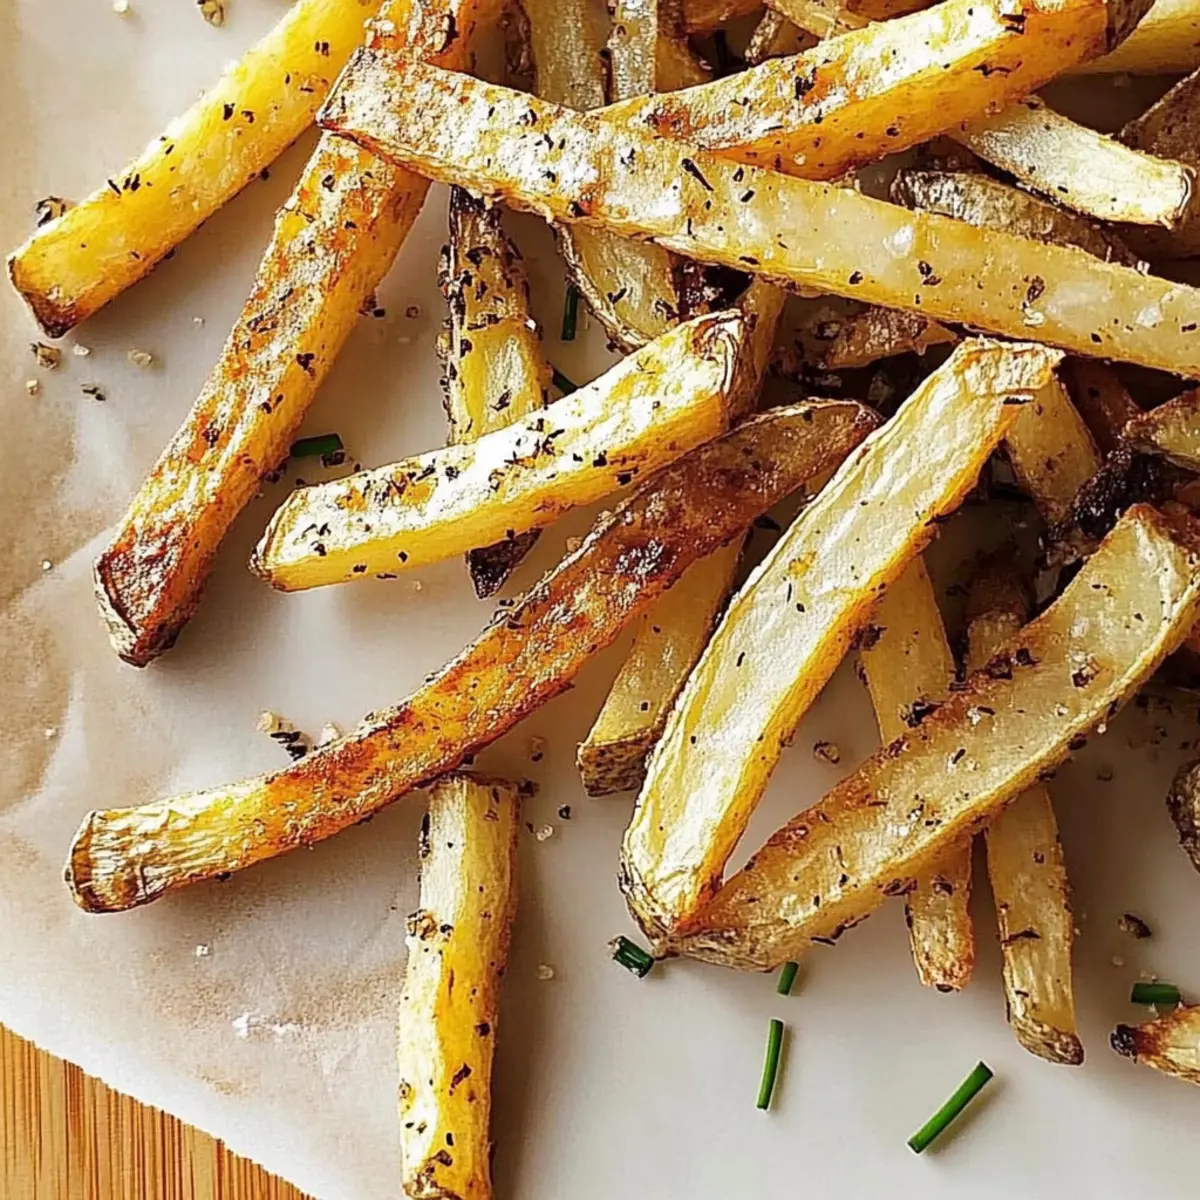
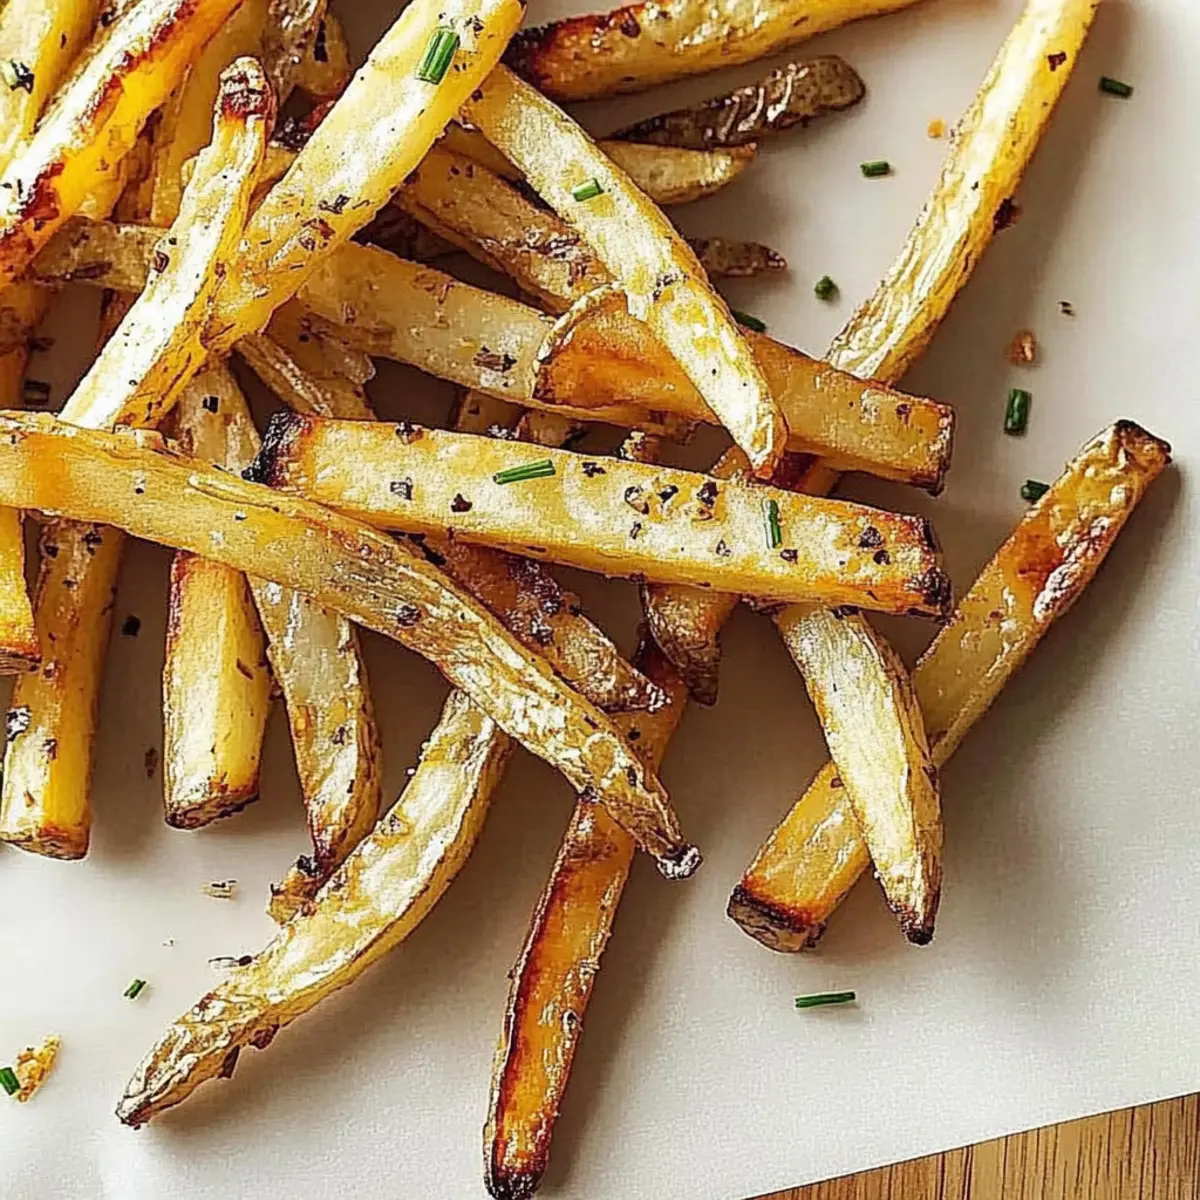
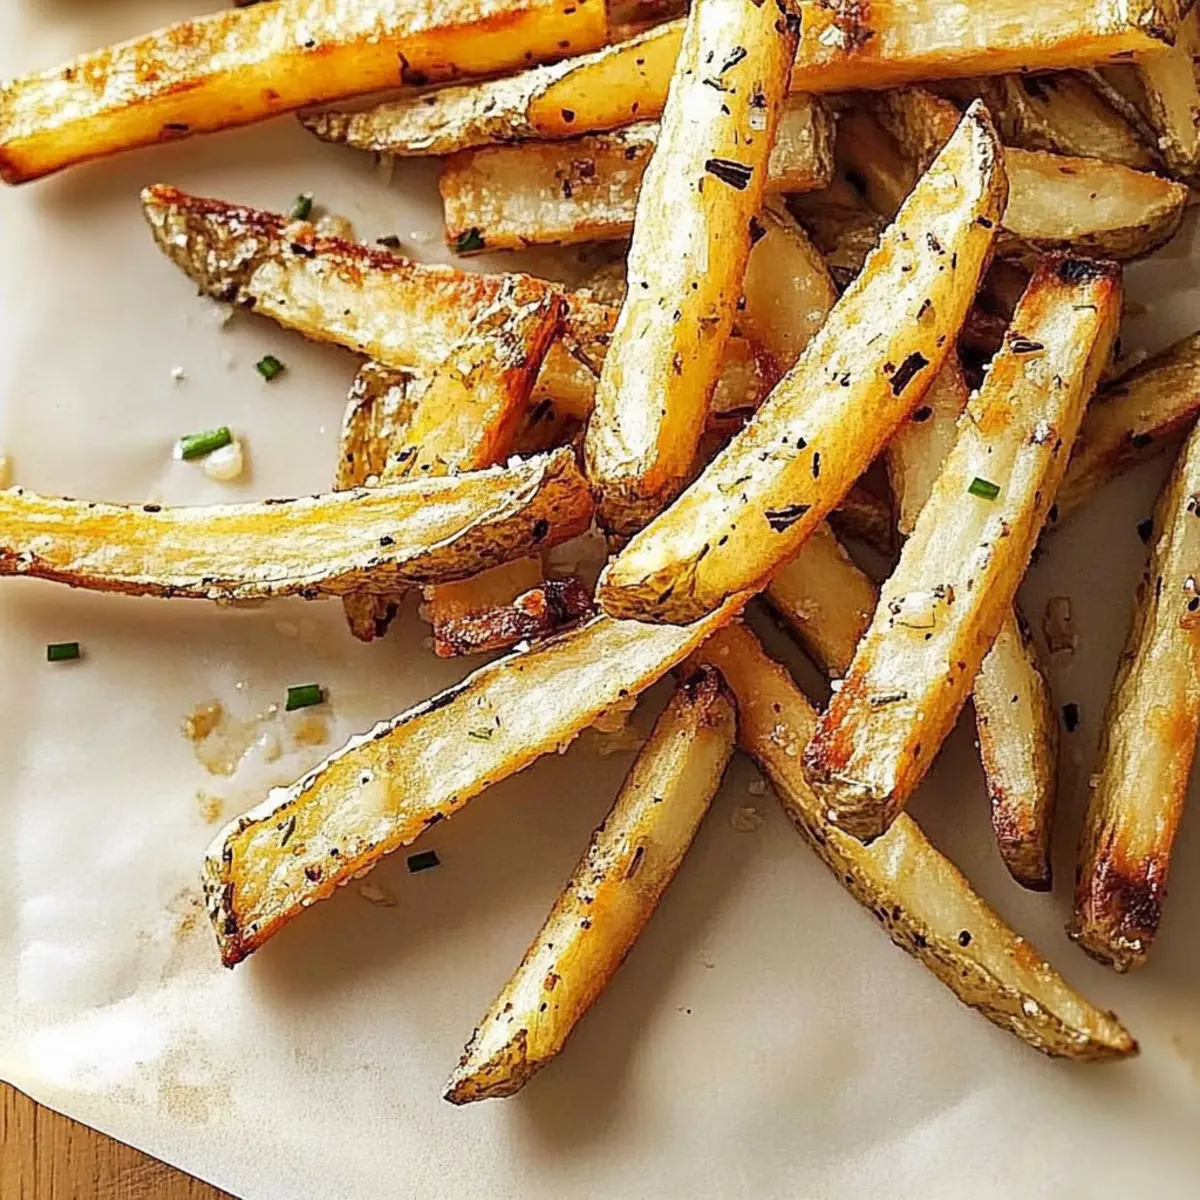
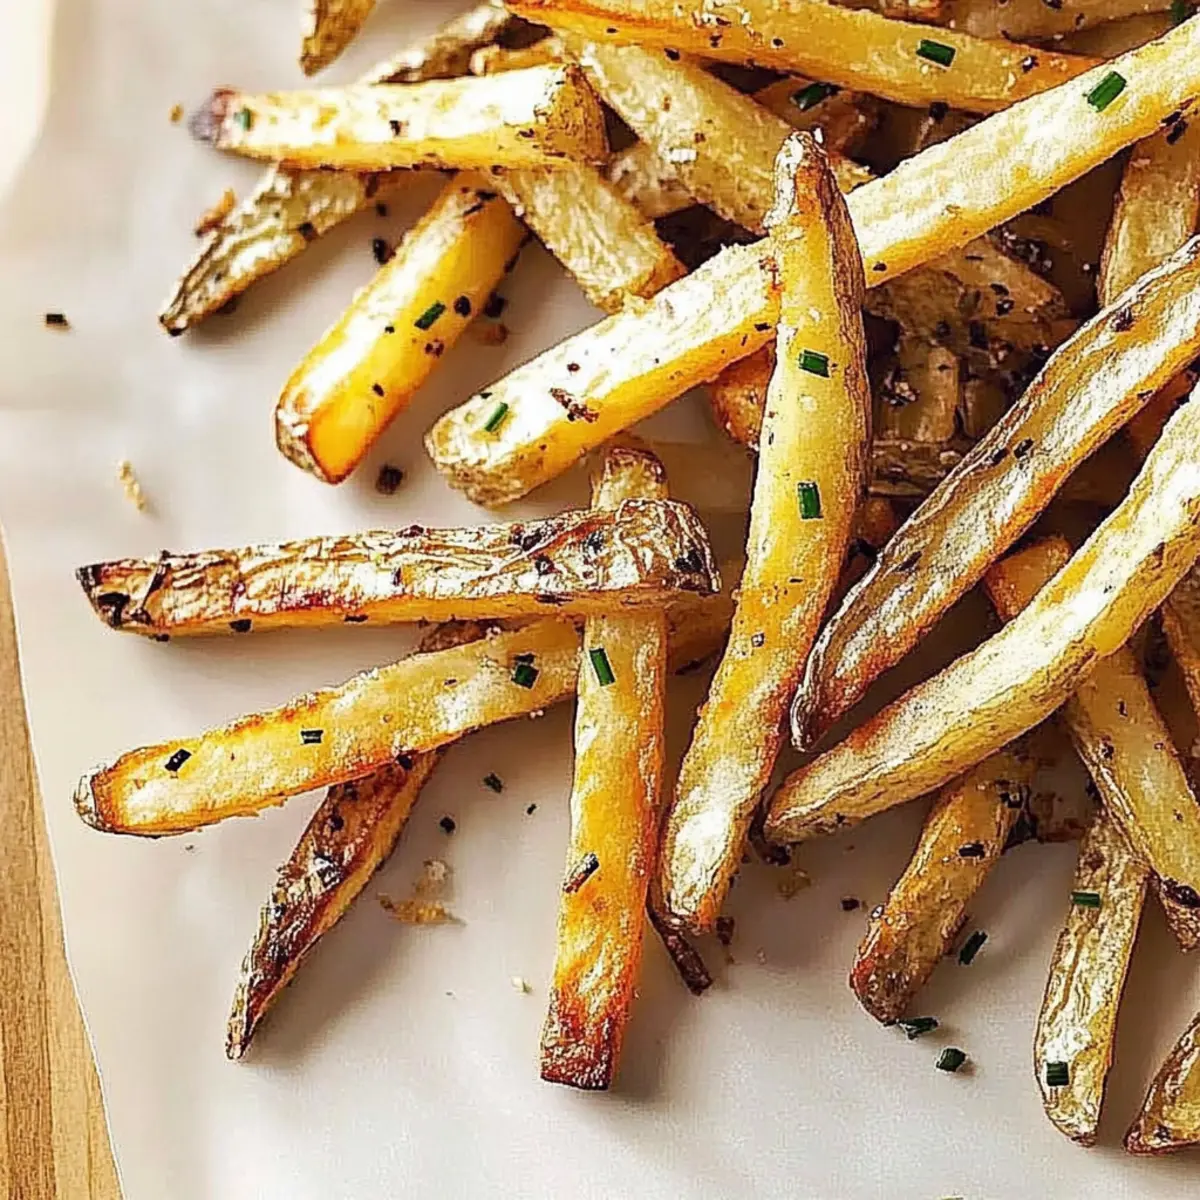
The scent of garlic wafts through the kitchen, immediately bringing back memories of cozy gatherings and laughter shared over homemade meals. That’s the magic of these Garlic-Chive Oven Baked Fries! A healthier twist on a classic comfort food, they’re not just about satisfying cravings; they offer a delightful crunch with every bite while being incredibly easy to prepare. With just 20 minutes in the oven, you can create crispy, golden fries that are perfect as a side dish or a snack all on their own. Whether you’re looking to elevate your burger night or simply indulge in a guilt-free treat, these fries will become your go-to recipe. Curious about the secret to their irresistible flavor? Let’s dive into the details!
What makes these fries irresistible?
Simplicity shines through in this recipe, as it requires minimal ingredients and just 20 minutes of your time. Crispy and Golden: Achieve that perfect crunch with the help of a hot oven and a touch of olive oil. Flavorful Twist: The infusion of garlic and chives elevates these fries beyond ordinary, making them a standout snack or side dish. Versatile Pairing: Serve alongside burgers, grilled chicken, or enjoy them solo with your favorite dip, like aioli or ketchup. Healthy Indulgence: Each serving is around 200 calories, allowing you to savor that guilty pleasure without the guilt!
Garlic-Chive Baked Fries Ingredients
• Here’s what you need to create these irresistible Garlic-Chive Baked Fries!
- For the Fries
- Russet Potatoes – The backbone of the dish; offers a fluffy texture and crispy bite when baked.
- Olive Oil – Essential for achieving that golden crispiness; avocado oil is a great high smoke-point alternative.
- Dried Minced Chives – Adds a hint of mild onion flavor; fresh chives can be used for a burst of freshness.
- Salt – Enhances the overall flavor; kosher salt ensures even seasoning throughout the fries.
- Garlic Powder – Infuses a robust garlic essence; can swap with fresh minced garlic, adjusting quantity as needed.
- Pepper – Offers a gentle kick; adjust black or cayenne pepper based on your spice tolerance.
Enjoy your cooking adventure, and get ready for a delightful crunch with these flavorful Garlic-Chive Baked Fries!
Step‑by‑Step Instructions for Garlic-Chive Baked Fries
Step 1: Preheat the Oven
Start by preheating your oven to 450°F (232°C), creating the perfect hot environment for your Garlic-Chive Baked Fries. This high temperature is key to achieving that coveted crunch while keeping the insides fluffy. Make sure your rack is positioned in the center of the oven for even heat distribution.
Step 2: Prepare the Potatoes
Wash and cut russet potatoes into 1/4-inch julienne strips. Rinse them thoroughly to remove excess starch, which helps in achieving crispier fries. After rinsing, pat the strips dry with a clean kitchen towel or paper towels; moisture can lead to sogginess, so this step is crucial for your fries’ success.
Step 3: Season the Potatoes
In a large bowl, combine your dried potato strips with a drizzle of olive oil, dried minced chives, garlic powder, salt, and pepper. Toss everything together well, ensuring that every fry is evenly coated with the seasoning mix. This step is essential for infusing the Garlic-Chive Baked Fries with aromatic flavor, preparing them for their golden transformation.
Step 4: Arrange on Baking Sheets
Line two baking pans with cooking spray to prevent sticking. Spread the potato mixture in a single layer across the pans, allowing space between each fry for proper air circulation. This layout guarantees even cooking and helps achieve the desired crispy texture. Avoid overcrowding the pans, as this may result in steamed, rather than baked, fries.
Step 5: Bake to Perfection
Transfer the baking sheets to your preheated oven and let the fries bake for 20-25 minutes. Halfway through, carefully flip the fries to ensure they brown evenly on all sides. Keep an eye on them towards the end of the baking time; you’re looking for a lovely golden color with a crispy exterior that signals they are ready to come out and be enjoyed.
Expert Tips for Garlic-Chive Baked Fries
-
Dry the Potatoes: Make sure to thoroughly dry the potato strips after rinsing. This step prevents your Garlic-Chive Baked Fries from becoming soggy and ensures maximum crispiness.
-
Cut Evenly: Cut the potatoes into uniform 1/4-inch strips to guarantee they cook evenly. You can use a mandoline for perfectly consistent thickness.
-
Space is Key: When arranging fries on the baking sheet, ensure they are spread out in a single layer. Overcrowding can lead to steaming rather than baking, affecting the texture.
-
Monitor Baking Time: Ovens can vary in temperature; keep an eye on the fries during the last few minutes of baking to avoid burning and to achieve that perfect golden color.
-
Experiment with Seasonings: Feel free to mix in spices beyond garlic and chives, like paprika or chili powder, to add a unique twist to your Garlic-Chive Baked Fries!
Storage Tips for Garlic-Chive Baked Fries
- Fridge: Store leftover Garlic-Chive Baked Fries in an airtight container in the refrigerator for up to 3 days to maintain their freshness and flavor.
- Freezer: For longer storage, freeze the fries laid flat on a baking sheet until solid, then transfer to a freezer-safe zip-top bag; they’ll keep well for up to 2 months.
- Reheating: Reheat leftovers in an oven at 400°F (204°C) for about 10-15 minutes, or use an air fryer for a few minutes to restore their delightful crispiness.
What to Serve with Garlic-Chive Baked Fries
Pair these delicious fries with a variety of complementary dishes to create a delightful meal experience.
-
Juicy Burgers: A classic pairing that adds heartiness. The crispy texture of the fries complements the savory richness of a well-cooked burger.
-
Grilled Chicken: The smoky flavor of grilled chicken enhances the herbaceous notes of the fries. This combination is perfect for a satisfying dinner.
-
Fresh Salad: A light, crisp salad provides a refreshing contrast to the warm, crunchy fries. Try adding citrus vinaigrette for a vibrant touch.
-
Creamy Dips: Pair with homemade garlic aioli or classic ketchup for a tasty contrast. These dips elevate the fries from good to unforgettable!
-
Spicy Chili: A warm bowl of chili offers a hearty, comforting option that balances the crunchiness of the fries. It’s an excellent way to indulge on a cozy evening.
-
Craft Beer: A cold craft beer can enhance the overall experience. The hoppy flavors of a pale ale pair beautifully with the savory garlic notes.
-
Dark Chocolate Brownies: For dessert, indulge in fudgy brownies to round off your meal. The rich chocolate offers a sweet finish after crispy bites of fries.
Make Ahead Options
These Garlic-Chive Baked Fries are perfect for busy home cooks looking to save time! You can cut and season the russet potatoes up to 24 hours in advance—just be sure to keep them in an airtight container to maintain freshness and prevent browning. If you’d like to prep even further, consider drizzling the potato strips with olive oil, chives, garlic powder, salt, and pepper before placing them in the refrigerator. When you’re ready to enjoy your fries, simply spread them in a single layer on a baking sheet and bake in the preheated oven. They’ll come out just as crispy and delicious, ready to elevate any meal with minimal effort!
Garlic-Chive Baked Fries Substitutions
Feel free to get creative and customize these fries to your taste preferences with these delightful variations!
-
Herb-Infused: Replace dried chives with fresh herbs like rosemary or thyme for a fragrant twist. Fresh herbs will brighten up the flavor even more.
-
Spice It Up: Add a dash of cayenne or smoked paprika for extra heat and a subtle smoky flavor. This addition is perfect for those who love a kick in their fries.
-
Sweet Potato Style: Substitute russet potatoes for sweet potatoes to introduce a hint of natural sweetness while keeping that crispy texture. Sweet potatoes pair beautifully with the garlic-chive seasoning.
-
Cheesy Goodness: Sprinkle grated Parmesan or cheddar cheese on the fries during the last few minutes of baking for a rich, savory layer of flavor. Melted cheese always elevates the comforts of home cooking.
-
Air Fryer Option: An air fryer can make these fries even crispier in less time! Just reduce the cooking time and keep an eye on them while they cook.
-
Garlic Lovers: For an enhanced garlic flavor, feel free to add minced fresh garlic or roasted garlic to the seasoning blend—it’s truly a game-changer for garlic enthusiasts!
-
Vegan Add-In: To keep the recipe vegan, consider using nutritional yeast instead of cheese for a cheesy flavor without the dairy. It adds a wonderful depth to the taste without compromising your dietary choices.
-
Zesty Lime Twist: Drizzle some lime juice over the baked fries before serving, adding a refreshing zing that balances the savory elements beautifully. It’s the perfect way to elevate your fries to new heights!
Each tweak is an opportunity to explore flavors that resonate with your palate! And if you’re looking for more inspiration, check out these oven-baked sweet potato fries or discover how to make air fryer garlic fries for that equally delicious alternative!
Garlic-Chive Baked Fries Recipe FAQs
How do I pick the right potatoes for Garlic-Chive Baked Fries?
Absolutely! I recommend using medium-sized Russet potatoes for their fluffy interior and crispy exterior once baked. Look for potatoes that are firm, smooth, and without dark spots or blemishes. Fresh potatoes will yield the best texture and flavor, ensuring your fries are perfectly irresistible.
How should I store leftover Garlic-Chive Baked Fries?
You can store any leftover Garlic-Chive Baked Fries in an airtight container in the refrigerator for up to 3 days. This helps maintain their freshness and delicious flavor. If you want to enjoy them later, consider freezing them.
Can I freeze Garlic-Chive Baked Fries?
Yes! To freeze, first place your cooked fries in a single layer on a baking sheet and freeze until solid. Once frozen, transfer them to a freezer-safe zip-top bag, and they can be stored for up to 2 months. When ready to eat, bake them straight from the freezer at 400°F (204°C) for 15-20 minutes until heated through and crispy again.
What if my fries turn out soggy?
Very important! Soggy fries usually result from excess moisture. To avoid this, make sure to thoroughly rinse and pat the potato strips dry before seasoning with olive oil and spices. Additionally, ensure that your fries are spread out evenly on the baking sheet without overcrowding. This allows for proper airflow during baking, leading to that sought-after crunch!
Are Garlic-Chive Baked Fries safe for people with dietary restrictions?
Absolutely! These fries are vegetarian and can be adjusted to fit various dietary needs. For a gluten-free option, make sure all seasonings, such as garlic powder and salt, are certified gluten-free. If you have a specific allergy, simply swap ingredients as needed. Enjoy these delightfully crispy fries without worry!
Garlic-Chive Baked Fries: Crispy Guilt-Free Goodness
Ingredients
Equipment
Method
- Preheat your oven to 450°F (232°C), positioning the rack in the center for even heat distribution.
- Wash and cut russet potatoes into 1/4-inch julienne strips. Rinse thoroughly to remove excess starch and pat dry.
- In a large bowl, combine the potato strips with olive oil, chives, garlic powder, salt, and pepper. Toss until evenly coated.
- Line two baking sheets with cooking spray and spread the potato mixture in a single layer without overcrowding.
- Bake for 20-25 minutes, flipping the fries halfway through until they are golden and crispy.
")