")
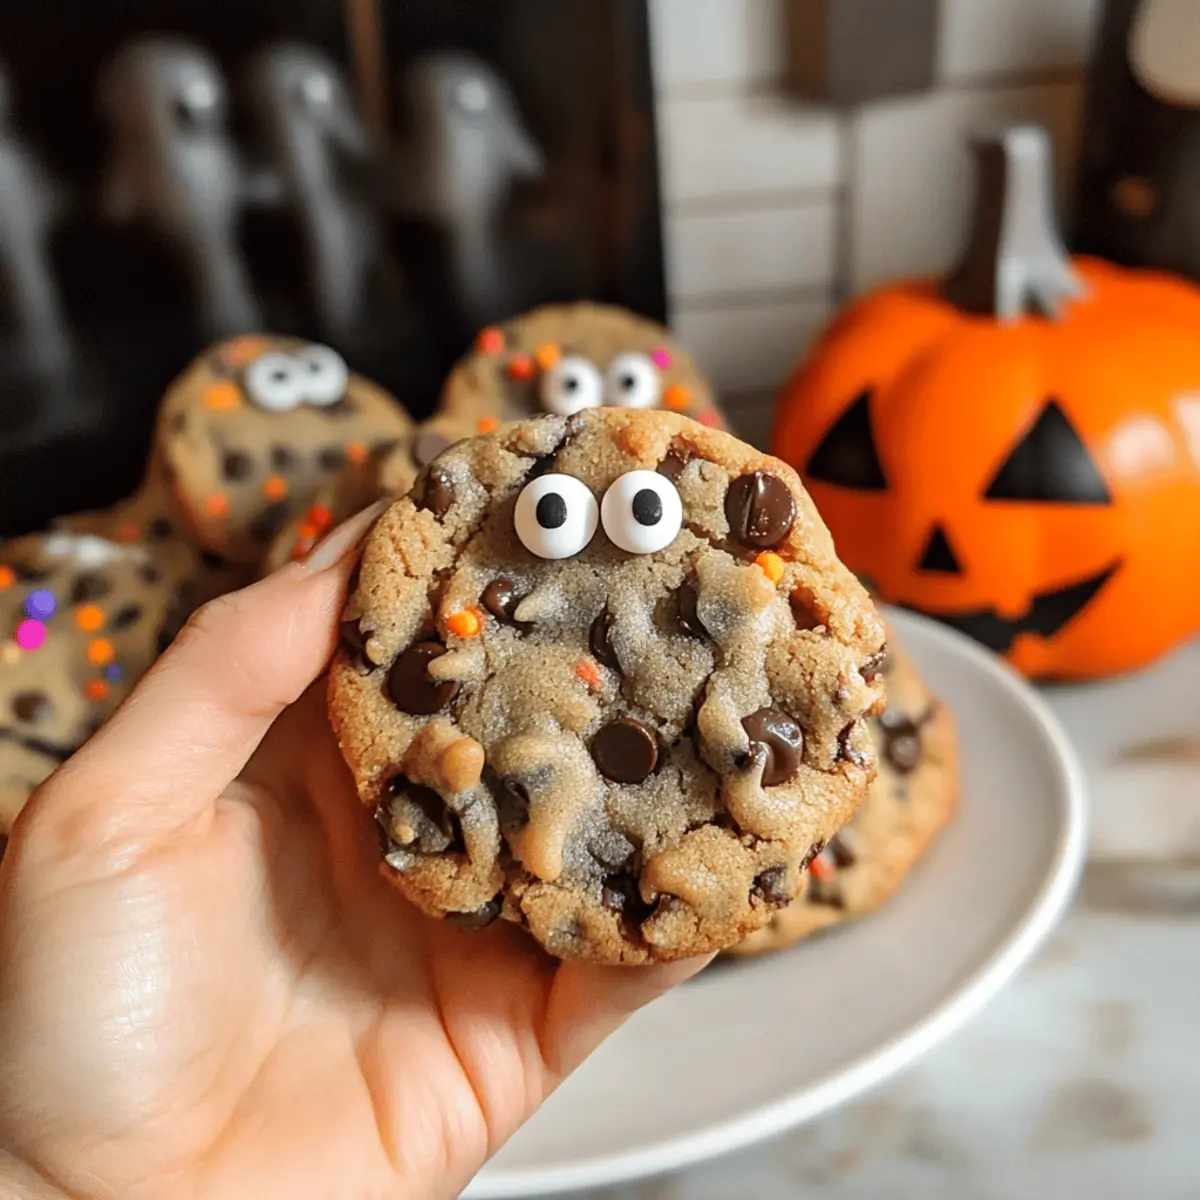
As the leaves turn and the air grows crisp, a sense of excitement wraps around us like a cozy blanket, inviting the magic of Halloween into our kitchens. These Easy Halloween Chocolate Chip Cookies are not just a treat; they are a joyful expression of the season that’s perfect for gatherings, school events, or simply indulging with family. With just a quick 10-minute prep time, you can create a delightful cookie experience that will enchant kids and adults alike. The colorful sprinkles and playful candy eyes turn an already delicious cookie into a spooky masterpiece, making them a guaranteed hit at any festive celebration. So, are you ready to fill your home with the delicious aroma of chocolate and laughter this Halloween?

Why Bake Halloween Chocolate Chip Cookies?
Easy Preparation: With a mere 10-minute prep time, these cookies offer maximum fun without fuss.
Festive Touch: Adorned with colorful sprinkles and spooky candy eyes, they serve as eye-catching centerpiece treats.
Crowd-Pleaser: Both kids and adults will adore these delightful cookies, perfect for any Halloween gathering or school event!
Versatile Recipe: Want to mix things up? Swap chocolate chips for peanut butter ones or experiment with different sprinkles for a unique twist.
Make-ahead Option: The dough can be prepared in advance and even frozen, making it a breeze to whip up fresh cookies whenever you need them.
With these irresistible Halloween Chocolate Chip Cookies, your celebrations will be filled with joy and tasty memories!
Halloween Chocolate Chip Cookie Ingredients
For the Cookie Dough
• Unsalted Butter – Provides moisture and richness for a chewy texture; substitute with margarine or coconut oil for a dairy-free option.
• Granulated Sugar – Adds sweetness and texture; can replace half with brown sugar for added moisture.
• Light Brown Sugar – Contributes to the cookies’ chewy texture and caramel flavor; adjust sweetness to taste.
• Large Egg – Binds ingredients together; use a flax egg (1 tbsp ground flaxseed + 2.5 tbsp water) for an egg-free version.
• Vanilla Extract – Enhances flavor; opt for pure vanilla for better taste, while imitation is fine for budget-friendly options.
• Salt – Balances sweetness and enhances flavors; ensure proper measurement for the best outcome.
• Baking Soda – Acts as a leavening agent to help cookies rise; don’t substitute baking powder without adjusting amounts.
• All-Purpose Flour – The main structural component; replace with a gluten-free flour blend for gluten-free cookies.
• Chocolate Chips – Provide a rich chocolate flavor and texture; choose semi-sweet, dark, or milk chocolate as desired.
For Festive Decorations
• Halloween Sprinkles – Adds festive decoration and texture; substitute with any seasonal themed sprinkles for variety.
• Candy Eyes (optional) – Adds a spooky appearance; can be replaced with chocolate chips or omitted entirely.
These delightful Halloween Chocolate Chip Cookies are sure to become a seasonal favorite in your home!
Step‑by‑Step Instructions for Halloween Chocolate Chip Cookies
Step 1: Mix Butter and Sugar
In a large mixing bowl, combine 1 cup of melted unsalted butter with ¾ cup granulated sugar and ¾ cup light brown sugar. Using a whisk or electric mixer, beat the mixture until smooth and creamy, which should take about 2–3 minutes. This step is crucial for creating a chewy texture in your Halloween Chocolate Chip Cookies.
Step 2: Incorporate Wet Ingredients
Next, add in 1 large egg and 1 teaspoon of vanilla extract to the butter and sugar mixture. Mix thoroughly until everything is well blended and velvety, taking another 1–2 minutes. The egg helps bind the ingredients together, while the vanilla enhances the cookie’s delightful flavor.
Step 3: Add Dry Ingredients
Sift together 2½ cups of all-purpose flour, 1 teaspoon of baking soda, and ½ teaspoon of salt in a separate bowl. Gradually mix the dry ingredients into the wet mixture, stirring gently until just combined. Be careful not to over-mix, as this can lead to dense Halloween Chocolate Chip Cookies—aim for a dough that’s slightly sticky.
Step 4: Fold in Add-ins
Gently fold in 1 cup of chocolate chips and ½ cup of Halloween sprinkles using a spatula. Make sure the chocolate chips and sprinkles are evenly distributed throughout the cookie dough, adding a vibrant color and festive flair to your Halloween Chocolate Chip Cookies.
Step 5: Pre-scoop and Chill
Scoop the dough into tablespoon-sized balls and place them on a lined baking sheet, spacing them 2 inches apart. Cover the baking sheet with plastic wrap and refrigerate the dough for 1.5 to 2 hours. Chilling the dough is essential to prevent your cookies from spreading too much while baking.
Step 6: Bake
Preheat your oven to 350°F (175°C). Once heated, arrange the chilled cookie dough balls on a parchment-lined baking sheet, allowing for 2 inches between each ball. Bake for 11-13 minutes until the edges are golden brown, while the centers remain soft and chewy.
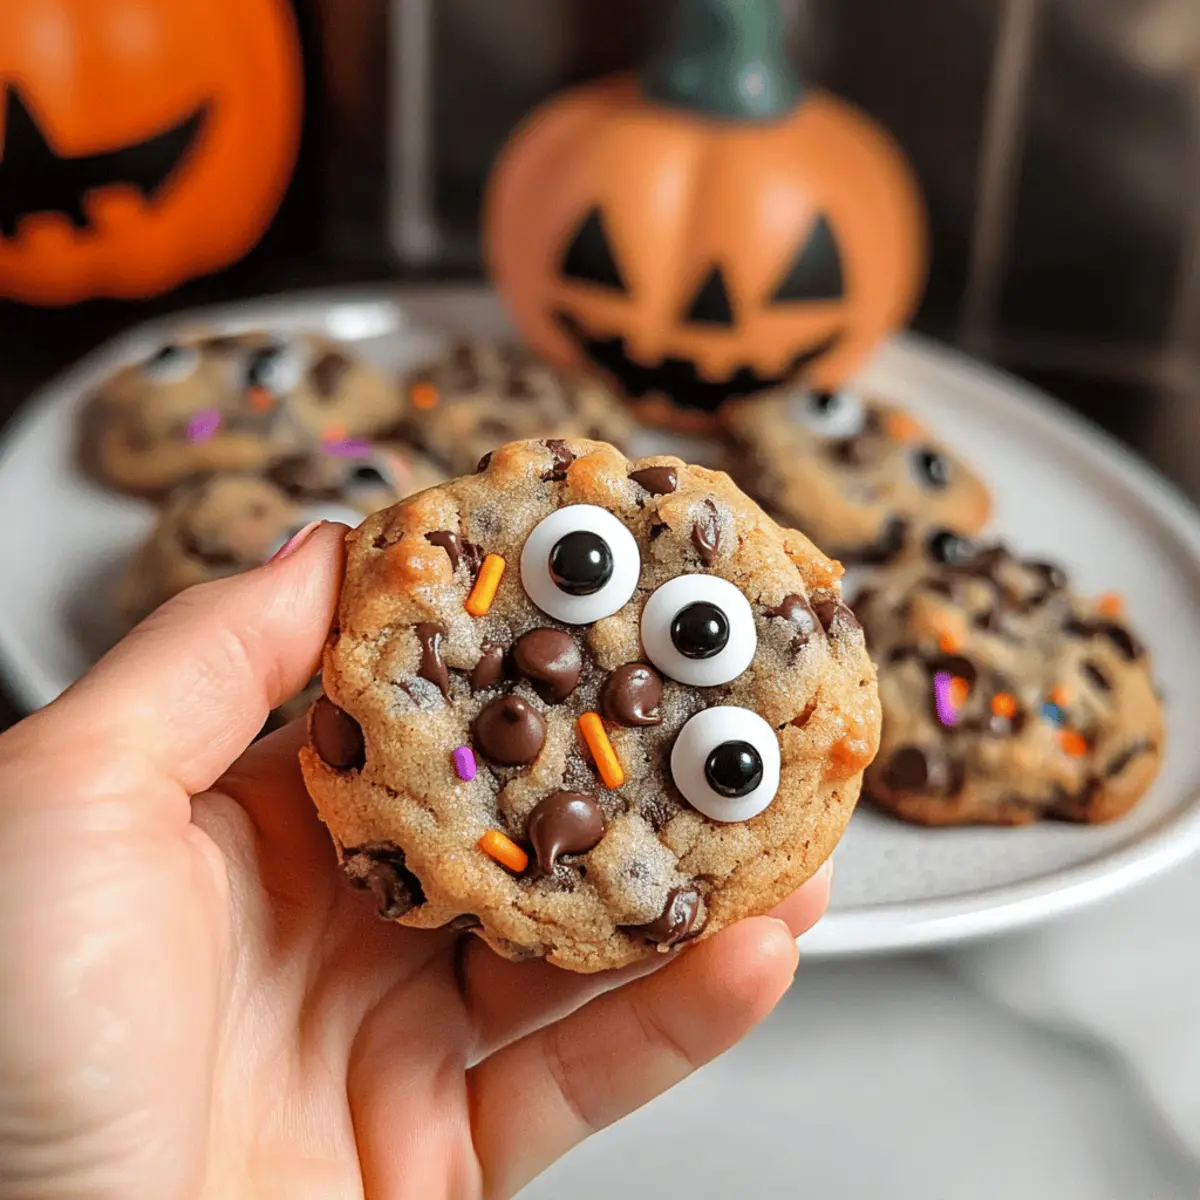
Step 7: Decorate
Immediately after removing the cookies from the oven, gently press candy eyes onto the warm cookies for a spooky, fun decoration. Let the Halloween Chocolate Chip Cookies cool on the sheet for a few minutes before transferring them to a wire rack to cool completely. Enjoy the festive treats!
Halloween Chocolate Chip Cookies Variations
Feel free to unleash your creativity and customize these cookies to make them uniquely yours!
- Gluten-Free: Replace all-purpose flour with a gluten-free flour blend for a deliciously soft and chewy treat that everyone can enjoy.
- Dairy-Free: Substitute unsalted butter with coconut oil or a dairy-free margarine to cater to those avoiding dairy without sacrificing flavor.
- Nutty Twist: For a crunchy texture, add ½ cup of chopped nuts, like walnuts or pecans, for a delightful contrast with the soft cookie.
- Spicy Kick: Spice things up by incorporating a pinch of cinnamon or nutmeg into the dry ingredients; this adds warmth suitable for fall.
- Alternative Chips: Swap out chocolate chips for peanut butter or butterscotch chips to create a different flavor profile that kids will adore.
- Seasonal Sprinkles: Use themed sprinkles for other holidays, such as Christmas or Valentine’s Day, keeping the festive spirit alive all year round!
- Add-ins Galore: Toss in some mini marshmallows or crushed candy corn for a seasonal touch, turning your cookies into a Halloween surprise!
With these variations, you can transform the delightful base of these Halloween Chocolate Chip Cookies into an even wider array of fun and festive treats. Looking for more delightful cookie ideas? Check out these scrumptious Chocolate Chip Cookies, or if you’re feeling adventurous, try my Easy Lemon Cake Mix Cookies for a zesty twist!
Storage Tips for Halloween Chocolate Chip Cookies
Room Temperature: Store baked cookies in an airtight container at room temperature for up to 3-5 days to keep them fresh and chewy.
Fridge: If you live in a warm climate, consider refrigerating cookies in an airtight container for up to a week. Ensure they are fully cooled to prevent condensation.
Freezer: Freeze unbaked cookie dough for up to 2-3 months. Scoop dough balls onto a baking sheet and flash freeze them before transferring to a freezer-safe bag.
Reheating: To enjoy cookies warm, reheat in the microwave for about 10-15 seconds or pop them in a preheated oven at 350°F for about 5 minutes—just enough to regain that fresh-baked goodness!
What to Serve with Halloween Chocolate Chip Cookies?
Get ready to create an unforgettable Halloween feast that pairs perfectly with these charmingly spooky cookies!
- Warm Apple Cider: A comforting classic, its sweet and spicy notes beautifully complement the rich chocolate flavor of the cookies.
- Pumpkin Spice Latte: Embrace the season with this creamy, spiced drink that mirrors the warm, inviting taste of your cookies.
- Candy Corn Cupcakes: These whimsical treats add a festive flair and sweetness to offset the rich chocolate and chewy texture of the cookies.
- Chocolate Milkshake: The smooth, chocolaty goodness echoes the cookies’ flavor and makes for a delightful pairing that kids will love.
- Cheesecake Bites: Mini, creamy bites provide a different texture while keeping the dessert theme fun and festive.
- Ghostly Marshmallow Dip: Perfect for dipping slices of fruit or cookies, this light and fluffy dip offers a playful touch that enhances the spooky theme.
- Decorative Fruit Platter: Fresh fruit adds a refreshing contrast to the sweetness, creating a balance that’s both satisfying and colorful.
- Spooky Punch: A vibrant fruit punch decorated with gummy worms can make any gathering feel lively and coordinate perfectly with the Halloween theme.
- Ice Cream Sundae Bar: Let guests create their own sundaes! The cold creaminess pairs well with the cookies, inviting endless flavor combinations.
Expert Tips for Halloween Chocolate Chip Cookies
Chill the Dough: Don’t skip this step! Chilling prevents excessive spreading, resulting in perfect shape and texture for your Halloween Chocolate Chip Cookies.
Measure Flour Right: Use the spoon and level method to measure flour accurately. This avoids dense cookies, ensuring your treats turn out light and chewy.
Perfect Add-ins: Balance chocolate chips and sprinkles; too much can weigh down your cookies. Stick to a cup of chocolate chips for the best flavor complement.
Bake from Frozen: If baking from frozen, add just 1-2 extra minutes to the baking time for delightful, freshly baked cookies.
Store Wisely: Keep baked cookies in an airtight container at room temperature for 3-5 days to maintain freshness and softness.
Make Ahead Options
These Halloween Chocolate Chip Cookies are perfect for meal prep enthusiasts looking to save time during the bustling holiday season! You can prepare the cookie dough up to 24 hours in advance by mixing all the ingredients and refrigerating the dough. For long-term storage, scoop the dough into individual balls and freeze them for up to 3 months; just remember to place them in an airtight container to prevent freezer burn. When you’re ready to bake, take the dough out of the fridge or freezer, preheat your oven, and bake directly from frozen—just add a couple of extra minutes to the baking time. This way, you can enjoy fresh, delicious Halloween treats without the last-minute rush!
Halloween Chocolate Chip Cookies Recipe FAQs
How do I choose the right ingredients for my Halloween Chocolate Chip Cookies?
Absolutely! For the best flavor and texture, use fresh ingredients. For butter, choose unsalted for better control of saltiness. The brown sugar should be soft and free of lumps, while your chocolate chips should be semi-sweet or as desired, ensuring they melt perfectly during baking.
How should I store my Halloween Chocolate Chip Cookies?
To keep your cookies fresh, store them in an airtight container at room temperature for about 3-5 days. If you live in a warm climate, you might want to refrigerate them in a sealed container, ensuring they’re completely cooled to prevent condensation.
Can I freeze the dough for my Halloween Chocolate Chip Cookies?
Certainly! To freeze the dough, scoop it into tablespoon-sized balls and place them on a baking sheet lined with parchment paper. Flash freeze them for about an hour, then transfer to a freezer-safe bag. They can be kept for up to 2-3 months. When ready to bake, you can either bake from frozen, just adding 1-2 minutes to the baking time.
What if my cookies spread too much while baking?
Very! If your cookies tend to spread excessively, it may be due to insufficient chilling of your dough or too little flour. Ensure you’re measuring flour correctly by using the spoon and level method. Also, make sure to chill the dough for at least 1.5 to 2 hours, as suggested in the recipe, to maintain those lovely cookie shapes.
Are these Halloween Chocolate Chip Cookies suitable for people with allergies?
If you’re considering dietary restrictions, I recommend checking ingredient labels thoroughly. These cookies contain common allergens like eggs, dairy, and wheat. For egg-free versions, substitute with a flax egg (1 tbsp ground flaxseed + 2.5 tbsp water). For those avoiding gluten, simply swap all-purpose flour with a gluten-free flour blend. Always ensure that your chocolate chips and sprinkles are allergy-friendly if serving to others.
Can I make these cookies ahead of time for Halloween parties?
Absolutely! You can prepare the dough a day in advance and store it in the refrigerator. Alternatively, baked cookies can be made a few days ahead; just ensure they’re kept in an airtight container to maintain their freshness and chewiness.
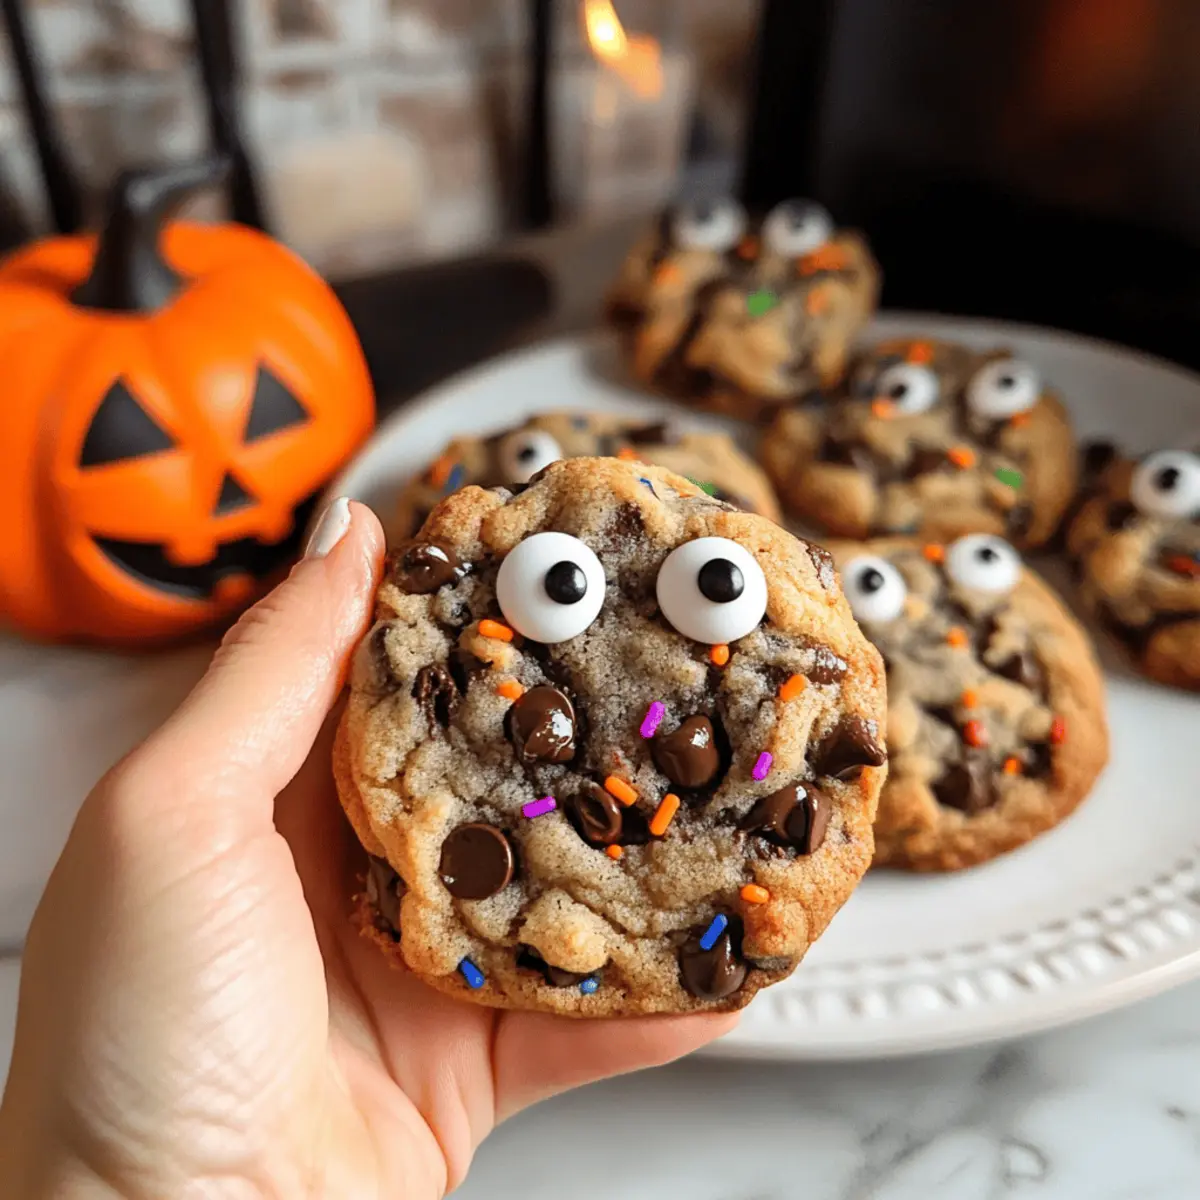
Halloween Chocolate Chip Cookies That Will Steal the Show
Ingredients
Equipment
Method
- Mix melted butter, granulated sugar, and light brown sugar until smooth and creamy.
- Add in the egg and vanilla extract; mix until well blended.
- Sift together flour, baking soda, and salt; mix into wet ingredients until just combined.
- Fold in chocolate chips and Halloween sprinkles evenly.
- Scoop dough into tablespoon-sized balls, place on lined baking sheet, refrigerate for 1.5 to 2 hours.
- Preheat oven to 350°F (175°C), arrange dough balls on baking sheet, and bake for 11-13 minutes.
- Press candy eyes onto warm cookies, let cool before transferring to wire rack.
")


