")
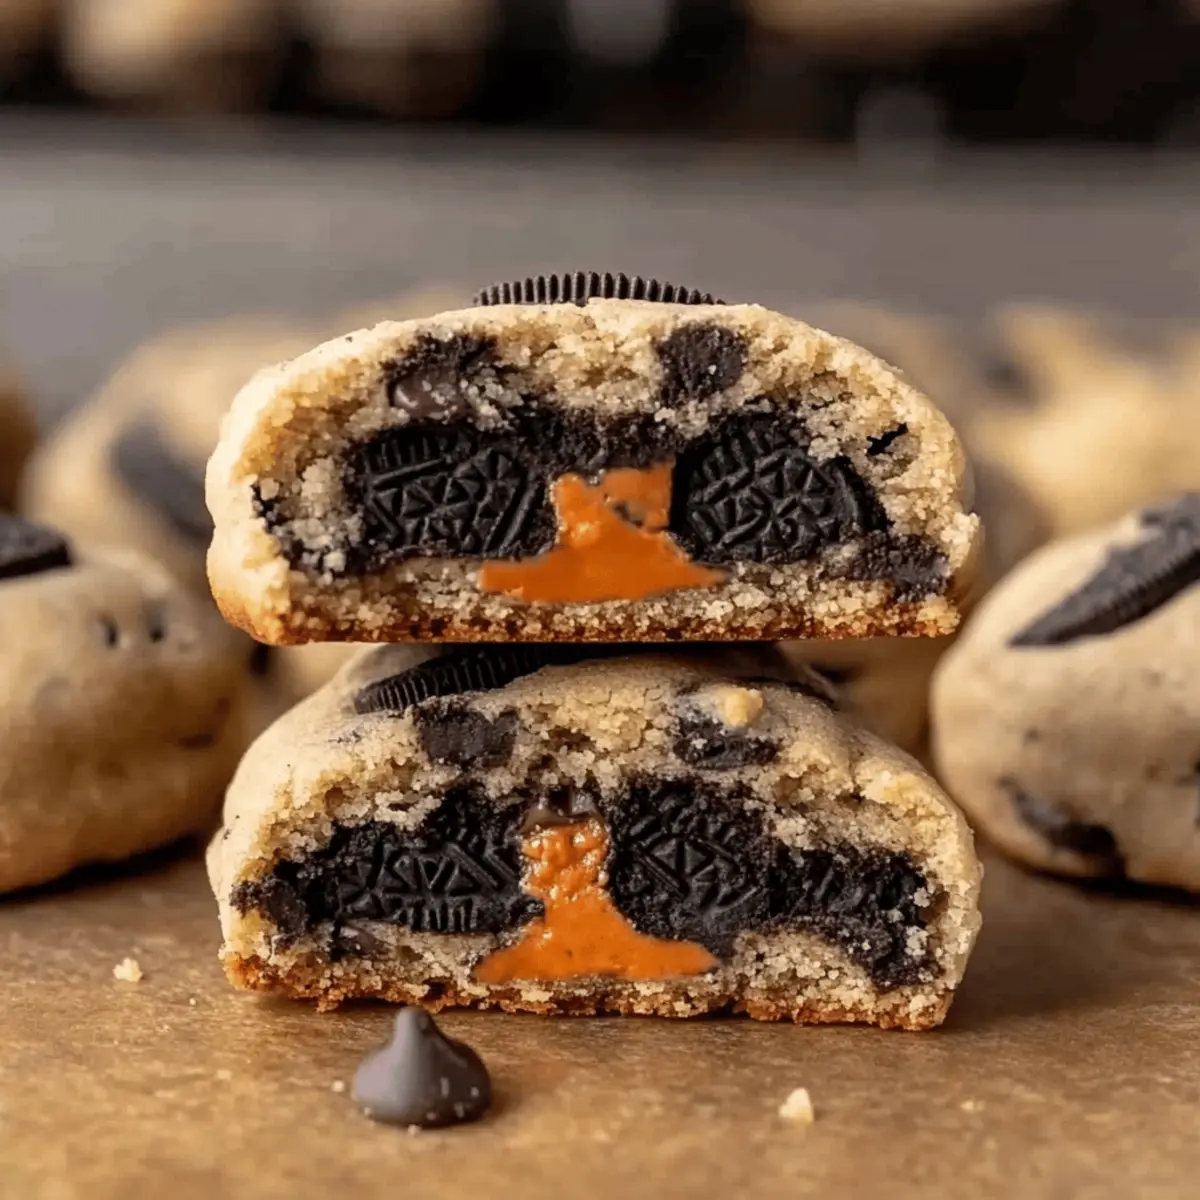
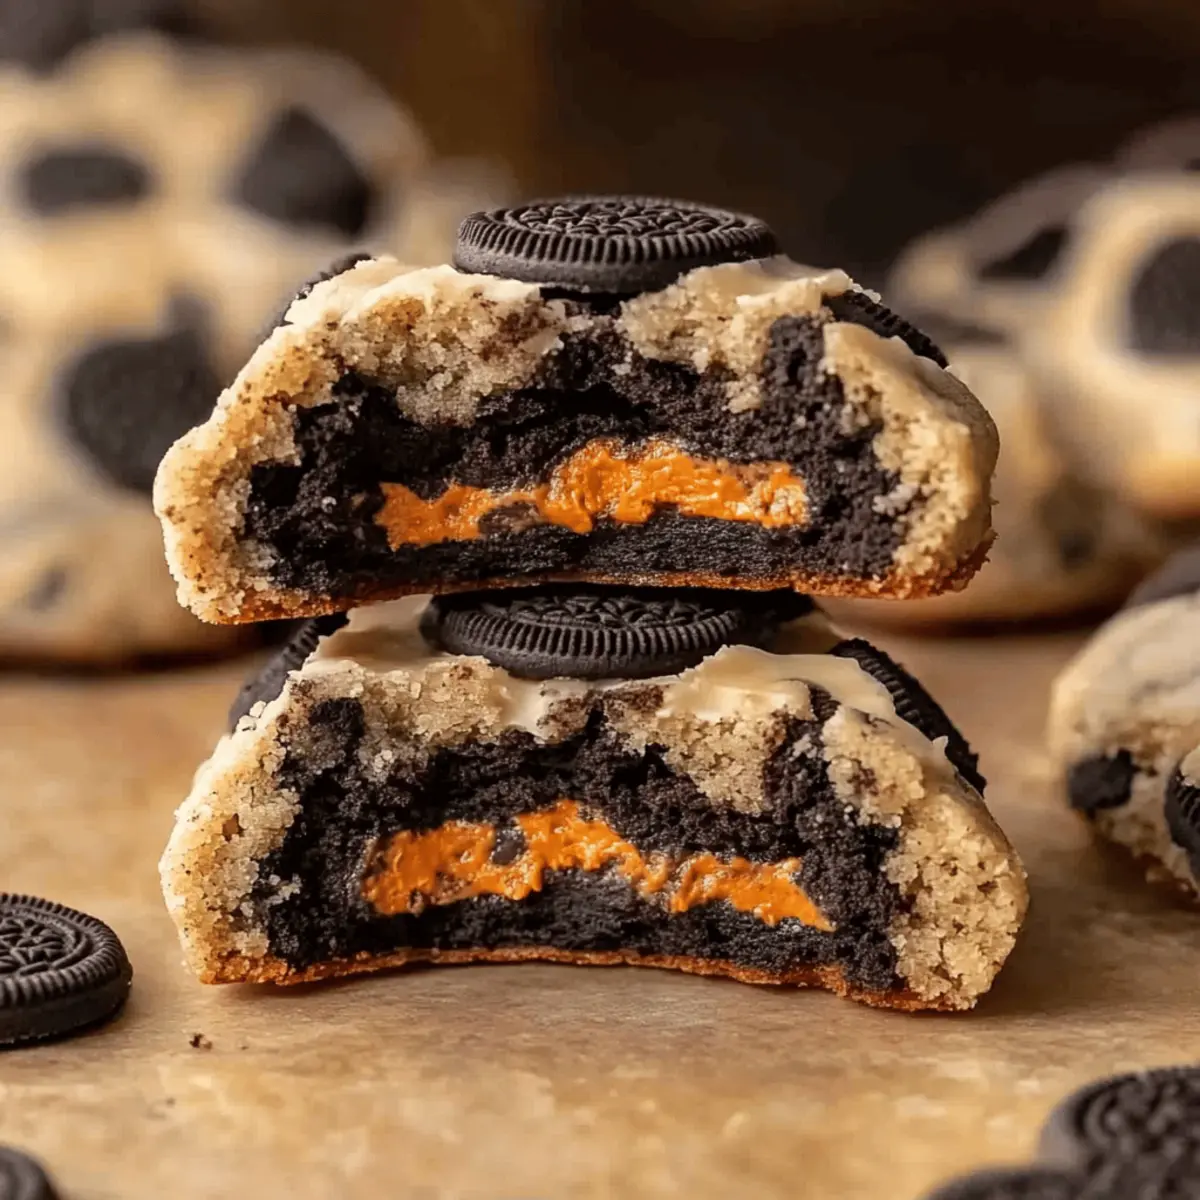
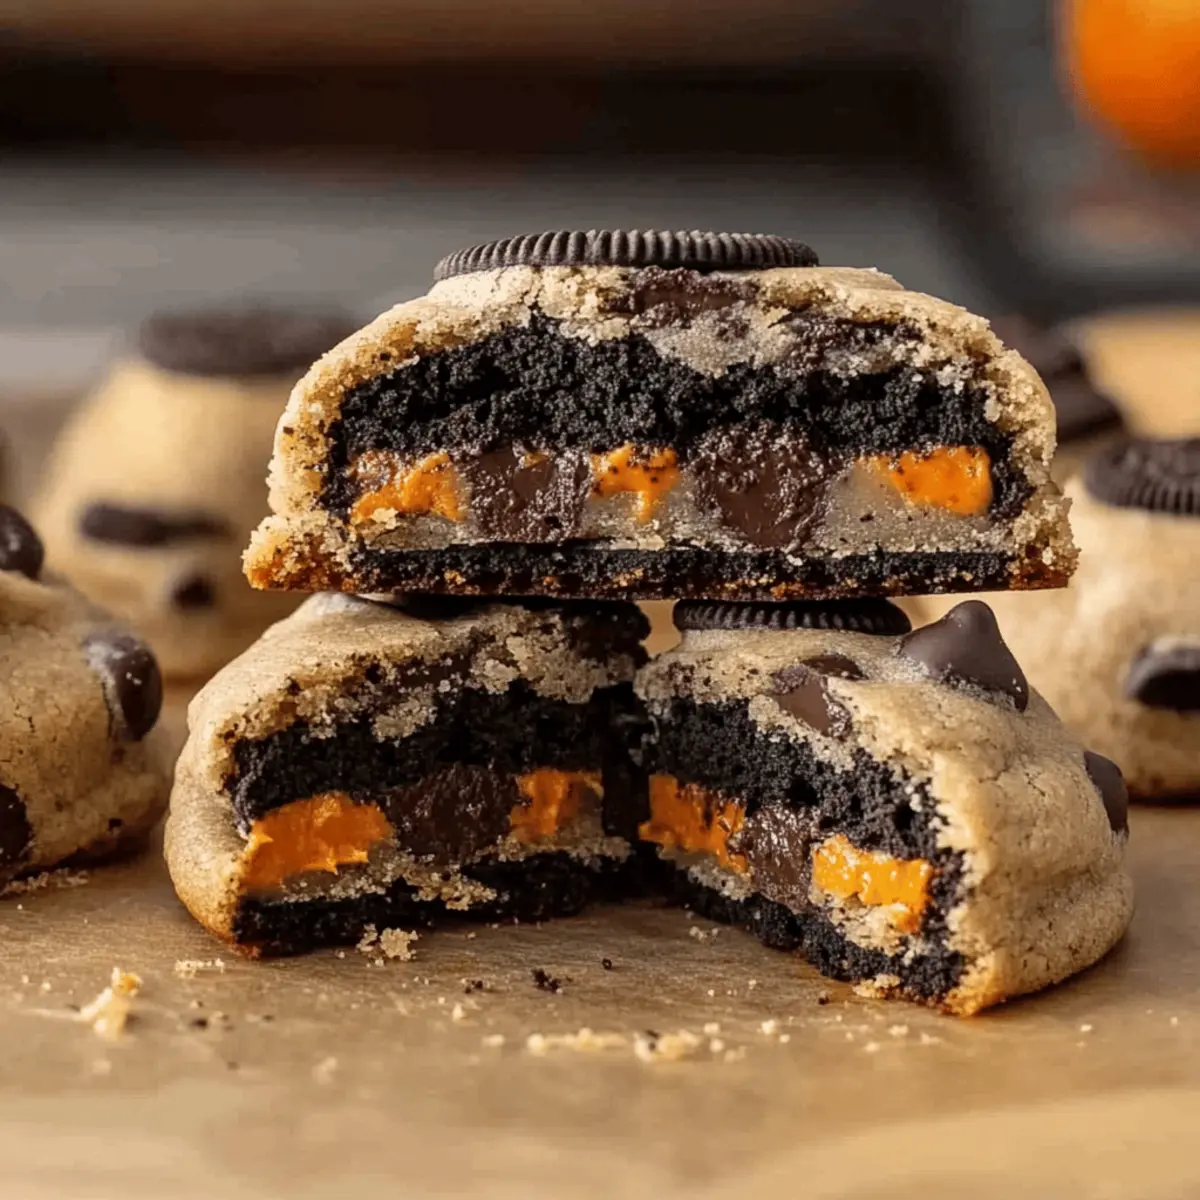
As I sift through vibrant sprinkles and rich chocolate chips, my kitchen transforms into a Halloween wonderland. There’s something magical about the combination of Halloween Oreo stuffed chocolate chip cookies, mixing nostalgia with playful charm. These delightful treats offer a crispy exterior that leads to a gooey center filled with a hidden Oreo surprise, making them the ultimate spooky dessert for any gathering. Plus, they come together in just 14 minutes—perfect for when you need a quick and scrumptious treat to impress family and friends or to satisfy a late-night craving. The best part? They’re a fun and festive way to share the joy of homemade baking without the hassle. Curious about how to create these delightful cookies yourself? Let’s dive in!
Why Are These Cookies a Must-Make?
Irresistible Flavor: The fusion of creamy Oreos and rich chocolate creates a cookie experience that is both indulgent and satisfying.
Quick and Easy: With just 14 minutes from mixing to baking, these cookies are perfect for those spontaneous baking sessions.
Fun for Everyone: Kids will love the surprise Oreo center, making them a hit at Halloween parties and gatherings.
Versatile Treat: Want a twist? Substitute regular Oreos with seasonal flavors like pumpkin or mint to keep things exciting!
Perfect Texture: Each bite features a crunchy exterior followed by a gooey, chocolate-filled center that’s simply addictive. Enjoy these magical Halloween Oreo stuffed chocolate chip cookies as a delightful addition to your dessert table!
Halloween Oreo Stuffed Chocolate Chip Cookies Ingredients
For the Dough
- Butter – Use slightly softened butter for easy mixing and a rich flavor.
- Brown Sugar – Adds moisture and a deep, caramel-like sweetness to the cookies.
- Granulated Sugar – Enhances sweetness and contributes to a light cookie structure.
- Egg – Binds the ingredients together and adds essential moisture.
- Vanilla Extract – Infuses a lovely warmth and depth to the overall flavor.
- Flour – The key building block for a chewy texture; be sure to spoon and level it for accuracy.
- Corn Starch – Helps improve the cookie’s softness and tenderness, contributing to that thick texture.
- Baking Soda – Acts as a leavening agent, giving the cookies a slight rise as they bake.
- Salt – A must-have for balancing sweetness and enhancing flavors nicely.
For the Mix-ins
- Semi-sweet Chocolate Chips – Adds extra chocolatey goodness; feel free to sprinkle more on top for a decadent touch.
- Halloween Oreos – The showstopper that fills each cookie with a delicious surprise!
- Halloween Sprinkles – Adds a festive flair; can be substituted with regular sprinkles based on availability.
Now that you’re stocked up on all the essentials, it’s time to create these Halloween Oreo stuffed chocolate chip cookies and fill your home with the irresistible aroma of gooey chocolate and nostalgic treats!
Step‑by‑Step Instructions for Halloween Oreo Stuffed Chocolate Chip Cookies
Step 1: Preheat the Oven
Begin by preheating your oven to 350°F (175°C). While the oven warms up, line a large baking sheet with parchment paper to prevent the cookies from sticking. This step is crucial to ensure your Halloween Oreo stuffed chocolate chip cookies bake evenly and come out perfectly crispy on the outside and chewy on the inside.
Step 2: Mix the Sweet Ingredients
In a medium bowl, combine slightly softened butter, brown sugar, and granulated sugar. Using an electric mixer, cream these ingredients together for about 2-3 minutes until the mixture is light and fluffy. This process incorporates air into the dough, creating a tender texture in your cookies.
Step 3: Add Egg and Vanilla
Next, beat in one egg and a splash of vanilla extract, mixing until smooth. This will enhance the sweetness and flavor of your Halloween Oreo stuffed chocolate chip cookies, ensuring each bite is a delightful treat. Make sure there are no lumps, as a well-blended batter will yield the best results.
Step 4: Combine Dry Ingredients
In a separate bowl, whisk together the flour, corn starch, baking soda, and salt. Gradually incorporate the dry mixture into the wet ingredients, stirring gently until just combined. Be careful not to overmix; a little flour visible is okay. This creates the ideal texture for your cookies, promoting that satisfying chewiness.
Step 5: Fold in Chocolate Chips and Sprinkles
With your dough ready, gently fold in the semi-sweet chocolate chips and vibrant Halloween sprinkles. This adds extra sweetness and festive touches to your cookies. Mix until just combined, ensuring that the mix-ins are evenly distributed but taking care not to overwork the dough.
Step 6: Assemble the Cookies
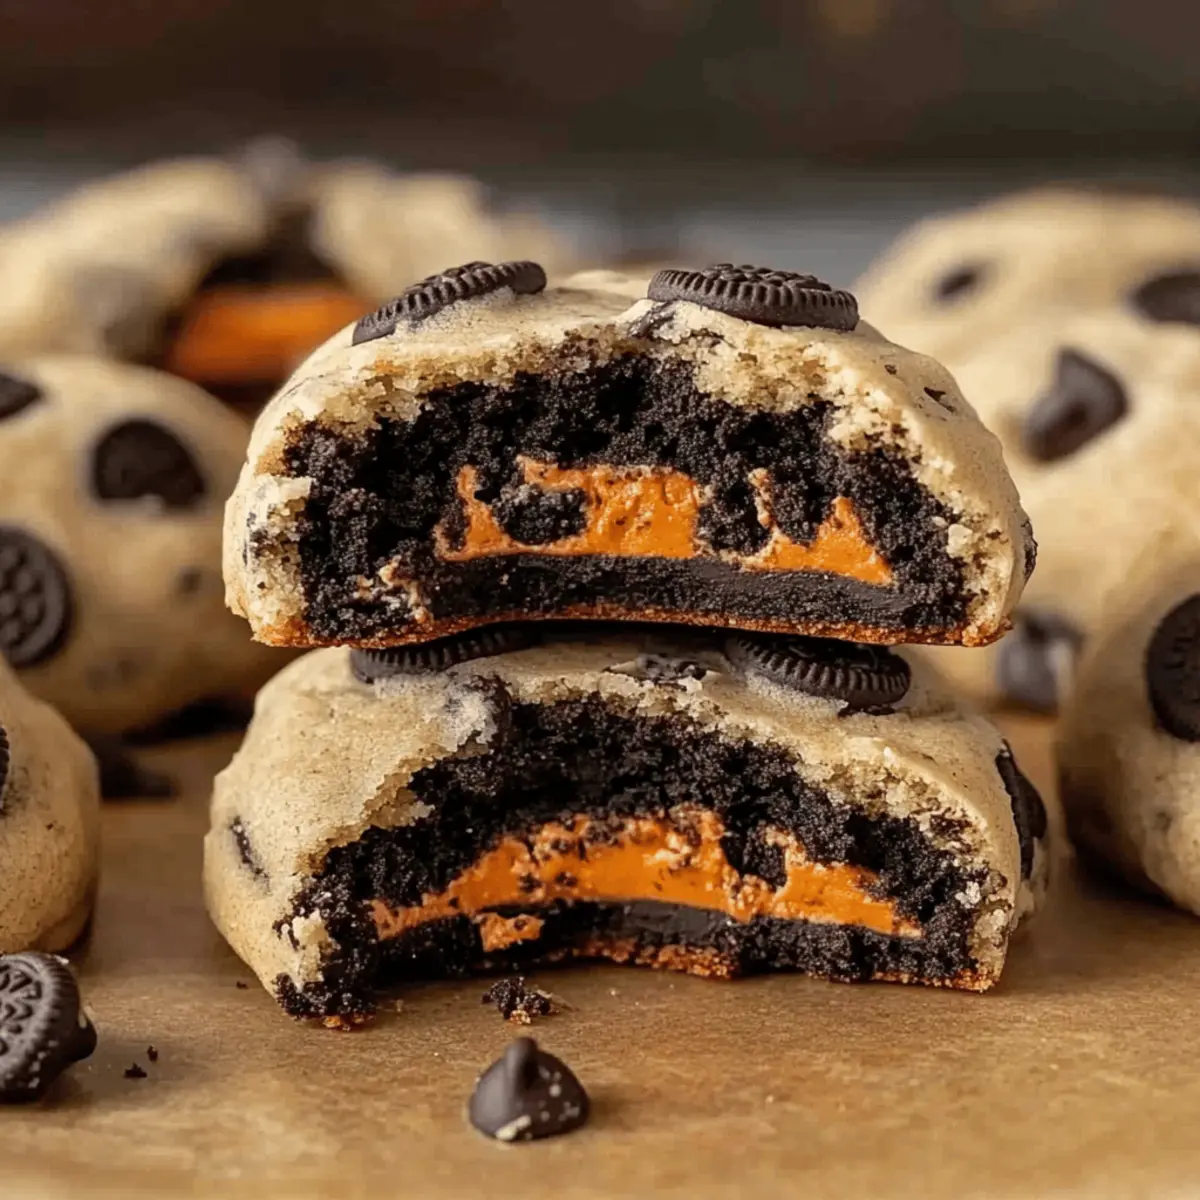
Now it’s time to form your cookies! Scoop out about 1/4 cup of the dough and flatten it in your palm. Place a Halloween Oreo in the center and fold the dough over it, sealing the edges to encase the Oreo completely. This step creates the delightful surprise inside each cookie when you take a bite.
Step 7: Bake the Cookies
Arrange the formed cookies on the prepared baking sheet, spacing them about 2 inches apart. Bake in the preheated oven for approximately 10 minutes. They may appear slightly underdone in the center, but that’s perfectly fine—these Halloween Oreo stuffed chocolate chip cookies will firm up as they cool.
Step 8: Add Final Touches
As soon as your cookies are out of the oven, sprinkle a few extra chocolate chips on top for an additional touch of richness. Let them cool on the baking sheet for 5 minutes; this will help them set while retaining a soft center. Afterward, transfer the cookies to a wire rack to cool completely.
Halloween Oreo Stuffed Chocolate Chip Cookies Variations
Feel free to personalize these delightful cookies to match your taste and dietary needs!
-
Seasonal Oreos: Swap regular Oreos for pumpkin or peppermint-flavored varieties for a festive twist. These seasonal swaps add unique flavors that surprise your taste buds and elevate your treats.
-
Nutty Texture: Add chopped walnuts or pecans for a crunchy surprise in every bite. The combination of rich chocolate and nutty flavors creates a beautiful harmony that adds depth to your cookies.
-
Dairy-Free Delight: Use plant-based butter and dairy-free chocolate chips to make this recipe vegan-friendly. Many brands offer delicious options that still keep the cookies rich and indulgent.
-
Gluten-Free Option: Substitute regular flour with gluten-free all-purpose flour for a gluten-free version of these delightful cookies. Your friends and family won’t even notice the difference!
-
Chocolate Lovers: Experiment with mixing different types of chocolate chips—try dark, milk, or white chocolate for diverse flavor profiles. Each option brings a different sweetness that pairs wonderfully with Oreos.
-
S’mores Flavor: Add mini marshmallows and crushed graham crackers to the dough for a s’mores-inspired version. This fun twist will surely delight kids and adults alike during any gathering.
-
Spicy Kick: Enhance the flavor with a pinch of cayenne or cinnamon for a little heat. It beautifully contrasts with the sweetness, making each bite an exhilarating experience.
-
Fruity Surprise: Include dried fruit, such as cranberries or cherries, along with your mix-ins for a delightful fruity burst. These additions will bring both sweetness and a touch of tartness, perfectly balancing the richness of the cookies.
As you explore these variations, check out these fabulous recipes for further inspiration: Chocolate Chips Cookies, Swiss Chocolate Chalet, and Millies Cookies Bake. Enjoy the delightful journey of baking!
Storage Tips for Halloween Oreo Stuffed Chocolate Chip Cookies
- Room Temperature: Store cookies in an airtight container at room temperature for up to 4 days to maintain their chewy texture and flavor.
- Fridge: If you prefer them chilled, keep the cookies in the fridge where they can last for up to a week. Just ensure they are well-wrapped to prevent drying out.
- Freezer: For longer storage, freeze the cookies in an airtight container for up to 3 months. Separate layers with parchment paper for easy access later.
- Reheating: Enjoy your Halloween Oreo stuffed chocolate chip cookies warm by microwaving them for 10-15 seconds, adding that fresh-baked taste!
What to Serve with Halloween Oreo Stuffed Chocolate Chip Cookies
These delightful treats are just the beginning—let’s create a spooky spread that tantalizes all the senses.
-
Fresh Milk: Nothing beats the classic combination of warm cookies and a cold glass of milk, helping to wash down the rich chocolate flavors.
-
Pumpkin Spice Latte: The cozy, spiced notes of this seasonal favorite pair perfectly, enhancing the festive fall vibe of your cookie delights.
-
Caramel Sauce: Drizzling warm caramel over your cookies adds a sweet, buttery richness that makes every bite even more indulgent.
-
Ghostly Ice Cream Sundaes: Serve with vanilla or chocolate ice cream topped with whipped cream and Halloween-themed sprinkles for a fun and chilling dessert experience.
-
Apple Cider: Hot or cold, apple cider offers a refreshing balance to the sweetness of the cookies and captures the taste of autumn beautifully.
-
Chocolate Dipped Strawberries: These add a fruity twist to your dessert table, contrasting the cookies’ rich flavors while keeping party themes intact.
-
Halloween Candy Medley: A platter featuring a mix of seasonal candies can create an engaging and colorful display, ensuring everyone has a little something sweet.
Embrace the enchantment of Halloween by pairing your Halloween Oreo stuffed chocolate chip cookies with these deliciously complementary delights!
Expert Tips for Halloween Oreo Stuffed Chocolate Chip Cookies
- Softened Butter: Ensure your butter is slightly softened, not melted, for the perfect cookie texture that combines gooeyness and chewiness.
- Don’t Overmix: Avoid overmixing the dough when incorporating dry ingredients; this keeps your cookies wonderfully soft and chewy.
- Consistent Size: Use a cookie scoop to maintain consistent sizes, ensuring even baking and a delightful Oreo surprise in every bite.
- Leave Them Slightly Underdone: These cookies will continue to firm up as they cool, so trust that slightly underdone centers are desirable for that gooey finish.
- Adaptive Variations: Get creative! Swap Oreos for seasonal flavors or add chopped nuts for a fun twist on the classic Halloween Oreo stuffed chocolate chip cookies.
Make Ahead Options
These Halloween Oreo stuffed chocolate chip cookies are perfect for busy home cooks looking to save time during the hectic holiday season! You can prepare the cookie dough up to 24 hours in advance—just scoop it into balls, flatten them slightly, and wrap each one tightly in plastic wrap. For optimal quality, refrigerate them until you’re ready to bake. When it’s time to enjoy these delightful treats, simply preheat your oven and bake them directly from the fridge (adding a minute or two to the baking time if needed). This way, you can have freshly baked cookies with minimal effort, making your celebrations even sweeter!
Halloween Oreo Stuffed Chocolate Chip Cookies Recipe FAQs
How do I choose the right Oreos for the filling?
Absolutely! For that perfect Halloween twist, I recommend using Halloween-themed Oreos, as they not only taste delicious but also add a festive flair. Look for Oreos with fun designs or colors that match your spooky theme. If you can’t find them, regular Oreos work just as well, and you can always add a touch of orange or black frosting for a creative boost!
What’s the best way to store the cookies?
These delightful Halloween Oreo stuffed chocolate chip cookies can be stored in an airtight container at room temperature for up to 4 days. If you want to keep them fresh longer, consider refrigerating them, where they will last up to a week. Just make sure they’re well-wrapped to avoid drying out. For freezing, place them in an airtight container with layers separated by parchment paper and they’ll be good for up to 3 months!
Can I freeze the dough for later use?
Yes! Freezing dough is a great option for these cookies. Scoop out the cookie dough with the Oreo in the center, then place each ball on a lined baking sheet and freeze until solid. Transfer the frozen dough balls to an airtight container or zip-top bag, and they can be stored for up to 3 months. When you’re ready to bake, simply preheat your oven and bake them directly from the freezer, adding an extra minute or two to the bake time.
What if my cookies spread too much during baking?
If you find that your cookies are spreading too much, don’t worry! This can happen for a couple of reasons—either the butter was too soft or the oven temperature wasn’t quite right. Make sure your butter is only slightly softened. If you suspect your oven runs hot, consider using an oven thermometer to check and adjust the temperature. Additionally, if you’d like thicker cookies, you can add a little more flour to the dough for a sturdier structure.
Are these cookies safe for pets or individuals with allergies?
It’s important to note that these cookies contain chocolate, which is toxic to dogs, so be sure to keep them out of reach. If you have guests with allergies, substituting ingredients is an option! You can use gluten-free flour or dairy-free butter alternatives. Always advise your friends and family about the ingredients in the cookies to ensure everyone enjoys them safely.
Halloween Oreo Stuffed Chocolate Chip Cookies That Wow Kids
Ingredients
Equipment
Method
- Preheat your oven to 350°F (175°C) and line a large baking sheet with parchment paper.
- In a medium bowl, cream together slightly softened butter, brown sugar, and granulated sugar for 2-3 minutes until light and fluffy.
- Beat in one egg and vanilla extract, mixing until smooth.
- In a separate bowl, whisk together flour, corn starch, baking soda, and salt; then gradually incorporate into the wet ingredients.
- Gently fold in chocolate chips and Halloween sprinkles until just combined.
- Scoop about 1/4 cup of dough, flatten it, place a Halloween Oreo in the center, and fold the dough over to enclose the Oreo.
- Arrange the cookies on the baking sheet, spacing about 2 inches apart, and bake for approximately 10 minutes.
- Sprinkle extra chocolate chips on top right after removing from the oven, let cool on the baking sheet for 5 minutes, then transfer to a wire rack.
")


