
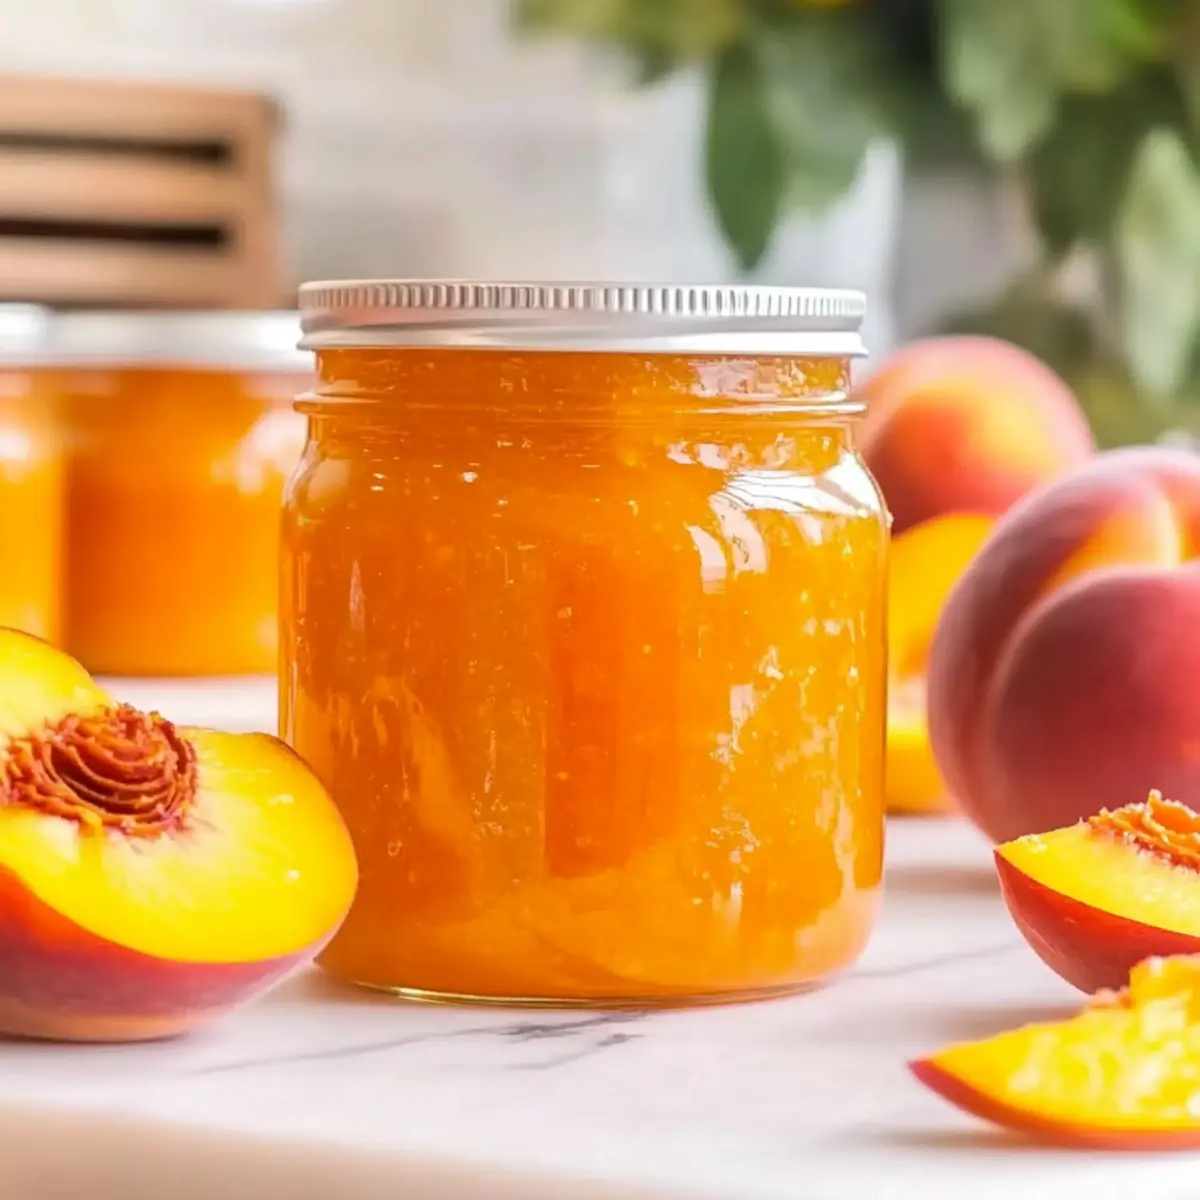
The aroma of ripe, sun-warmed peaches always takes me back to those lazy summer afternoons, where the air was sweet enough to rival the fruit itself. That’s why I’m thrilled to share this Classic Homemade Peach Jam Recipe, perfect for fans of home canning and anyone eager to savor that summer essence year-round. What I love most about this recipe is its simplicity; with just a handful of ingredients, you’ll create a delightful, spreadable treasure that can transform your breakfast toast or afternoon snack. Plus, it’s gluten-free and a beautiful way to preserve the bounty of the season! Curious about how to capture those sunny flavors in a jar? Let’s dive into the sweetest adventure of canning together!
Why Make Peach Jam at Home?
Unmatched Freshness: Nothing beats the taste of homemade peach jam, with succulent, ripe peaches that scream summer in every bite.
Craftsmanship in Simplicity: This straightforward recipe allows you to master the art of canning without complicated techniques—just pure joy!
Versatile Delights: Use this jam on toast, in desserts, or even paired with cheese for a gourmet touch.
Gluten-Free Goodness: Perfect for those seeking gluten-free options, you can indulge worry-free.
Preserve Memories: Each jar is a snapshot of sunny days, ready to brighten dreary winters.
Quick and Rewarding: Prepare, cook, and process in just a few easy steps—ideal for busy schedules! For more delightful canning ideas, check out my Fricassee Cake Global recipe for a sweet twist!
Homemade Peach Jam Ingredients
For the Jam
- Ripe Yellow Peaches – The star of the show! Their sweetness and acidity make them essential for a successful homemade peach jam.
- Bottled Lemon Juice – Adds necessary acidity for safe canning while providing a refreshing tang.
- Regular Powdered Fruit Pectin – This helps the jam to gel beautifully, giving it that perfect consistency.
- Granulated Sugar – Critical for sweetness and preservation; never skimp on the amount for safety.
For Processing
- Canning Jars – Ensure jars are sterilized and in good condition to maintain the jam’s freshness.
- Lids – Seals the jars tightly for safe storage, preventing spoilage.
- Water – Essential for the water bath processing method, ensuring a sealed environment for canning.
Ready to dive into the sweet world of homemade peach jam? Gather these ingredients and let’s create some beautiful preserves!
Step‑by‑Step Instructions for Homemade Peach Jam Recipe
Step 1: Prepare Jars and Utensils
Begin by cleaning your canning jars and lids thoroughly with warm, soapy water. Rinse them well and inspect for any chips or bubbles that could compromise their seal. Place the jars upright in a water bath canner or a large pot filled with water, and keep them warm until ready to use, ensuring a perfect seal when filling with your delightful homemade peach jam.
Step 2: Prepare Peaches
Rinse the ripe yellow peaches under cool water and pat them dry. For the perfect consistency in your homemade peach jam, peel, pit, and chop the peaches until you have approximately 2 2/3 cups. You’ll want to create a vibrant, chunky texture, reminiscent of sunlit summer afternoons. Set the prepared peaches aside while you prepare the canner.
Step 3: Prepare the Canner
Select either a water bath or steam canner for processing. Fill your chosen canner with enough water to cover the jars by at least an inch during processing. Bring the water to a steady boil. Preheating the jars in the canner at this stage ensures that they are ready for the piping hot jam, maximizing safety and quality in your homemade peach jam recipe.
Step 4: Cook the Jam
In a large pot, combine the prepared peaches and bottled lemon juice, stirring gently to blend. Sprinkle in the powdered fruit pectin, and bring the mixture to a rolling boil over medium-high heat, stirring constantly. When the mixture reaches a full boil that cannot be stirred down, add the granulated sugar all at once, return to a boil, and cook for 1 minute while continuing to stir vigorously to achieve a glossy texture.
Step 5: Fill Jars
Once your jam has reached the desired consistency, carefully remove a jar from the canner using a jar lifter. Ladle the hot peach jam into the jar, leaving about 1/4 inch of headspace at the top to allow for expansion. With a clean damp cloth, wipe the rim of the jar to remove any residue before placing a lid on top, ensuring an airtight seal for your homemade peach jam.
Step 6: Process Jars
Gently place the filled jar back into the canner and repeat with the remaining jars. When all jars are filled and sealed, cover your canner and bring the water back to a boil if necessary. Process the jars in the boiling water or steam canner for 10 minutes, adjusting the processing time according to your altitude to guarantee safe preservation of your peach jam.
Step 7: Cool Jars
After processing, carefully remove the jars using the jar lifter, placing them upright on a clean kitchen towel or cooling rack, and allow them to cool completely without disturbance for 12 to 24 hours. Once cooled, check the seals of your homemade peach jam by pressing the center of each lid; it should not pop back. Label your jars with the date and recipe name, and enjoy the satisfaction of your successful canning!
Expert Tips for Homemade Peach Jam
-
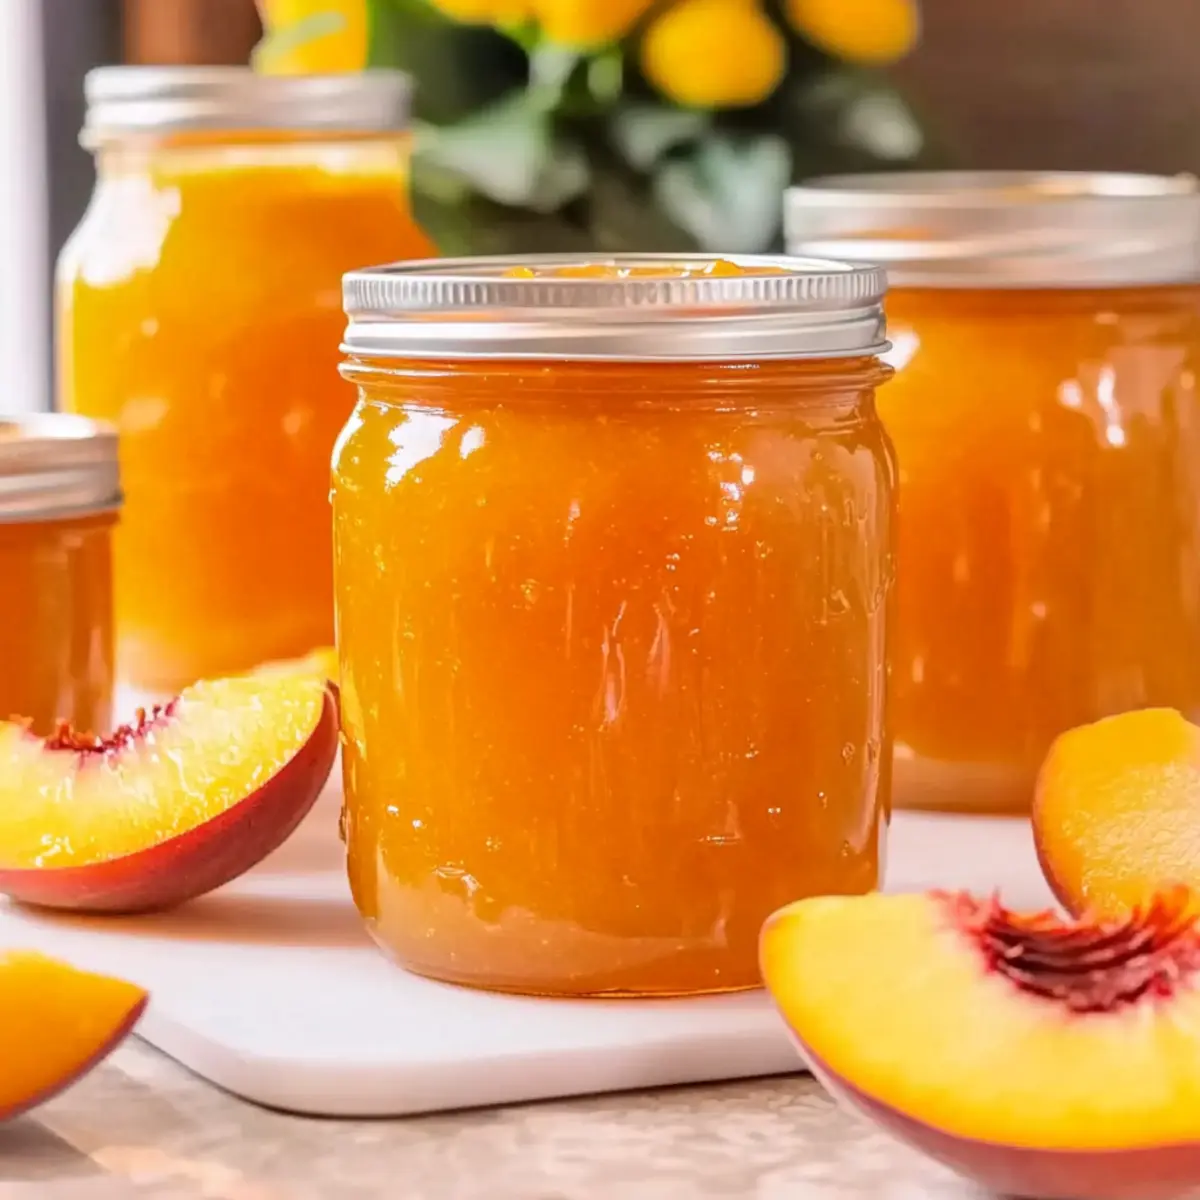
Proper Peach Selection: Choose only ripe yellow peaches for your homemade peach jam; their acidity is crucial for safe canning and flavor.
-
Manage Foam: To reduce foam while boiling, stir in 1/2 teaspoon of butter; this trick helps achieve that beautiful, glossy finish.
-
Rolling Boil is Key: Ensure you reach a robust rolling boil that cannot be stirred down before adding sugar; this is essential for proper gelling.
-
Headspace Matters: Always leave about 1/4 inch of headspace when filling jars. This allows for expansion during the canning process and seals better.
-
Cool Undisturbed: Allow jars to cool completely for 12-24 hours. This helps ensure a tight seal, preserving your homemade peach jam beautifully.
Make Ahead Options
These Classic Homemade Peach Jam Recipe steps are ideal for busy home cooks! You can prepare the peaches by washing, peeling, pitting, and chopping them up to 24 hours in advance. Simply store the prepared peaches in an airtight container in the refrigerator to keep them fresh. Additionally, you can measure and combine the bottled lemon juice and powdered fruit pectin beforehand, placing them in a sealed bag to keep them dry. When you’re ready to make your peach jam, just follow the remaining steps; heat the peach mixture, add sugar, and process as directed. With these make-ahead tips, you’ll enjoy a smooth, delicious jam that saves you valuable time without sacrificing fresh flavor!
Homemade Peach Jam Recipe Variations
Feel free to get creative with this delightful peach jam, adding your personal touch to make it your own!
-
Spiced Delight: Add a pinch of cinnamon or ginger for a warm, inviting flavor that enhances the sweetness of peaches.
-
Berry Fusion: Mix in other fruits like blueberries or raspberries for a delightful twist. This berry combo creates a beautiful color and layered flavor.
-
Zesty Citrus: Incorporate the zest of an orange or lemon to brighten the flavor profile. The citrus adds a refreshing note that contrasts beautifully with the peaches.
-
Honey Swirl: Replace granulated sugar with honey for a unique sweetness. Just remember to adjust the amount, as honey is sweeter than sugar!
-
Low-Sugar Option: Use a low-sugar pectin and reduce the sugar for a healthier version without sacrificing taste.
-
Chili Kick: Add a pinch of red pepper flakes or jalapeño for a spicy take on peach jam. This unexpected heat will tantalize your taste buds!
-
Vanilla Bean Bliss: Infuse your jam with a split vanilla bean for that extra touch of luxury. Its aromatic richness blends wonderfully with peaches.
-
Savory Spread: Consider adding finely chopped herbs like basil or mint for a savory peach jam. Perfect for pairing with cheese on a charcuterie board!
For more ideas on delightful variations, don’t miss out on my Variations Chopped Cheese recipe, and you may also enjoy adding some flavor diversity to breakfasts with my Vanilla Creamer Homemade!
How to Store and Freeze Homemade Peach Jam
Fridge: Store opened jars in the refrigerator for up to 3 weeks. Ensure the lid is sealed tightly after each use to maintain freshness.
Room Temperature: Unopened jars of homemade peach jam can be stored in a cool, dark place for up to 1 year. Keep them away from direct sunlight and heat sources.
Freezer: For long-term storage, freeze peach jam in airtight containers or freezer-friendly bags for up to 1 year. Thaw in the fridge overnight before using.
Reheating: If using frozen jam, gently reheat it on the stovetop or in the microwave until warmed through; do not boil to preserve texture.
What to Serve with Classic Homemade Peach Jam?
Indulge in the sweet goodness of peach jam while creating a delightful meal experience that’s sure to bring warmth to your table.
-
Fluffy Buttermilk Biscuits: The buttery, flaky texture of fresh biscuits creates a perfect canvas for luscious peach jam, offering a comforting breakfast treat.
-
Creamy Greek Yogurt: Swirl a spoonful of jam into creamy yogurt, transforming it into a refreshing breakfast or a delightful dessert that captures summer’s essence.
-
Savory Cheese Platter: Pair the sweet jam with sharp cheeses like Brie or aged cheddar to elevate your charcuterie board with contrasting flavors that dance on the palate.
-
Peach Jam Glazed Chicken: Use the jam as a glaze for grilled or roasted chicken; its sweet, fruity notes enhance the savory meat, creating a fantastic dinner option.
-
Pancakes or Waffles: Drizzle warm peach jam over golden pancakes or crispy waffles for a twist on a classic breakfast, turning a simple meal into a feast.
-
Nut Butter Toast: Spread your favorite nut butter on whole-grain bread and top it with a generous layer of jam for a satisfying snack that’s rich and wholesome.
-
Sparkling Lemonade: Refresh your sip with homemade or store-bought sparkling lemonade, which perfectly balances the sweetness of the jam for a delightful summer drink.
-
Vanilla Ice Cream Sundae: Top a scoop of vanilla ice cream with warm peach jam for a simple yet indulgent dessert that feels like summer after every spoonful.
Classic Homemade Peach Jam Recipe FAQs
What are the best peaches to use for this jam?
Absolutely, you want to choose ripe yellow peaches for this jam! They provide the perfect balance of sweetness and acidity required for safe canning. Look for peaches that are slightly soft to the touch with a golden hue and a sweet aroma. Avoid any with dark spots or blemishes to ensure the best quality in your homemade peach jam.
How should I store the peach jam once it’s made?
Once your homemade peach jam is sealed and cooled, store the jars in a cool, dark place for up to 1 year. Make sure to keep them away from direct sunlight and extreme temperature changes. After opening, refrigerate the jam for up to 3 weeks. Sealing the jar tightly after each use will help maintain its freshness!
Can I freeze peach jam?
Yes, you can freeze homemade peach jam! For optimal results, transfer the jam into airtight containers or freezer-friendly bags, leaving some headspace for expansion. It can be frozen for up to 1 year. When you’re ready to use it, simply thaw the jam overnight in the refrigerator, and it’s good to go!
What if my jam doesn’t thicken?
Don’t worry! If your jam doesn’t thicken as expected, it may be due to insufficient boiling or not using enough pectin. To fix this, you can reheat the jam: pour it back into a pot, bring it to a rolling boil, and stir in a bit more pectin according to package instructions. Boil for another minute, and it should set nicely. Don’t forget to reprocess it according to the canning instructions if you’re concerned about safety.
Is this peach jam gluten-free?
Very! This Classic Homemade Peach Jam is naturally gluten-free as it only contains peaches, sugar, and lemon juice. It’s a perfect option for anyone looking to enjoy delicious spreads without gluten. Always check that any added ingredients, like pectin, are also certified gluten-free to be completely safe!
How can I tell if my jars sealed properly?
After cooling the jars, check the seals by gently pressing the center of each lid. If it doesn’t pop back, your jars have sealed properly! If you notice any popped lids, those are best stored in the fridge and used promptly. Proper sealing ensures your homemade peach jam will last for months without spoilage.
Homemade Peach Jam Recipe: Capture Summer in a Jar
Ingredients
Equipment
Method
- Begin by cleaning your canning jars and lids thoroughly with warm, soapy water. Rinse them well and inspect for any chips or bubbles that could compromise their seal. Place the jars upright in a water bath canner or a large pot filled with water, and keep them warm until ready to use.
- Rinse the ripe yellow peaches under cool water and pat them dry. Peel, pit, and chop the peaches until you have approximately 2 2/3 cups.
- Fill your chosen canner with enough water to cover the jars by at least an inch during processing. Bring the water to a steady boil.
- In a large pot, combine the prepared peaches and bottled lemon juice. Sprinkle in the powdered fruit pectin, and bring the mixture to a rolling boil over medium-high heat. Stir constantly and add the granulated sugar after reaching a full boil.
- Ladle the hot peach jam into the jar, leaving about 1/4 inch of headspace. Wipe the rim and seal with a lid.
- Place the filled jar back into the canner and process the jars in boiling water for 10 minutes.
- Carefully remove the jars and allow them to cool completely on a kitchen towel or cooling rack for 12 to 24 hours.