")
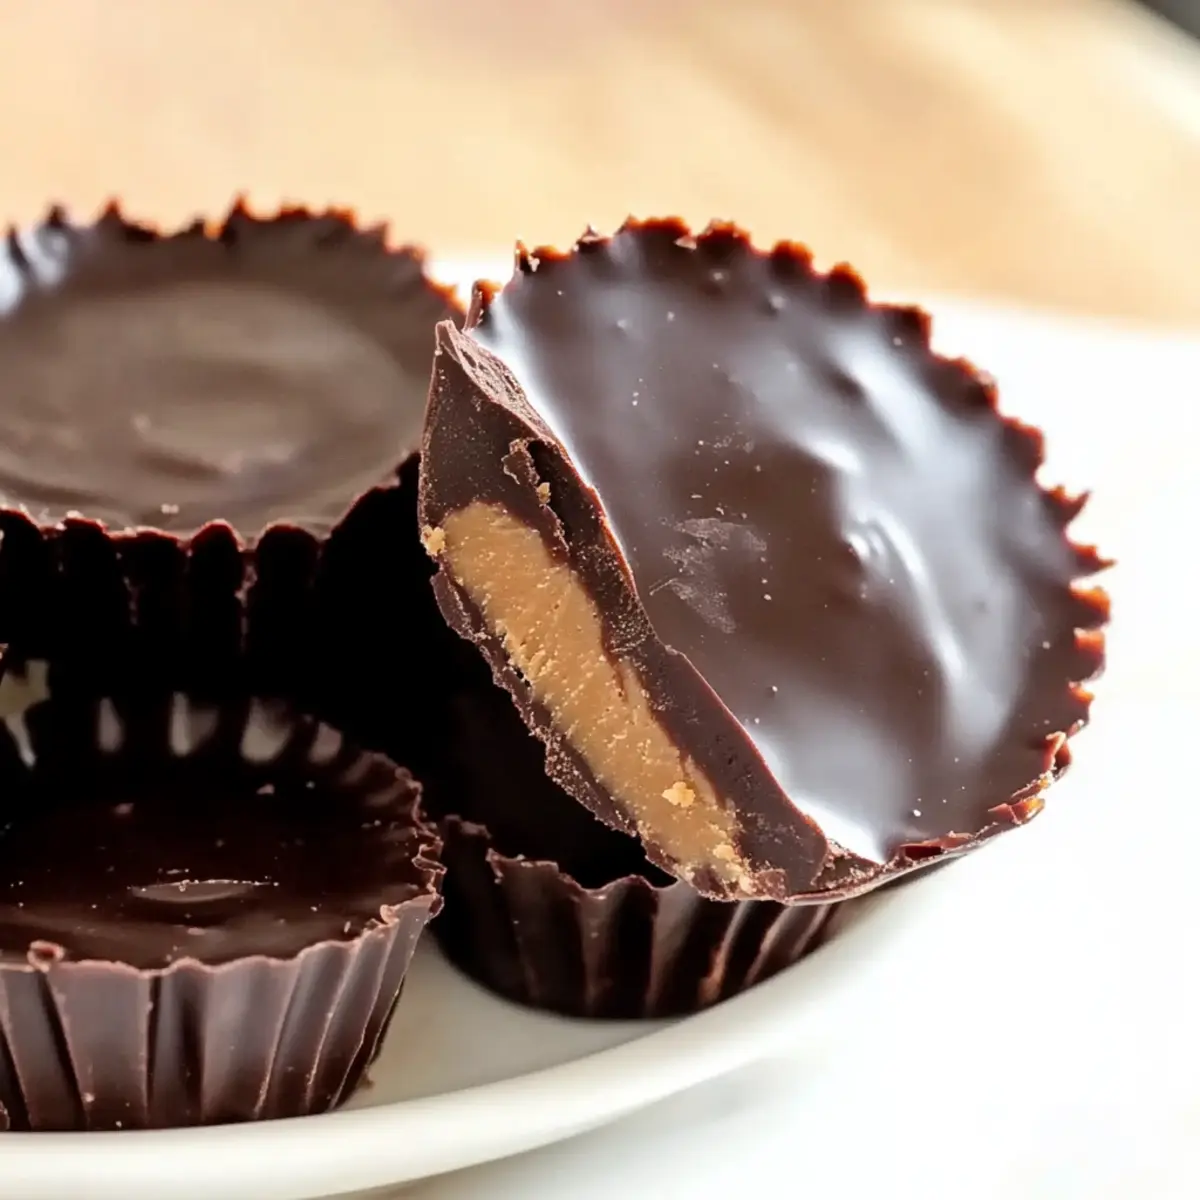
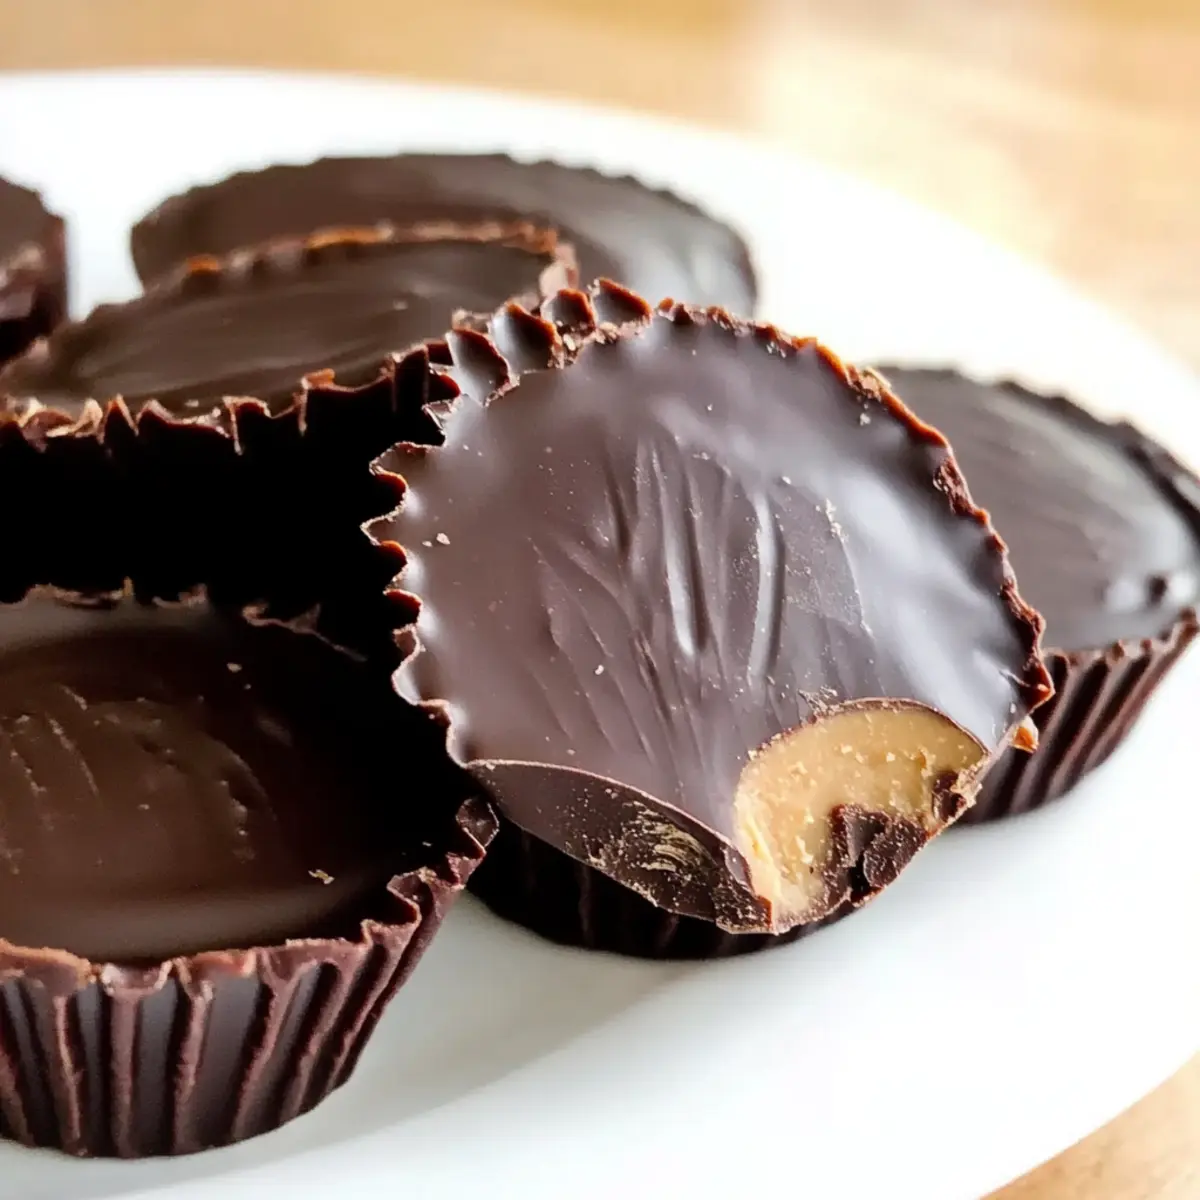
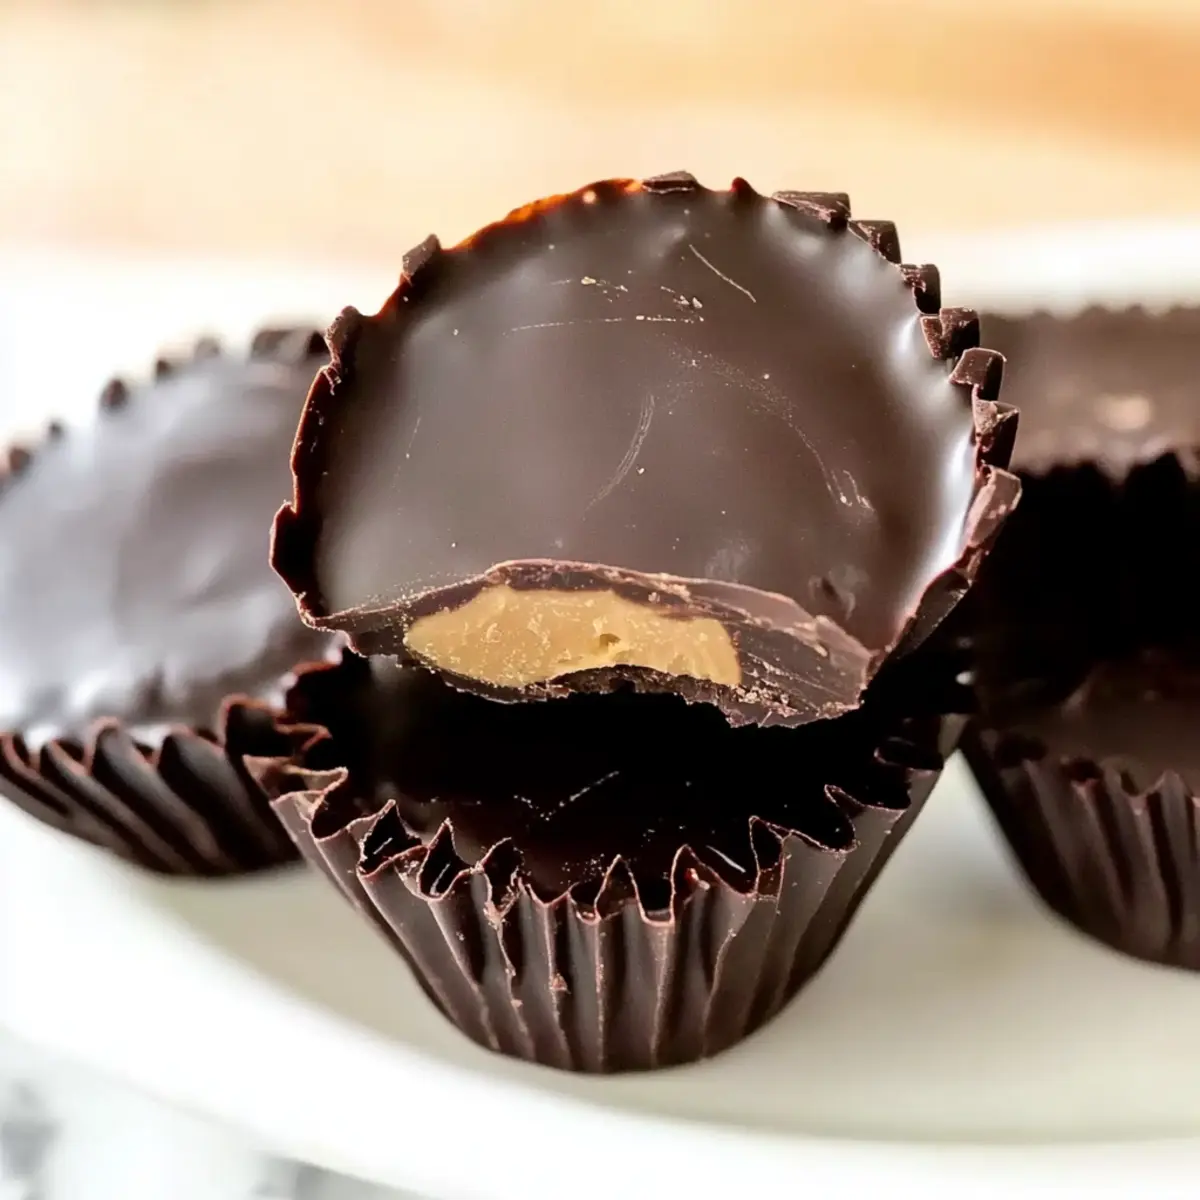
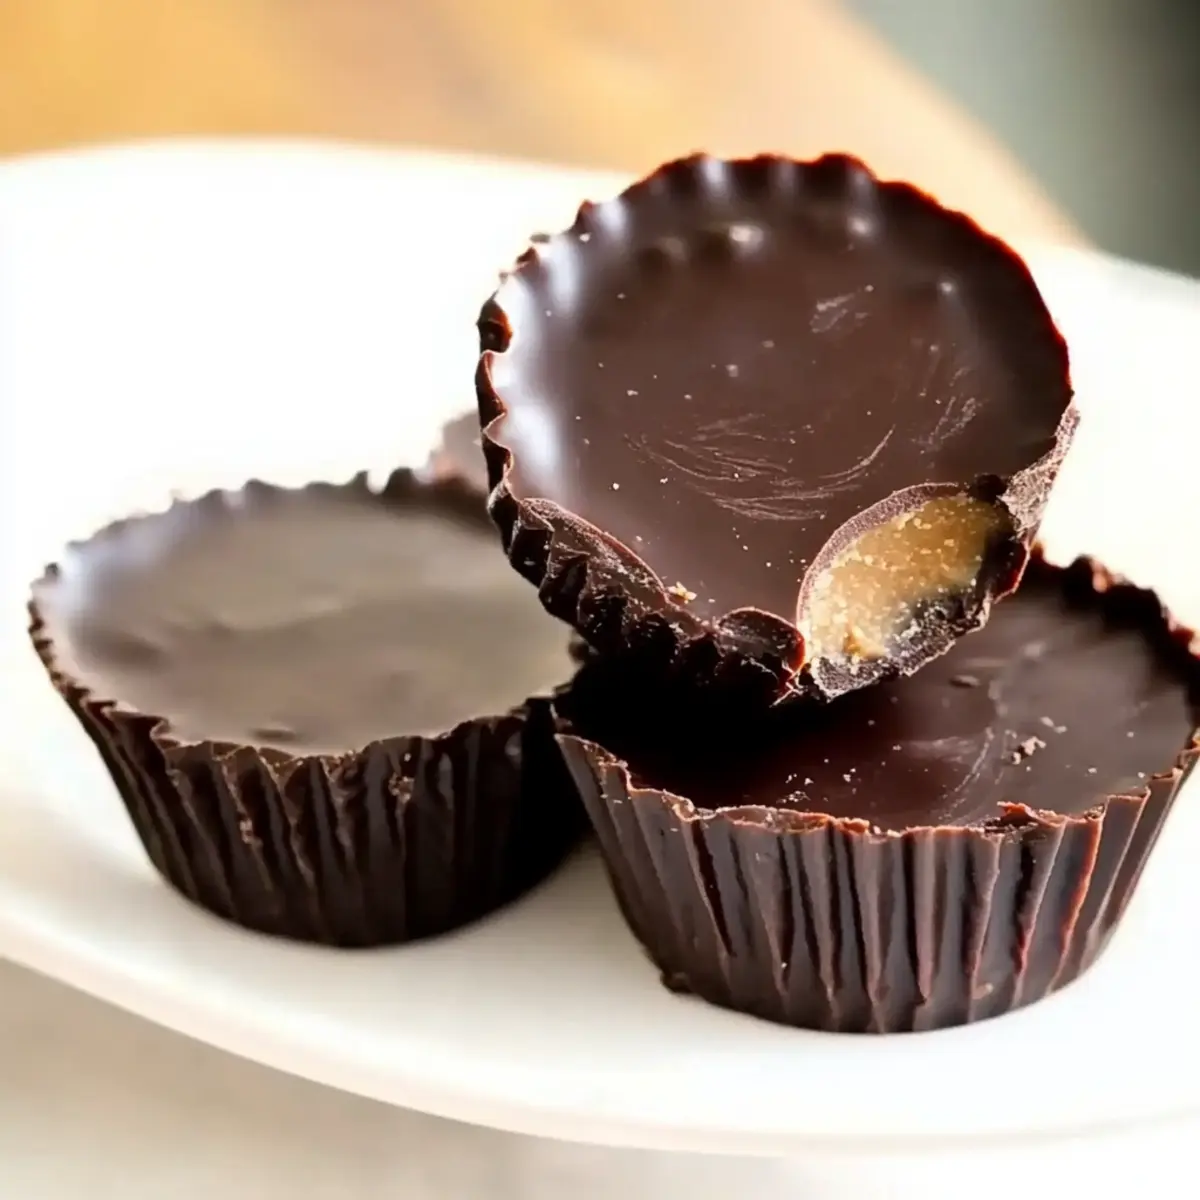
As I stirred together those three simple ingredients, the nostalgic scent of chocolate and peanut butter filled my kitchen, taking me back to carefree childhood days. My latest adventure in the kitchen led to the creation of these delightful Homemade Peanut Butter Cups, a guilt-free treat you can whip up in no time! They’re not just quick to prepare; they’re also a hit with anyone craving something sweet, incorporating low-carb, gluten-free, and even dairy-free options. The creamy peanut butter paired with rich dark chocolate creates that satisfying combination we all adore. Whether you’re following a special diet or simply want to indulge in a healthier snack, these bites of bliss promise to please. Are you ready to elevate your dessert game and impress your friends and family with this easy recipe? Let’s dive in!
Why Make Homemade Peanut Butter Cups?
Irresistible flavor: These homemade peanut butter cups are bursting with rich, creamy goodness that far surpasses store-bought options. Quick and easy: With just three ingredients, you’ll have a delicious treat whipped up in no time. Diet-friendly: Suitable for low-carb, gluten-free, and dairy-free diets, pleasing a variety of guests. Customizable: Swap in almond or cashew butter for a fun twist, or add unique flavors like honey or a pinch of chili. Perfect for sharing: Chilled and served with a glass of milk or coffee, they’re bound to impress friends and family! Enjoy this guilt-free delight that feels indulgent without any of the guilt!
Homemade Peanut Butter Cups Ingredients
• Only three ingredients to make these delectable treats!
For the Filling
- 1 cup smooth peanut butter (or almond/cashew butter) – This provides the creamy and savory base for the cups; feel free to choose your favorite nut butter!
- 1 teaspoon sea salt – A pinch of salt enhances flavor and balances the sweetness; adjust as needed, or leave out for a sweeter taste.
For the Chocolate Shell
- ½ pound dark chocolate (72% cocoa or darker) – Perfect for a rich chocolate shell; use vegan chocolate if you’re opting for dairy-free options.
These homemade peanut butter cups are not only easy to make but also a delightful treat that caters to various dietary needs!
Step‑by‑Step Instructions for Homemade Peanut Butter Cups
Step 1: Chill Mold
To start your journey in creating Homemade Peanut Butter Cups, place your candy mold in the freezer for at least 15 minutes. This step is crucial, as a chilled mold ensures that the melted chocolate sets quickly, keeping your cups from spreading. Using silicone molds will make the release of your cups easier later on.
Step 2: Melt Chocolate
In a double boiler, slowly melt the ½ pound of dark chocolate over low heat, stirring gently until it becomes velvety and smooth, usually about 5-7 minutes. Be careful to keep moisture away from the chocolate, as it can seize. Once melted, remove the chocolate from heat and let it cool slightly before filling the molds.
Step 3: Coat Mold
Remove the chilled mold from the freezer, and use a small spoon to fill each mold well with about ½ teaspoon of the melted chocolate. Carefully brush the chocolate up the sides to create a shell. Once all molds are filled, return them to the freezer for 5-10 minutes or until the chocolate hardens completely.
Step 4: Add Filling
While the chocolate shell sets, prepare your filling by mixing together 1 cup of smooth peanut butter with 1 teaspoon of sea salt in a bowl. Transfer the mixture into a zip-lock bag, snip off a corner, and pipe it into the chocolate molds, filling each about ¾ full. Gently tap the mold to settle the filling, and sprinkle a pinch of sea salt on top for extra flavor.
Step 5: Top with Chocolate
Next, cover each filled mold with more melted chocolate, smoothing it over the tops to create a neat finish. Make sure to completely seal the peanut butter filling, ensuring no gaps remain. Once done, place the mold back in the freezer for 30 minutes, allowing the cups to firm up.
Step 6: Release Cups
After the chilling time is up, remove your mold from the freezer. Gently flex the silicone mold or tap it on a countertop to release the Homemade Peanut Butter Cups onto a surface lined with towels or paper liners. This playful celebration of flavors is almost ready to enjoy!
Storage Tips for Homemade Peanut Butter Cups
Room Temperature: Store your homemade peanut butter cups in an airtight container at room temperature for up to 3 days, but if you live in a warm climate, refrigeration may be best to prevent melting.
Fridge: Keep your peanut butter cups in the refrigerator for up to a week, which helps maintain their freshness and texture. Ensure they are well-sealed to avoid absorbing moisture or odors.
Freezer: For longer storage, freeze the cups in a freezer-safe container for up to 3 months. To prevent sticking, separate layers with parchment paper. Thaw in the fridge when ready to enjoy.
Reheating: No reheating is necessary! Simply enjoy your homemade peanut butter cups cold from the fridge or at room temperature for a delightful, satisfying treat.
Variations & Substitutions for Homemade Peanut Butter Cups
Feel free to get creative with these homemade peanut butter cups; your kitchen is your playground!
-
Nut Butter Swap: Try almond or cashew butter for a different flavor; it adds a delightful twist to the classic recipe. Each nut butter brings its own unique creaminess, enhancing the overall experience.
-
Vegan Delight: Use dairy-free chocolate to create a fully vegan version without sacrificing flavor; this way, everyone can indulge guilt-free!
-
Add Spice: A pinch of chili powder or cinnamon can elevate your peanut butter cups with a kick. A little heat can balance the sweetness and add complexity that surprises the taste buds.
-
Crunchy Texture: Mix in chopped nuts, seeds, or even crispy rice for added texture in the filling. This creates that perfect harmony of smooth and crunchy, making each bite an adventure.
-
Sweetener Options: Swap out the usual sweeteners with maple syrup or agave for a different sweetness profile. These natural sweeteners give a unique flavor while keeping things healthier.
-
Flavor Infusions: Incorporate vanilla extract or almond extract into the peanut butter for an aromatic twist that elevates the flavor. A subtle hint of vanilla adds warmth that complements the chocolate beautifully.
-
Stuffing Surprise: Consider adding a dollop of jam or fruit preserves in the center of the peanut butter for a fruity surprise in every bite. Strawberry or raspberry pairs wonderfully with chocolate!
-
Dipped Versions: For an even more indulgent experience, coat your finished cups in a second layer of melted chocolate. This double-dipping ensures a rich, chocolatey exterior that you won’t be able to resist!
These variations not only make the recipe more exciting but also allow you to tailor each batch to your family’s tastes and dietary needs. If you’re in the mood for something different, try preparing these homemade Peanut Butter Crackers – they’re another delightful treat your loved ones will adore!
Expert Tips for Homemade Peanut Butter Cups
-
Perfectly Melted Chocolate: Ensure your double boiler is moisture-free; even a drop of water can seize the chocolate and ruin your shell.
-
Chilling Matters: Keep an eye on chilling times. If left too long in the freezer, your Homemade Peanut Butter Cups may be difficult to release from the mold.
-
Quality Ingredients: Use high-quality dark chocolate (72% cocoa or higher) for the best flavor. It enhances the rich taste and ensures a smooth shell.
-
Experiment with Nut Butters: Feel free to swap peanut butter for almond or cashew butter. Each variation adds its own unique twist to your cups.
-
Add Some Crunch: For an exciting texture, consider mixing in chopped nuts or seeds into the peanut butter filling before piping it into molds.
What to Serve with Homemade Peanut Butter Cups?
Treat your taste buds to a delightful array of pairings that elevate your dessert experience.
- Cold Glass of Milk: The classic duo, a chilled glass of milk perfectly complements these rich chocolatey cups, balancing the sweetness with creaminess.
- Brewed Coffee: Pairing homemade peanut butter cups with a hot cup of coffee enhances the chocolate flavor, providing a warm and satisfying contrast.
- Fresh Berries: Juicy strawberries or raspberries add a refreshing tartness that cuts through the richness of the cups while making your plate visually stunning.
- Sliced Bananas: The natural sweetness and creaminess of bananas pair beautifully, creating a harmonious taste explosion with every bite.
- Nutty Granola: A sprinkle of your favorite nutty granola or crushed nuts adds a satisfying crunch, providing a delightful textural contrast to the smooth cups.
- Chic Dessert Platter: Impress your guests by serving these cups on a platter accompanied by assorted dark chocolates or handmade cookies for a festive touch.
- Whipped Coconut Cream: A dollop of whipped coconut cream brings a light and airy component, perfect for balancing the rich flavors of the peanut butter cups.
- Sparkling Water: For a refreshing beverage option, serve a sparkling water with lemon or lime – the bubbles cleanse the palate between each sweet bite.
- Salted Caramel Sauce: Drizzle a bit of warm salted caramel over your peanut butter cups for an indulgent twist that enhances the overall flavor profile.
Make Ahead Options
These Homemade Peanut Butter Cups are a fantastic option for meal prep enthusiasts looking to save time during busy days! You can prepare the chocolate shell and fill the molds up to 24 hours in advance, ensuring they stay perfectly delicious. Simply follow the initial steps of chilling the mold and coating it with chocolate, then allow it to set. Once ready to finish, fill the molds with your peanut butter mixture and top with more chocolate before freezing for an additional 30 minutes. To maintain quality, store the prepped molds in the refrigerator to prevent melting before serving. When it’s time to enjoy, just pop them out, and your delectable treats are ready to impress with minimal effort!
Homemade Peanut Butter Cups Recipe FAQs
How do I choose the best peanut butter for this recipe?
Absolutely! For the best flavor and texture, choose a smooth and creamy peanut butter that contains minimal ingredients—just peanuts and salt is ideal. Natural peanut butters may separate, so stir well before using. If you’d like to experiment, almond or cashew butter provides a lovely twist!
How should I store my homemade peanut butter cups?
You can store your homemade peanut butter cups in an airtight container at room temperature for up to 3 days. If you’re in a warmer climate or prefer them chilled, keep them in the refrigerator where they will stay fresh for up to a week.
Can I freeze homemade peanut butter cups, and how should I do it?
Absolutely! For longer storage, place your homemade peanut butter cups in a freezer-safe container, separating layers with parchment paper to prevent sticking. They can be frozen for up to 3 months. When you’re ready to enjoy, just transfer them to the fridge to thaw—no need for reheating!
What should I do if my chocolate seizes while melting?
Very frustrating, I know! If your chocolate seizes, it becomes clumpy and thick. To troubleshoot, add a teaspoon of coconut oil or vegetable oil to the chocolate and stir gently until it smooths out again. Make sure to keep your double boiler dry, and melt the chocolate slowly to avoid burning.
Are these peanut butter cups suitable for people with allergies?
Yes and no! While this recipe is perfect for those avoiding gluten and dairy, it contains peanuts, which are a common allergen. If you’re making them for someone with allergies, consider using almond or sunflower butter instead of peanut butter, but always check for cross-contamination if allergies are severe.
Irresistible Homemade Peanut Butter Cups in Just 3 Ingredients
Ingredients
Equipment
Method
- Chill your candy mold in the freezer for at least 15 minutes.
- Melt the dark chocolate in a double boiler over low heat, stirring gently until smooth, about 5-7 minutes.
- Remove the mold and fill each well with about ½ teaspoon of melted chocolate, brushing it up the sides.
- Return filled molds to the freezer for 5-10 minutes until chocolate hardens.
- Mix peanut butter and sea salt, then pipe into the hardened chocolate molds, filling about ¾ full.
- Cover each filled mold with more melted chocolate, sealing the filling. Freeze for 30 minutes.
- Gently flex the silicone mold or tap it to release the cups onto a surface lined with towels.
")