")
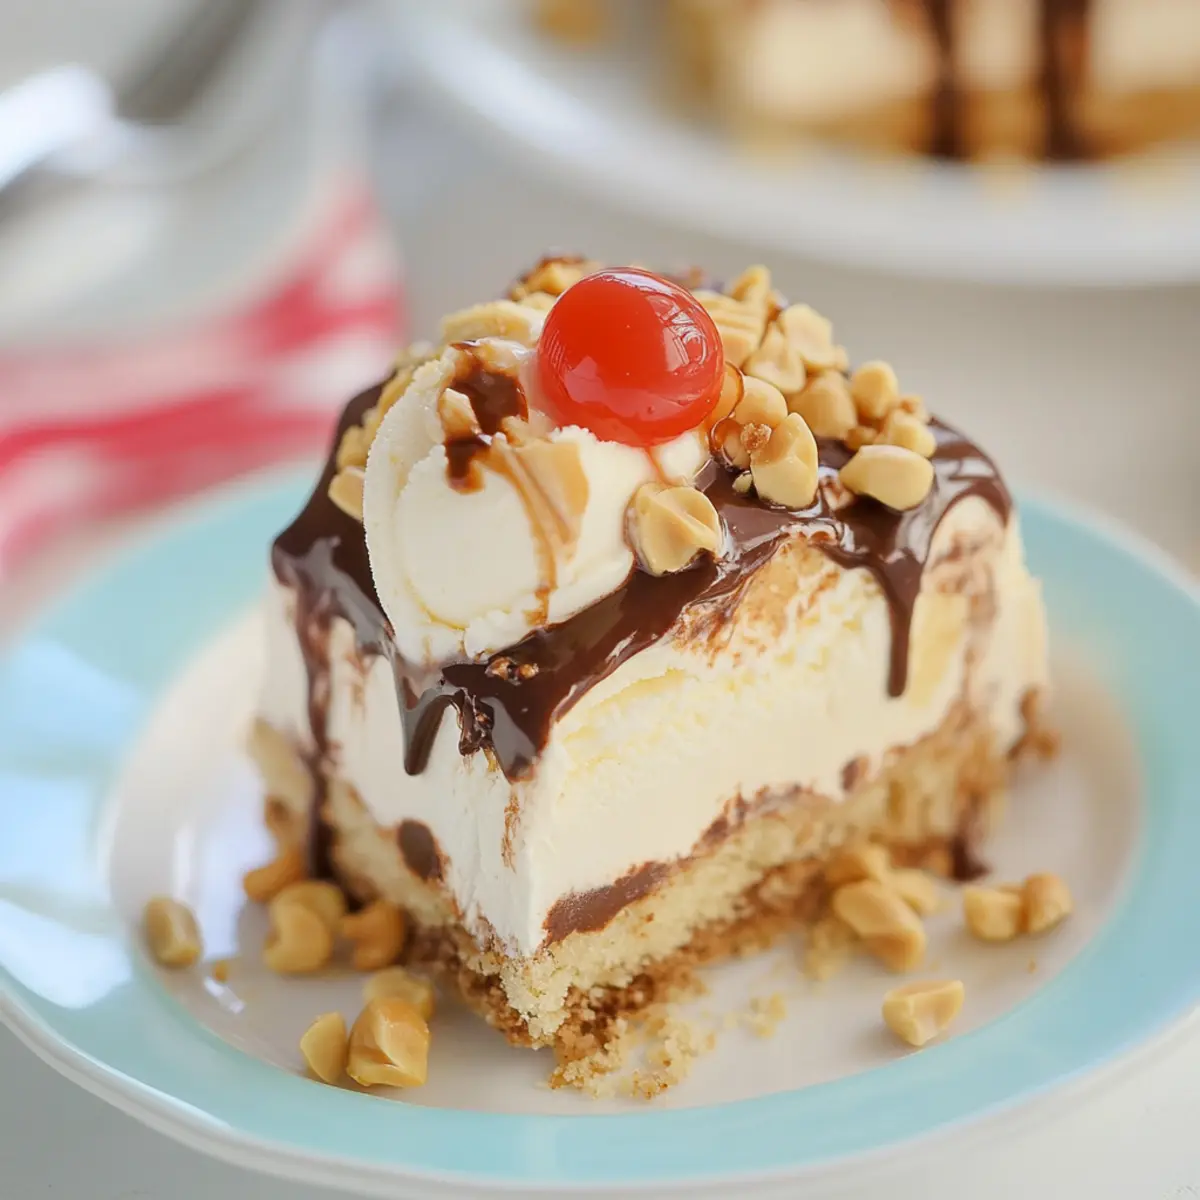
As I watched the sun dip below the horizon on a warm summer evening, the craving for something sweet and refreshing hit me. This easy ice cream cake recipe became my go-to solution, offering a delightful escape from the ordinary with its luscious layers of chilled vanilla ice cream, gooey hot fudge, and a sprinkle of crunchy peanuts. Best of all, it requires no baking! Perfect for summer soirées or birthdays, this customizable dessert lets you experiment with different ice cream flavors and toppings to match any occasion. And let’s be honest, who can resist the creaminess paired with a drizzle of caramel and a satisfying crunch? Are you ready to dive into a world of indulgence with your very own ice cream creation?
Why is this Ice Cream Cake a Must-Try?
Simplicity: With no baking required, this ice cream cake is a breeze to prepare. Just layer your favorite flavors and let the freezer do the work!
Customizable: Feel free to swap flavors! Use chocolate or coffee ice cream for a twist, or opt for crushed Oreos for a cookies-and-cream delight. The possibilities are endless.
Perfect for Every Occasion: Whether it’s a birthday party, summer cookout, or festive gathering, this dessert will wow your guests and keep them coming back for seconds.
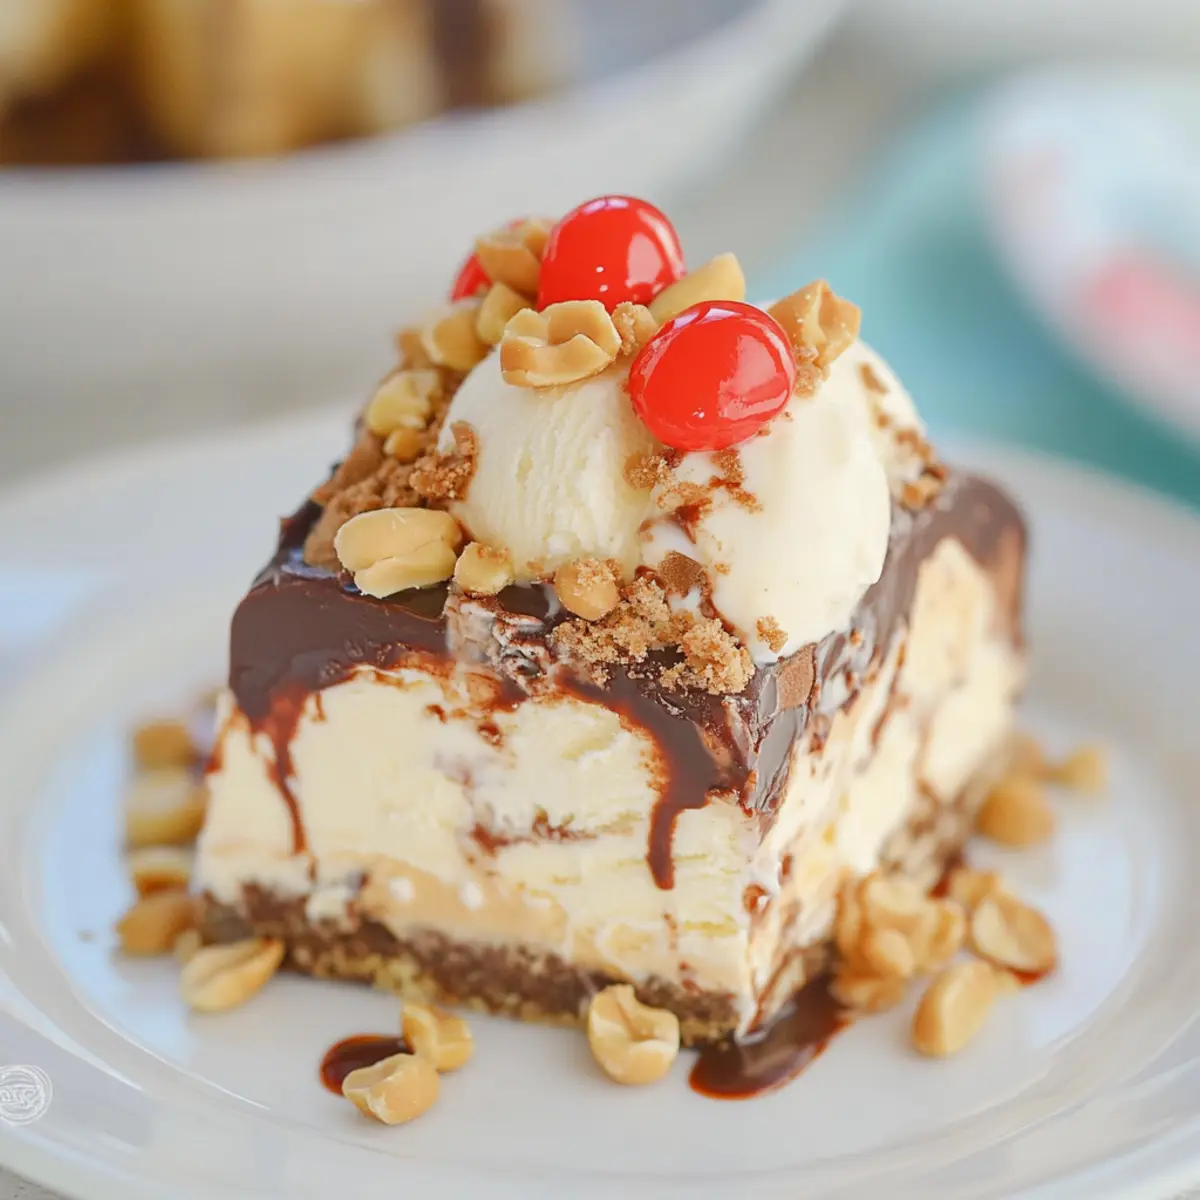
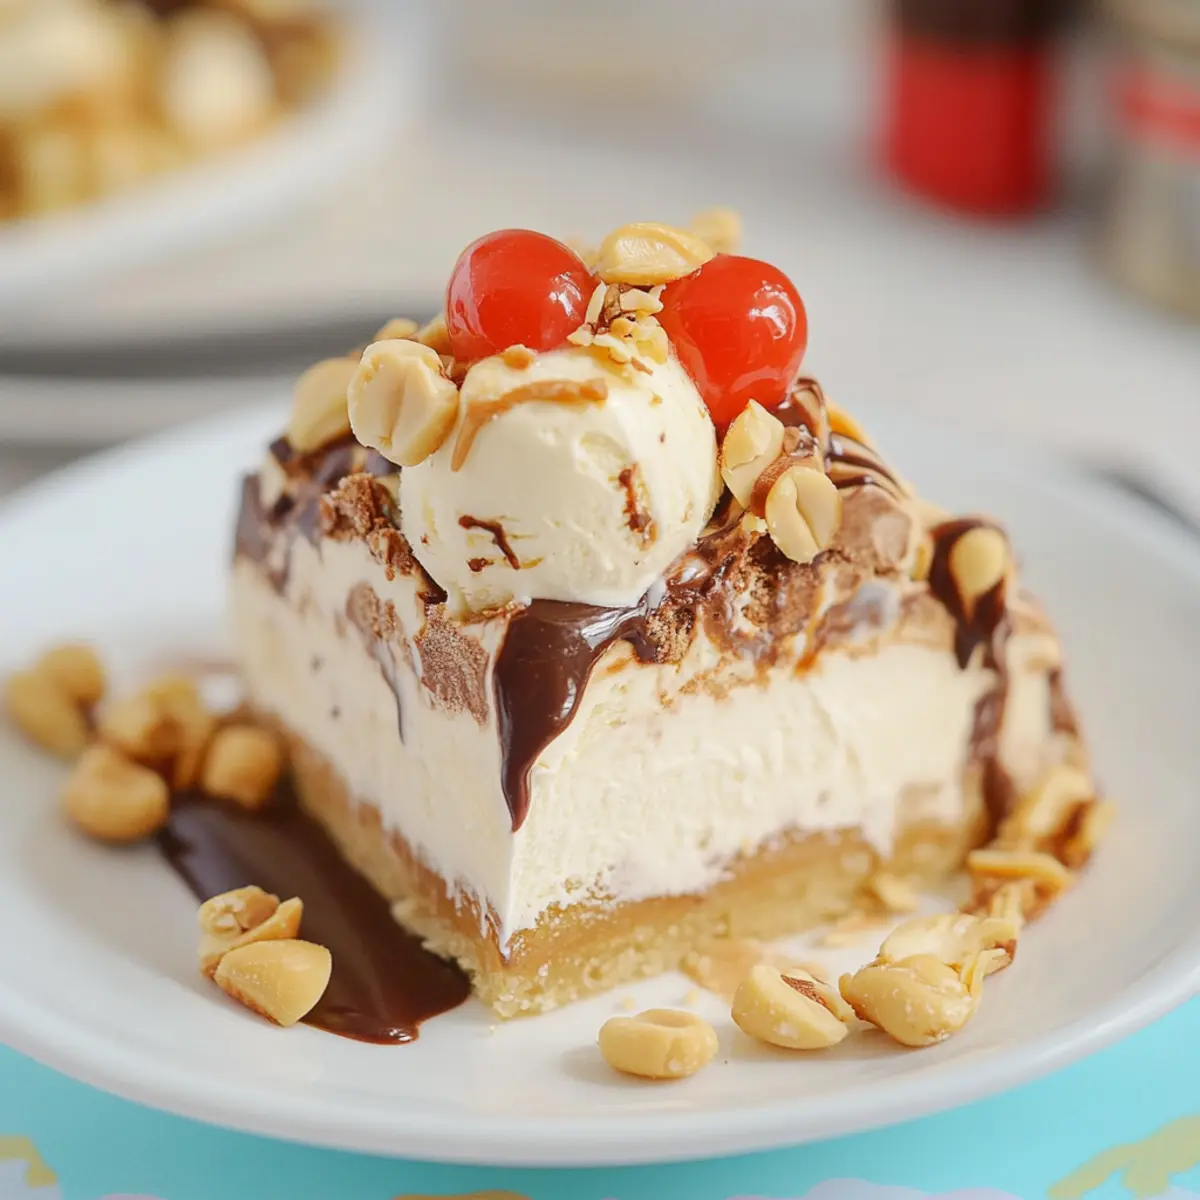
Rich, Decadent Flavor: The combination of creamy vanilla ice cream, rich hot fudge, and crunchy peanuts creates a heavenly mix of textures and tastes that everyone will adore.
Family-Friendly Fun: Kids love to join in the fun! Let them help pick flavors and toppings, making this ice cream cake a delightful family activity. For more inspiration, check out how to make Strawberry Cake Filling for a refreshing twist.
Ice Cream Cake Recipe Ingredients
For the Cake Base
• Vanilla Ice Cream – This creamy base is essential for a classic ice cream cake; ensure it’s softened for easy spreading.
• Hot Fudge Sauce – A rich chocolate addition that elevates the flavor; warm slightly for easier drizzling.
• Caramel Ice Cream Topping – It adds a sweet and contrasting layer to the chocolate; warming before using enhances pourability.
• Dry Roasted Peanuts – Their crunchy texture brings delightful contrast; substitute with other nuts for a nut-free option.
Optional Toppings
• Magic Shell – A fun top that hardens when cold, adding an extra texture burst.
• Whipped Cream – Perfect for a fluffy finish and to lighten the dessert; don’t forget to pipe it on before serving!
• Chopped Nuts – Adds an extra layer of crunch and flavor; mix with or substitute for peanuts.
• Maraschino Cherries – A classic finishing touch that adds a pop of color and sweetness; place them on top for a classic sundae look.
Have fun crafting your unique ice cream cake recipe and enjoy the endless customization that fits every palate!
Step‑by‑Step Instructions for Customizable No-Bake Ice Cream Cake
Step 1: Prepare the Base Layer
Begin by evenly distributing 1/3 of the dry roasted peanuts in the bottom of an 8-inch square baking dish. Spread them out to create a solid base, ensuring every corner is covered for added crunch. This will provide a delightful texture as part of your easy ice cream cake recipe.
Step 2: Add the Sauces
Warm 1/4 cup each of hot fudge and caramel sauces in the microwave for about 15-20 seconds until just soft. Drizzle both sauces over the peanuts, allowing them to soak into the layers. The combination of rich flavors will help create a stunning contrast that enhances your ice cream cake.
Step 3: First Ice Cream Layer
Take half of your softened vanilla ice cream and gently spoon it over the sauces. Use a spatula to spread it evenly, covering the fudge and caramel completely. The ice cream should be smooth and creamy, building a lovely layer that complements the crunchy base beneath.
Step 4: Repeat Layers
Next, repeat the layering process by sprinkling the remaining peanuts over the ice cream layer. Drizzle more hot fudge and caramel sauces on top, ensuring you spread them evenly. Now, take the remaining ice cream and carefully layer it over this mixture, smoothing it out nice and flat to prepare for the top layer.
Step 5: Final Toppings
Sprinkle the top with any remaining dry roasted peanuts and drench it with additional hot fudge and caramel sauces for a beautiful finish. This last drizzle adds a sophisticated touch to your customizable no-bake ice cream cake, making it irresistible and visually appealing.
Step 6: Freeze the Cake
Cover the baking dish tightly with plastic wrap and place it in the freezer for about 4-6 hours or until the cake is firmly set. This step is crucial to achieving the right texture for slicing. Be patient—once frozen, your cake will be easy to cut and serve.
Step 7: Serve with Style
Before serving, take the cake out of the freezer and optionally drizzle the top with Magic Shell for an additional crispy texture. Use a warm knife to slice the cake into squares for clean edges. Serve with whipped cream, chopped nuts, or maraschino cherries to elevate your ice cream cake experience.
Tips for the Best Ice Cream Cake
• Ice Cream Consistency: Ensure your ice cream is very softened before spreading; this makes layering easier and helps achieve a smooth finish.
• Warm Utensils: Use a warm knife for cutting the ice cream cake. This prevents squishing the layers and keeps your pieces looking perfect.
• Layer Generously: Don’t skimp on toppings and sauces—you want each bite of your ice cream cake to be a rich explosion of flavor, so be generous!
• Flavor Variations: Feel free to mix and match flavors in your ice cream cake recipe; chocolate, strawberry, or even mint can provide delightful surprises!
• Avoid Melting: Keep the cake in the freezer until just before serving. If it gets too warm, it will become messy and hard to cut.
Make Ahead Options
These customizable no-bake ice cream cakes are perfect for meal prep enthusiasts looking to save time on busy occasions! You can prepare the entire ice cream cake recipe up to 24 hours in advance by layering the ingredients and freezing it until firm. To maintain the cake’s quality, be sure to cover it tightly with plastic wrap or foil to prevent freezer burn. When you’re ready to serve, simply remove it from the freezer, drizzle with Magic Shell, and slice with a warm knife for clean cuts. With this make-ahead option, you can impress your guests effortlessly while enjoying delicious, creamy layers of ice cream and rich toppings that are just as delightful as if you made them right before serving!
What to Serve with Customizable No-Bake Ice Cream Cake
As you prepare to indulge in the rich layers of creamy ice cream and warm fudge, consider these delightful pairings that will elevate your dessert experience.
-
Fresh Fruit Salad: A burst of vibrant fruits adds a refreshing contrast. The natural sweetness balances the richness of the ice cream cake perfectly.
-
Chocolate Chip Cookies: These soft and chewy cookies provide a satisfying crunch alongside the creamy texture of ice cream cake, creating an enjoyable mix of flavors.
-
Hot Coffee: A warm cup of coffee complements the cold dessert beautifully, enhancing the chocolate flavors while offering a pleasing temperature contrast.
-
Sparkling Lemonade: The zesty fizz cuts through the sweetness of the cake, making each bite feel refreshingly lighter.
-
Caramel Sauce Drizzle: For an extra indulgent touch, drizzle warm caramel sauce over the slices of cake. It enhances the overall sweetness and adds another layer of flavor.
-
Ice Cream Cones: For a fun touch, serve individual servings in ice cream cones alongside the cake. Kids and adults alike will enjoy this nostalgic twist!
Feel free to mix and match these suggestions to create a truly unforgettable dessert experience that showcases your delicious ice cream cake recipe!
Ice Cream Cake Recipe Variations
Feel free to let your creativity shine as you make this ice cream cake your own! The flavors and textures are yours to explore.
-
Chocolate Twist: Substitute vanilla ice cream with chocolate ice cream for an extra rich dessert that chocolate lovers will adore.
-
Cookies & Cream: Replace dry roasted peanuts with crushed Oreo cookies for a delightful cookies-and-cream ice cream cake. An indulgent treat that combines the best of both worlds!
-
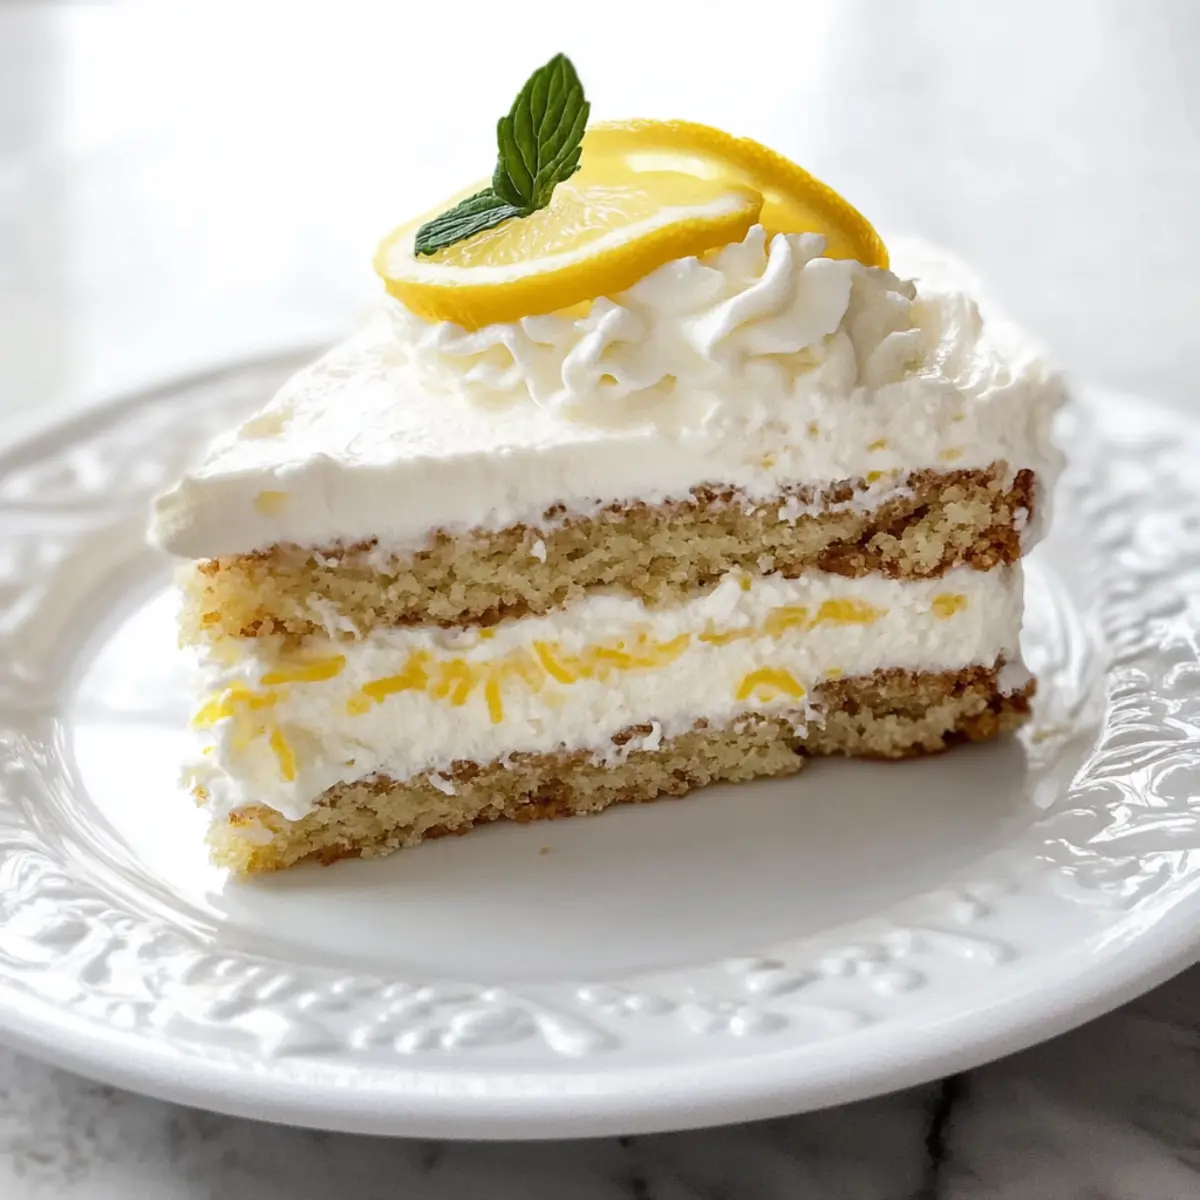
Berry Bliss: Use strawberry or raspberry ice cream instead of vanilla for a fruity explosion. Top with fresh berries for an irresistible finish.
-
Nut-Free Version: Swap out the peanuts for sunflower seeds or omit them completely for a nut-free dessert everyone can enjoy.
-
Dairy-Free Dream: Choose coconut or almond milk ice cream to create a delicious, dairy-free alternative that doesn’t skip on flavor.
-
S’mores Delight: Layer in graham cracker crumbs and mini marshmallows for a s’mores-inspired cake—this is a fun twist that’s perfect for summer!
-
Salted Caramel: Introduce a drizzle of salted caramel sauce alongside the hot fudge for a flavor combination that will excite your taste buds.
Enjoy experimenting with these variations and bring unique flavors to your gatherings! For even more dessert inspiration, explore how to create Chocolate Chalet Cake or a refreshing Taro Ice Cream that everyone will love.
How to Store and Freeze Ice Cream Cake
Fridge: Store your ice cream cake in the refrigerator for up to 3 days, ensuring it’s covered with plastic wrap to prevent ice crystals from forming.
Freezer: Keep the ice cream cake in an airtight container or tightly wrapped in plastic wrap and foil in the freezer for up to one month. This helps preserve its delightful texture and flavor.
Thawing: To serve, remove the ice cream cake from the freezer and let it sit at room temperature for about 10-15 minutes before slicing. This will make it easier to cut without losing shape.
Reheating: If you used a Magic Shell topping, simply drizzle more over individual servings for a fresh burst of flavor. Enjoy the layers of this ice cream cake recipe!
Easy Ice Cream Cake Recipe FAQs
What type of ice cream is best for making an ice cream cake?
Absolutely! For the best results, I recommend using quality vanilla ice cream as the base since it provides the perfect creamy texture and sweetness. However, feel free to experiment with chocolate, coffee, or even fruity flavors like strawberry or mango to create your unique spin on this ice cream cake recipe.
How should I store the ice cream cake for freshness?
To maintain the best texture and flavor, store your ice cream cake in an airtight container in the freezer for up to one month. Alternatively, you can tightly wrap it in plastic wrap and foil. Just remember to keep it covered to prevent freezer burn and ice crystals from forming.
Can I freeze leftover slices of the ice cream cake?
Definitely! To freeze leftover slices, simply wrap each portion in plastic wrap or aluminum foil, place them in an airtight container, and store in the freezer. They can last for up to 3 months. When ready to enjoy, just pull out a slice and let it thaw for about 10-15 minutes at room temperature before digging in.
What should I do if my ice cream cake is too soft or melts too quickly?
If you find that your cake is melting quickly, make sure your ice cream is fully thawed when you assemble the cake layers. Also, keep the cake in the freezer until just before serving. If it’s already made and still too soft, return it to the freezer for additional time to firm up. Just make sure to cover it well!
Is this ice cream cake suitable for gluten-free diets?
Yes, this ice cream cake recipe can easily be made gluten-free! Just ensure that the hot fudge, caramel toppings, and any mix-ins like nuts or cookies are certified gluten-free. This makes it a delightful treat for everyone, including those with dietary restrictions.
How long should I let the ice cream cake freeze before serving?
For the best texture, cover your assembled cake with plastic wrap and freeze it for about 4-6 hours or until fully set. This ensures that each slice holds its shape when cut. If you’re using a deep freezer, it might take a bit longer, so be patient—it’s worth the wait!
Irresistible Ice Cream Cake Recipe: No-Bake and Super Fun!
Ingredients
Equipment
Method
- Begin by evenly distributing 1/3 of the dry roasted peanuts in the bottom of an 8-inch square baking dish.
- Warm 1/4 cup each of hot fudge and caramel sauces in the microwave for about 15-20 seconds.
- Drizzle both sauces over the peanuts, allowing them to soak into the layers.
- Take half of your softened vanilla ice cream and gently spoon it over the sauces.
- Repeat the layering process by sprinkling the remaining peanuts over the ice cream layer.
- Cover the baking dish tightly with plastic wrap and place it in the freezer for about 4-6 hours.
- Before serving, drizzle the top with Magic Shell if desired and slice with a warm knife.
")